Privilege Secure Reviewer User Overview
This topic and its subtopics are written for users who have been assigned as a Privilege Secure Reviewer.
New Reviewers added to Privilege Secure must go through the MFA registration process before they can log in. By default, Privilege Secure requires a multi-factor authentication (MFA) solution (Authenticator, DUO, Symantec VIP etc) for all user accounts. Upon initial login, the Reviewer must complete MFA registration to proceed with using Privilege Secure. Check with the organization's Administrators for login requirements.
First Time Login
Once Privilege Secure is installed, Reviewers can launch the application from the desktop icon or can be accessed via the URL provided by an Privilege Secure Administrator, for example:
Since Privilege Secure is a browser-based application, You can access the web interface
remotely. In most environments, enter the URL for the host on which Privilege Secure is installed
into a supported browser address bar. For example, if Privilege Secure is installed on server
ExampleServer01, then the address is:
Depending on the organization’s network environment, use the NetBIOS name, fully qualified domain name (FQDN), or IP Address of the server in the browser. Also, access can be restricted through firewalls.
To log in to the Privilege Secure.
Step 1 – Open Privilege Secure in a browser window. The Login screen shows the Authentication Connector that is set as the default.
Privilege Secure requires a multi-factor authentication (MFA) solution (Authenticator, DUO, Symantec VIP, etc) for all Reviewer accounts unless otherwise configured by an Administrator. If required, first time Reviewers must register with an MFA to use with their login credentials.

Step 2 – Either click the default authentication connector button, or click Log In with a Different Account to display all of the authentication connectors that are registered with Privilege Secure.
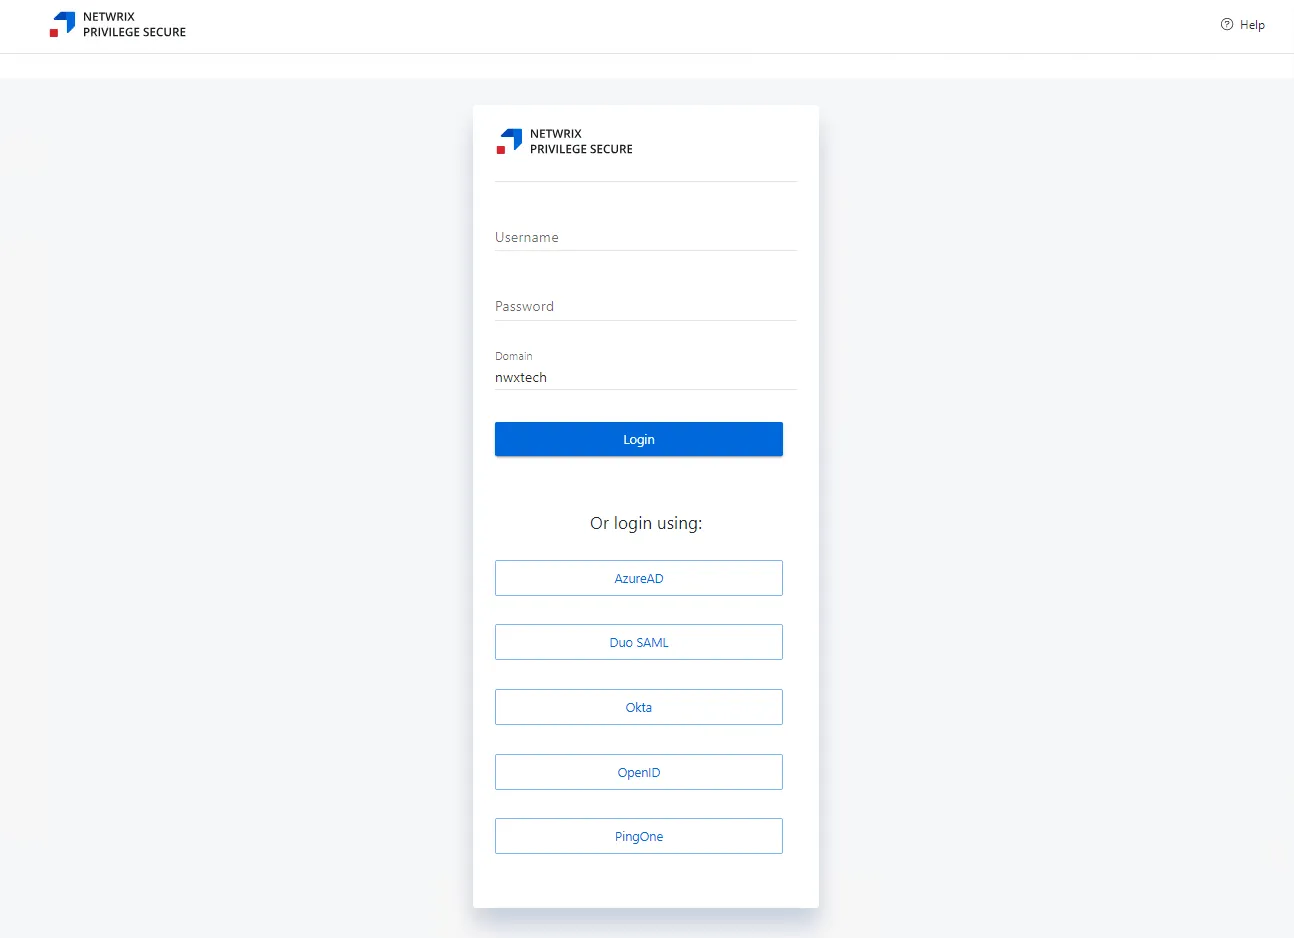
Step 3 – log in to Privilege Secure with a configured authentication connector, or enter the user credentials.
- When using an authentication connector, there's no 'username' or 'password' field for the user to enter. Instead there's just a single button to login.

- Clicking the authentication connector redirects the user to the IdP login screen, which logs the user in (with whatever MFA is set up in the IdP) and then reverts the user back to the Privilege Secure dashboard once authenticated. Steps 4-7 are skipped when using an IdP login.
Step 4 – Click log in to proceed.
Step 5 – A QR code displays to register with an authenticator application.
Step 6 – Enter the code provided by the registered multi-factor authenticator (MFA).
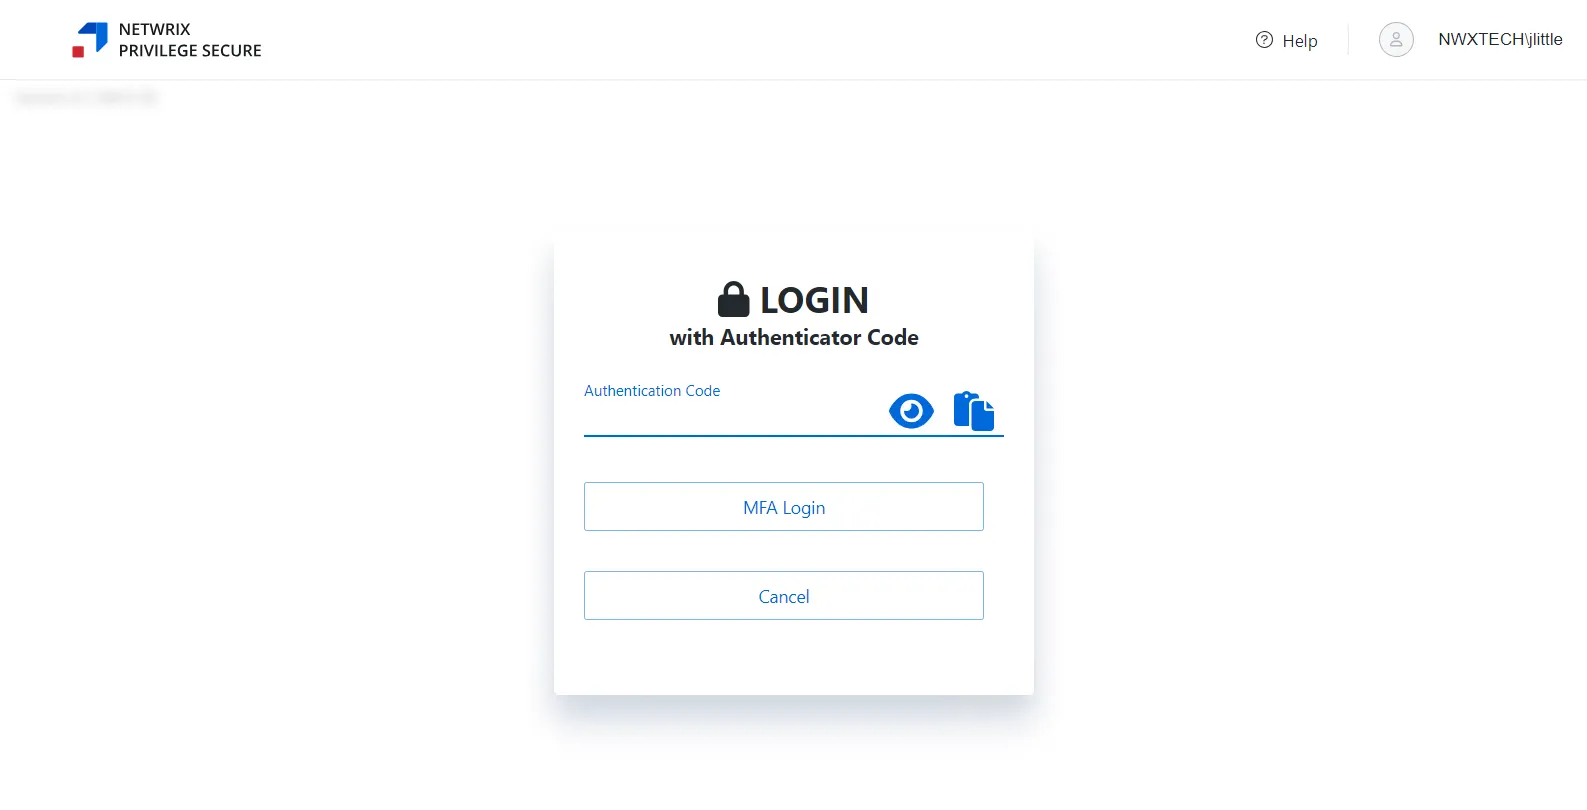
Step 7 – Click MFA Login. Privilege Secure opens on the Dashboard Interface.
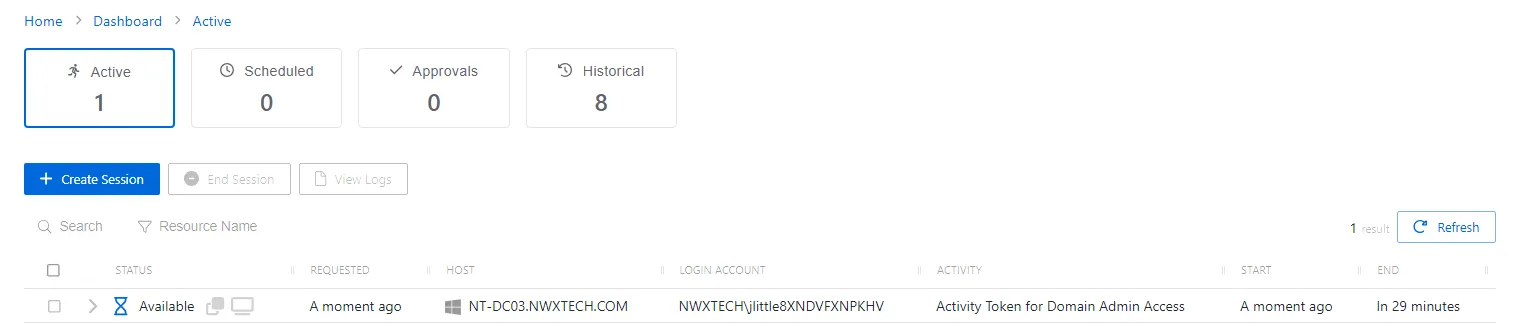
Privilege Secure is ready to use.