Add Resources Window for Resource Group
Follow the steps to add resources to a resource group.
Step 1 – Navigate to the Resources > Resource Groups page.
Step 2 – In the Resource Groups list, select the name of the resource group.
Step 3 – In the Resource Groups table, click Add.
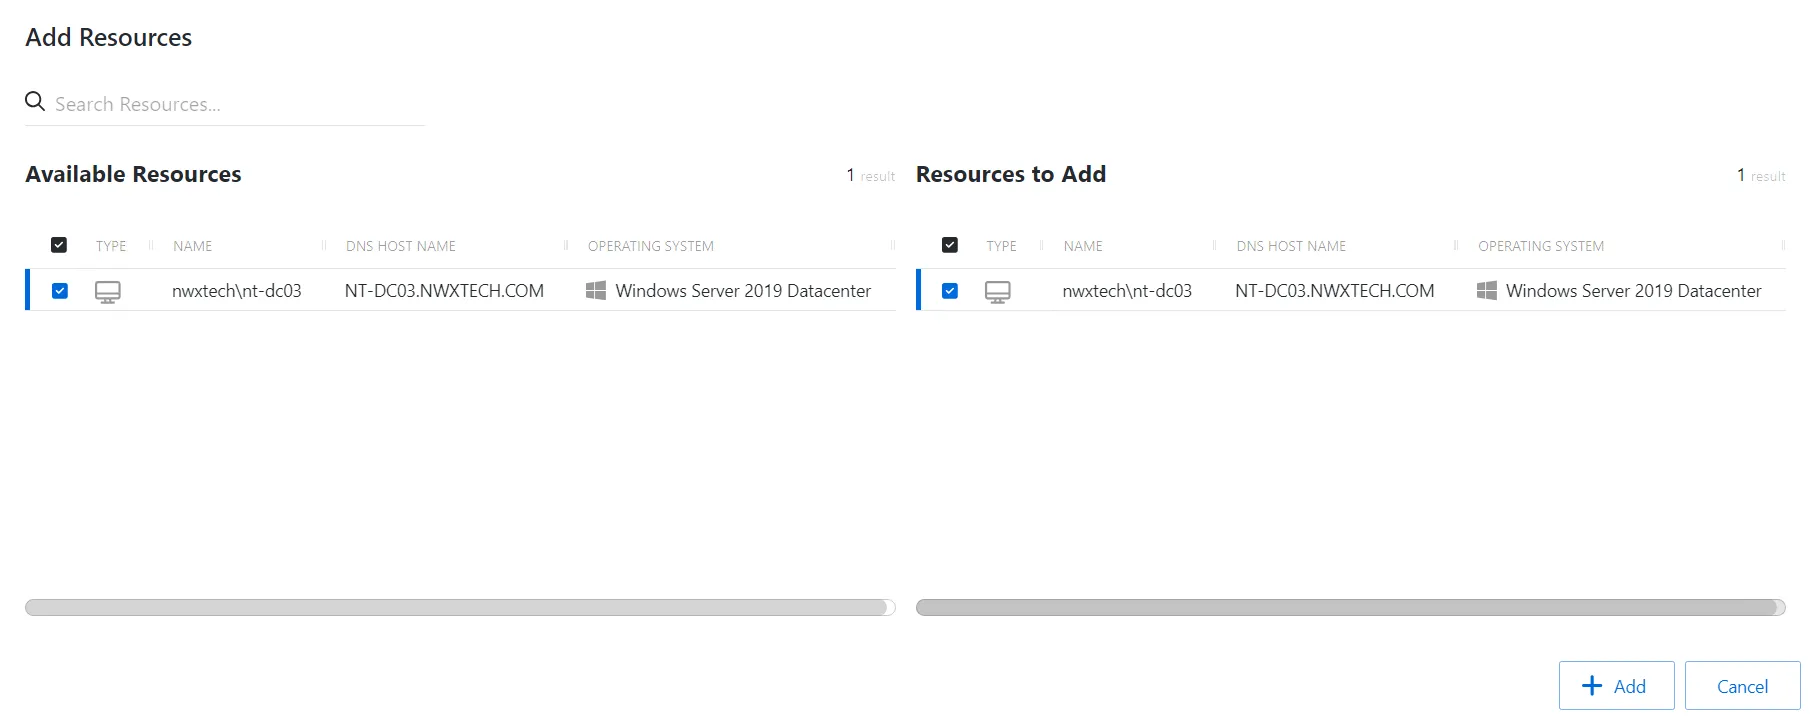
The Add Resources window has the following features:
-
Search –Searches the table or list for matches to the search string. When matches are found, the table or list is filtered to the matching results.
-
Available Resources – Shows all resources that have been added to the console
-
Resources to Add – Shows the resources to be added to the resource group
-
Column headers can be sorted in ascending or descending order:
- Type – Host resource
- Name – Name of the resource
- Operating System – The operating system on the resource
- DNS Host Name – The DNS host name for the resource
Step 4 – To add a resource to the resource group, click a row in the Available Resources list and it is immediately moved to the Resources to Add list.
Step 5 – (Optional) Click a row in the Resources to Add list to move it back to the All Resources list.
Step 6 – Click Add to add the resources to the resource group.
The resources are added to the resource group.