Add New Website
Follow the steps to add a Website Resource to the Privilege Secure Console.
Step 1 – Navigate to the Policy > Resources page.
Step 2 – Click the Plus icon and select New Website from the drop-down list.
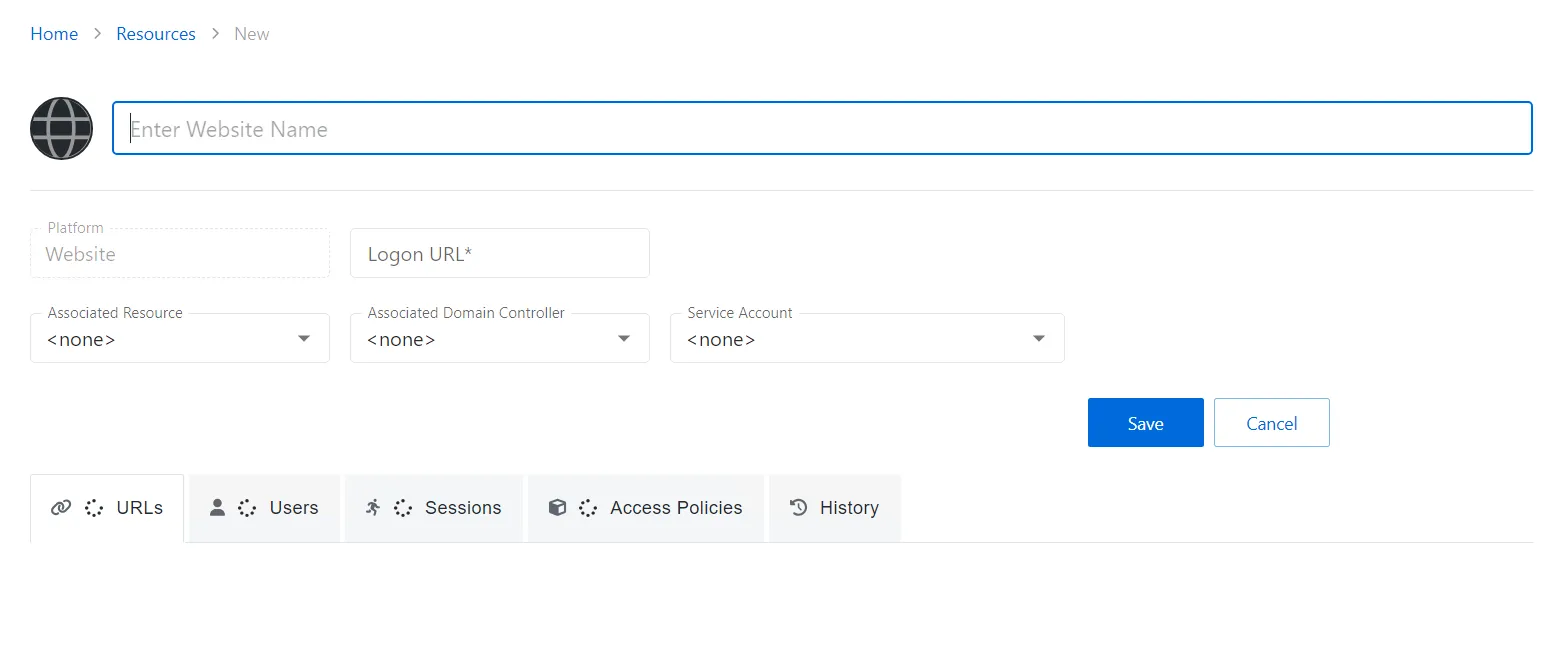
Step 3 – Enter the following information:
-
Website Name – Displays the name to be displayed in the Resource list for the website
-
Platform – Website (This field cannot be changed.)
-
Logon URL – Enter the primary logon page for the website. This is only used if no URL is specified when defining a website Activity.
-
Associated Resource – (optional) If the website is hosted on a server that is also managed by Privilege Secure, select the resource from the drop-down list to ensure that AD account operations are performed on the domain controller the website resource is bound to
-
Associated Domain Controller – (optional) A specific domain controller may be selected to ensure that AD account operations are performed on a domain controller the website will reference for authentication
-
Service Account – (optional) The service account used when activity actions require a provisioned account to interact with the resource, e.g. custom PowerShell. From the drop-down menu, select a previously added service account. See the Service Accounts Page topic for additional information.
- Add New Service Account — Open the Add New Service Account window. The fields are identical to those on the Service Accounts page
Step 4 – Click Save to add the website to the console.
The new website has been onboarded. See the Website Details Page topic for additional information.