Add New Database
Follow the steps to add a database to the Privilege SecureConsole. Supported database platforms include:
- Microsoft SQL
- Oracle
Step 1 – Navigate to the Resources page.
Step 2 – Click Add > New Database.
Step 3 – In the Enter Database Name box, enter a unique name to identify the database.
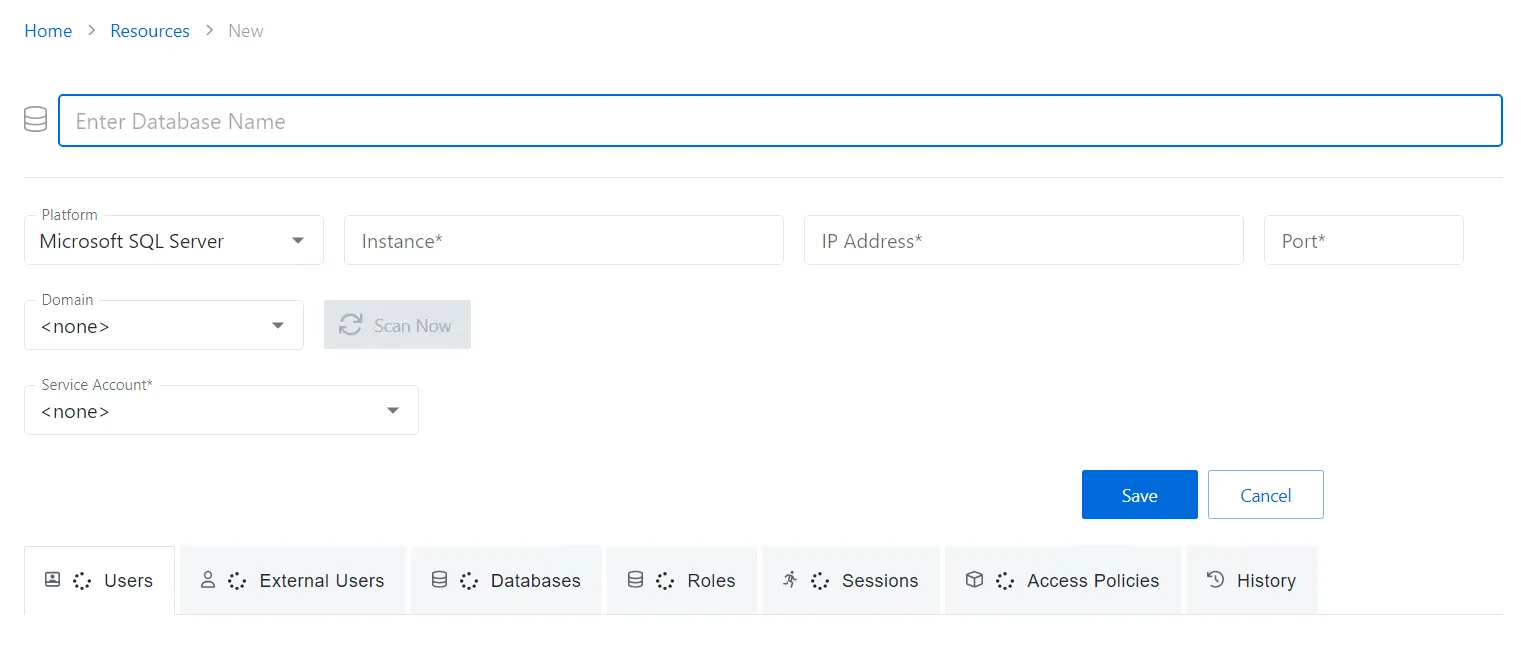
Step 4 – Select Microsoft SQL Server or Oracle from the Platform drop-down list.
Step 5 – Enter the instance name for the server.
Step 6 – Enter the IP address for the server.
Step 7 – Enter the port for the server. The default ports for each database platform are:
- Microsoft SQL: 1433
- Oracle: 1521
Step 8 – Enter the fully qualified domain name (FDQN) for the server.
NOTE: The domain is used as the default domain for database activities.
Step 9 – From the drop-down menu, select a previously added service account with credentials for the database.
-
See the Service Accounts Page topic for additional information.
- Visit icon – Go to the Service Account page to view details of the selected service account.
- Add New Service Account icon – Open the Add New Service Account window. The fields are identical to those on the Service Accounts page.
Step 10 – Click Save to save the configuration options and enable the Scan Now button.
Step 11 – Click Scan Now to begin scanning the database.
The new database is now added. See the Database Details Page for additional details.