Add Credential Policy Override
Follow the steps to add Credential Policy Override to the Privilege Secure Console.
Step 1 – Navigate to the Policy > Credentials > Credential Policy Overrides page.
Step 2 – In the Credential Policy Overrides list, click the Plus icon.

Step 3 – Enter or select the following information:
- Name — Displays the name of the credential
- Description — Description of the policy
- Scheduled Change Policy — Select a previously added schedule policy from the drop-down list. How often the credentials for a managed account are changed (credential rotation). See the Credentials Dashboard and Schedule Policies Page topic for additional information.
- Verification Schedule — How often to verify the credentials for managed accounts on the resources defined by the selected platform. See the Credentials Dashboard topic for additional information on managed accounts.
Step 4 – Click Save to create the new credential policy override.

Step 5 – With the new Credential Policy Override selected, click the Add Credentials button to open the Add Credentials window. See the Add Credentials to a Policy Override topic for additional information.
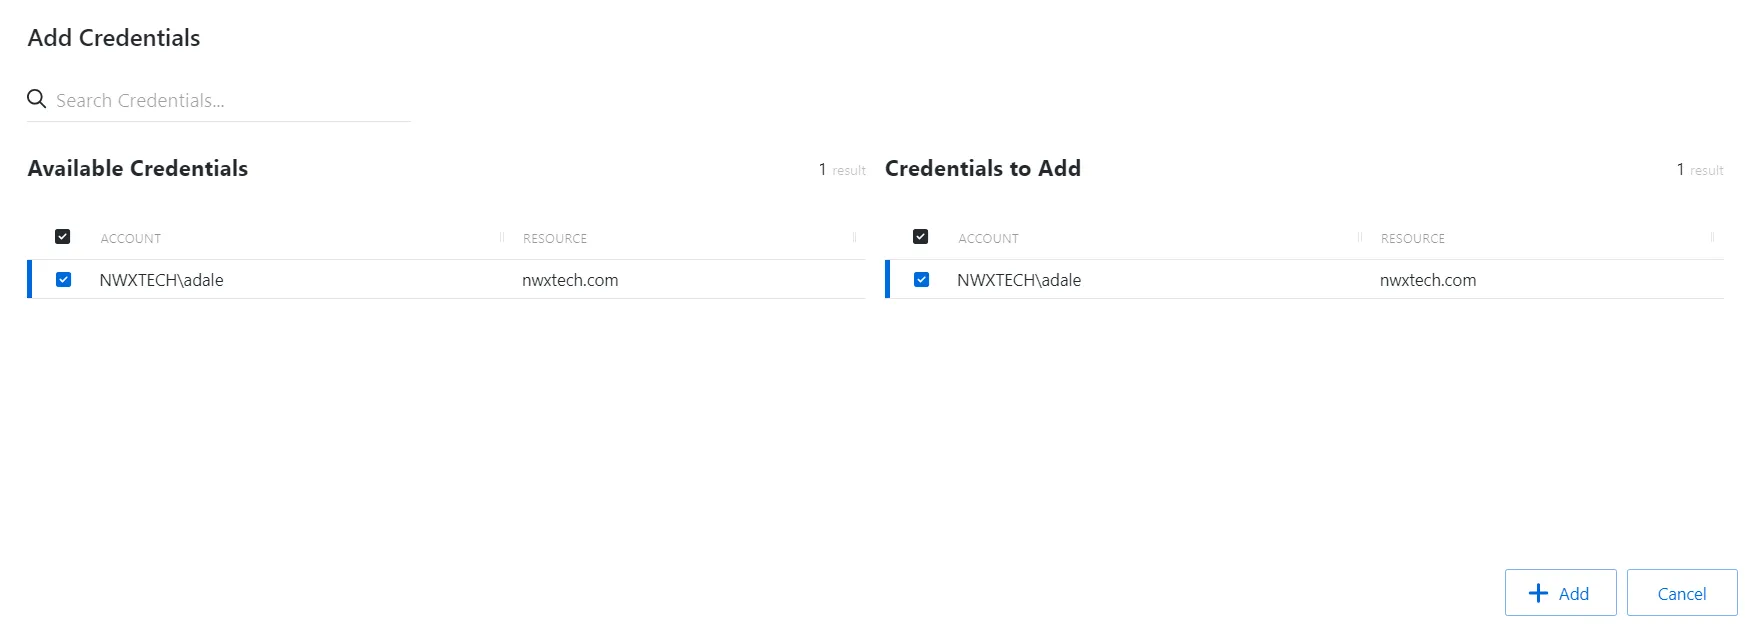
Step 6 – Select the checkbox for the credential and click Add to save the credential to the Credential Policy Override.
NOTE: In order for an account to be added to add credentials window, a credential must be managed with a method of Automatic. Only one account can be added to a Credential Policy Override at a time. See the Manage Internal Service Accounts topic for additional information.
The account is added to the console and is shown in the Credential Policy Overrides list.