Add Connection Profile
Follow the steps to add a connection profile to the console. See the Connection Profiles Page topic for detailed descriptions of the fields.
Step 1 – Navigate to the Policy > Access Policies > Connection Profiles page.
Step 2 – In the Connection Profiles list, click the Plus icon.
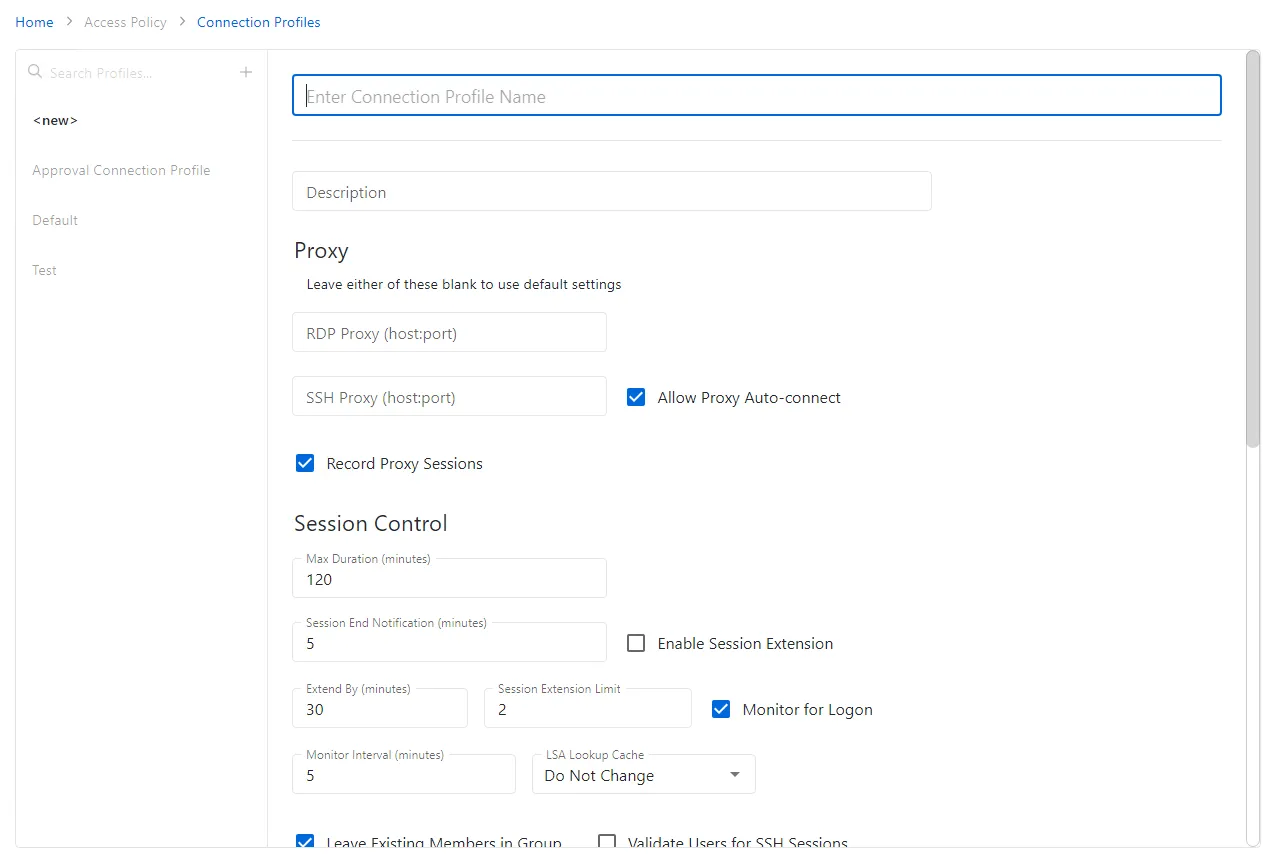
Step 3 – Enter the desired information to configure a new connection profile.
-
Name – Provide a unique name for the connection profile
-
Description – Provide an optional description to indicate the purpose of connection profile
-
Configure the Proxy settings, which control what proxy server will be used to start the session. When customizing to use a specific proxy RDP (port 4489) and SSH (port 4422) proxy server, only one server can be listed.
-
NOTE: If you want to use more than one proxy server, a load balancer must be used in front of the servers.
-
Session Control – Configure the Session Control settings to set up session duration and user login parameters for a connection profile.
NOTE: On this step, you will need to also select a default Activity Token Complexity policy for the connection profile
-
Credential Management – Configure the Credential Management settings, which control parameters for the password used for this connection profile
-
Website Settings – Configure the Website settings which control cleaning of the website data and allow recording the computer audio, if needed
-
Custom Fields – Configure the Custom Fields settings to create additional data entries for the connection profile
-
Approval Workflow –Configure the Approval Workflow settings
Step 4 – Click Save to create the new connection profile.
Step 5 – The new connection profile is created. To add an Approval Workflow, see the Add Approval Workflow topic for additional information.
The new connection profile is added to the Connection Profiles list.