Add New Website
To add a Website Resource to the Privilege Secure Console.
Step 1 – Navigate to the Policy > Resources page.
Step 2 – Click the Plus icon and select New Website from the dropdown list.
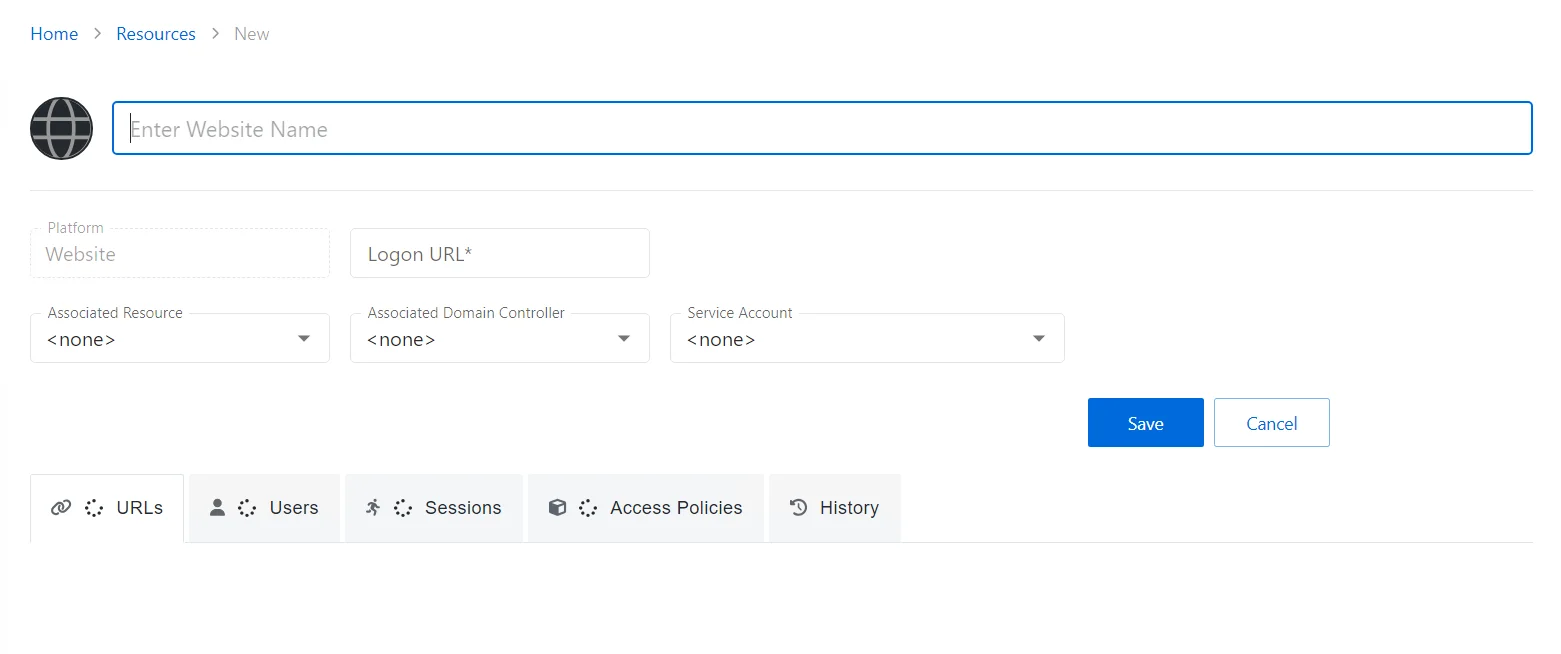
Step 3 – Enter the following information:
-
Website Name – Displays the name to be displayed in the Resource list for the website
-
Platform – Website (This field can't be changed.)
-
Logon URL – Enter the primary logon page for the website. This is only used if no URL is specified when defining a website Activity.
-
Associated Resource – (optional) If the website is hosted on a server that is also managed by Privilege Secure, select the resource from the dropdown list to ensure that AD account operations are performed on the domain controller the website resource is bound to
-
Associated Domain Controller – (optional) A specific domain controller may be selected to ensure that AD account operations are performed on a domain controller the website will reference for authentication
-
Service Account – (optional) The service account used when activity actions require a provisioned account to interact with the resource, e.g. custom PowerShell. From the dropdown menu, select a previously added service account. See the Service Accounts Page topic for additional information.
-
Add New Service Account — Open the Add New Service Account window. The fields are identical to those on the Service Accounts page
Step 4 – Click Save to add the website to the console.
The new website has been onboarded. See the Website Details Page topic for additional information.