First Launch
After you install the database and application, walk through the Setup Wizard.
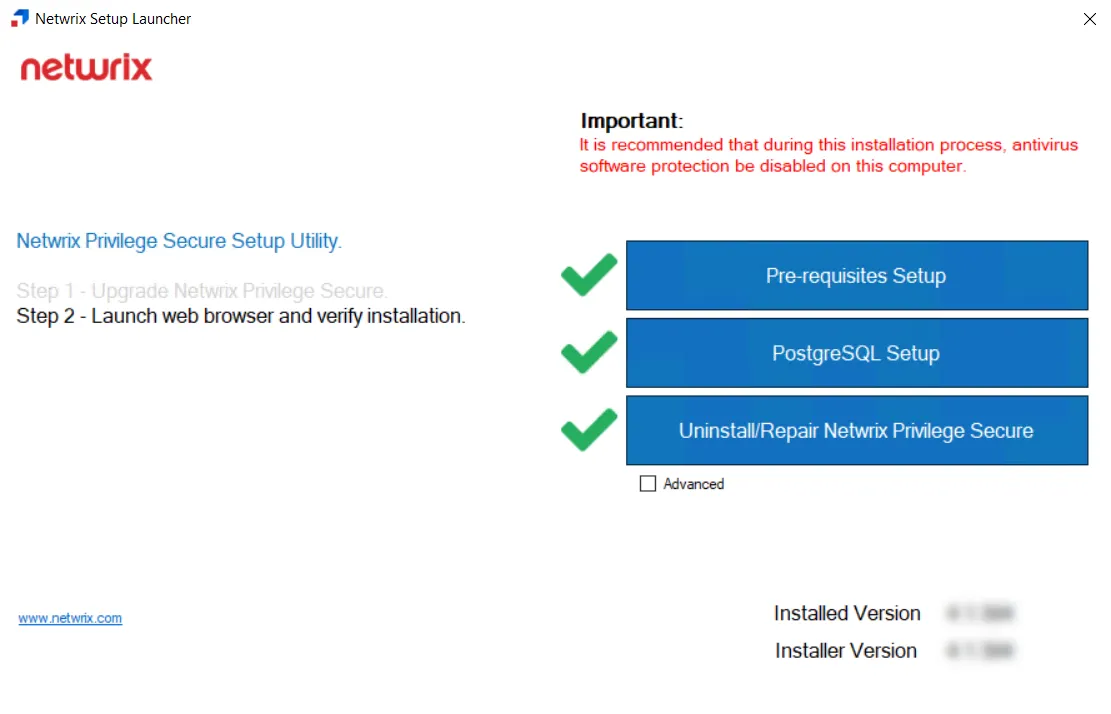
Close the Netwrix Setup Launcher if you used it during installation.
The first user, your primary Administrator, is set up through the wizard. Have a multi-factor authentication (MFA) solution (Authenticator, DUO, Symantec VIP, etc.) ready to set up for this account through the wizard.
There are two methods for launching the Setup Wizard:

- Double-click the desktop icon. Your default browser opens to the Setup Wizard.
- Open a supported browser window and navigate to the following URL, which opens the Setup Wizard:
Setup Wizard
You need the following information for your environment to complete the wizard:
- Domain account and its password to be the primary application Administrator
Use a non-privileged account and use the application to access privileged accounts.
- Multi-factor authenticator (MFA) app on your phone to register this application Administrator account
You can skip this step during the wizard and add an MFA later, but this isn't recommended.
- Active Directory service account and its password
This service account must have membership in the Domain Admins group for the domain where the primary application Administrator account resides.
To walk through the Setup Wizard:
Step 1 – Launch the Setup Wizard.

Step 2 – Click Let's get started.
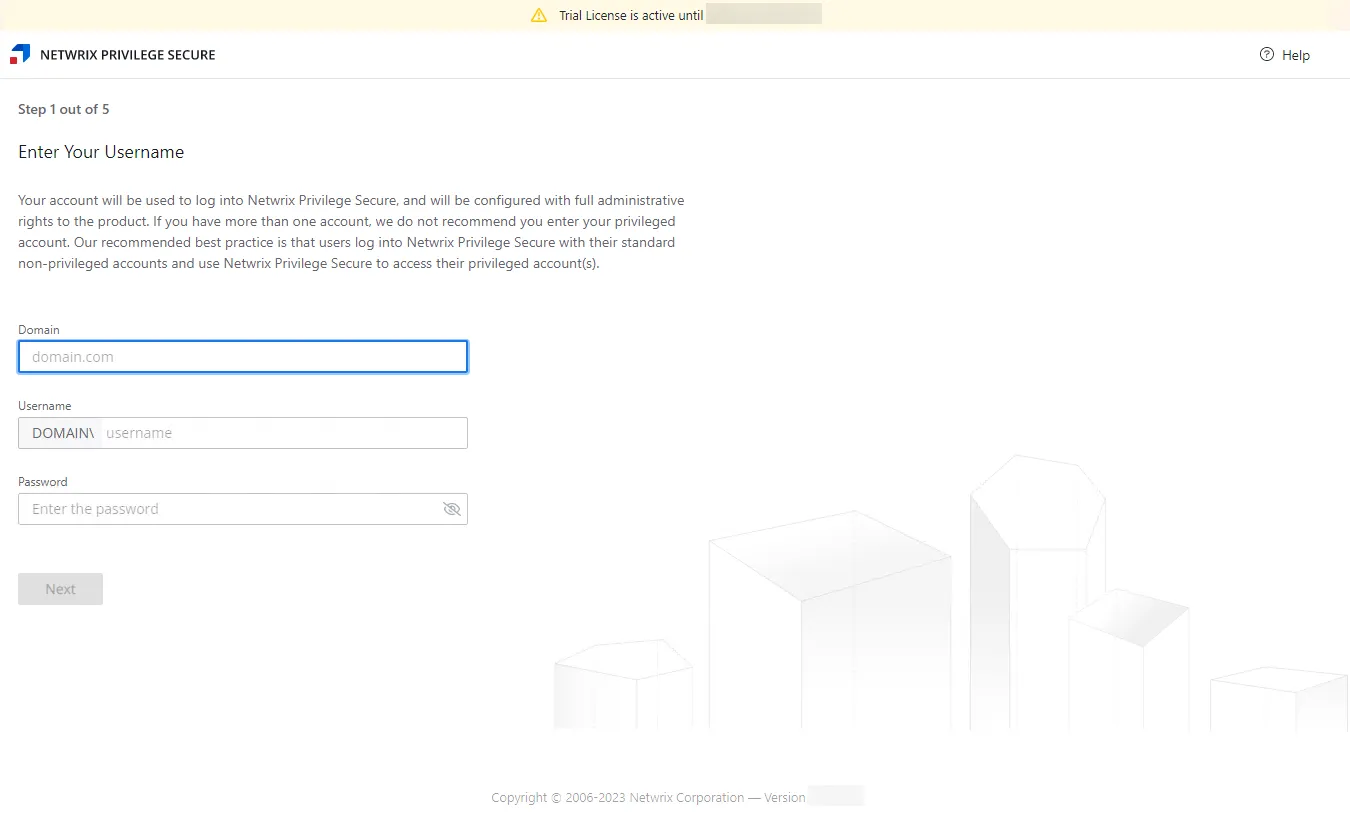
Step 3 – On the Step 1 page, you identify your primary application Administrator account. Enter the following information and then click Next:
- Domain – Enter the account's domain in
domain.comformat - Username – Enter the account. The domain auto-populates from the preceding field.
- Password – Enter the account's password. The eye icon lets you view the entry.
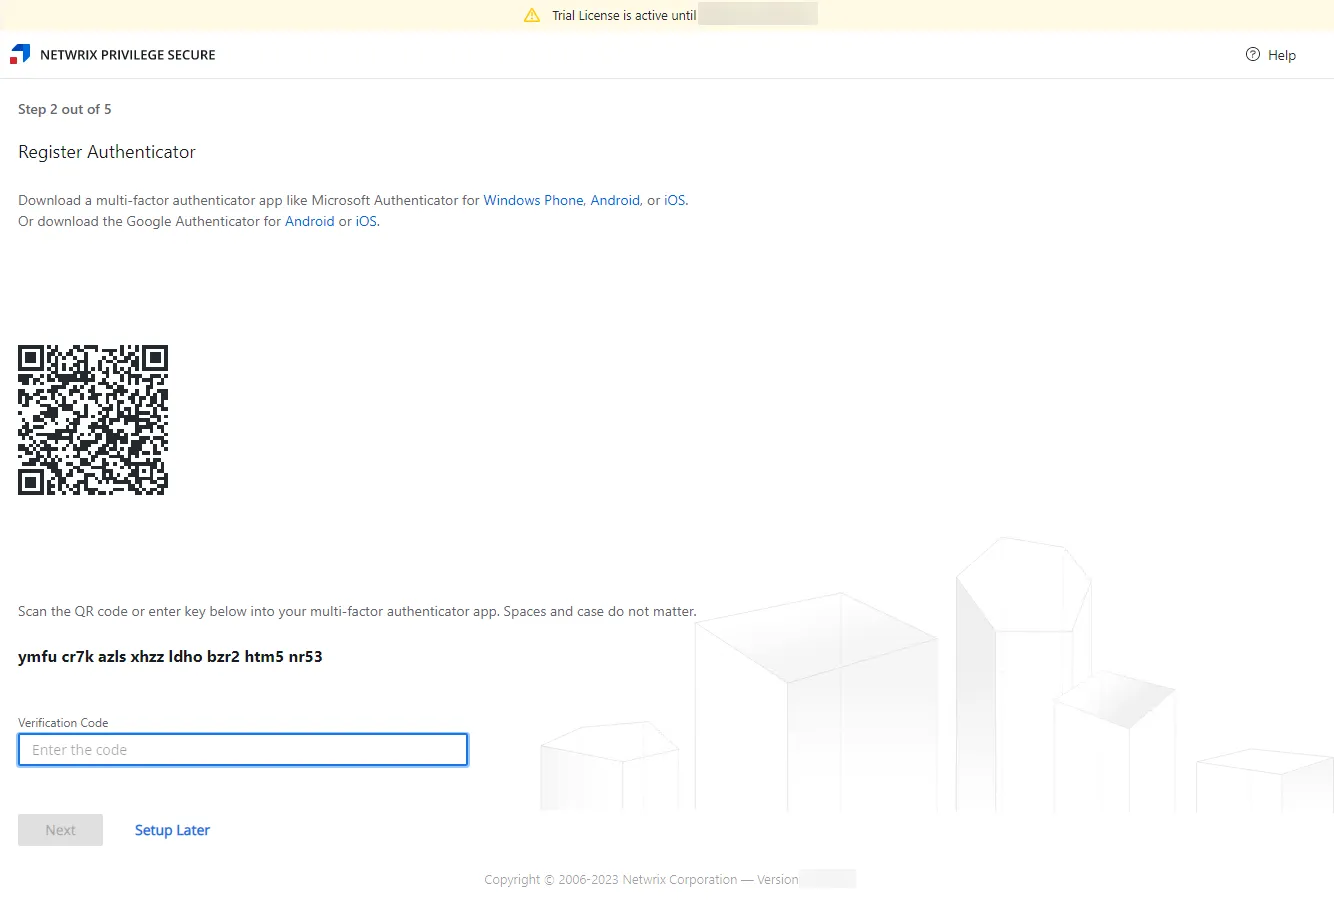
Step 4 – On the Step 2 page, you register your primary application Administrator account with an MFA provider.
- Scan the QR code or manually enter the provided key into the MFA phone app. The MFA provides a verification code.
- Enter the verification code in the textbox.
- Click Next while the code is still active.
You can set up MFA for this account later through the User details page. To do so, click Setup Later and skip to Step 6 of these instructions. The initial account is set to Not Required MFA. See the User, Group, & Application Details Page topic for additional information.
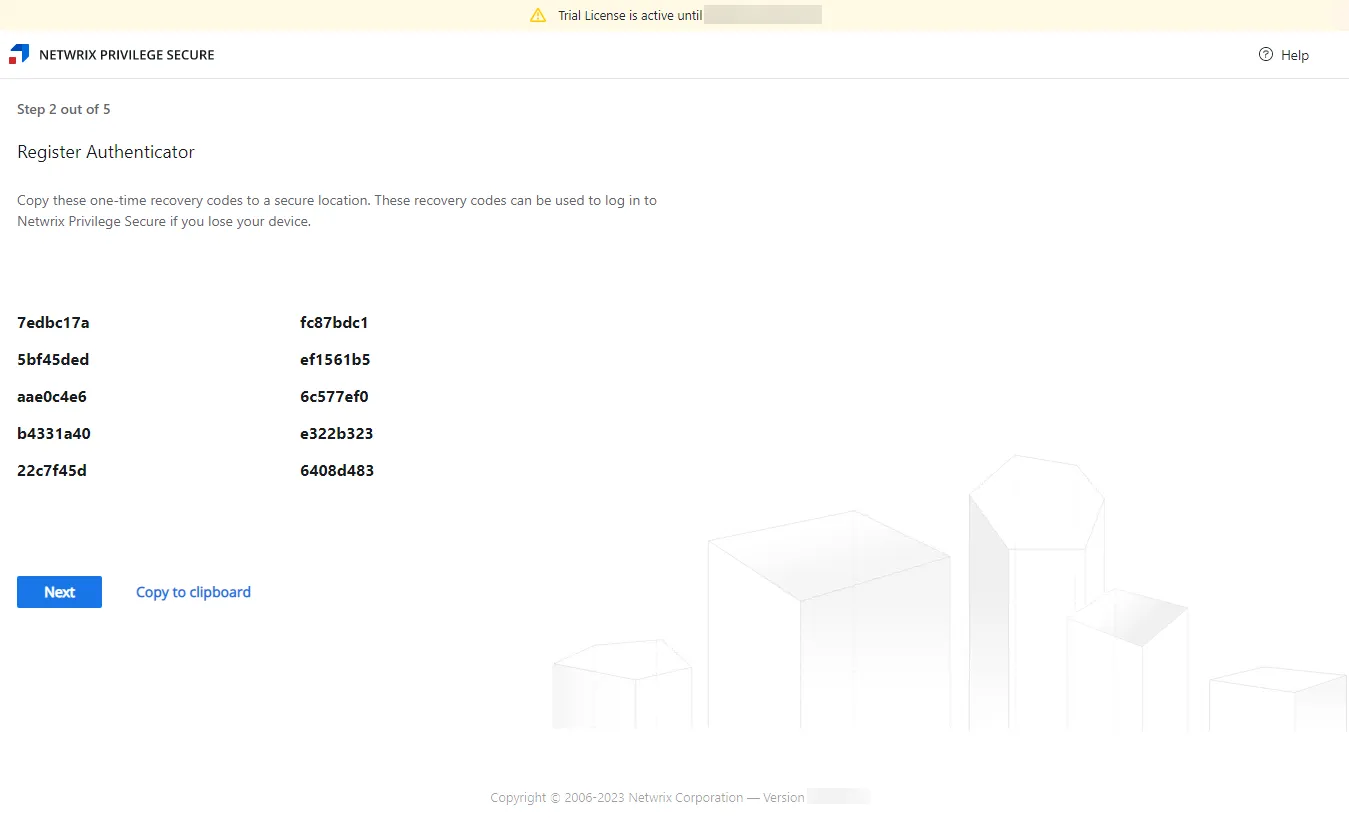
Step 5 – The registered authenticator provides one-time recovery codes. Copy these codes with the Copy to clipboard link and save them in a secure location in case you lose your phone with the authenticator app. Click Next.
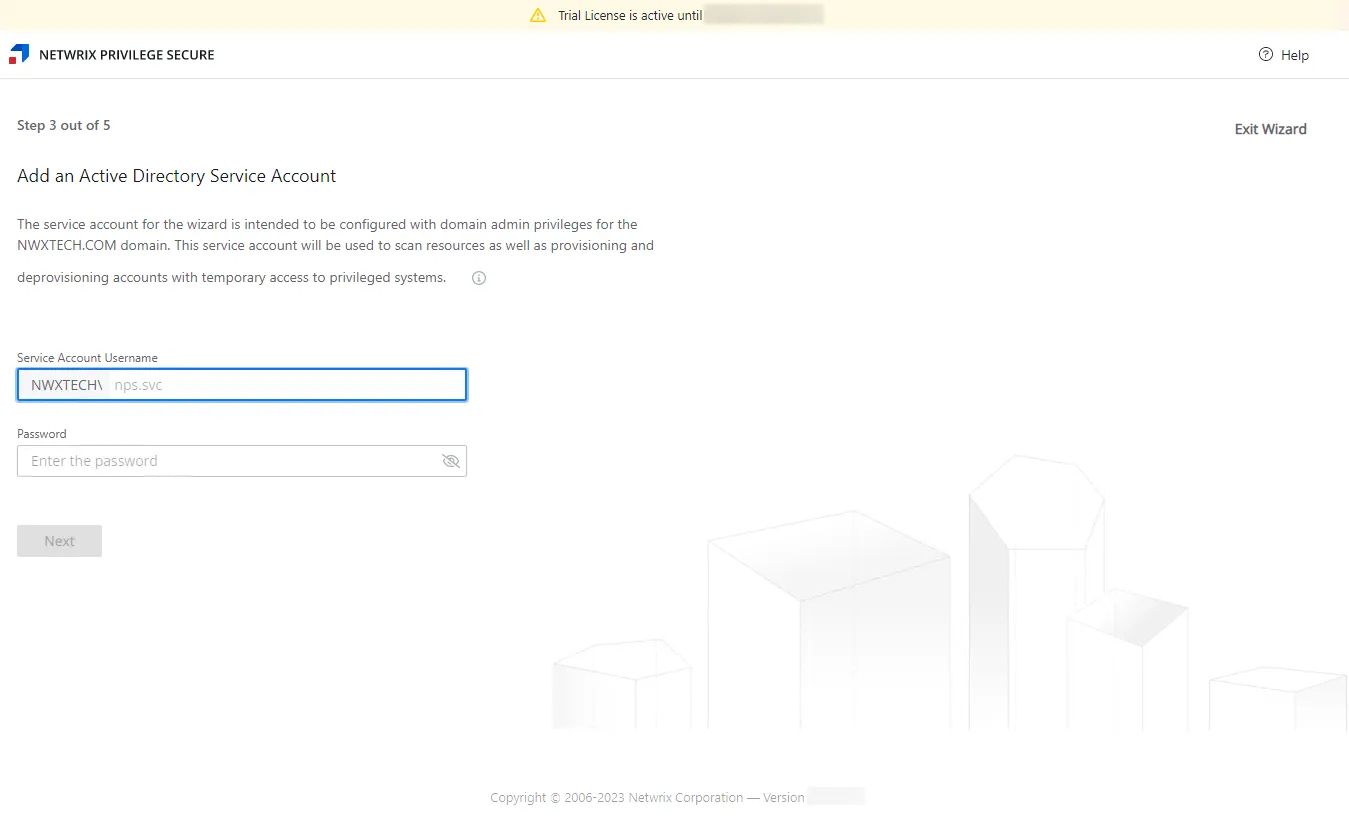
Step 6 – On the Step 3 page, you identify the Active Directory service account with domain administrator privileges. Enter the following information and then click Next:
- Username – Enter the account. The domain auto-populates from the Step 1 page.
- Password – Enter the account's password. The eye icon lets you view the entry.
This service account runs domain synchronization. If you don't have an account with domain administrator privileges ready when walking through the Setup Wizard, you can click the Exit Wizard link. See the Exit Wizard Early topic for additional information.
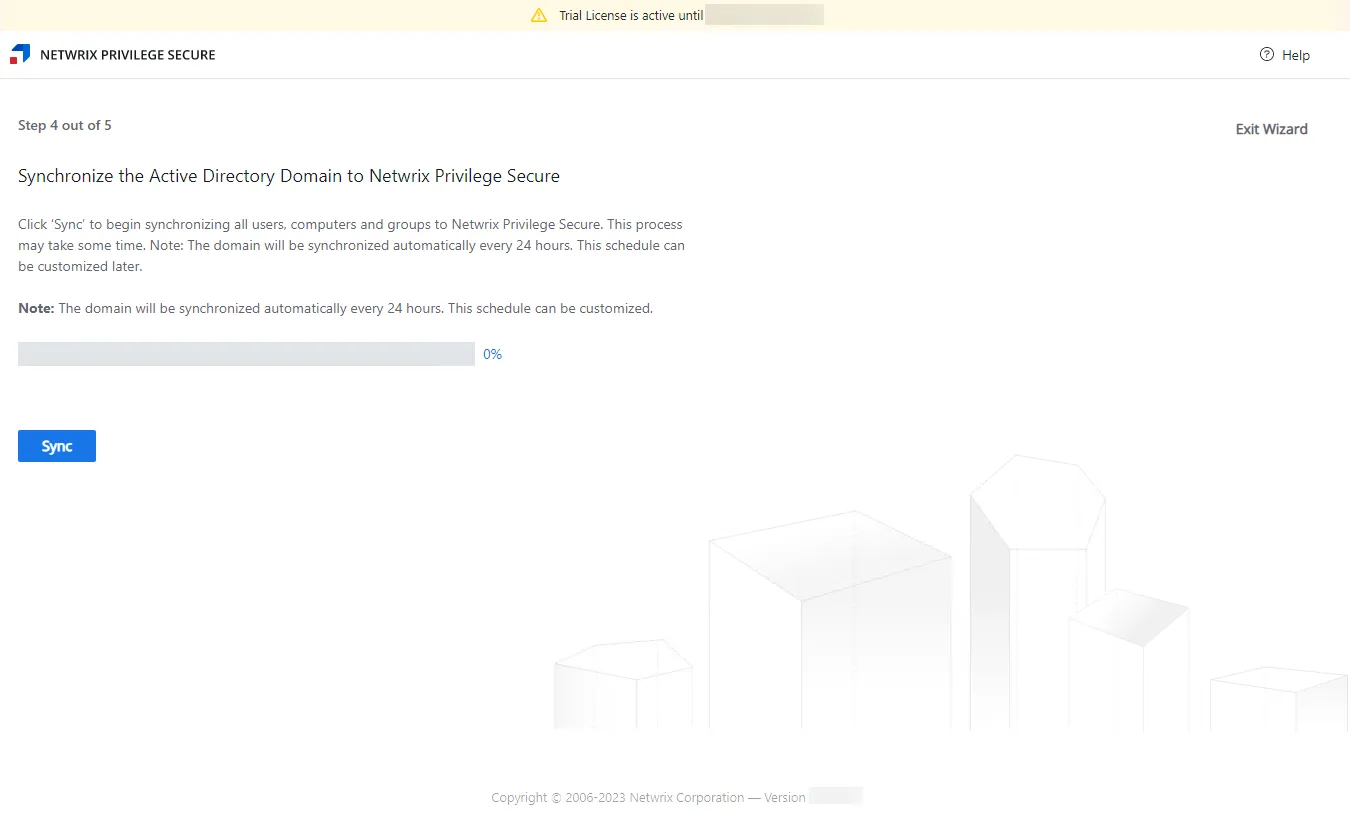
Step 7 – On the Step 4 page, click Sync. The Active Directory domain synchronization begins and the status bar tracks progress. When synchronization completes, the Step 5 page opens.
Problems with service registration can occur if you access the wizard from a remote IP address. If this occurs during domain synchronization, the application redirects you to a dedicated error page that lets you ignore certificate errors during the initial configuration.
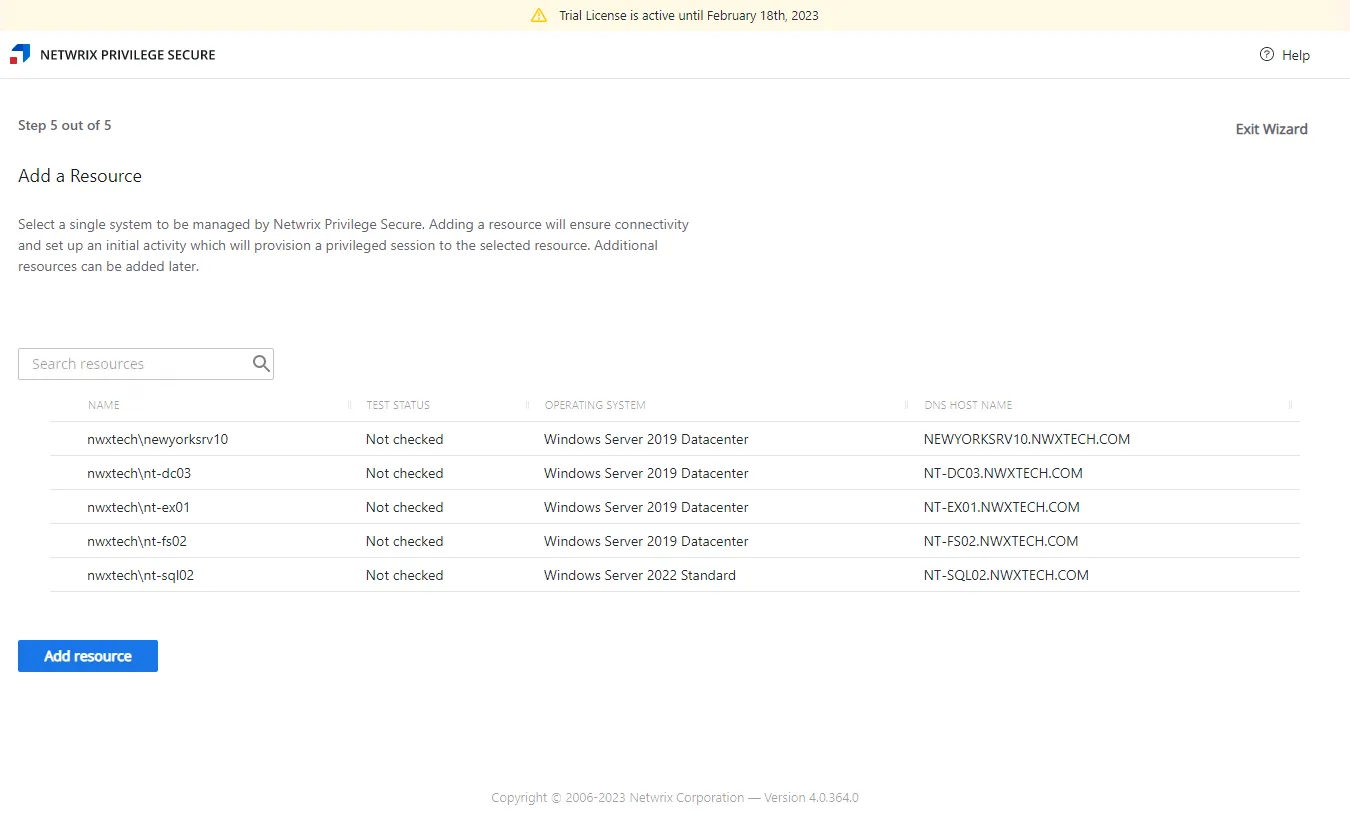
Step 8 – On the Step 5 page, select the first resource to onboard. The Setup Wizard creates your first access policy to grant Domain Admin Access with an Activity Token to this resource. The selected resource displays a green checkmark at the beginning of the row. Click Add resource.
The synchronization on the Step 3 page discovered the available resources on the domain. Use the Search resources box to filter the list.

Step 9 – The Check resources window opens. The application checks DNS resolution and WinRM requirements. If a test fails, you can fix the configuration and click Retest. To cancel the test, click Close. When all tests succeed, the window and the Setup Wizard close automatically.
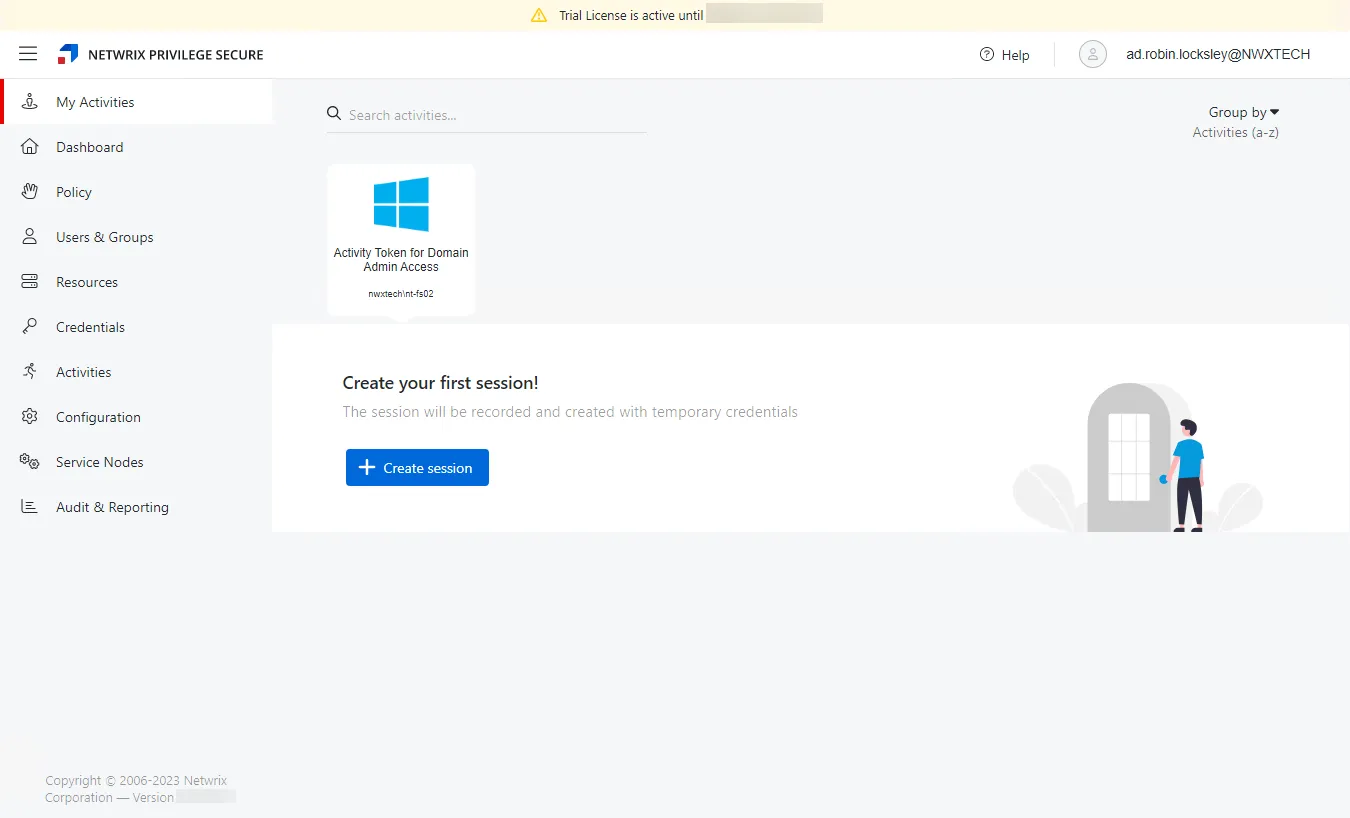
When the Setup Wizard closes, the application redirects you to the My Activities interface. The activity the Setup Wizard created, Activity Token for Domain Admin Access, displays.
Take a Product Tour of the console or onboard more users and resources. See the Getting Started topic for additional information.
Exit Wizard Early
You can exit the Setup Wizard from Step 3, Step 4, and Step 5 pages. If you do that, then the Setup Wizard doesn't create the Activity Token for Domain Admin Access activity. Complete the following to create your first access policy, depending on what page of the wizard you exited from:
Exit From Step 3 Page – Domain Service Account
Navigate to the domain details page and add a new service account. See the Domain Details Page topic for additional information.
Complete the onboarding process steps missed on the Step 4 and Step 5 pages.
Exit From Step 4 Page – Active Directory Sync
Navigate to the domain details page and click Synchronize Now. See the Domain Details Page topic for additional information.
Complete the onboarding process steps missed on the Step 4 and Step 5 pages.
Exit From Step 5 Page – Onboard First Resource and Create Access Policy
Navigate to the Resources page and add a new server. See the Add Resources Window topic for additional information.
Navigate to the Access Policies page and create a new access policy. See the Add Access Policy topic for additional information.