Overview
This walkthrough demonstrates how to use the Platform Governance for Salesforce Zendesk integration. It covers adding existing and proposed customizations, data records, and managing approval processes directly from a Zendesk ticket.
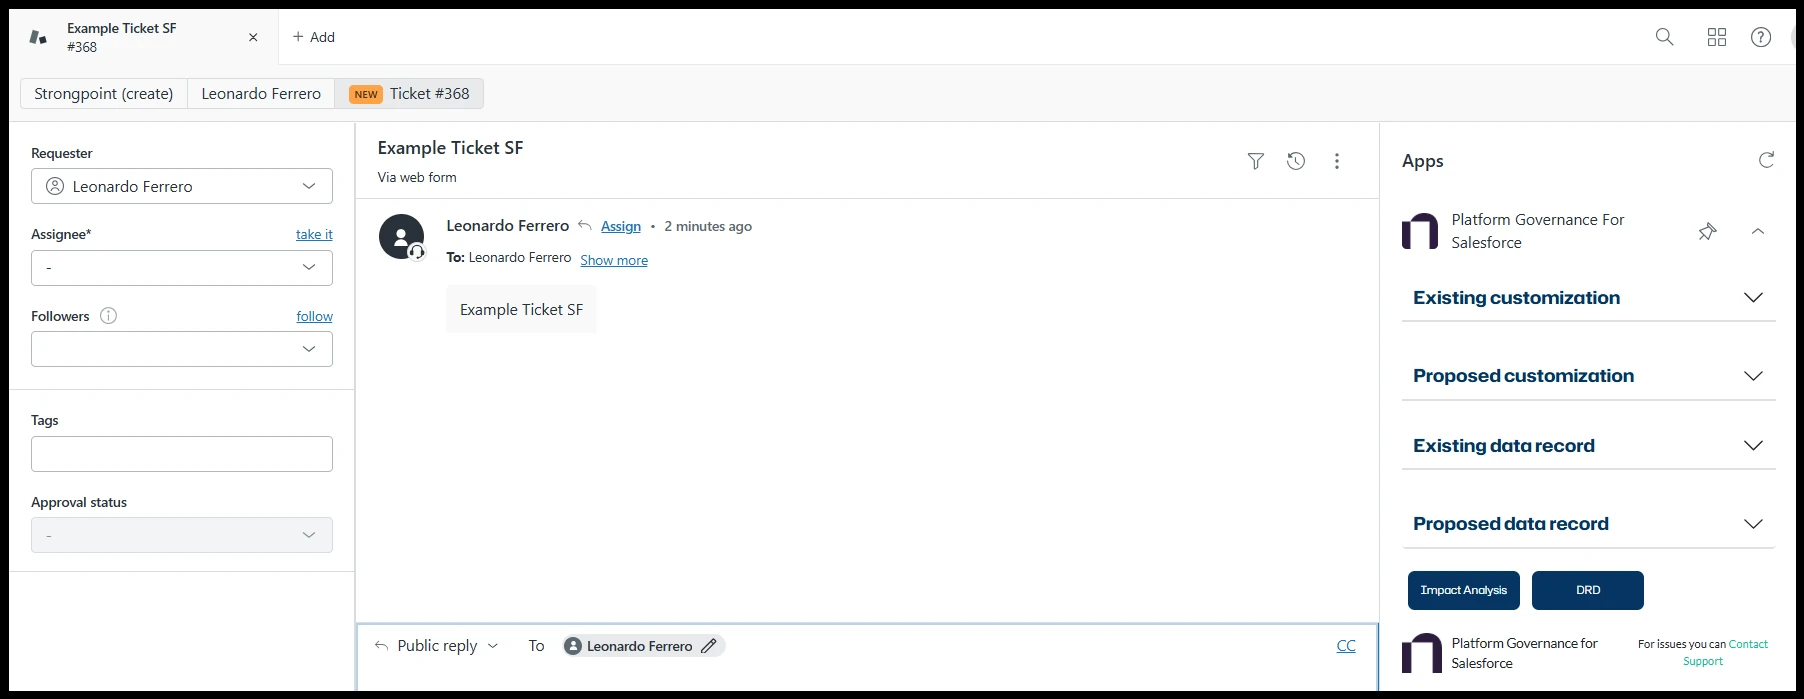
Step 1 – Open a Zendesk Ticket
When you open a Zendesk ticket, the Platform Governance for Salesforce app appears in the sidebar.
Step 2 – Add Existing Customizations
Click Look up Customization to search Salesforce for existing customizations to link to this Change Request.
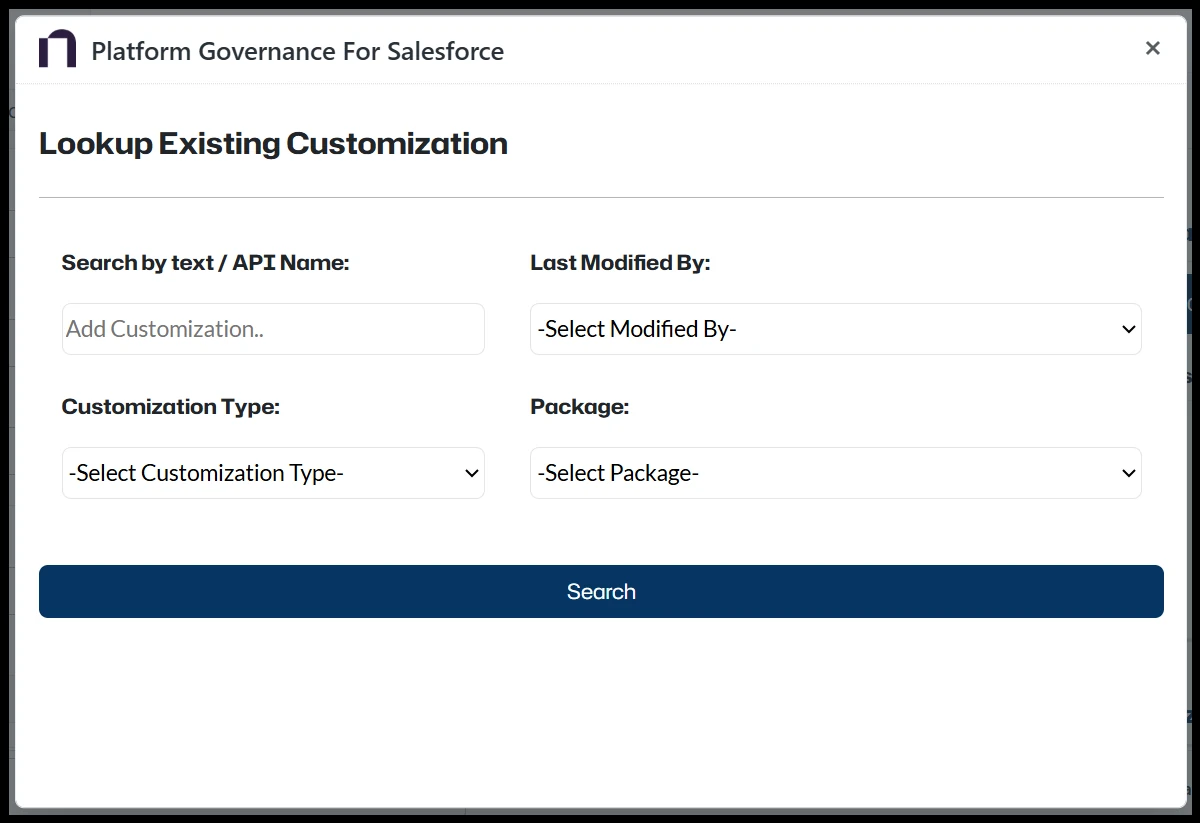
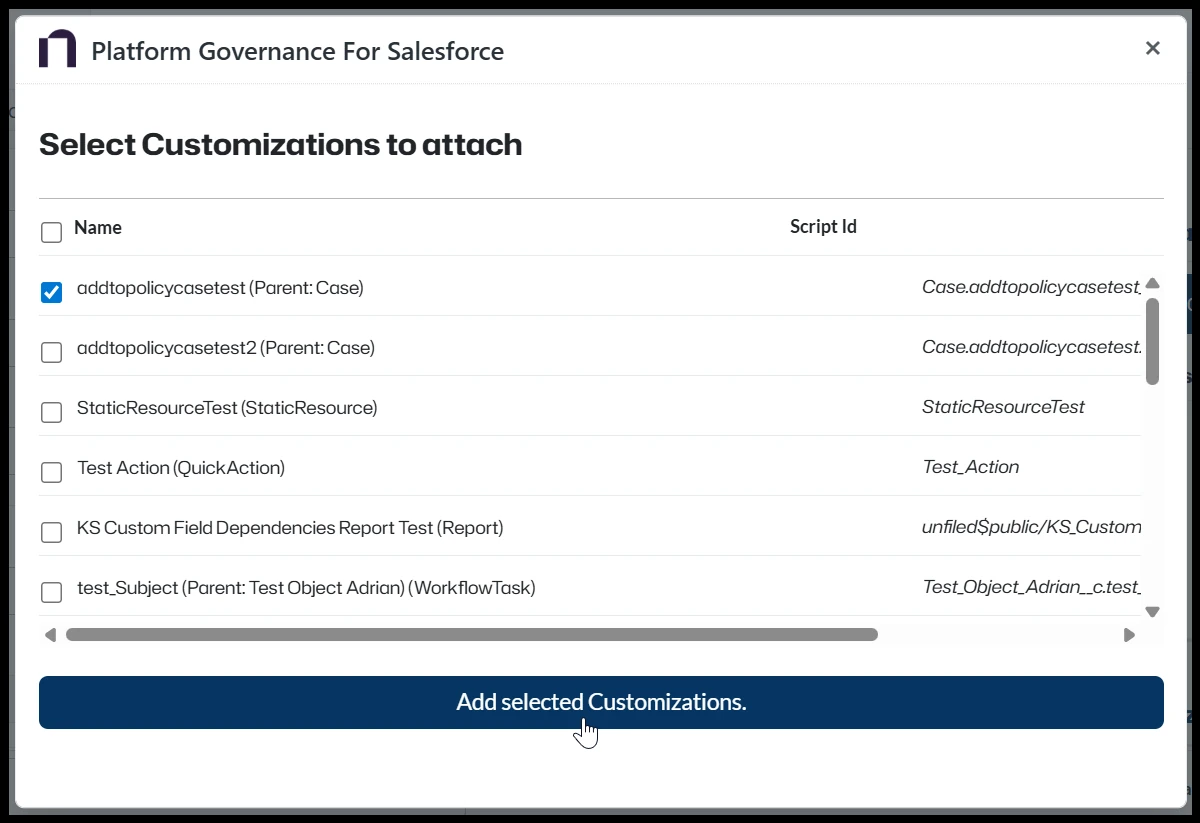
Select customization from the result form
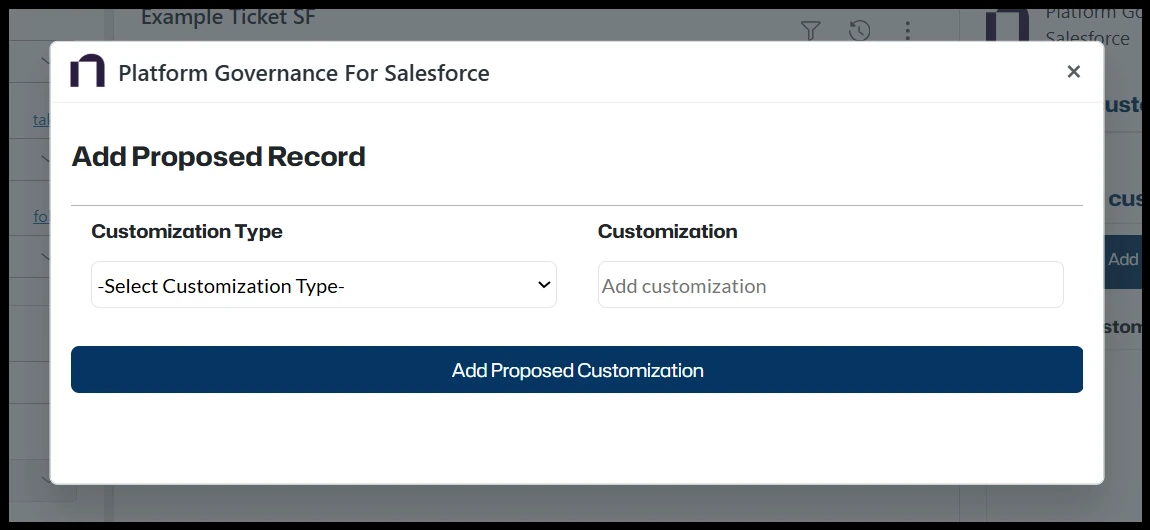
Step 3 – Add Proposed Customizations
Click Add Proposed Customization to add new or modified customizations created or changed as part of this Change Request.
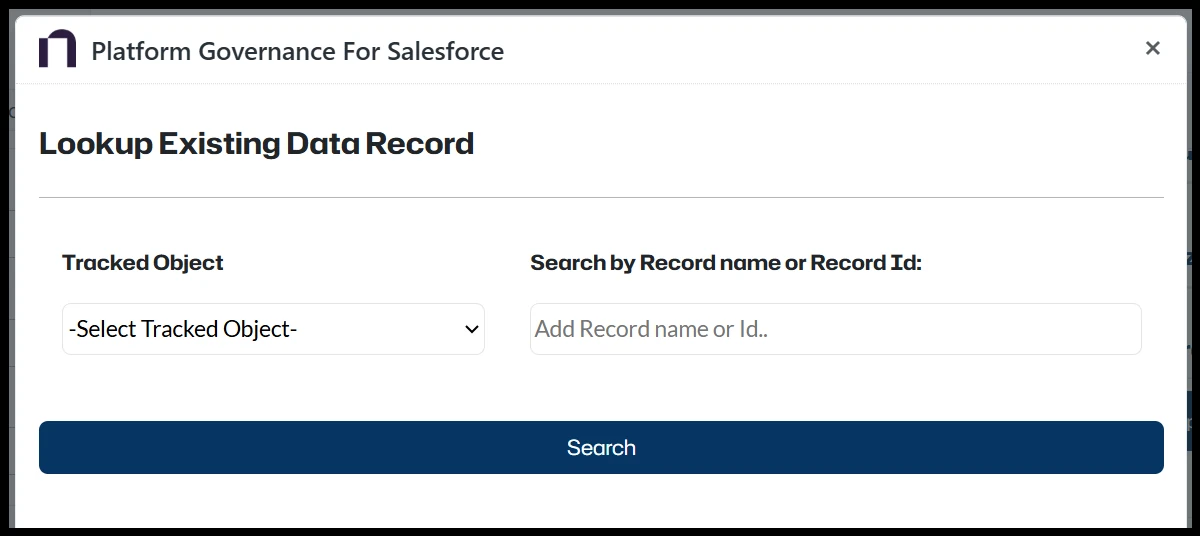
Step 4 – Add Existing Data Records
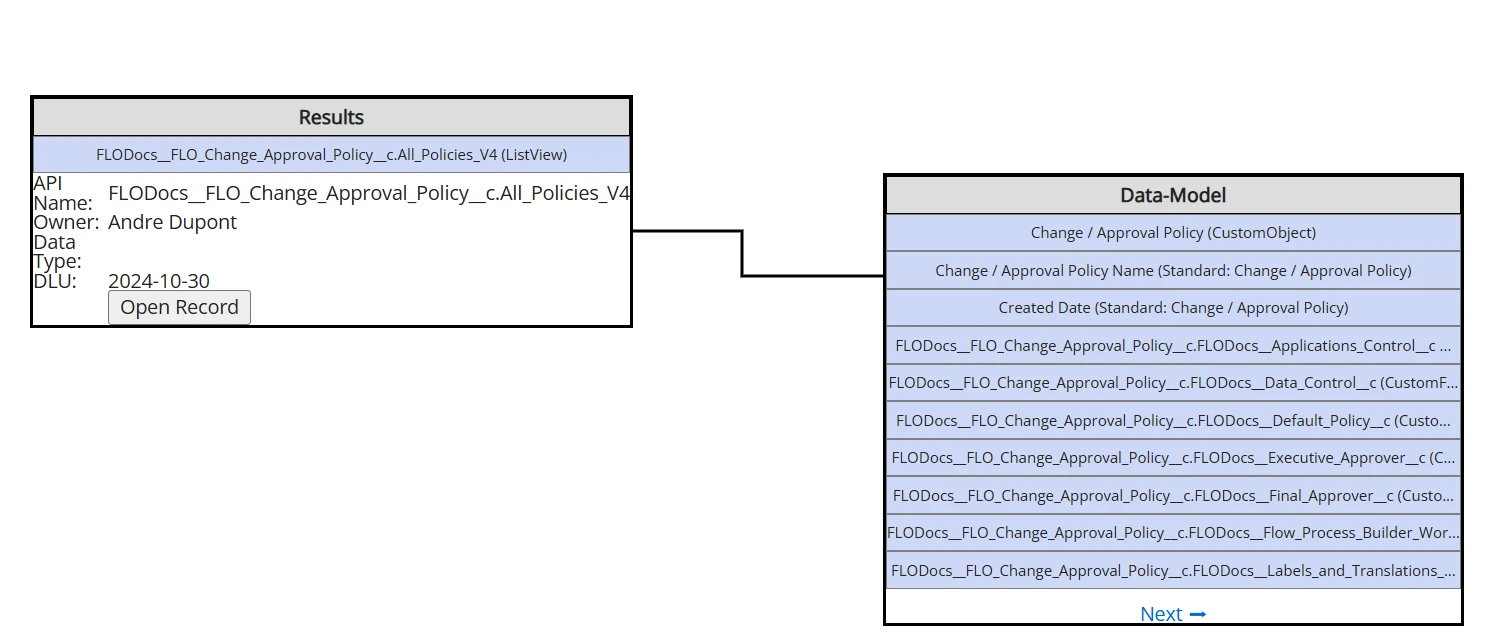
Use Look up Data Record to search for existing data records in Salesforce that are related to this Change Request.
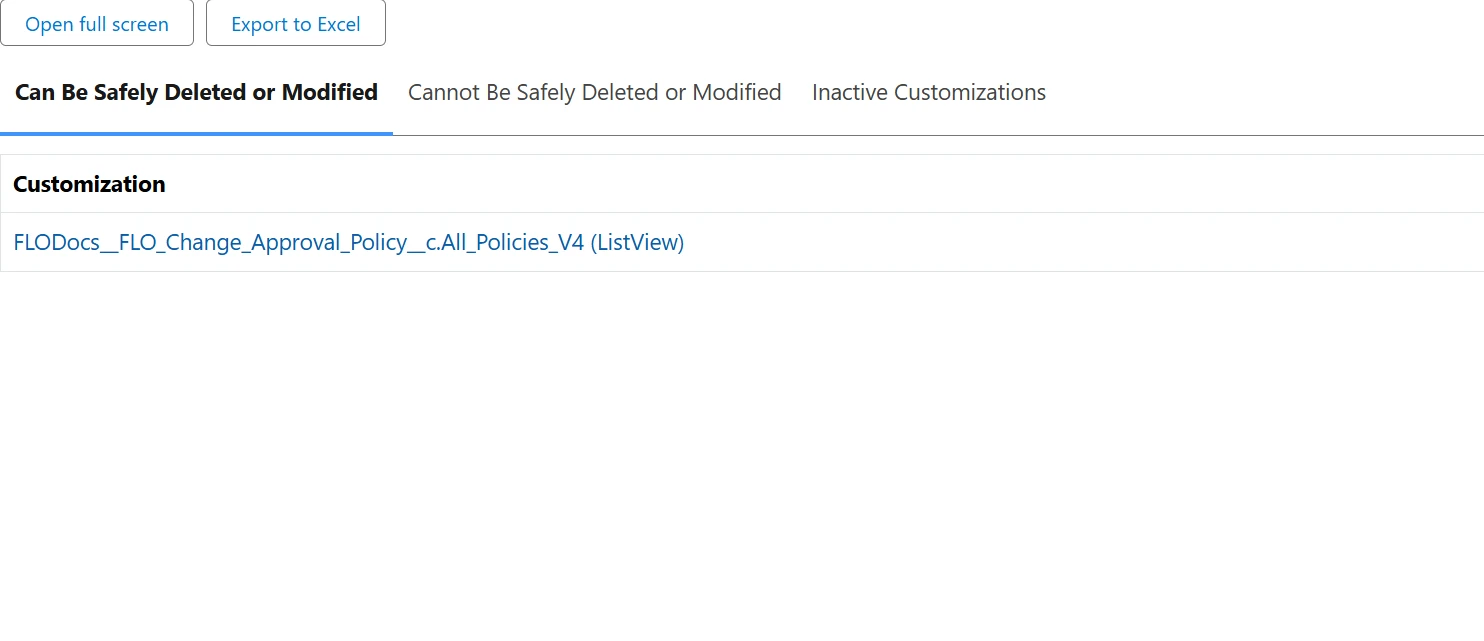
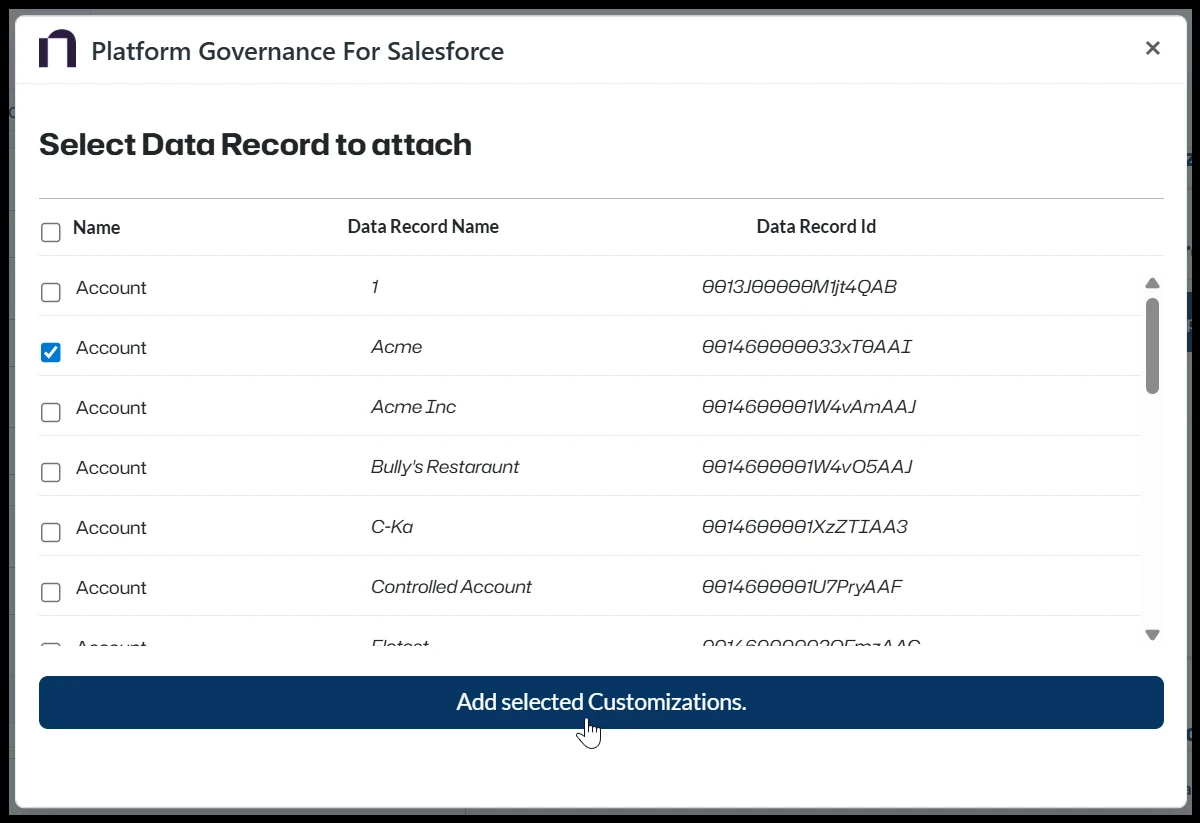
Select the appropriate data records from the search results:
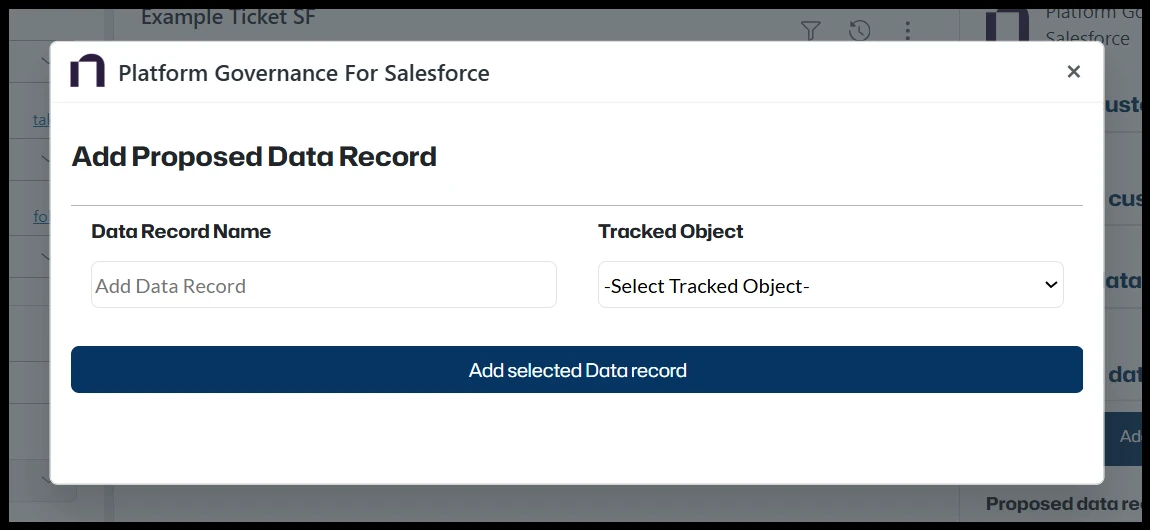
Step 5 – Add Proposed Data Records
Click Add Proposed Data Record to include new data records created or modified as part of this Change Request.
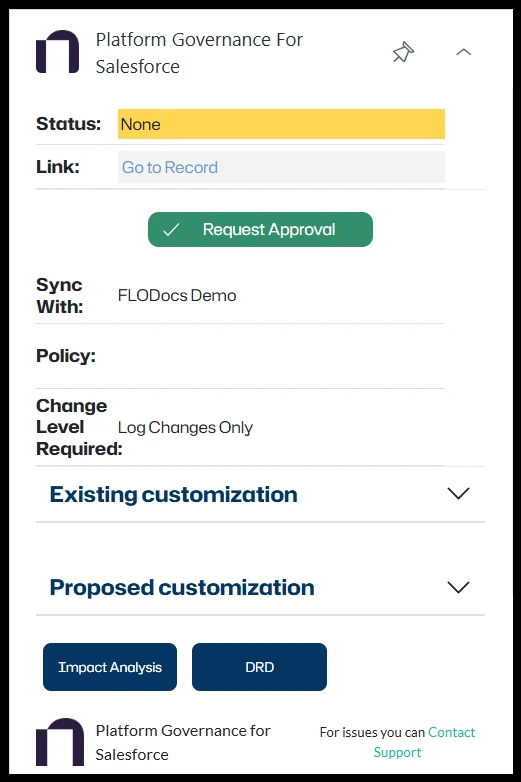
Step 6 – Request Approval
After you add all required information, the operator can click Request Approval to move the Change Request (CR) into Pending Approval status.
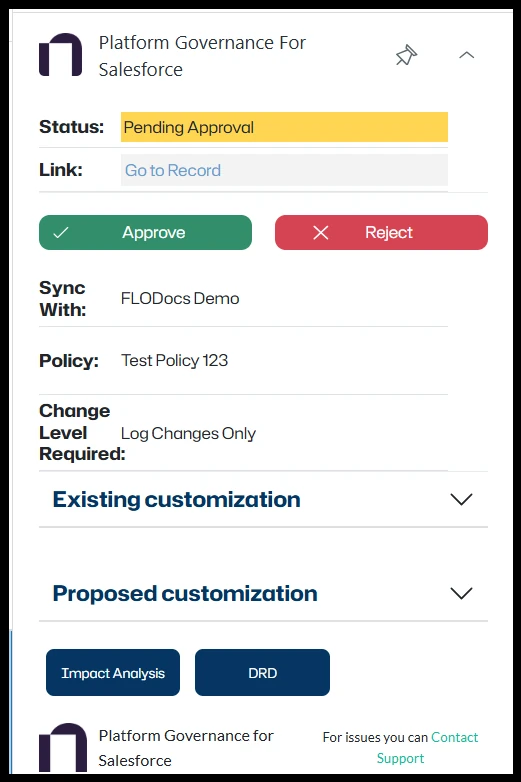
Step 7 – Approve or Reject
Admins can then Approve or Reject the Change Request directly in Zendesk if the process is configured for in-Zendesk approvals.
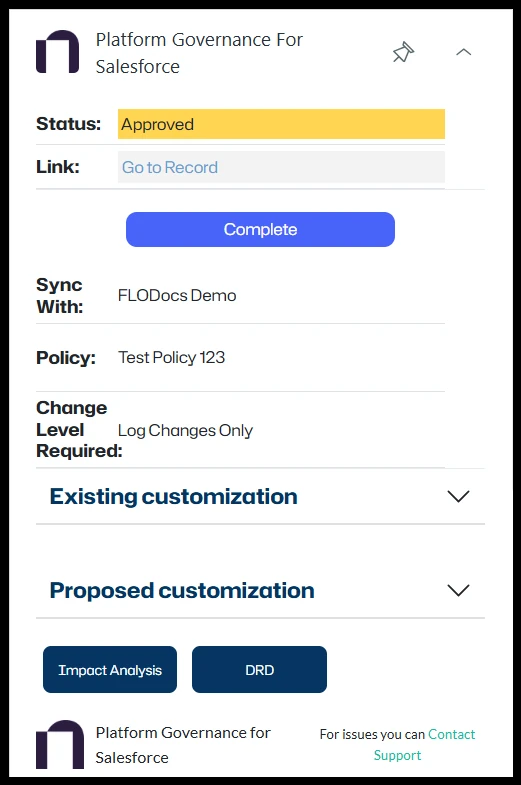
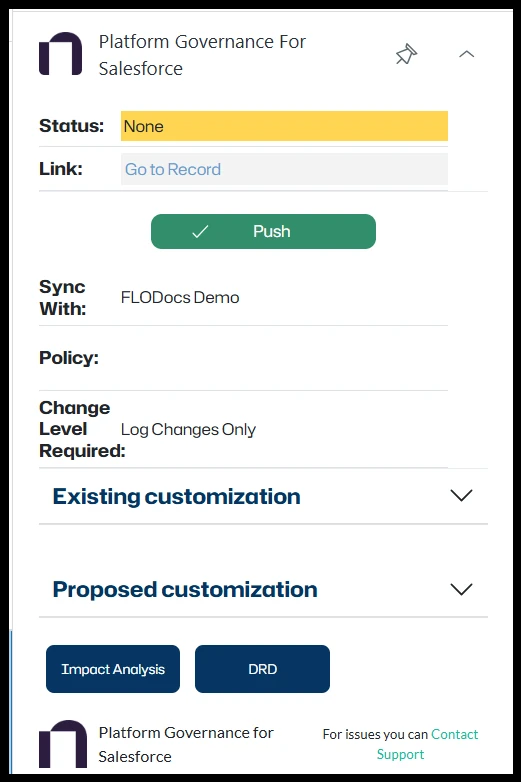
Step 8 – Complete or Push
When a Change Request has been approved, the admin can click Complete to close it. If no approval is needed, the admin can use Push to send the CR directly to Salesforce.
Step 9 – Open DRD (Document Requirements)
From the ticket sidebar, click the DRD link to open the Document Requirements view in Salesforce.
Step 10 – Open Impact Analysis
Click the Impact Analysis link to view the detailed analysis of the Change Request in Salesforce. This shows how the proposed changes affect other components in your Salesforce org.