Jira Field Mapping
The Jira Field Mapping tool maps a Jira field to a Netwrix Change Request. To access the Field Mapping tool:
- Open Netwrix Dashboard.
- Click Configuration and Stats in the Resources section, or open Settings > Configuration and Stats.
- Open the Jira Configuration tab.
- Select Field Mapping.
Field Mapping Process
- Identify Fields to Map
- Verify Field Creation
- Add Fields to Page Layouts
- Update Values
- Access Mapping Configuration
- Create Mapping Record
- Verify the Change Request
Identify Fields to Map
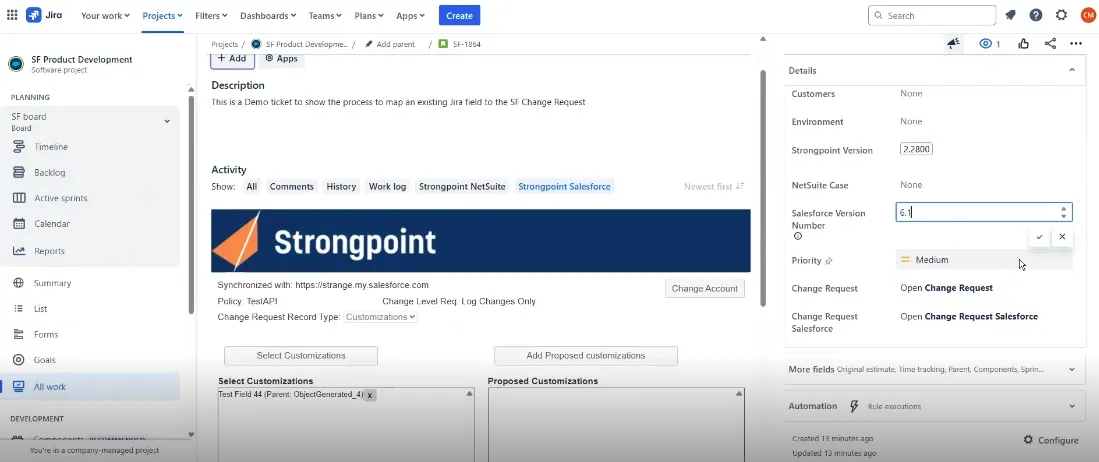
Determine the fields you want to map from Jira in the current Netwrix change request. Open the form where you added the custom fields to get the field names. This example maps the Strongpoint Version and Salesforce Version Number fields, using the fields from the Details section in Jira.
Verify Field Creation
Ensure the fields are created in Salesforce.
- Open Salesforce Setup > Object Manager > Change Request
- Open Fields & Relationships
If your fields are not in the list, use the New button to add them.
For this example, the Strongpoint Version and SF Version Number fields have been added.
NOTE: You need the Salesforce API names when you create the mapping record. For this example, Strongpoint Version is Strongpoint_Versionc** and SF Version Number is Salesforce_Version_Numberc**.

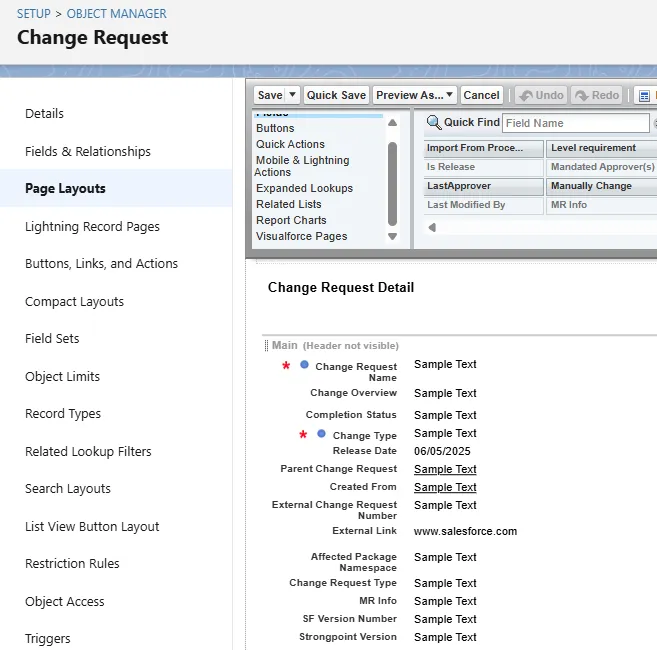
Add Fields to Page Layouts
Add the fields to the Page Layouts.
-
Open Salesforce Setup > Object Manager > Change Request.
-
Open Page Layouts.
-
Select your layout. If your fields are not in the layout, add them. For this example, the Strongpoint Version and SF Version Number fields have been added to the Customizations Layout.
-
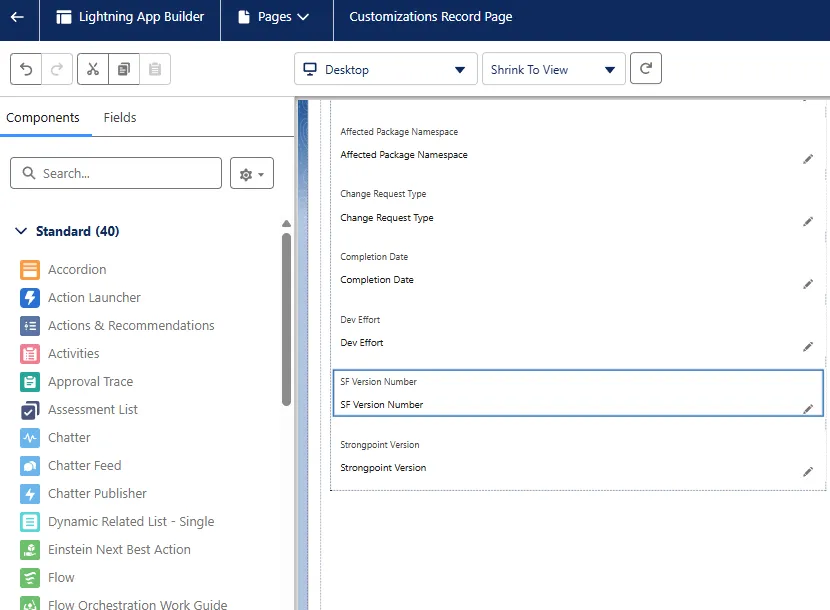
Open Setup > Lightning App Builder.
-
Open your Record Page. This example shows the Customizations Record page. Make sure your fields are in the record page and set to visible.
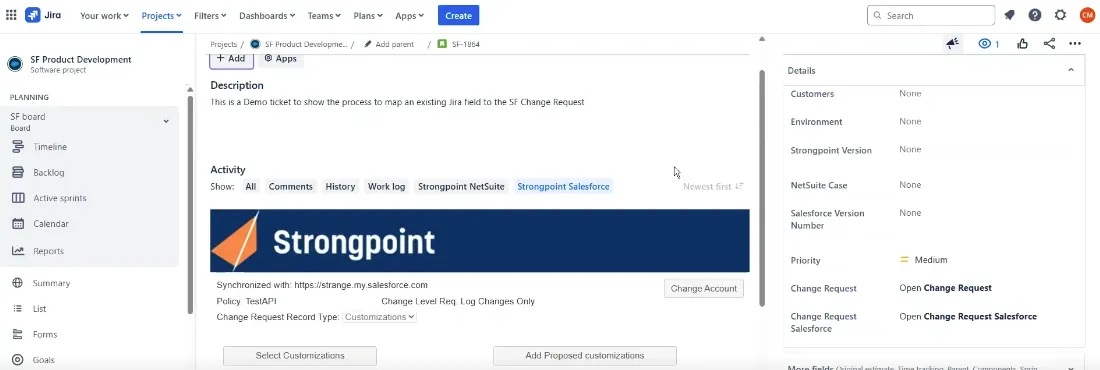
Update Values
In Jira, update the details for the fields. This example sets the Strongpoint Version field to 2.2800 and the Salesforce Version to 6.1.
Access Mapping Configuration
NOTE: Make sure your custom fields have values before you start the mapping. The Jira API names are in the format customfield#####_. You need to know the value to locate the Jira API name in the list.
Open the Field Mapping tool:
-
Open Netwrix Dashboard > Settings > Configuration and Stats.
-
Open the Jira Configuration tab.
-
Select Field Mapping.
-
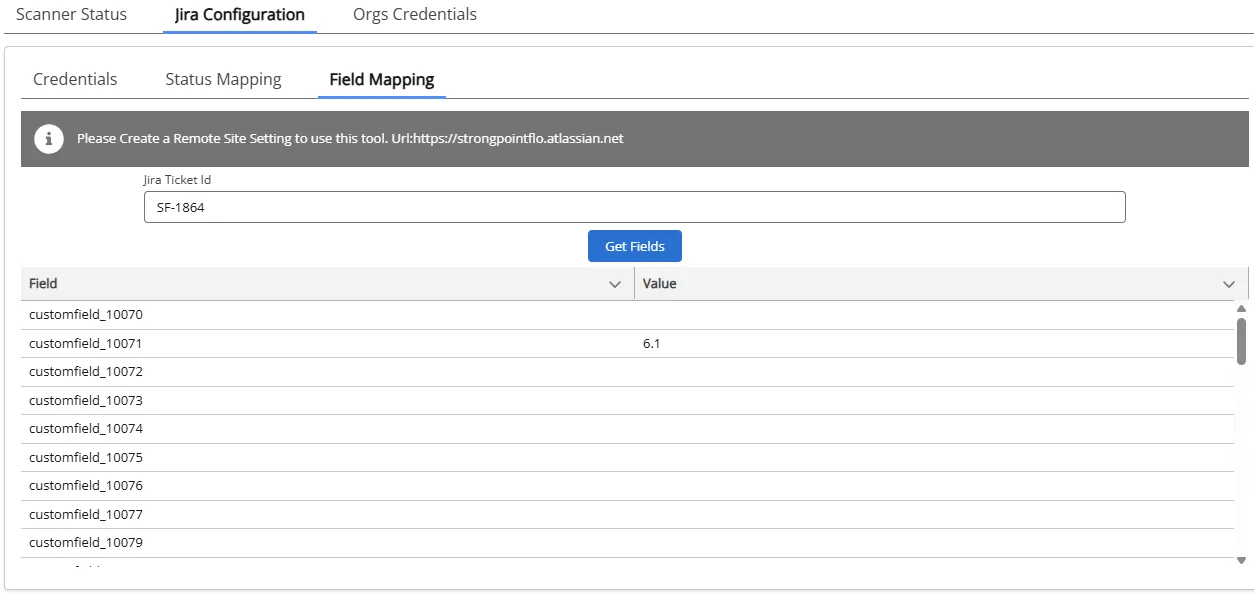
Enter the Jira Ticket Id.
-
Click Get Fields.
-
Review values in each field to locate the Jira API names. In this example, Salesforce Version Number is 6.1, corresponding to customfield_10071. Strongpoint Version is 2.2800 corresponding to customfield_10052.
The Jira API names are required to create the mapping record.
Create Mapping Record
-
Open the App Launcher.
-
Navigate to CR CustomFields Mapping. It is added as a tab on the navigation bar. You can click on the down arrow on the tab and add it to your navigation bar.

-
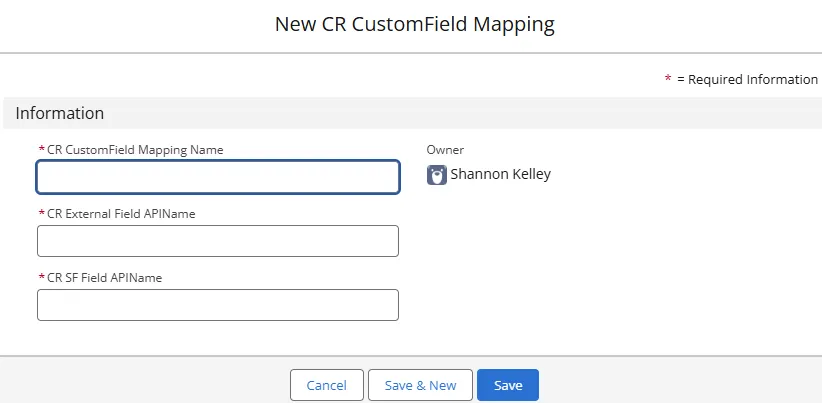
Click New to create the record.
-
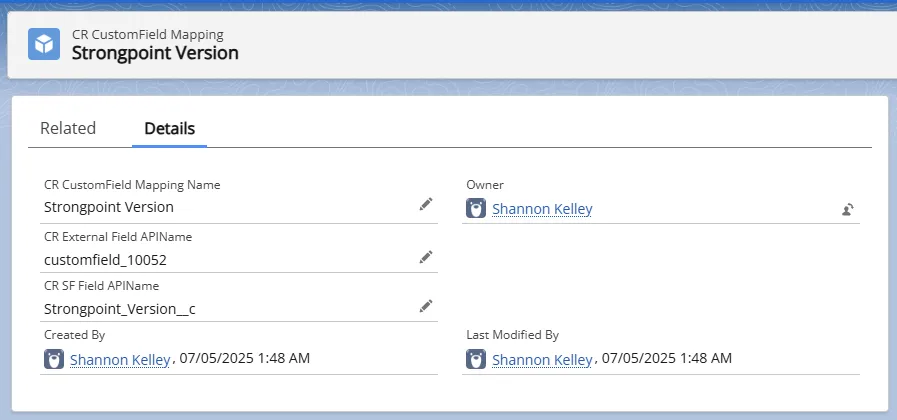
Enter a name for CR CustomField Mapping Name. Strongpoint Version is used in this example.
-
Enter the CR External Field APIName. This is the Jira API name obtained from the Field Mapping tab for the Jira Configuration tool. Refer to the Verify Field Creation section for details. customfield_10052 is used in this example.
-
Enter the CR SF Field APIName. This is the Salesforce API name obtained from Salesforce Setup > Object Manager > Change Request > Fields & Relationships. Refer to the Verify Field Creation section for details. Strongpoint_Versionc__ is used in this example.
-
Click Save or Save & New if you have additional mappings.
The mapping is now complete. In the next update, the information is populated in the fields and shows in the Netwrix Change Request.
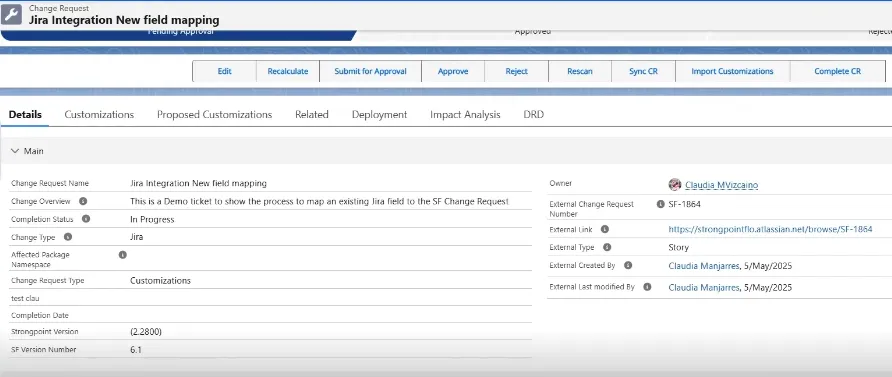
Verify the Change Request
Open the Change Request that contains your mapped fields. Verify the information is correct. Here is the example showing the Strongpoint Version and SF Version Number fields and data appear on the Change Request.