Creating a Change Request
Change requests are the method to plan, analyze, track, and approve changes. You can create different types of Change Requests to match the change you want to manage. Here are two options:
- Customization — handles Metadata changes, such as Customizations.
- Data Record — handles Data Changes to Revenue Cloud/ CPQ.
Data Record Change Requests are only available with an Enterprise Compliance license.
-
Open the Change Requests tab.
-
Click New.
-
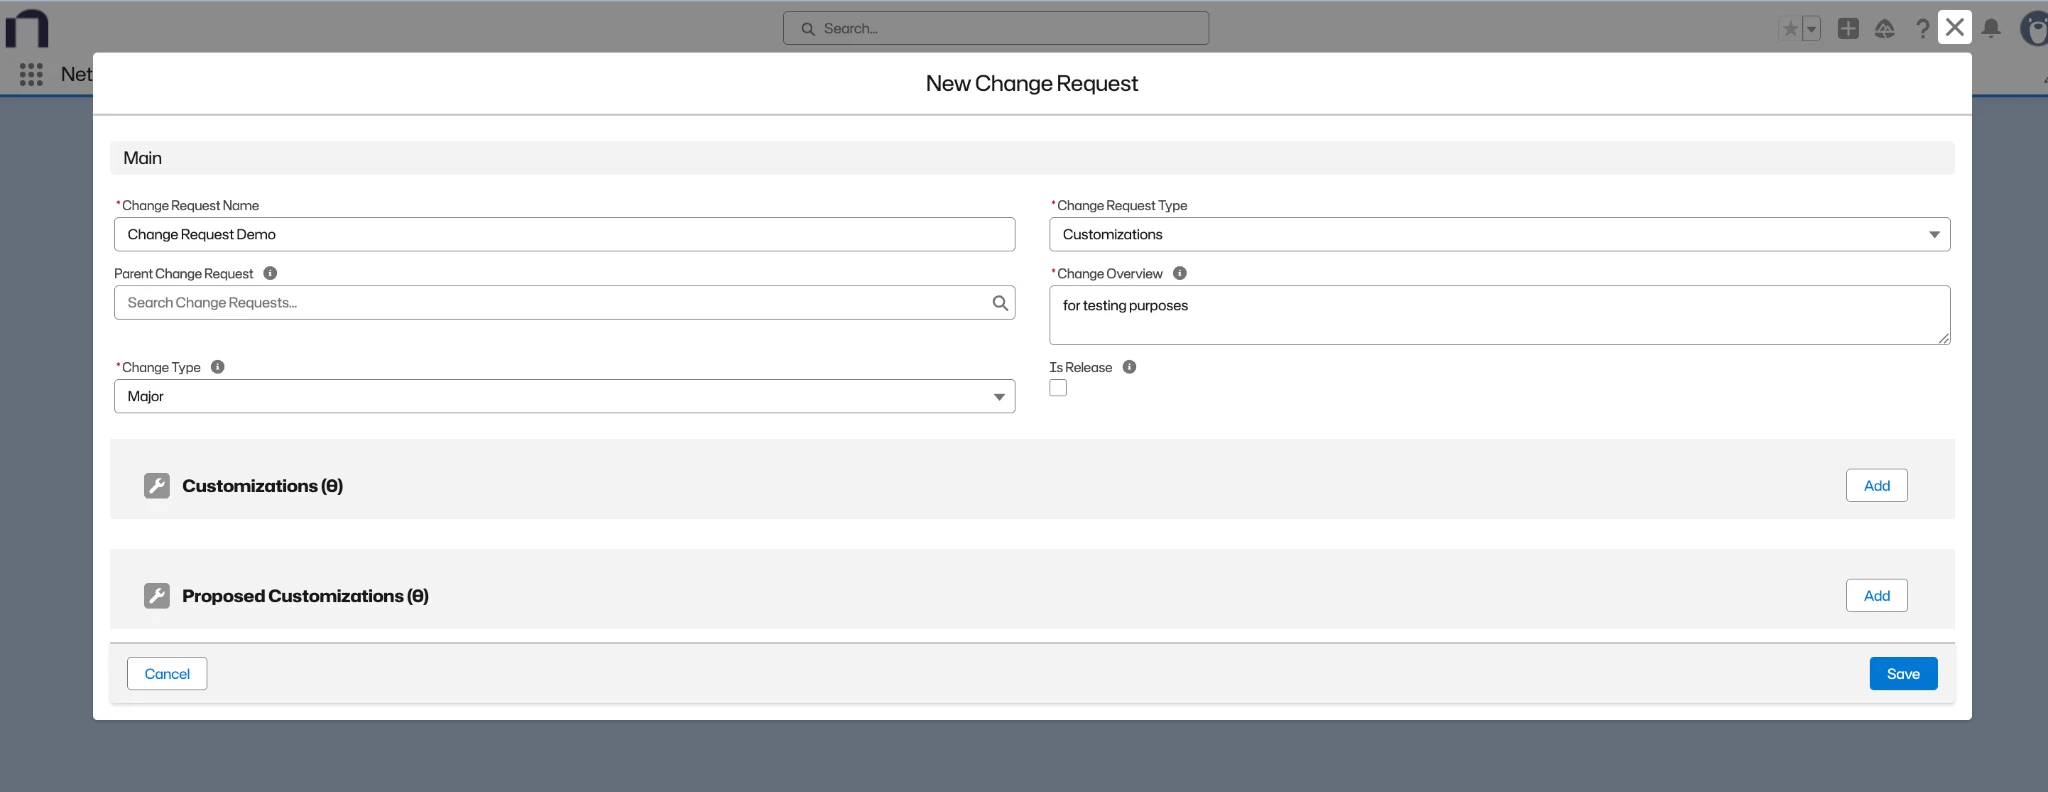
Enter information as needed.
- Change Request Name: add a meaningful name to the change request.
- Change Request Type: Customizations for metadata changes and Data Records for data.
- Parent Change Request: enter an optional parent change request if this is part of a bigger change.
- Change Overview: add a summary of the changes you want to make.
- Change Type: select the type from the list. Minor is the default.
- Is Release: check if this change request represents a release. The customizations from all the child change requests are rolled into this release for deployment.
-
Optionally, on this screen you can enter Existing Customizations.
-
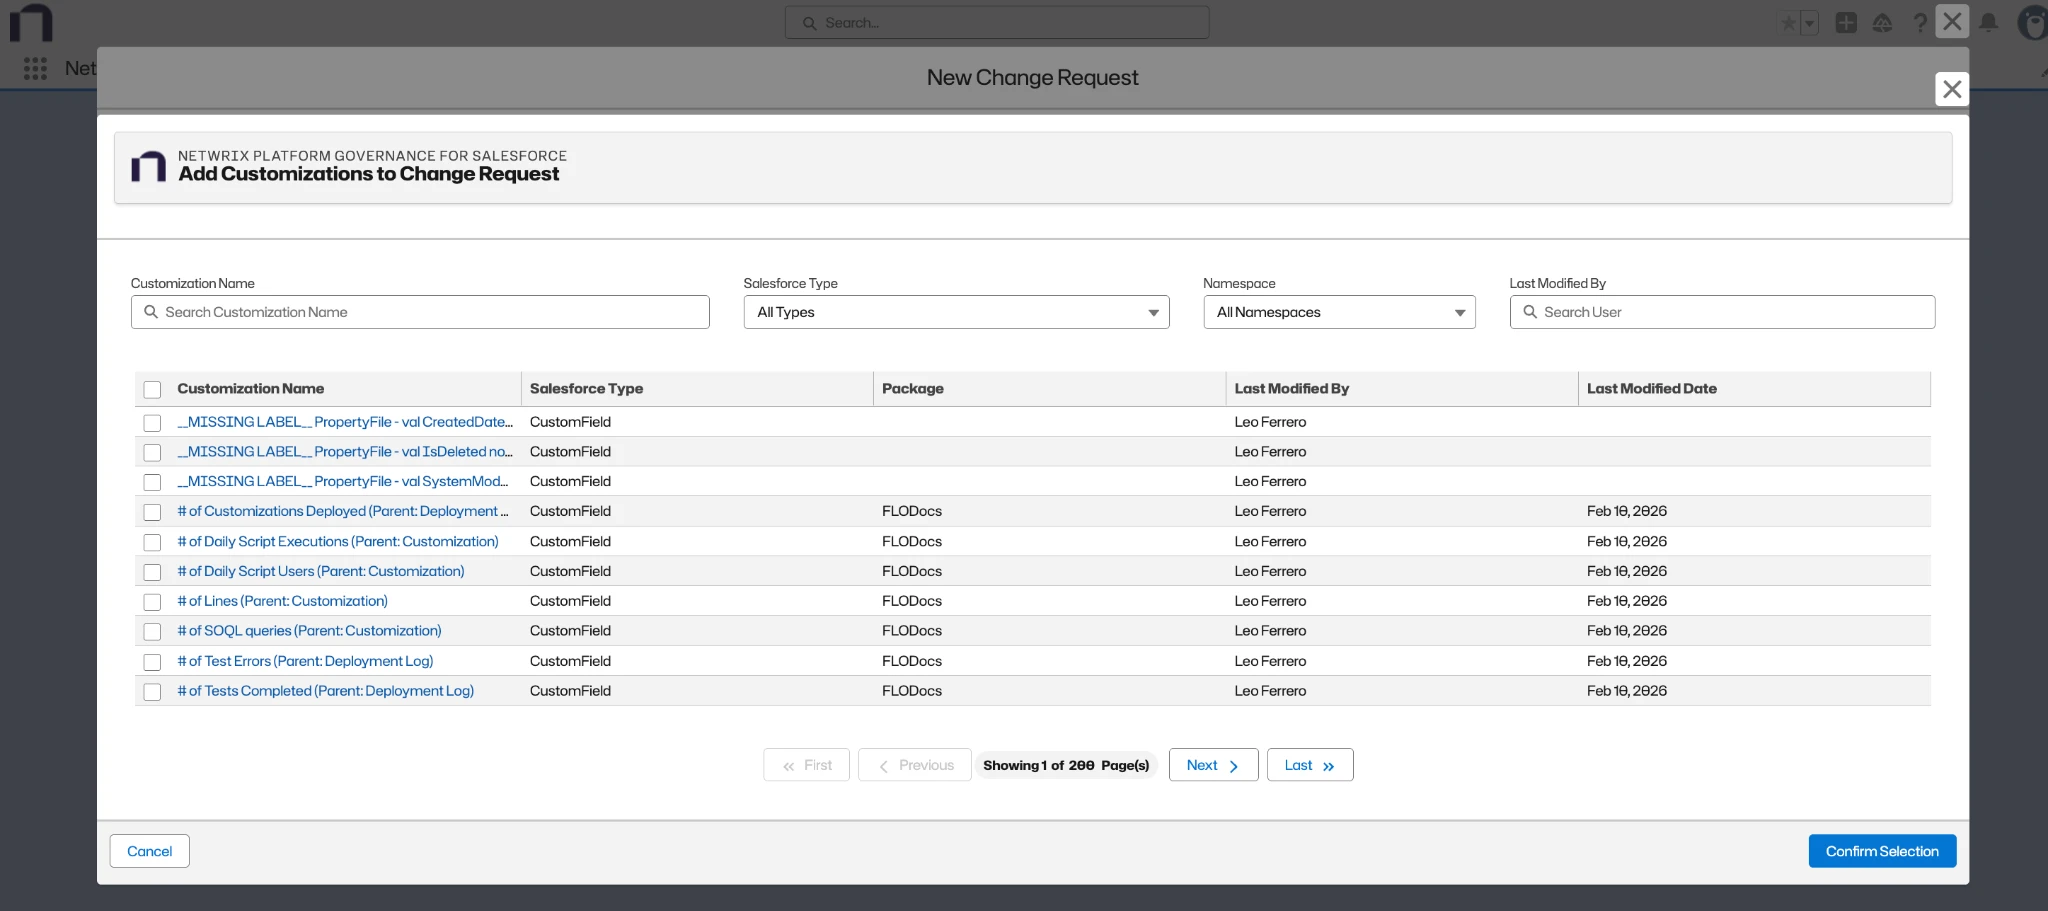
Click Add button in the Customizations panel to add Existing Customizations to the Change Request.
-
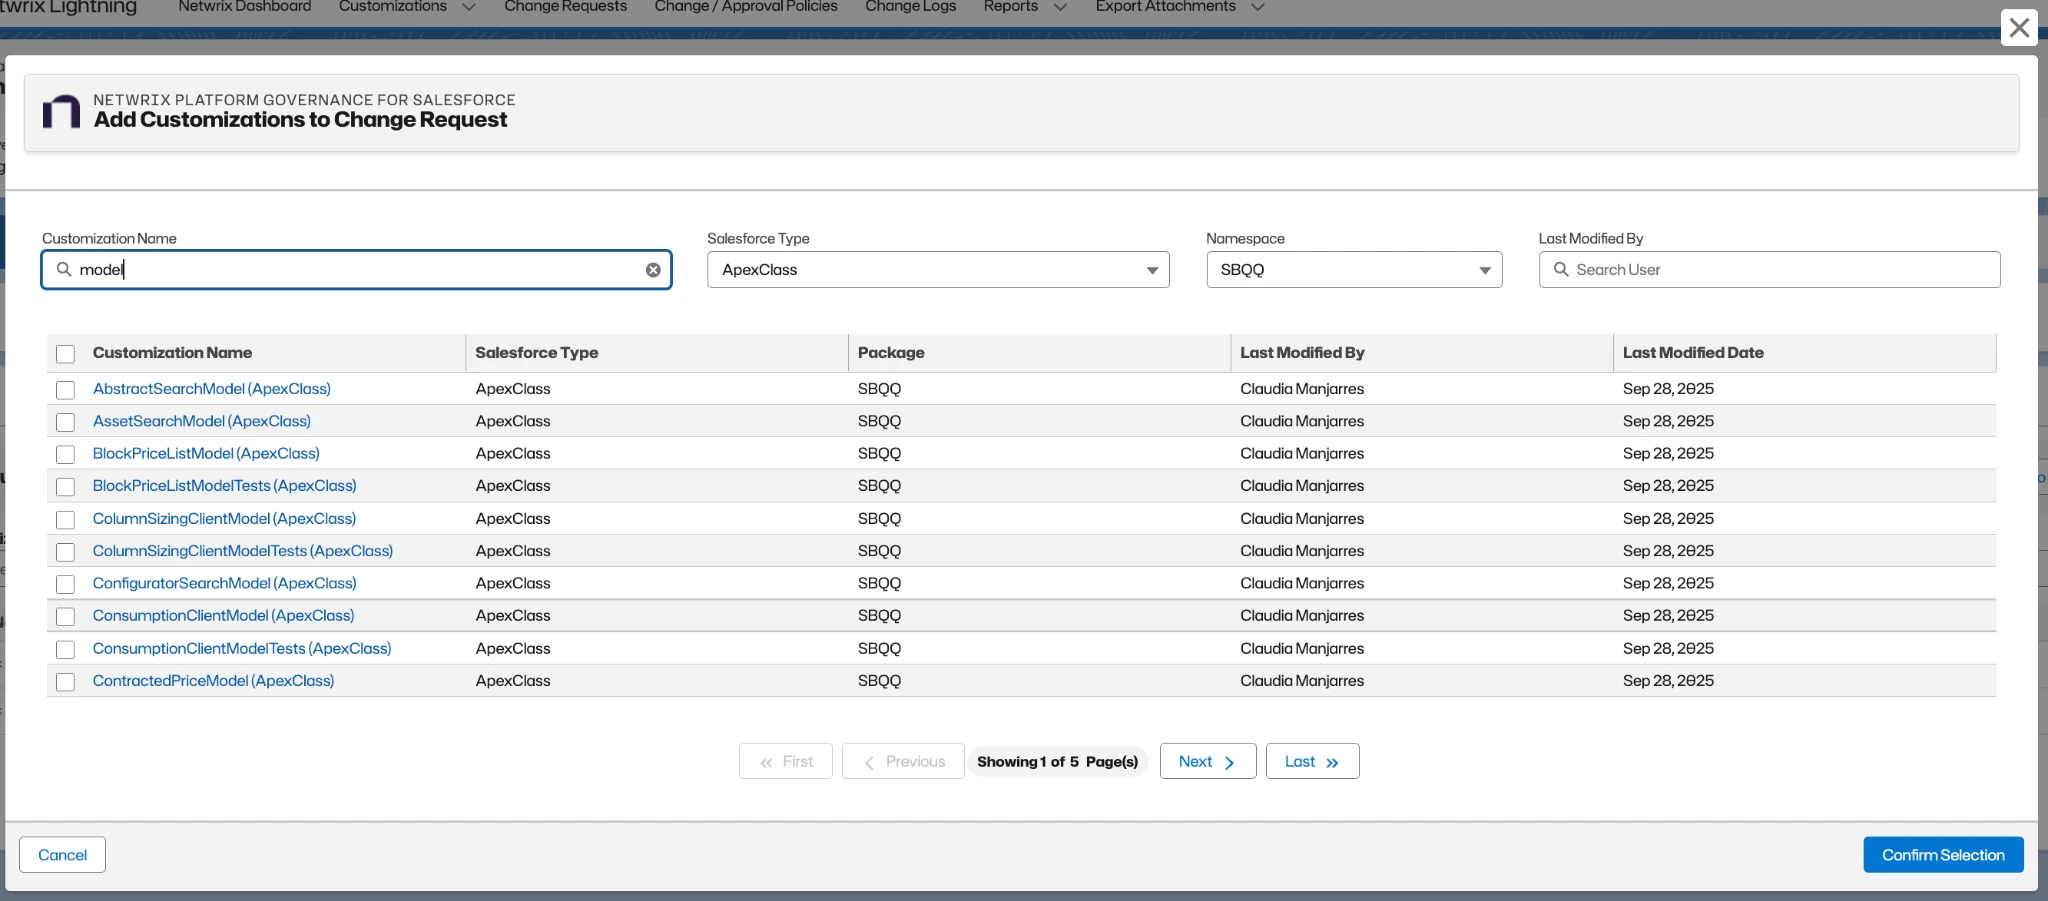
To search for existing customizations, use different filters such as Salesforce Type, Package, Last Modified By, or search directly by Name.
-
You can search and select multiple customizations from the list.
-
Once finished, click Confirm Selection.
-
-
You can also enter the Proposed Customizations now.
-
Click Add button in the Proposed panel to add Proposed Customizations to the change request.
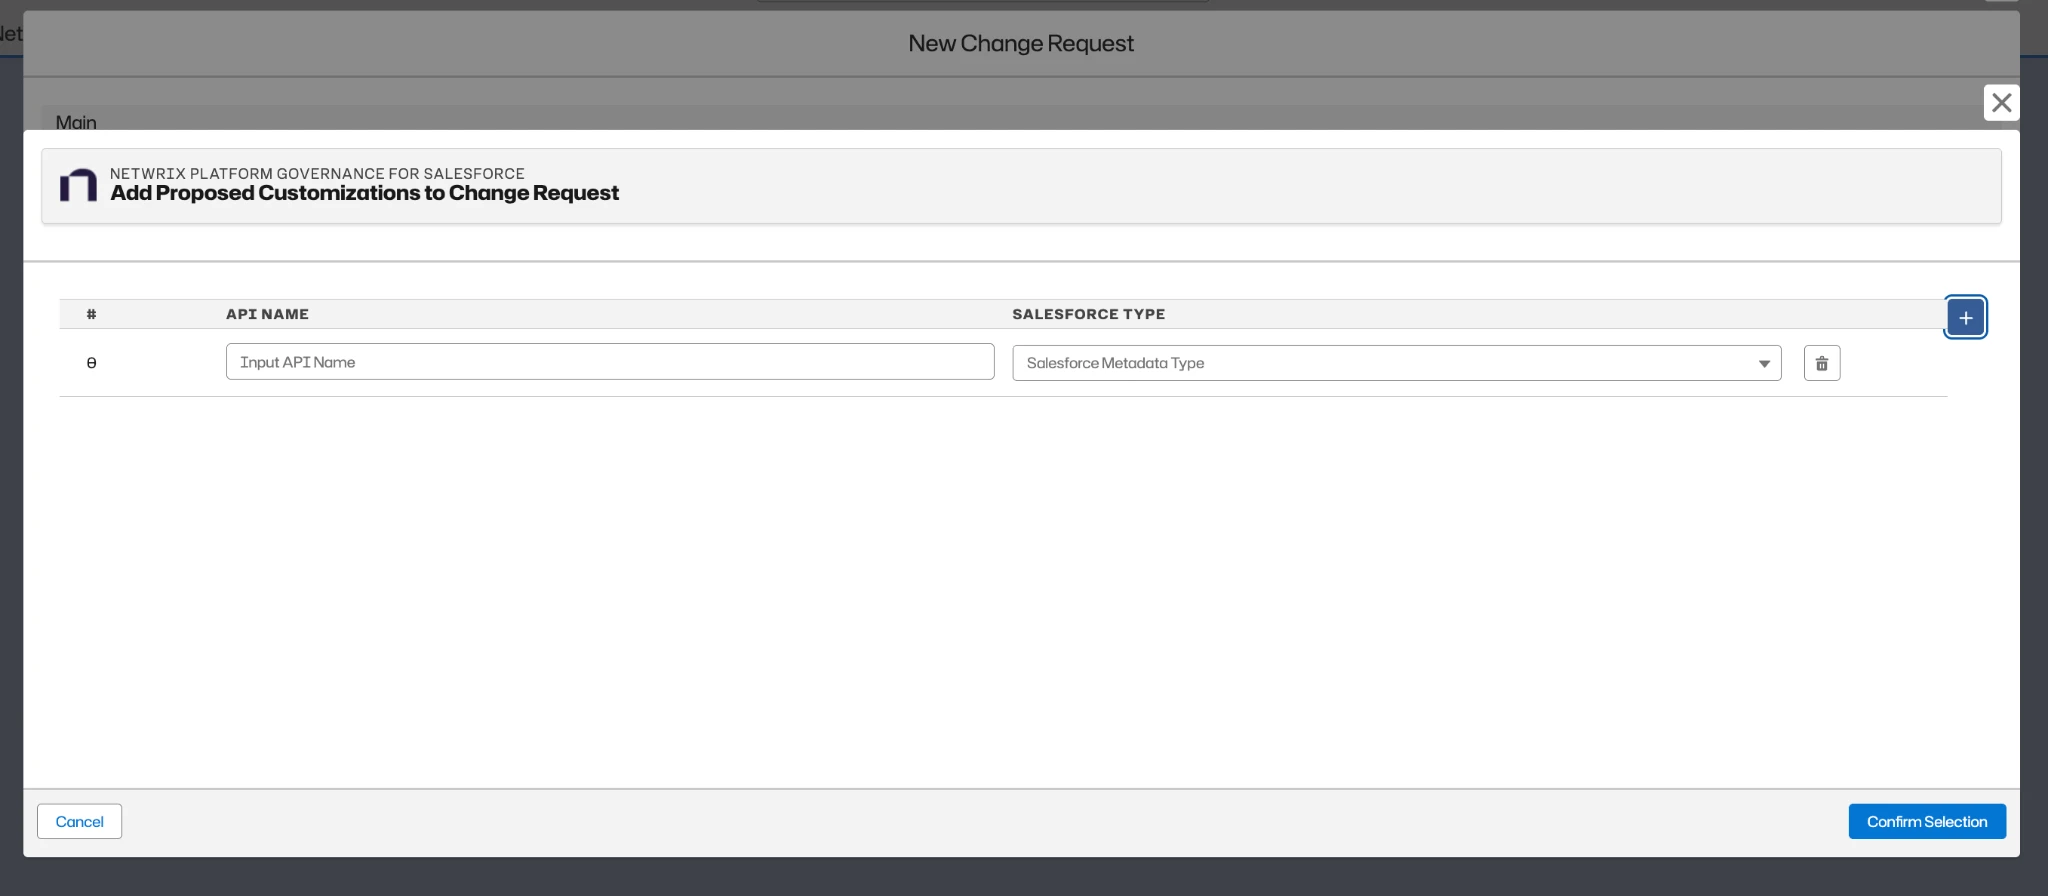
- Enter the API Name and Salesforce Metadata Type. Click + to add additional proposed customizations. This can be used in conjunction with customizations that already exist. All Customizations and Proposed Customizations are evaluated to determine the change level. The change request uses the highest change level found.
-
Once finished, click Confirm Selection.
Troubleshooting: Incorrect API Name Format in Proposed CustomizationsIssue
When creating Proposed Customizations, the system may return a validation error due to an incorrect API Name format.
Cause
The API Name format varies depending on the Salesforce Type. Each type follows a specific naming structure.
Examples:
-
CustomField
Object_Name__c.Custom_Field_Name__c -
ValidationRule
Object_Name__c.Validation_Rule_Name
Validations are implemented for multiple Salesforce Types, so using an incorrect format causes the request to fail.
Workaround
If you are unsure about the correct API Name format for a specific Salesforce Type:
-
Navigate to the Customizations tab.
-
Filter an existing List View or create a new one.
-
Select the Salesforce Type you want.
-
Add the API Name column to the view.
-
Review existing customizations to identify the correct format.
Use this to reference real examples from your account and ensure the API Name follows the correct structure.
-
-
Save the Change Request. When you save the change request, a confirmation appears and the system redirects you to the record view page.
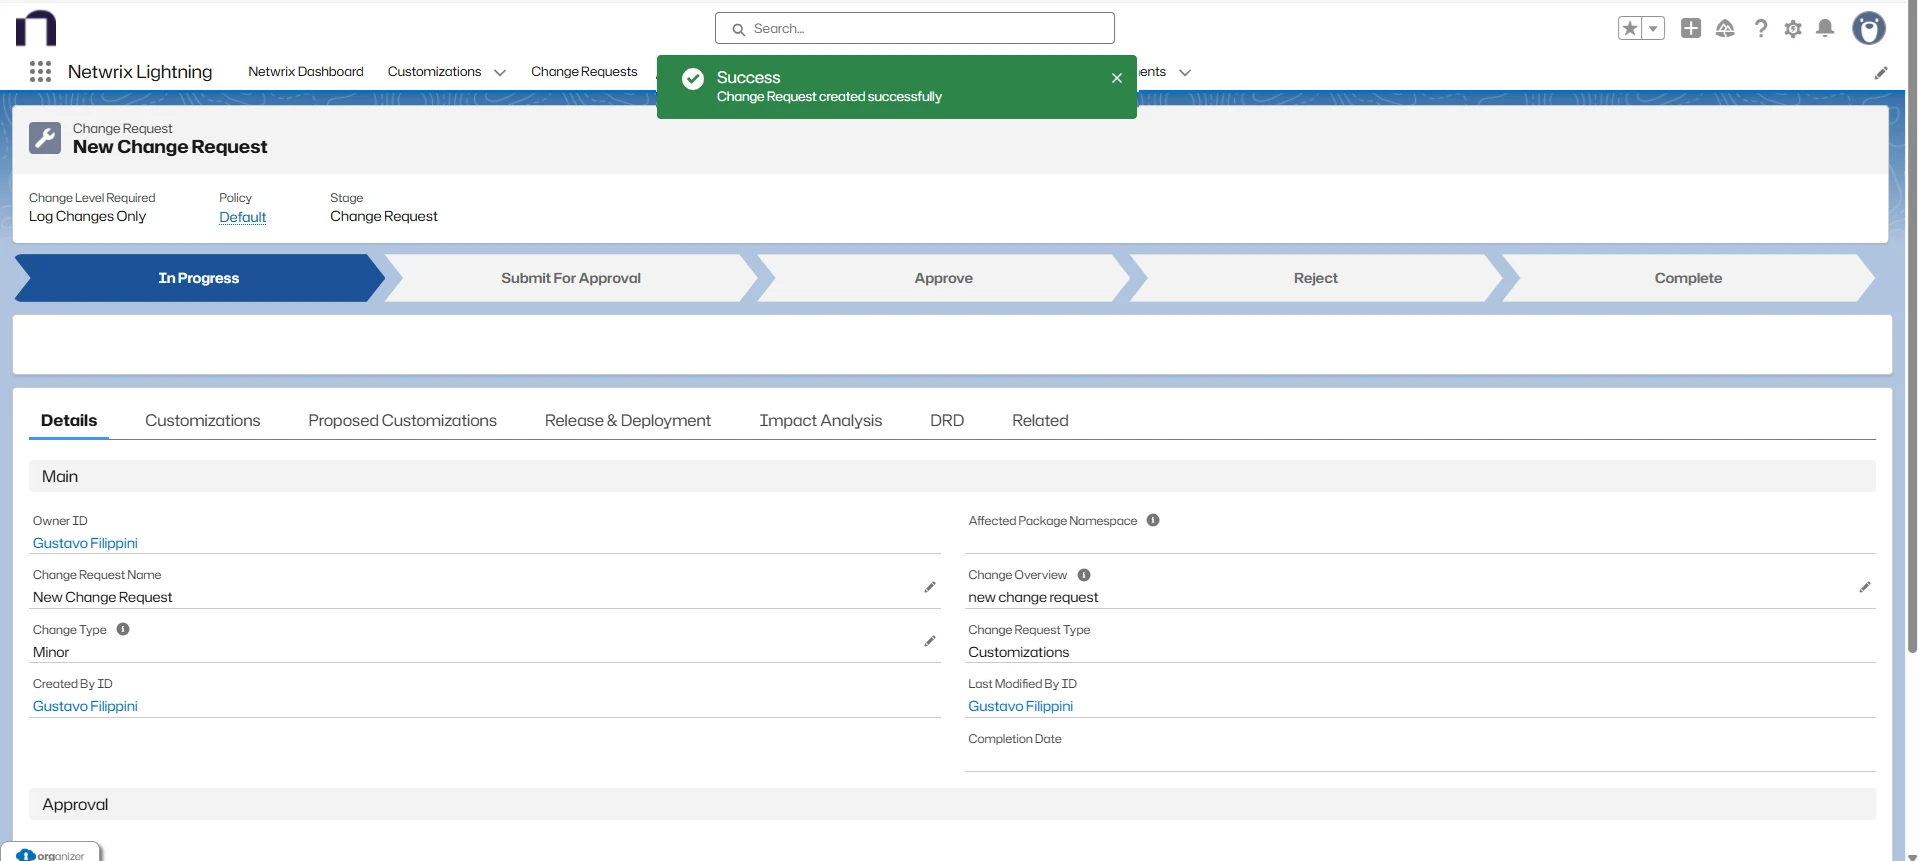
-
Add or change information as needed:
You can edit available fields by clicking the pencil icon. The following sections are available for editing, provided that the Change Request status is In Progress:
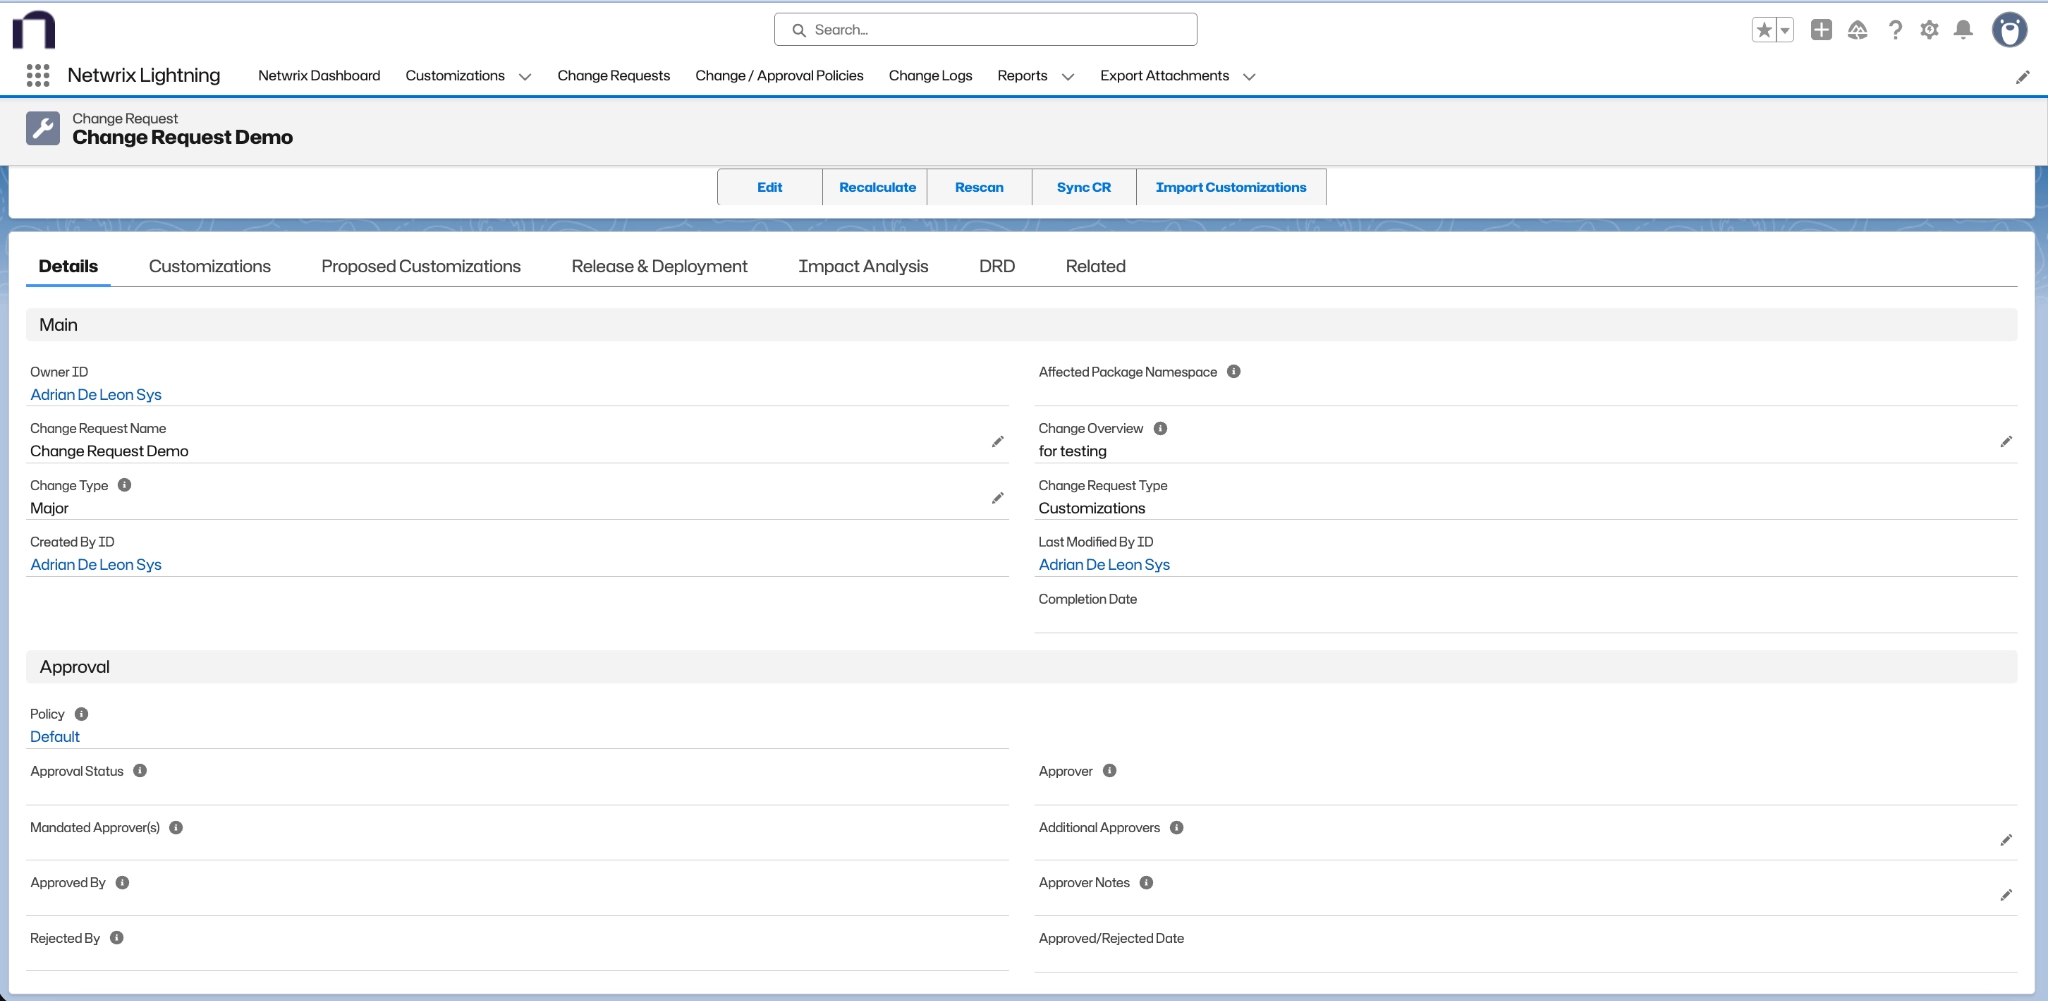
Details
Edit basic information about the Change Request.
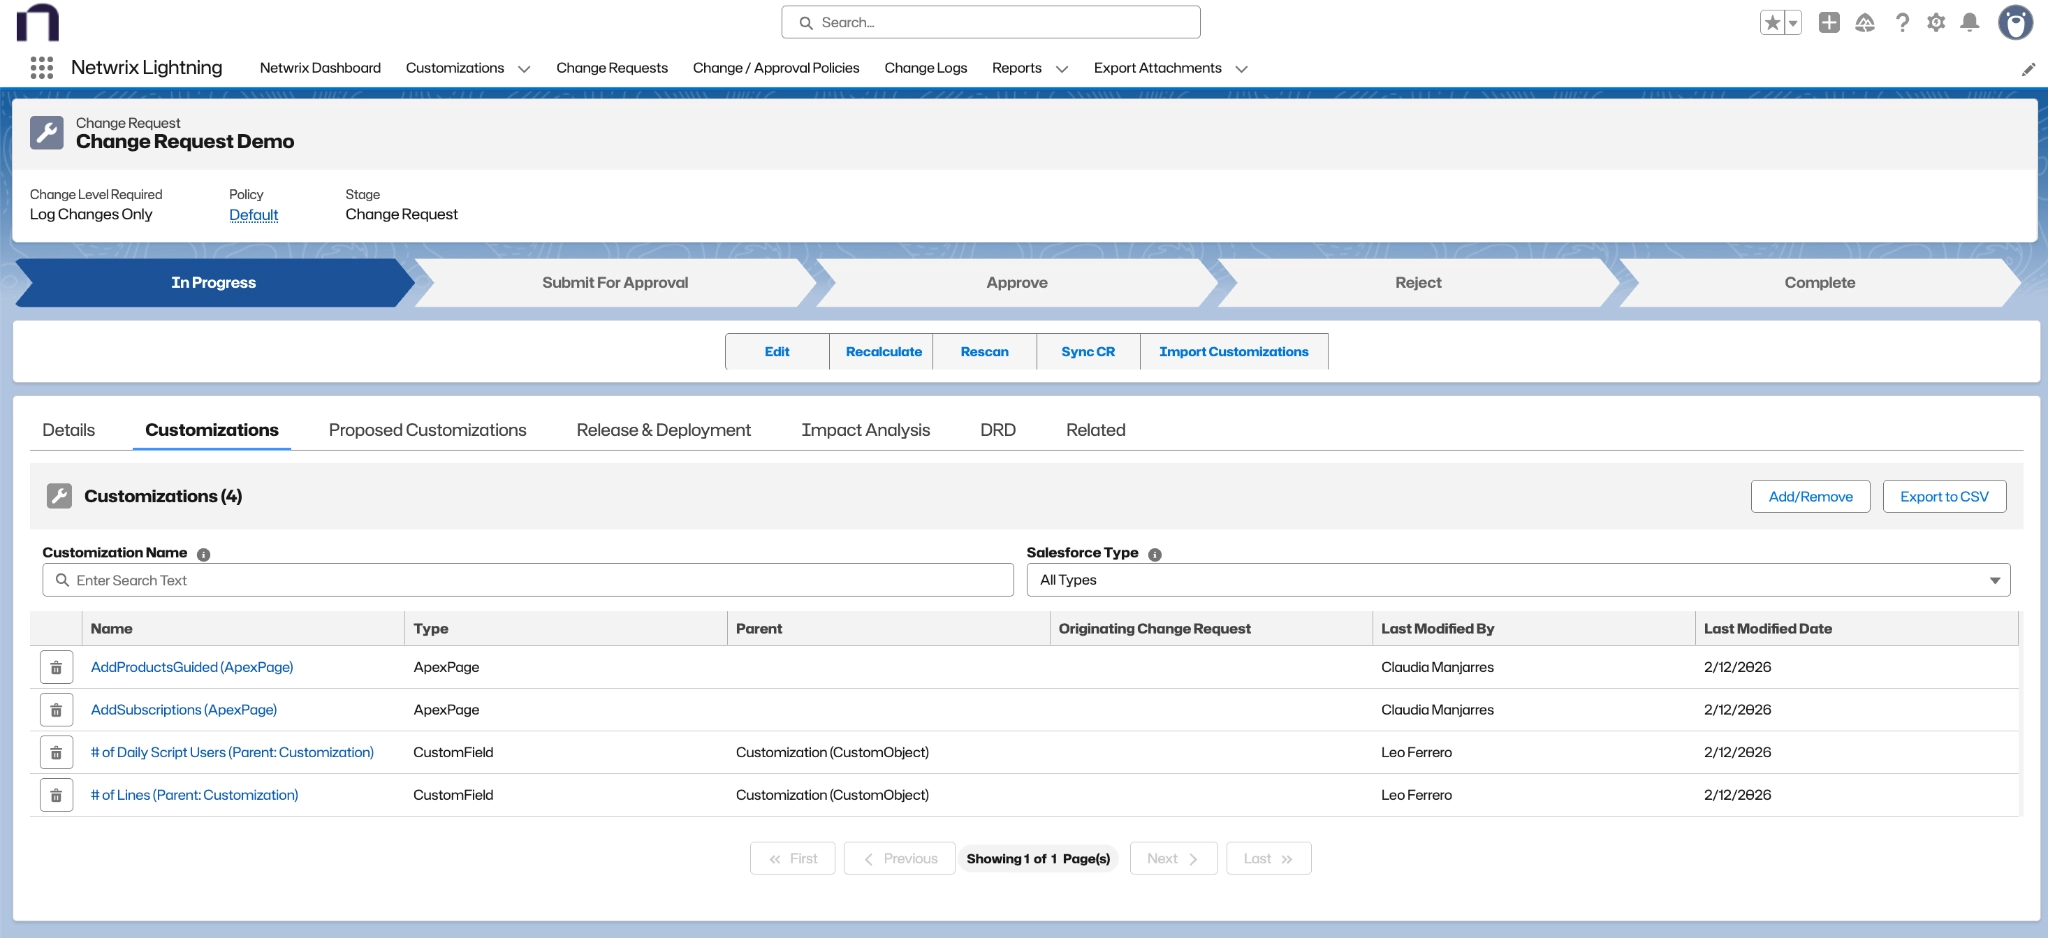
Customizations
Add or remove Existing Customizations from the Customizations tab.
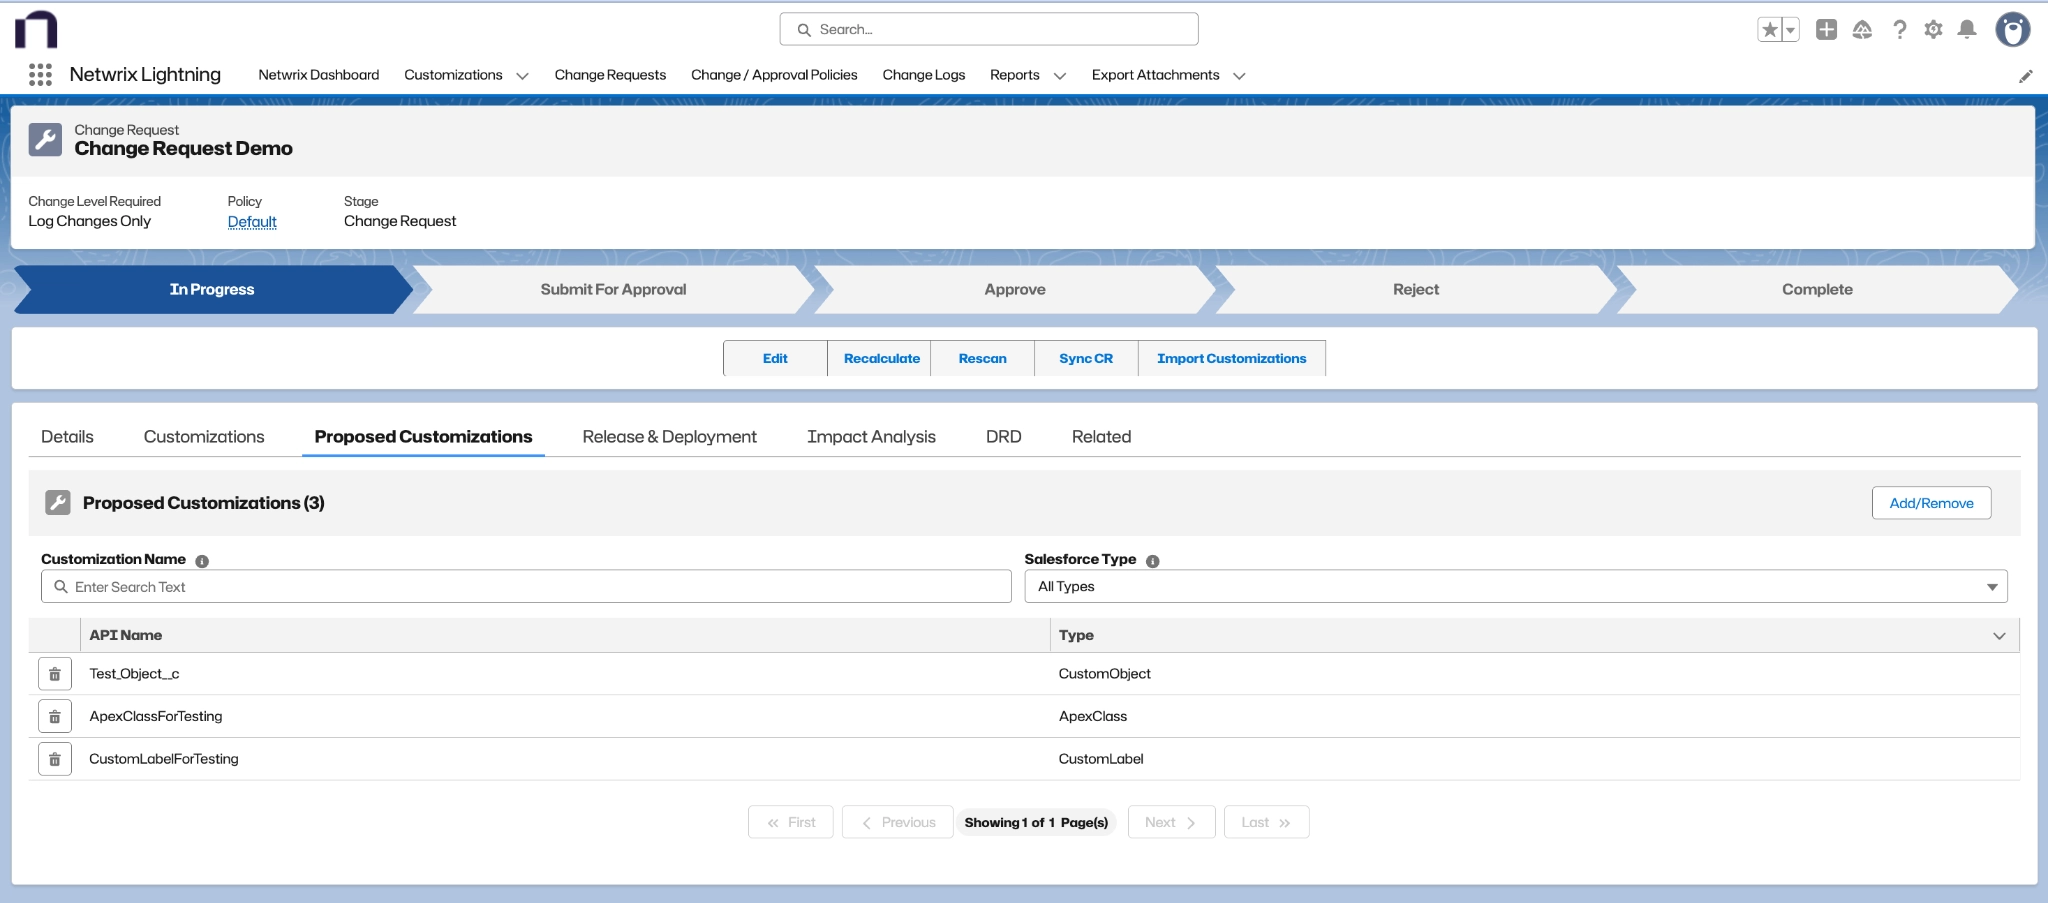
Proposed Customizations
Add or remove Proposed Customizations from the Proposed Customizations tab.
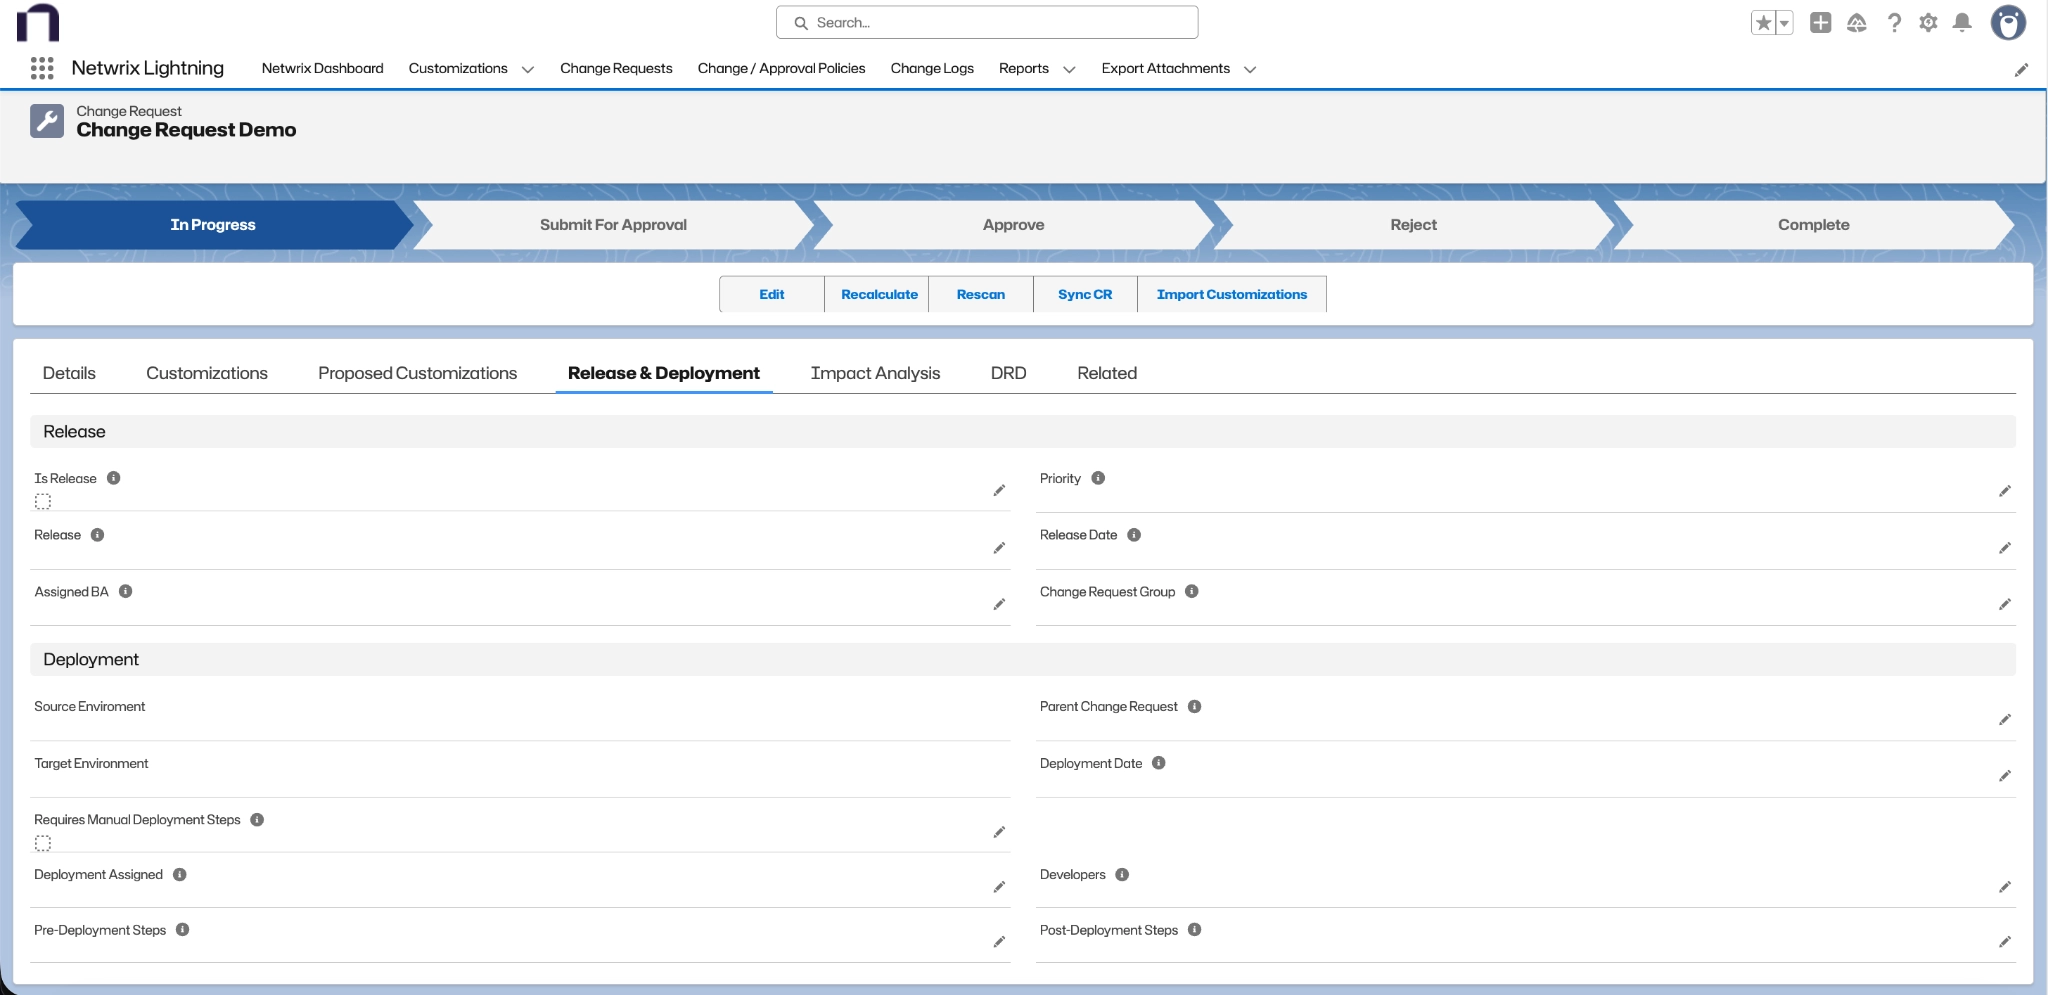
Release & Deployment
Manage release-related settings and deployment information.
Preparing the Change Request for Approval
Review the change request:
- Run Impact Analysis
- View the DRD
- Submit the Change Request for Approval
Run Impact Analysis
Open the Impact Analysis tab and review the information on the tabs: Can Be Safely Deleted or Modified, Can't Be Safely Deleted or Modified, and Inactive Customizations.
Here is an example of items on the Can't Be Safely Deleted or Modified tab. The Customizations and Impacted Customizations are links to each customization record.

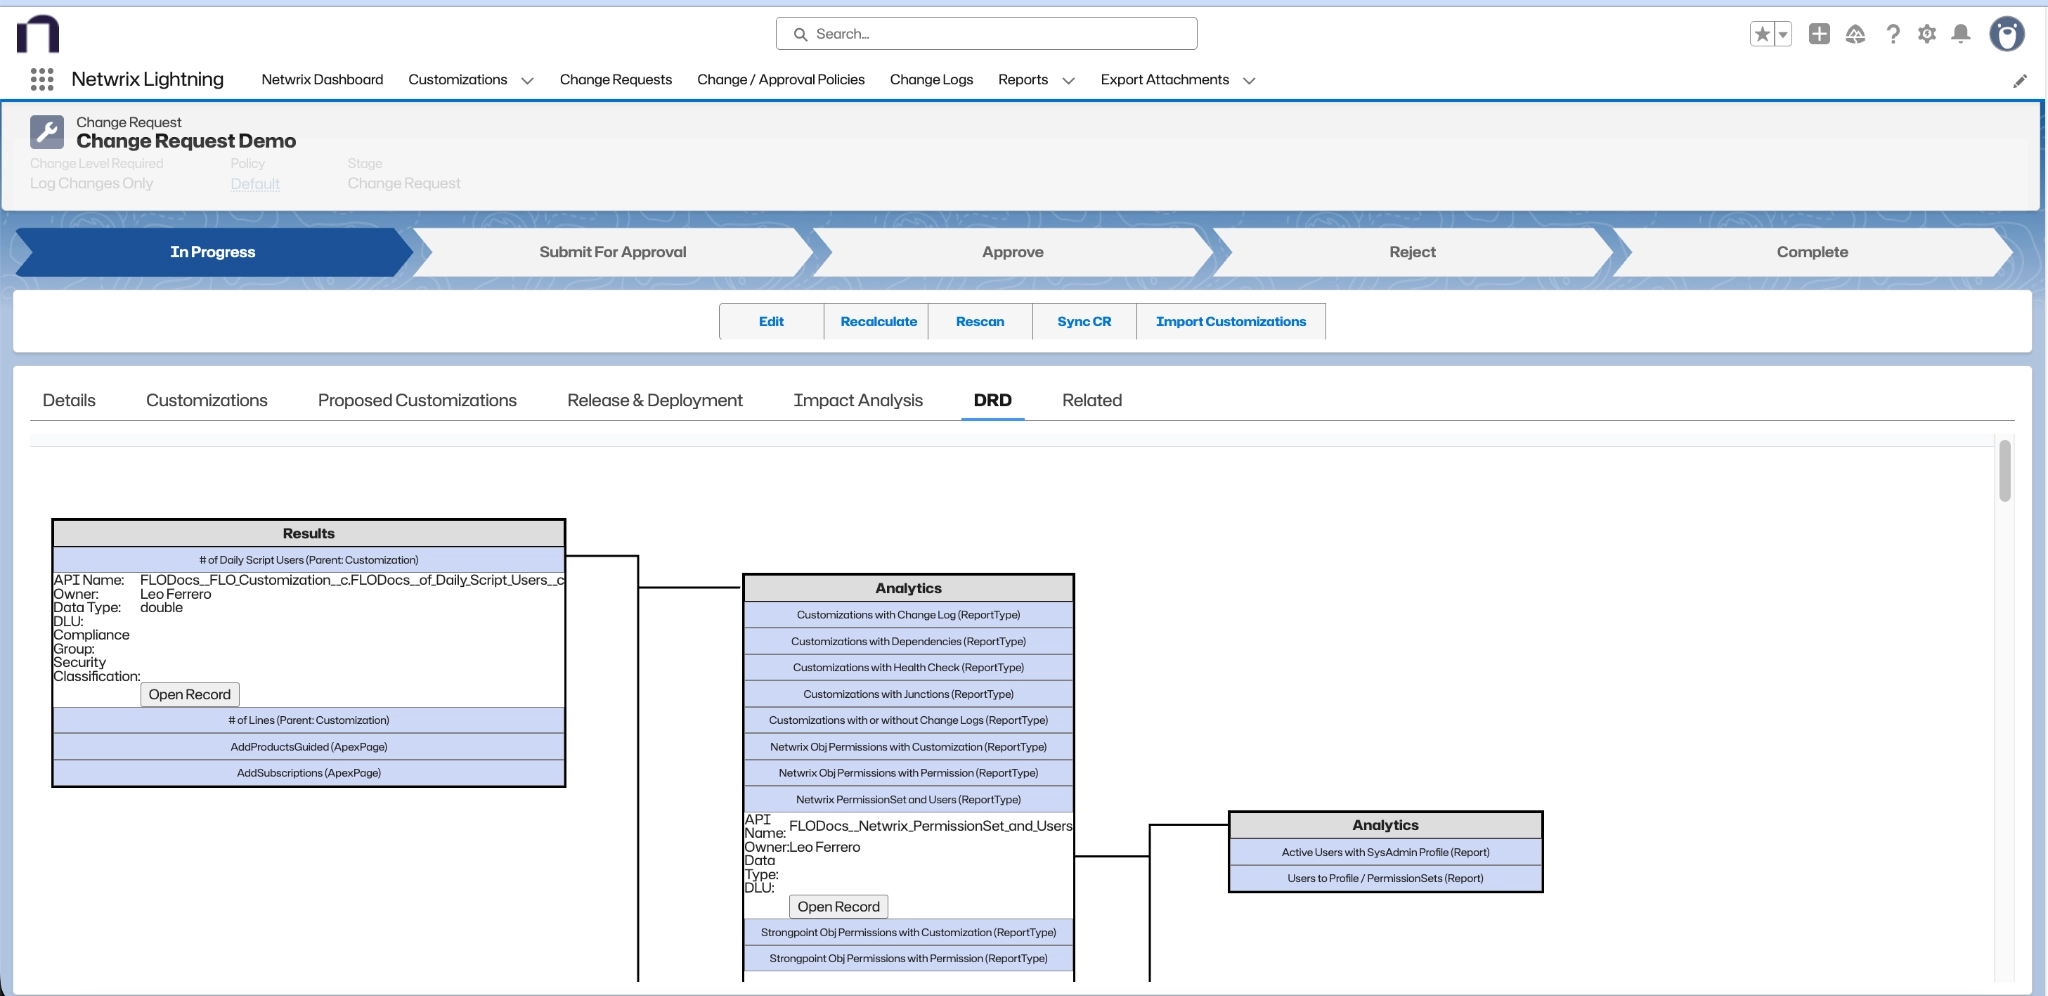
View the DRD
Open the DRD tab to review the dependency diagram.
Submit the Change Request for Approval
The policy automatically assigns approvers to the change request. In this section, you can add additional approvers, approver notes and begin the approval process.

-
Add the approval information:
-
Additional Approvers: Add any additional approvers. Mandated approvers are set by the policy. Click Add/Remove and select approvers.
-
Approver Notes: optional notes about the change request.
-
-
Click Save.
-
Click Submit for Approval on the path to start the approval process. The system sends approval notifications to the approvers.

For new objects that don't yet exist in Production, edit the Change Request and enter the full API Names of these objects into the Proposed Customization fields in the Scope Section. You can add