Set Up Data Tracking
Data tracking is used for Salesforce CPQ and any sensitive data fields you want to track. Setting up data tracking enables Platform Governance for Salesforce to track data and create change logs for any data changes.
If you track an object, all changes to the object and fields are tracked. Consult with your security and audit teams to develop a list of objects before enabling data tracking.
Prerequisites
Here are the requirements to set up data tracking:
-
Enterprise Compliance license
-
Access to the Configuration app. You must have the Strongpoint Administrator and Strongpoint Grant Permissions assignments to access the app. This access is set through:
Setup > Users > Permission Sets > Strongpoint Administrator > Manage Assignments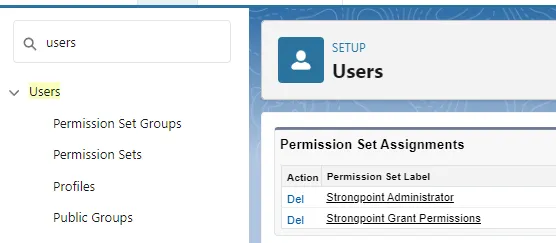
Add Objects to Track
-
Open the Salesforce App Launcher.
-
Click View All to expand the app list.
-
Select Strongpoint Configuration. The Recommended Objects list is displayed.

-
Click the checkbox to select each Recommended Object to track.
-
Set the Tracking for each selected Object:
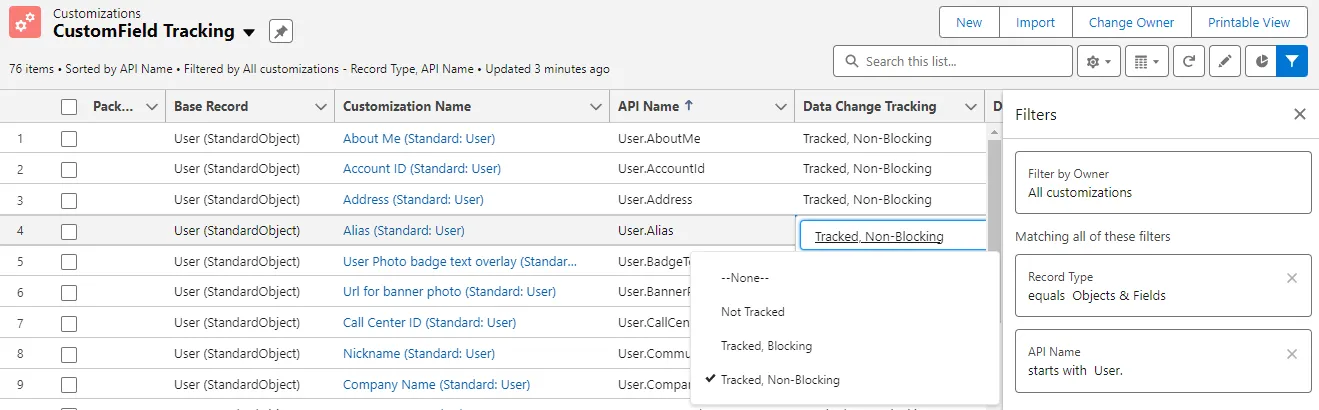
- Not Tracked: Changes in data records are not tracked.
- Tracked, Blocking: Changes in data records are blocked if there is not an approved Change Request.
- Tracked, Non-Blocking: Changes in data records are logged. The Change Logs show the change as non-compliant if there is not an approved Change Request.
-
Set the Update Only for each selected Object:
- No: Tracks changes to existing and new records.
- Yes: Tracks changes to existing records but does not apply to new records.
-
Click Apply Recommendations.
-
Click Save All Records if you do not need any additional objects, otherwise continue these steps.
-
Click Show Additional Objects for Tracking (Advanced). The Additional Objects list is displayed.
-
Click the checkbox to select each Additional Object to track. You can search for objects, or use the navigation at the bottom of the form to page through the records.
-
Set the Tracking and Update Only values for each additional selected object.
-
Click Apply Recommendations.
-
Click Save All Records.
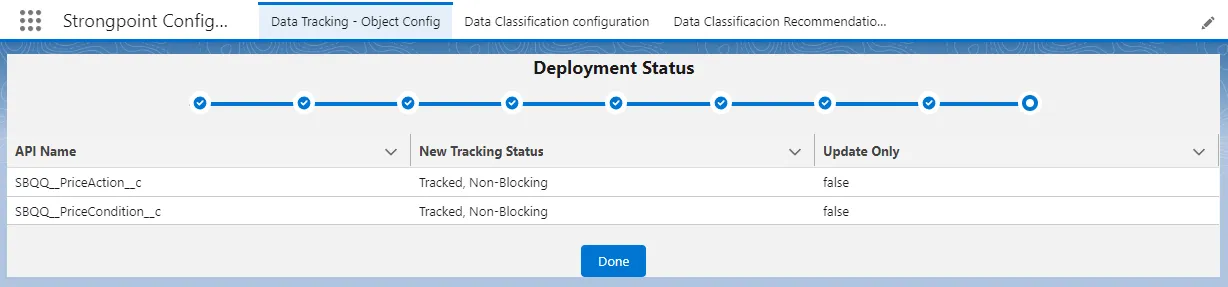
-
Wait until the Deployment Status is complete, then click Done.
-
Open the App Launcher and return to the Strongpoint Lightning app.
Select Customizations to Track
-
Open Customizations.
-
Enter CustomField in the Search box.
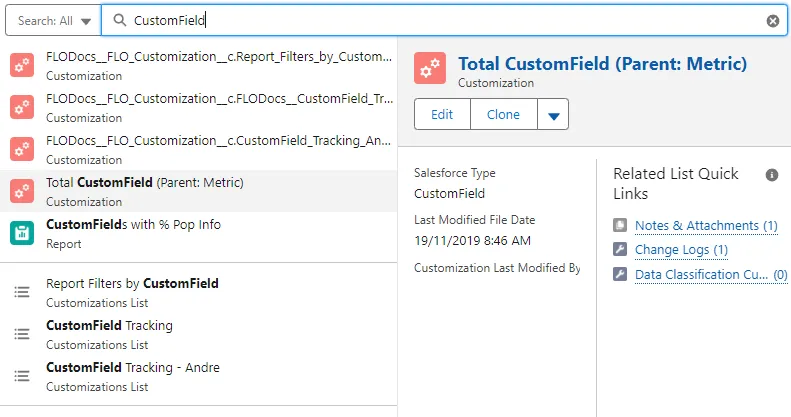
-
Select CustomField Tracking.
-
Select a customization and edit the Data Change Tracking field.
-
Click Save at the bottom of the form to save your changes.
Add Tracked Objects to a Policy
Adding a tracked object to a specific policy facilitates tracking. For example, you can create a report based on changes of that policy. In your Change Enablement process, you can set a change level for tracked components by adding them to a specific policy.
-
Open Change / Approval Policies. Change the view to All Policies instead of Recently Viewed.
-
Select a policy to track the object.
-
Open the Related tab.
-
Click Add Customizations.
-
Enter (Data Records in the Search Customization box.
-
Select the customization to add. Use Shift-click (contiguous items) or Ctrl-click to select multiple customizations.
-
Click Add to add your selections to the Selected Customizations pane.
-
Click Save when you are done.
Change Logs

Tracked, Non-Blocking generates a Compliant Change Log (CL-11674) if there is an approved Change Request or a Non-Compliant Change Log (CL-11672) for changes made without an approved Change Request.
Tracked, Blocking generates a Compliant Change Log (CL-11672) if there is an approved Change Request. If a user attempts to save a change to a Tracked, Blocking object without an approved Change Request, an error is generated and the change is not saved.