Jira Forge Walkthrough
Complete all prerequisites in the Jira Forge Setup page before using this walkthrough.
This walkthrough is one example based on a test account. You must install and configure the Jira integration, including setting up the Jira Statuses before using this walkthrough.
The walkthrough demonstrates these steps:
- Create a Jira Ticket
- Logging In and Connecting to a NetSuite Account
- Add or Remove Customizations
- Importing Customizations
- Perform Risk Assessment
- View Entity Relation Diagram
- Ready for Development
- Deploy Changes and Complete the Ticket
- Other notable features
Create a Jira Ticket
- Log in to your Jira account.
- Open a Project.
- Click Create (+).
- Fill the necessary fields and Click 'Create'
Logging In and Connecting to a NetSuite Account
Before proceeding to this step, ensure you already have created a TBA record. If not see Set up Jira TBA Credentials in Setup page.
-
In your issue ticket, click the Netwrix NetSuite Forge tab. Two possible displays:
- If you have NOT executed Set up Jira Project Keys in the Setup Page, this message displays: "Only projects defined in the Netwrix Settings page can use this integration." Complete the Set up Jira Project Keys step first.

- If you have, the connect page appears, where you can connect or log in to a NetSuite defined in Set up Jira TBA Credentials in Setup page.
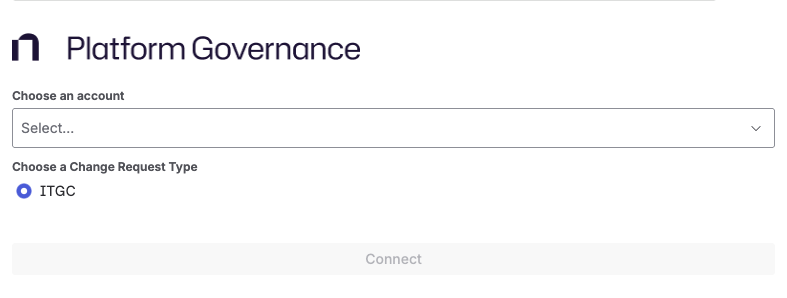
-
Select a NetSuite account to connect to.
-
Upon selecting an account, the app loads. It is establishing the initial connection process. After it succeeds, the Connect button is enabled. If it is not, verify the TBA credentials in Set up Jira TBA Credentials in Setup page.
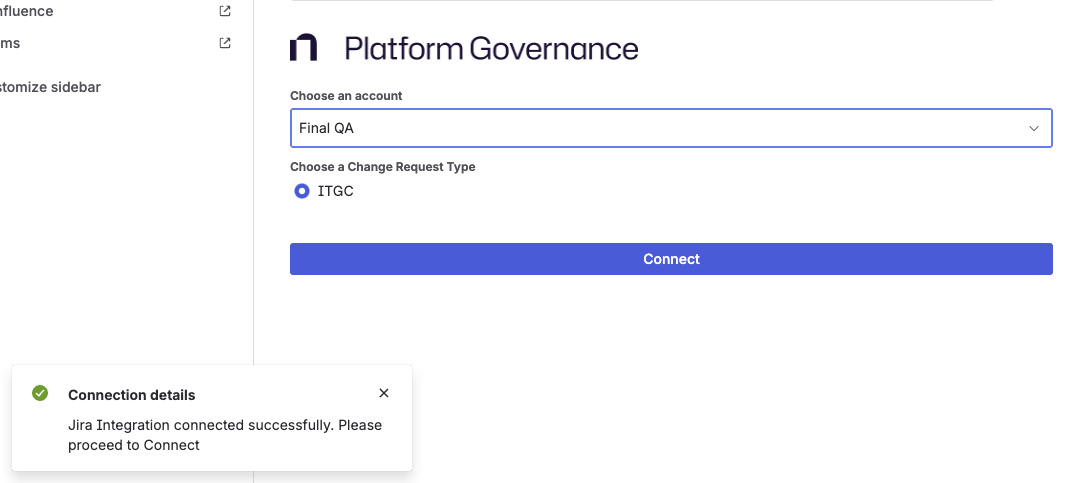
- Click "Connect" button.
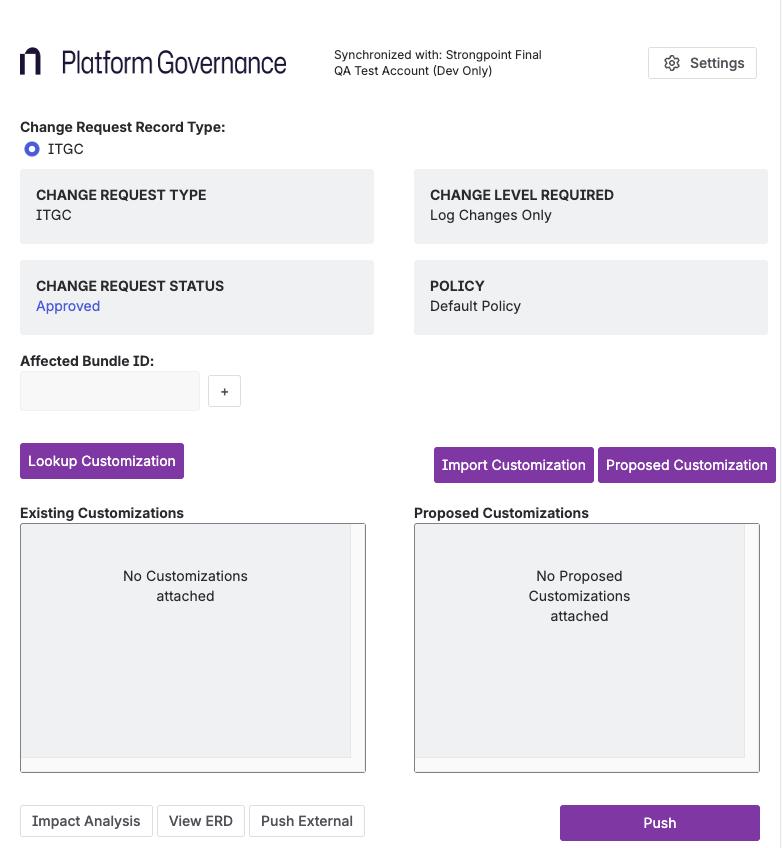
- The ITGC Form for the Jira app is displayed. Change Request data is loaded, it also shows which account where the app is connected.
Add or Remove Customizations
This section shows you how to add and remove customizations in the Forge app.
To start adding or removing customizations, follow the steps below:
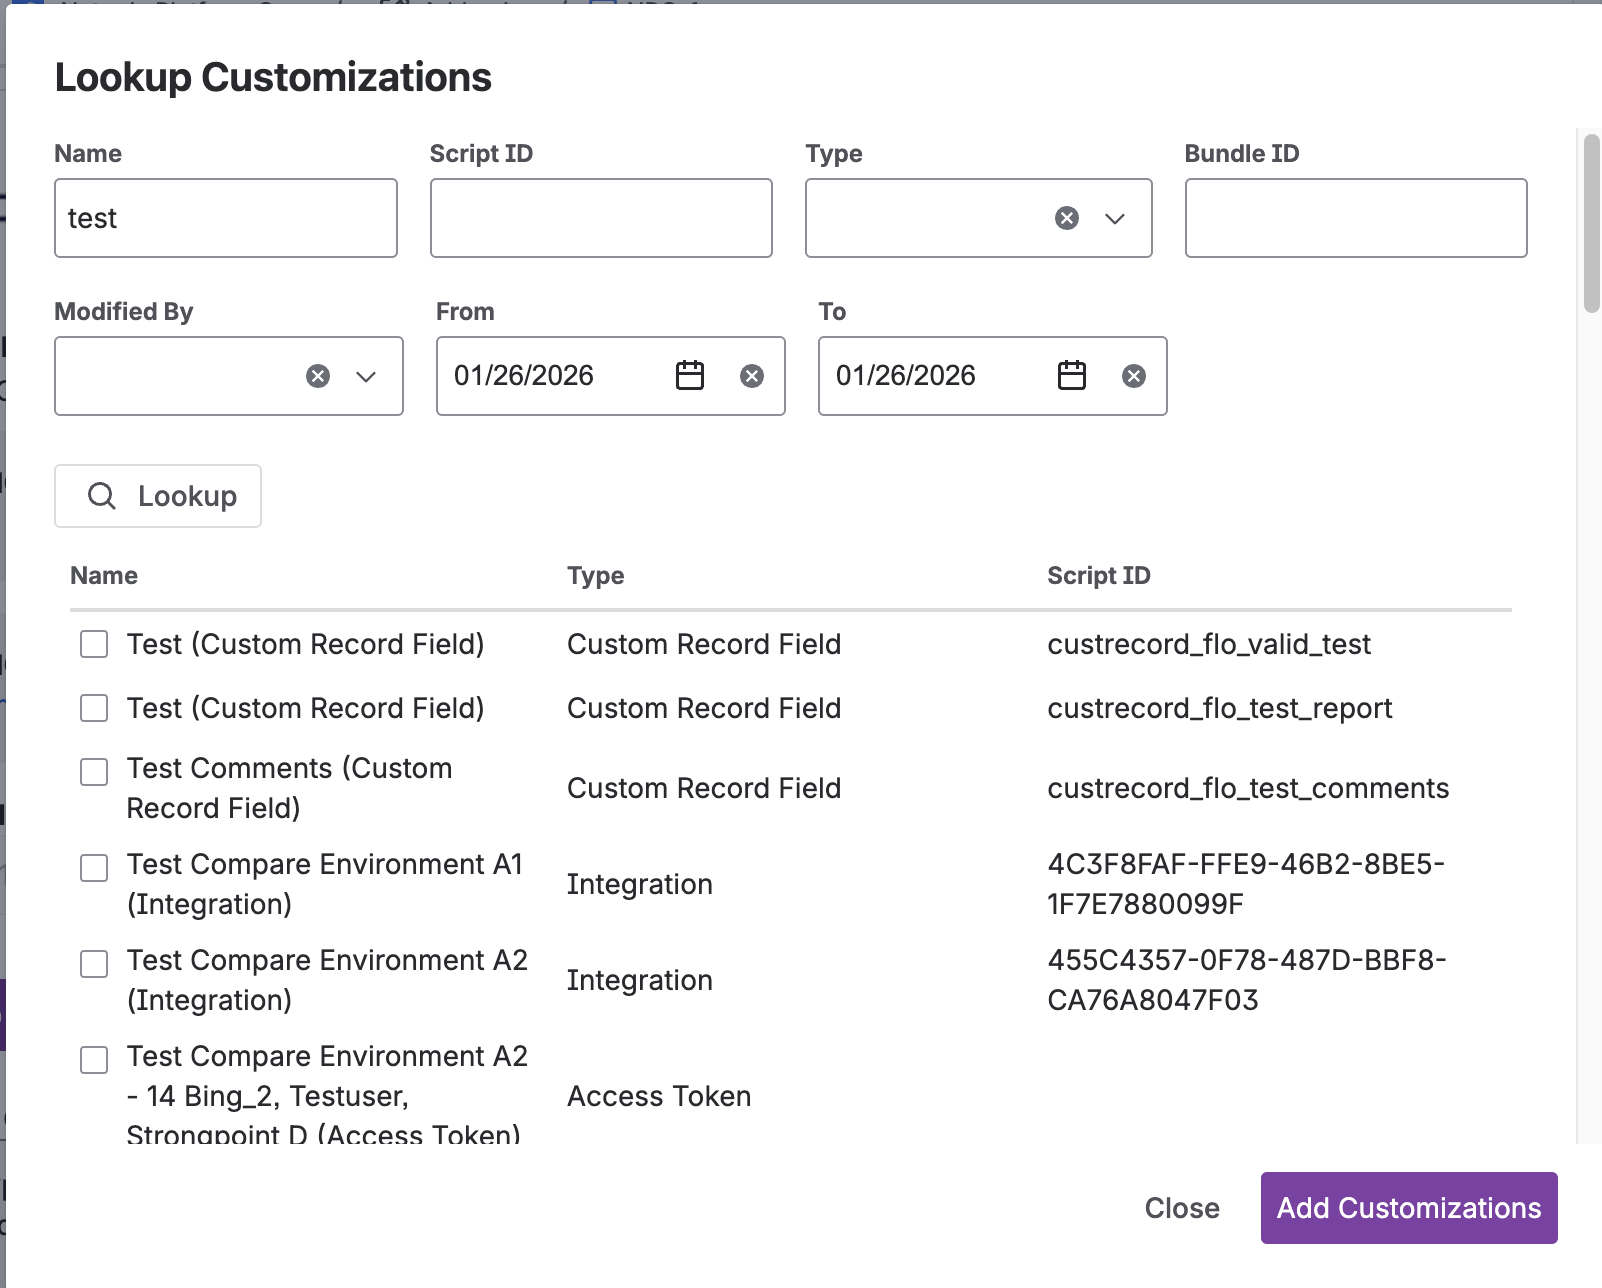
- Click the Lookup Customization button to add existing customizations to the Jira ticket. A modal opens, letting you filter and select a customization to attach to the change request.
Available filters:
- Name
- Script ID
- Type
- Bundle ID
- Modified By
- From
- To

- Choose a filter to narrow down the selection of customizations. Use the Name filter. Click the "Lookup" button.
-
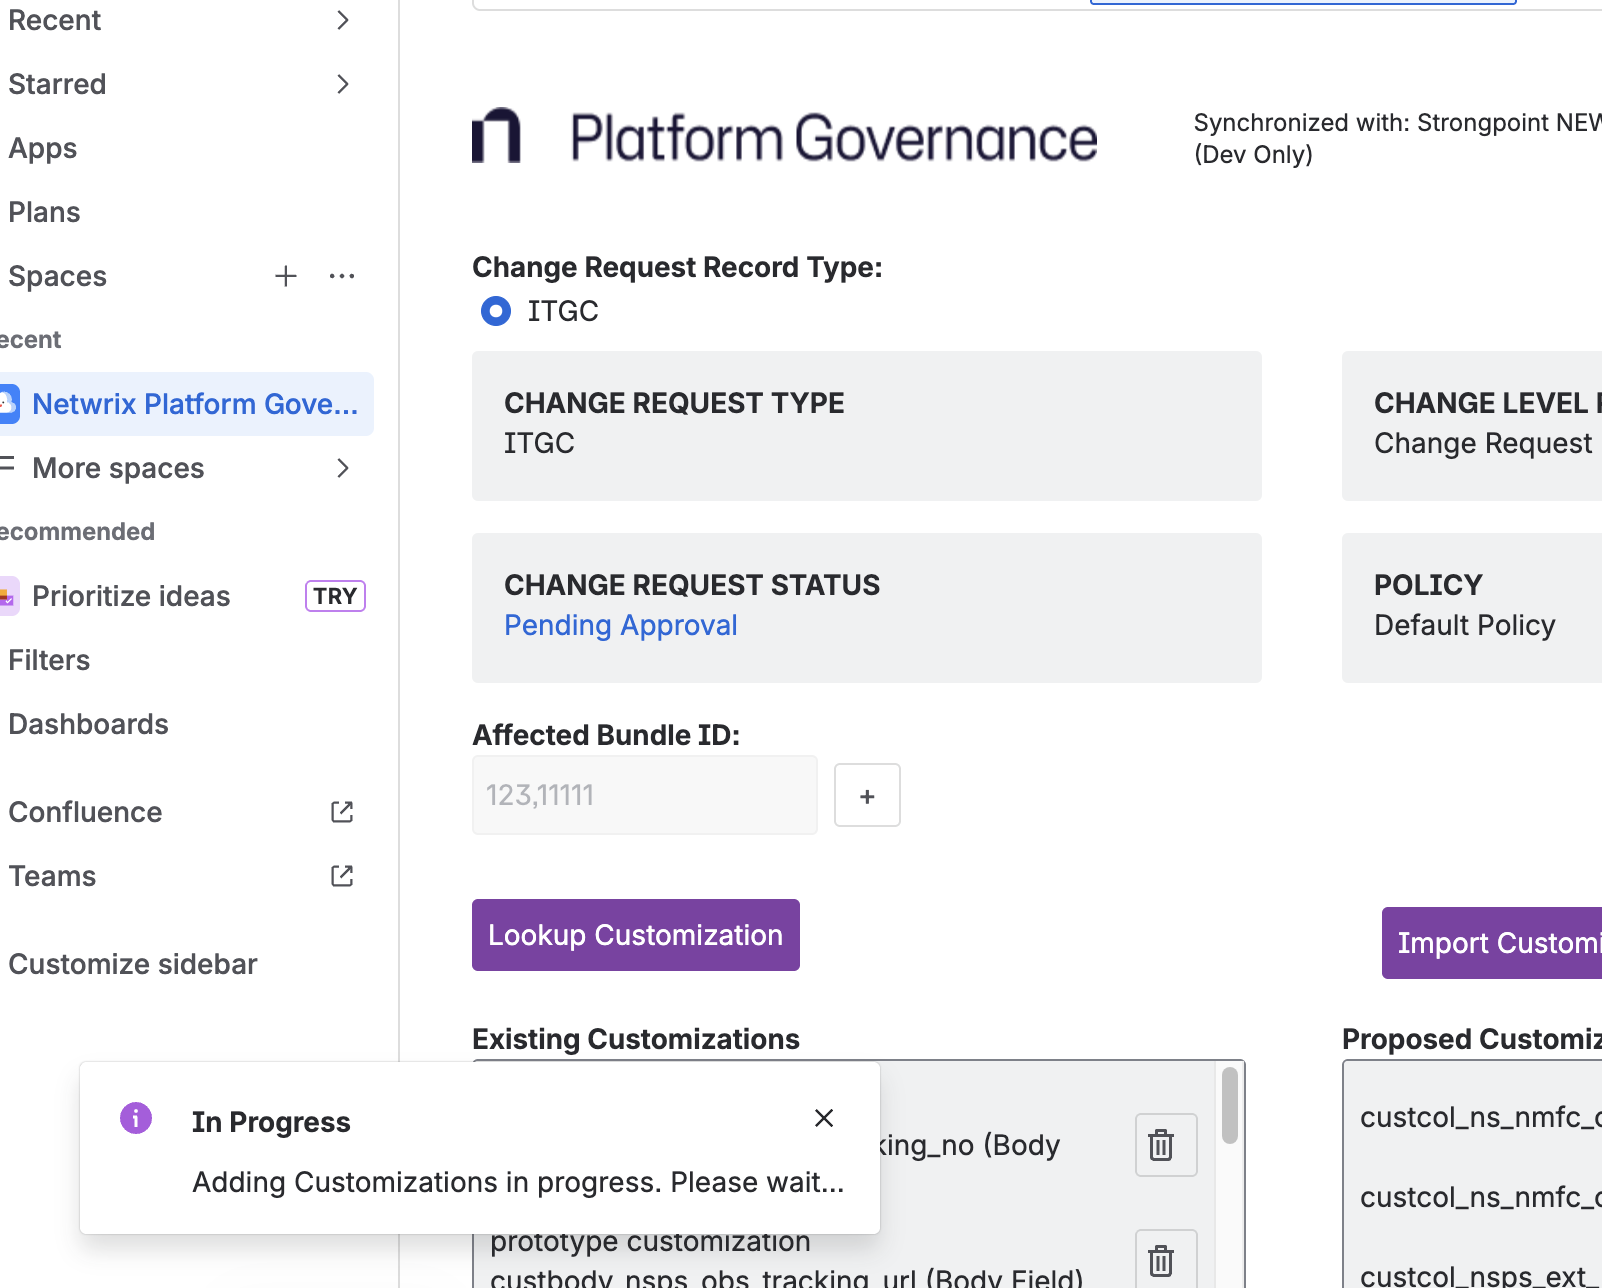
Select a customization to attach by ticking the checkbox beside the name. After ticking it, click the "Add Customizations" button at the bottom part of the modal.
- Below shows a flag with a message that the action is in progress.
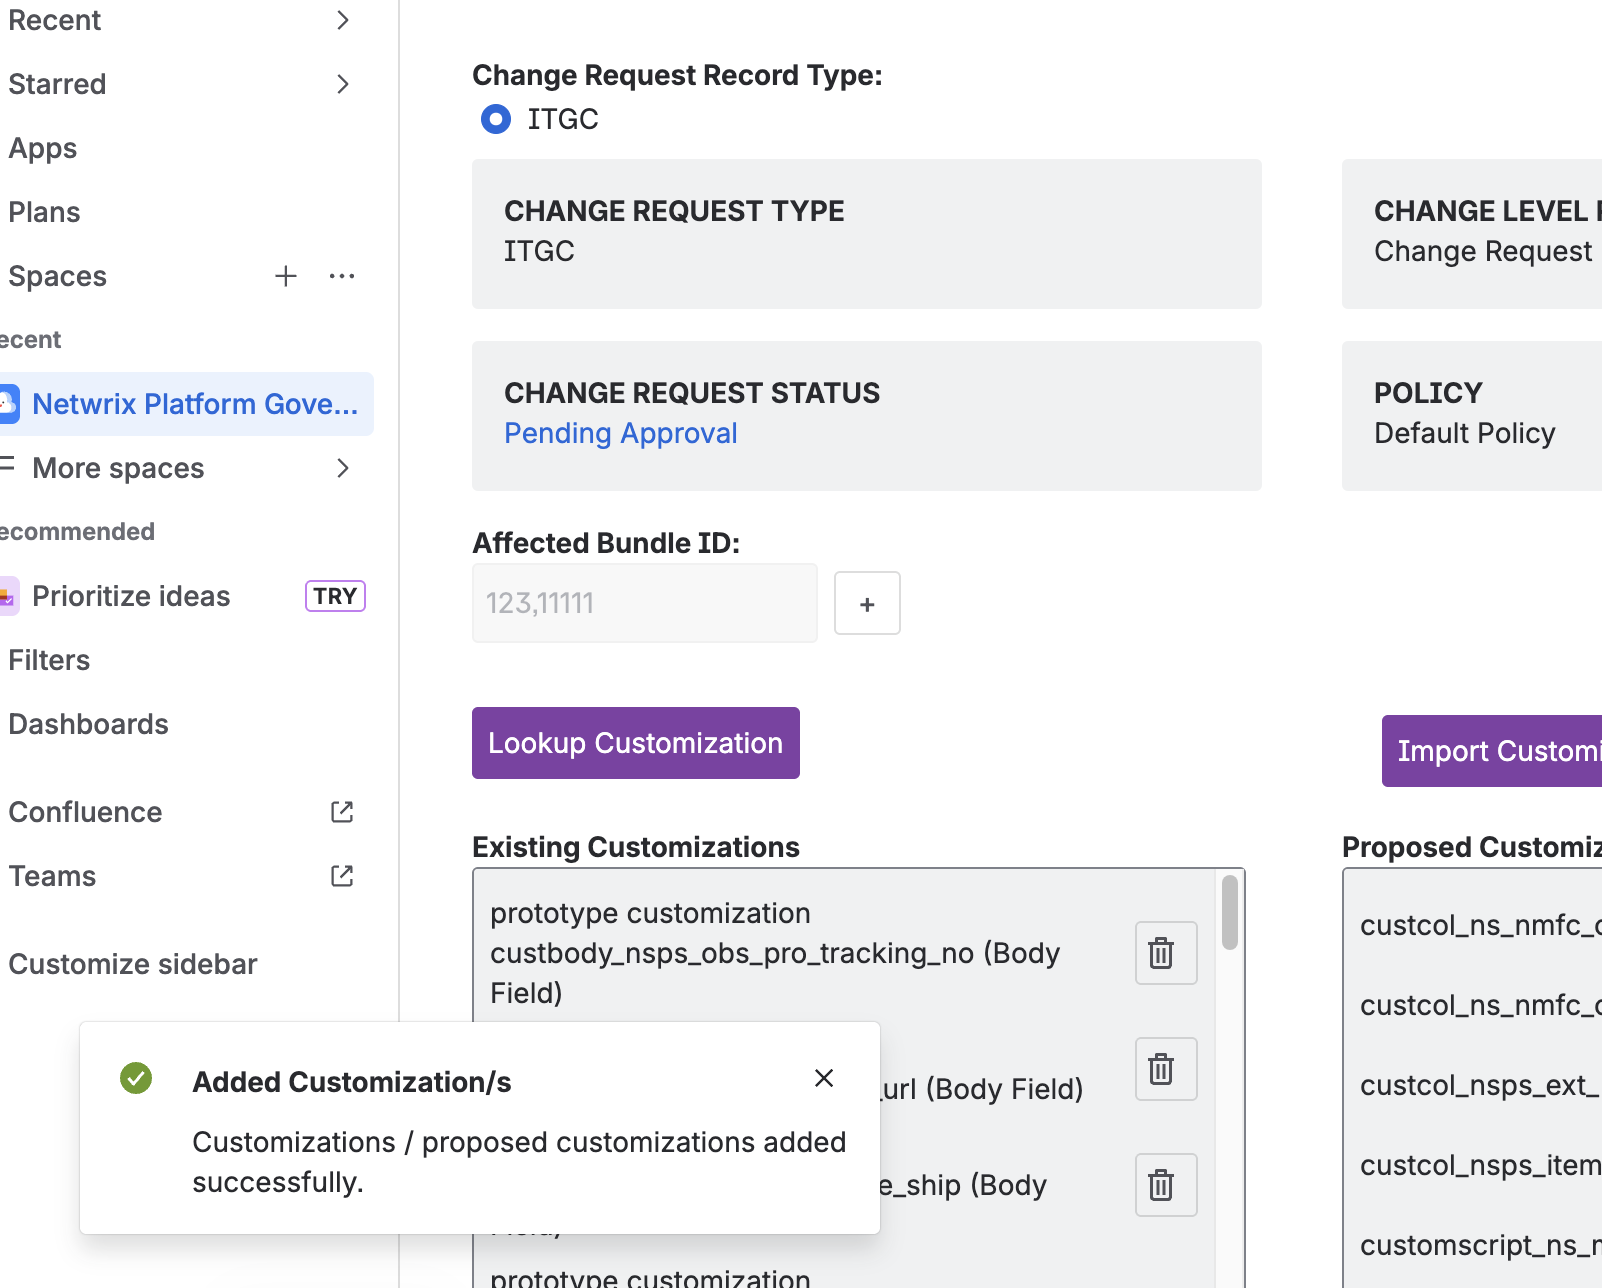
- Below shows a flag with a message that the action is successful.
-
You can also add customization that is yet to be created. This is what the "Proposed Customization" button is for. To add one, click the "Proposed Customization" button. A modal opens with the following fields:
- Type
- ScriptID/Name
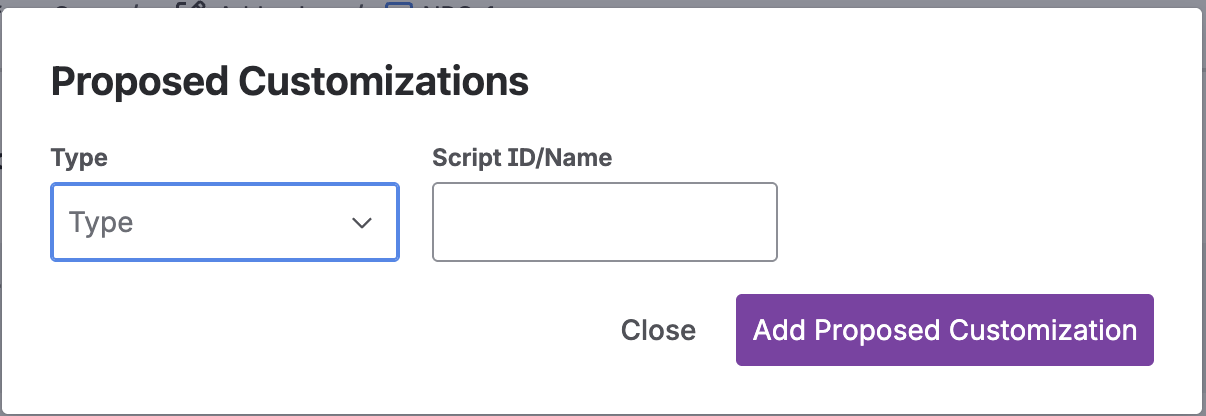
-
Select the Type for your proposed customization. Select the "Body Field" type. Notice that the Script ID/Name field is prepopulated with the prefix of the script ID, this prevents accidentally entering the wrong script ID prefix for the type. Enter the script ID of your choice.
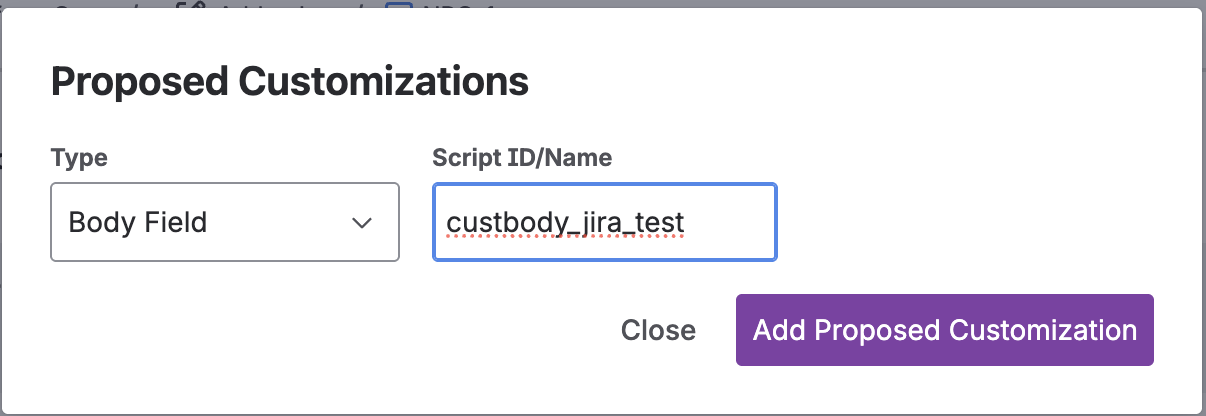
-
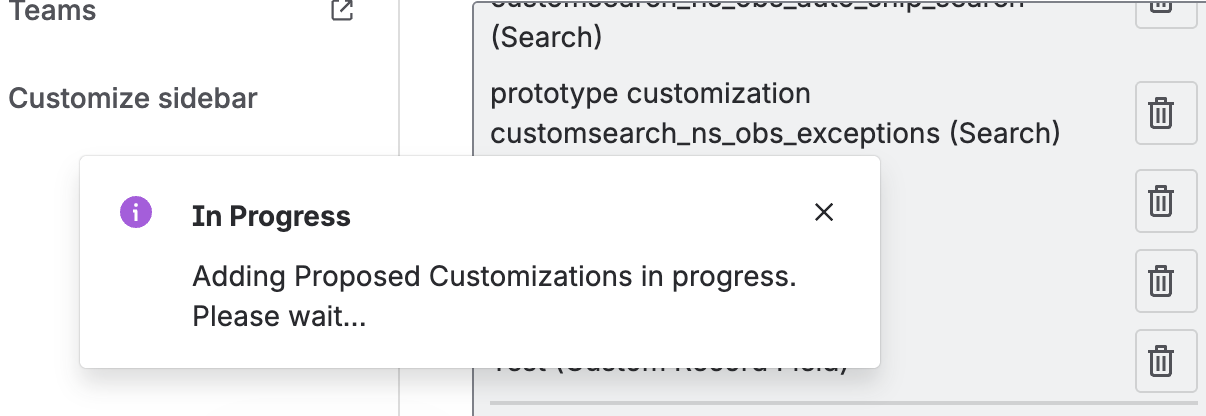
Click the "Add Proposed Customization" button to add/attach it to the Jira ticket change request.
- Below shows a flag with a message that the action is in progress.
- Below shows a flag with a message that the action is successful.
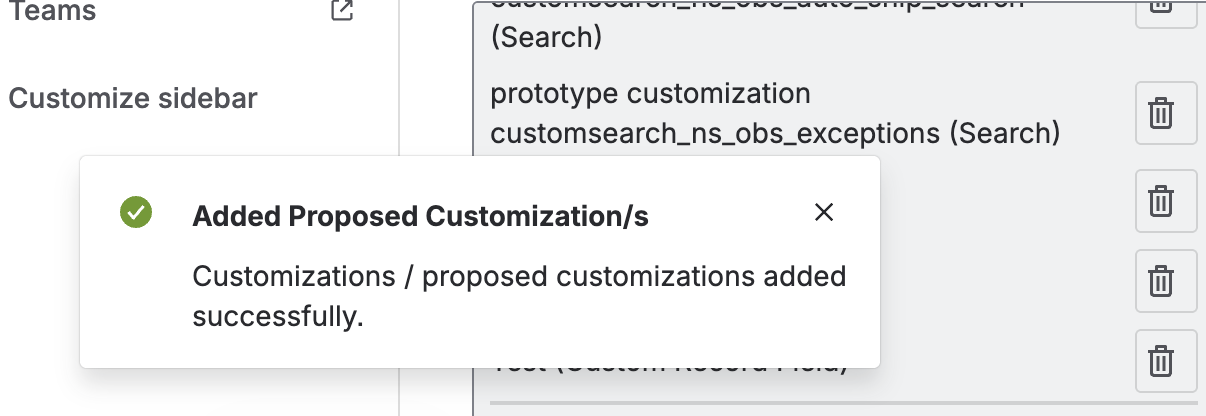
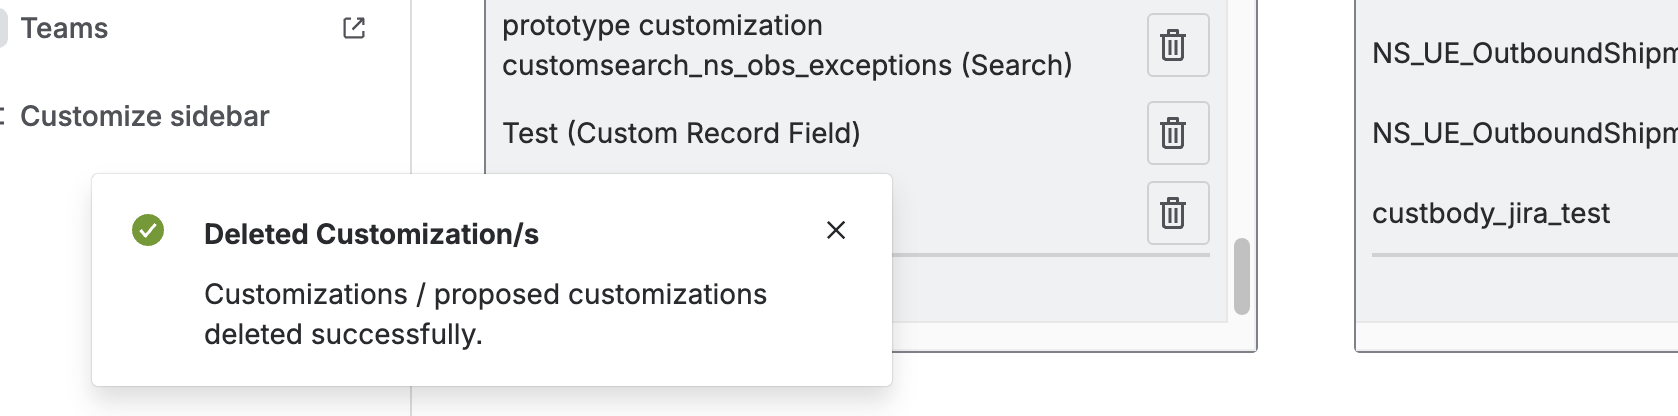
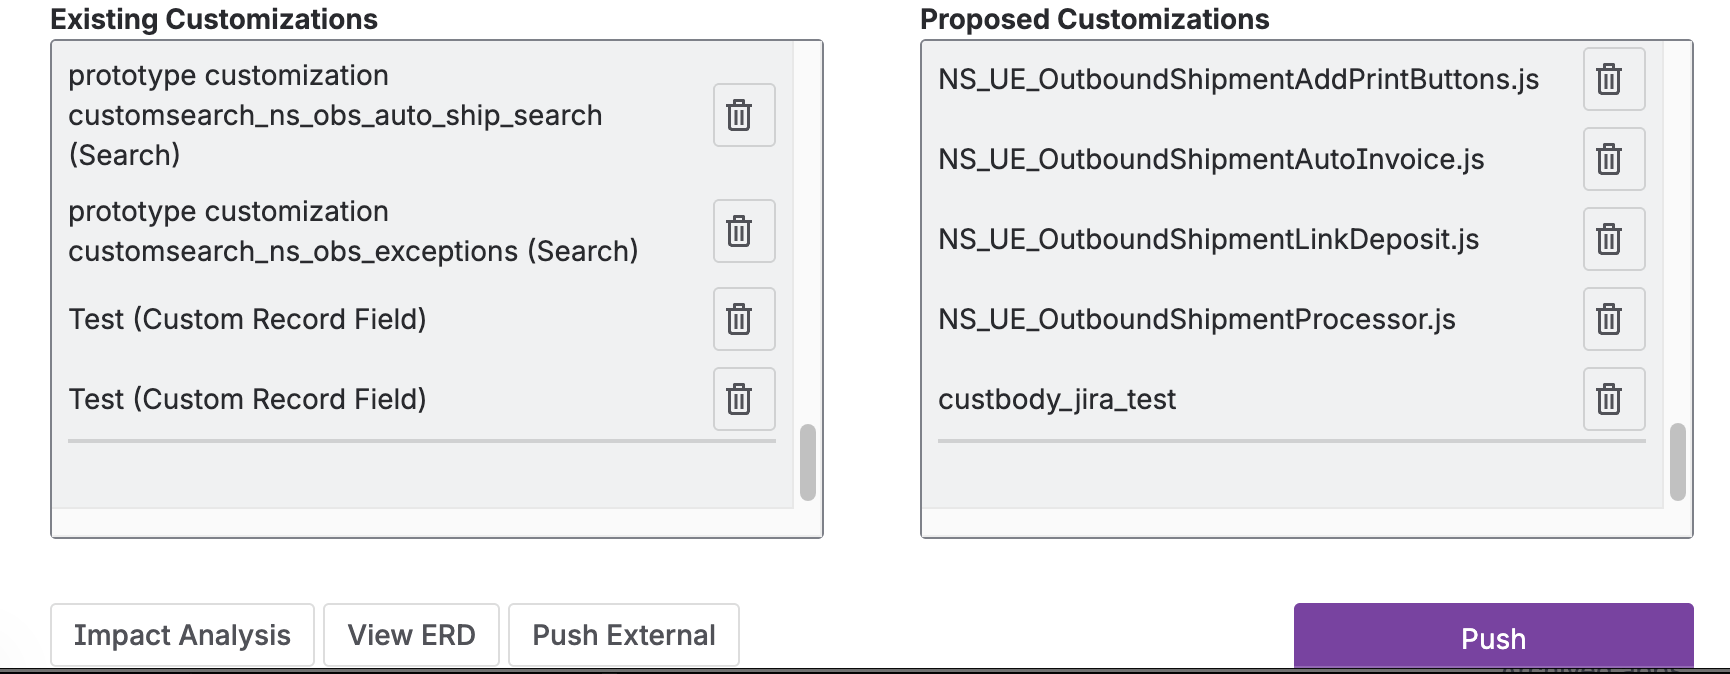
Below shows the existing and proposed customizations that were added in steps 1 through 6.
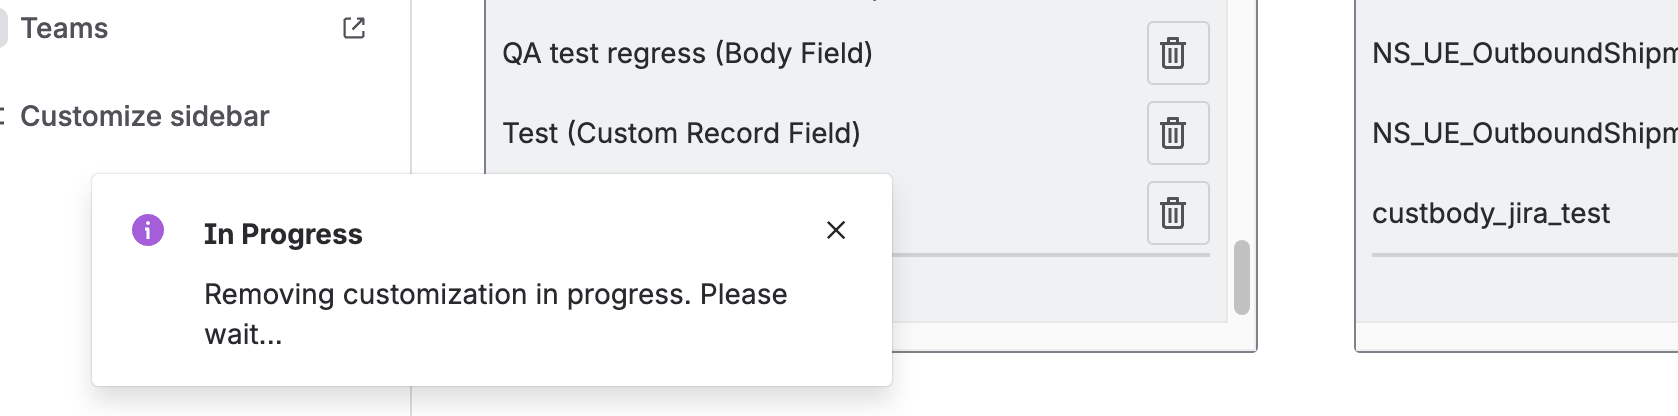
- Just as you can add existing and/or proposed customizations, you can also remove them from the Jira ticket change request. Simply click the "trash" icon located at the right side of the customization's name and will trigger the remove process.
![]()
- Below shows a flag with a message that the action is in progress.
- Below shows a flag with a message that the action is successful.
After completing this section, you can:
- Use the Lookup customization filter
- Add existing and proposed customizations
- Delete/remove a customization
Importing Customizations
This feature is similar to the add customization process, the key difference is that the user can add customizations in bulk. Import customization only allows the user to upload files in XML and a SDF project in ZIP formats.
You may contact your company's NetSuite Administrator for a sample of this files.
To use import feature follow the steps below:
- Click the Import Customization button in the form. A modal appears with the option to upload a file. As discussed above, only a SDF project in ZIP and XML file formats are accepted.
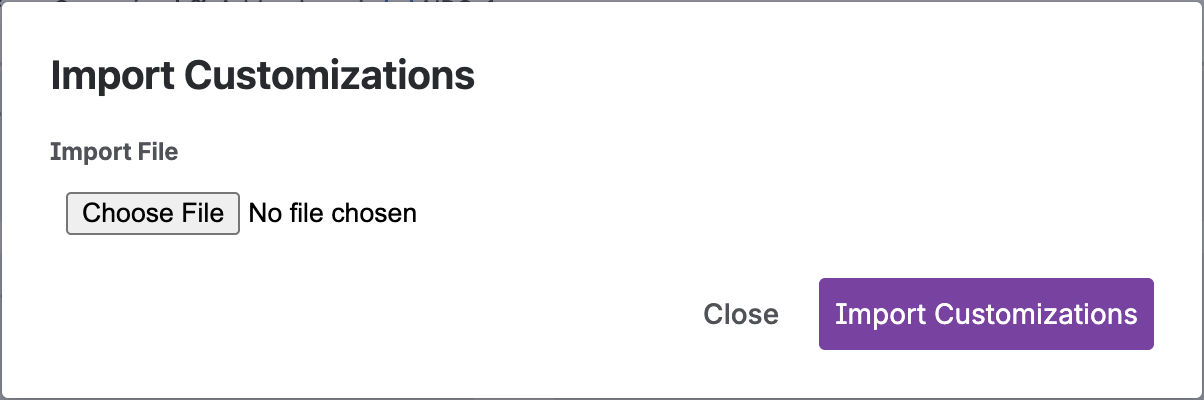
- Select a file to import.
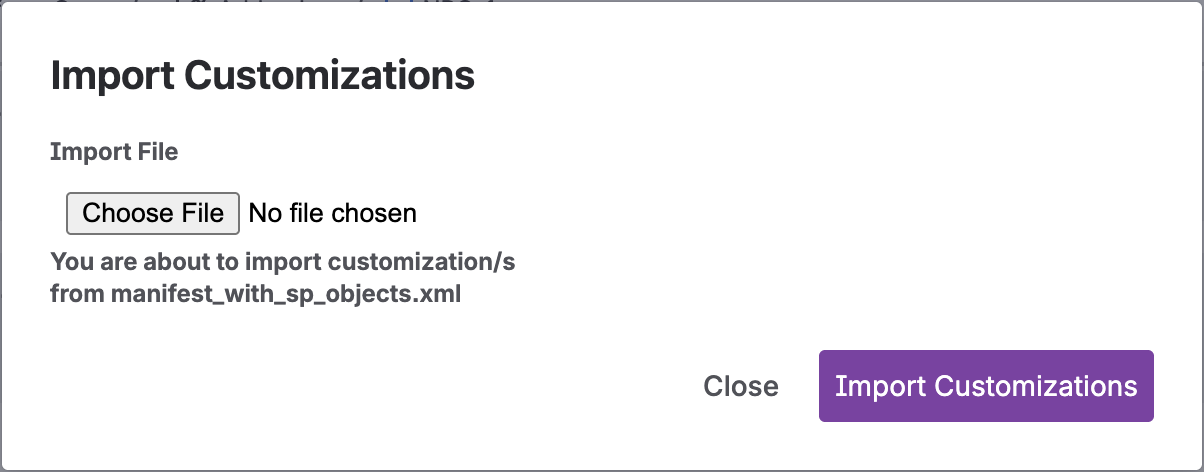
- Importing XML file format
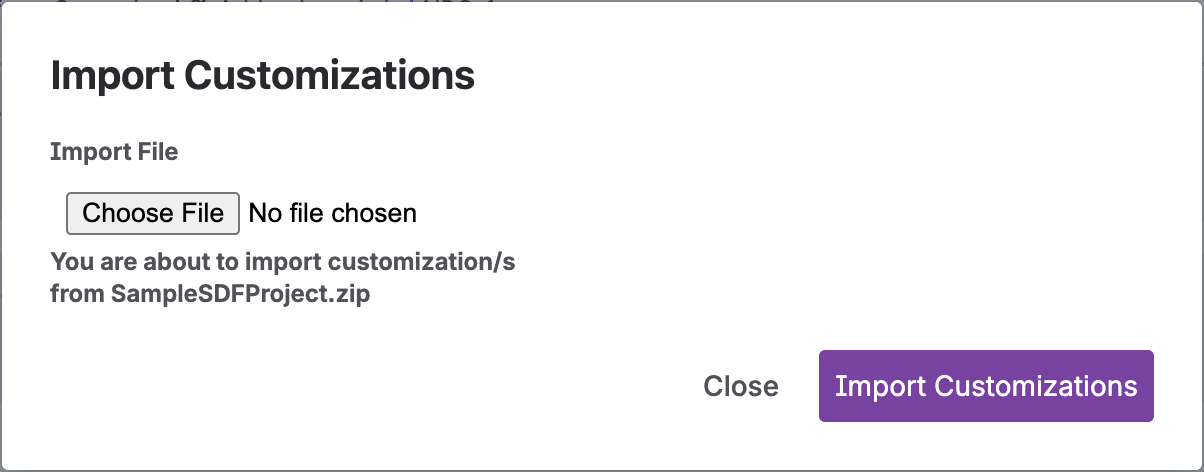
- Importing SDF ZIP file format
-
Click the Import Customizations button. A flag message at the lower left of your screen indicates that the import is in progress.
-
After the import succeeds, all valid objects populate the Customization and Proposed Customization tables. A flag message indicates the import succeeded.
After completing this section, you can:
- Use the Import Customization feature and add customizations in bulk.
Perform Risk Assessment
This feature uses Platform Governance's Impact Analysis tool to review your customizations for dependencies or risks.
To use Impact Analysis follow the steps below:
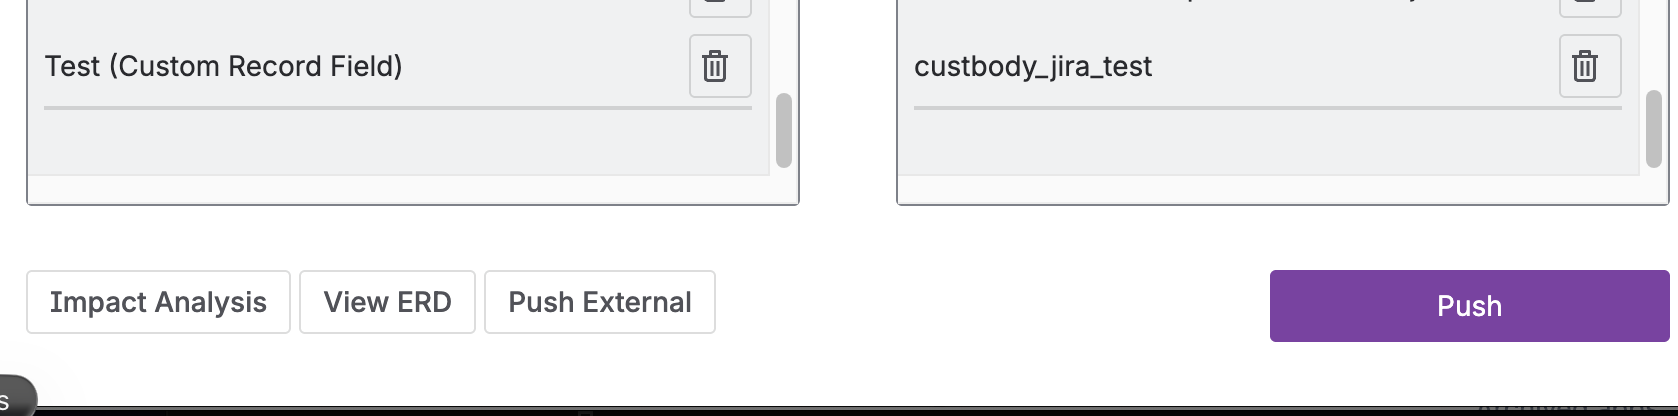
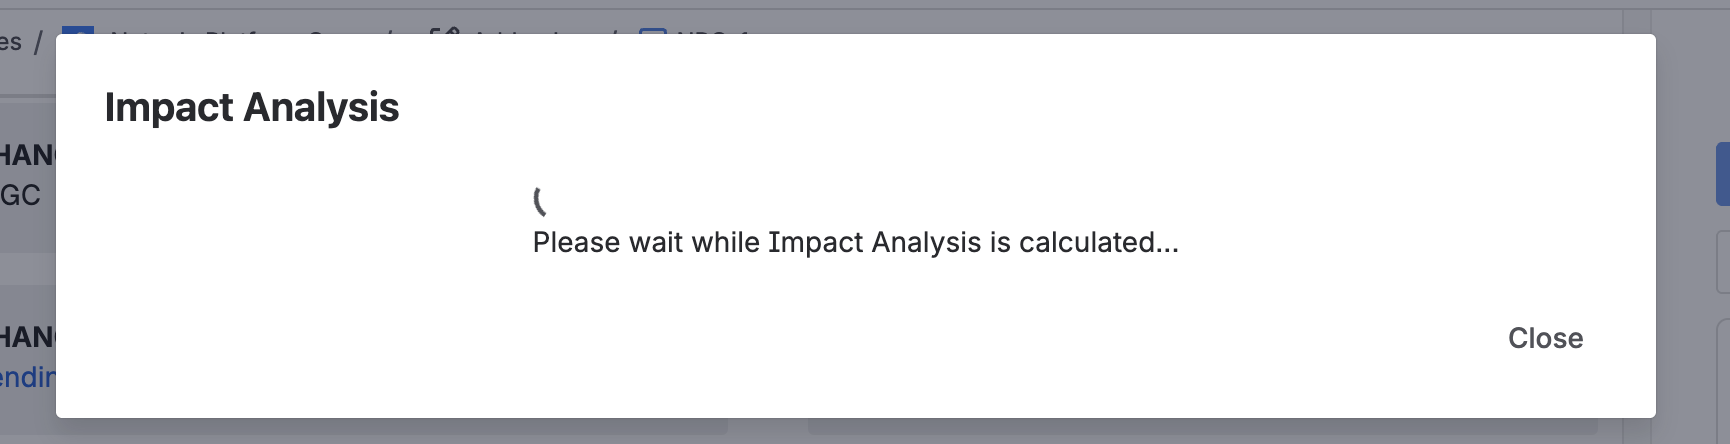
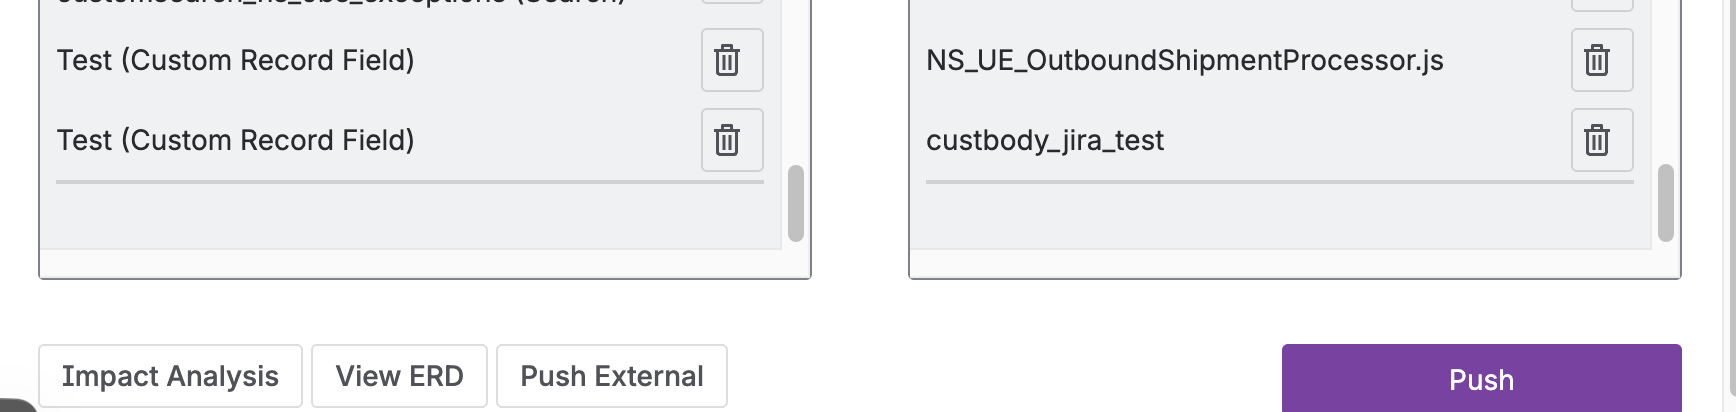
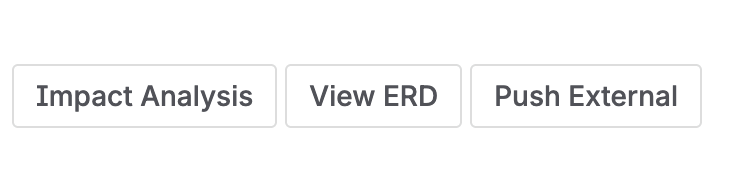
- Click the "Impact Analysis" button located at the bottom left section of the form.
2. A modal appears to start the risk assessment process.
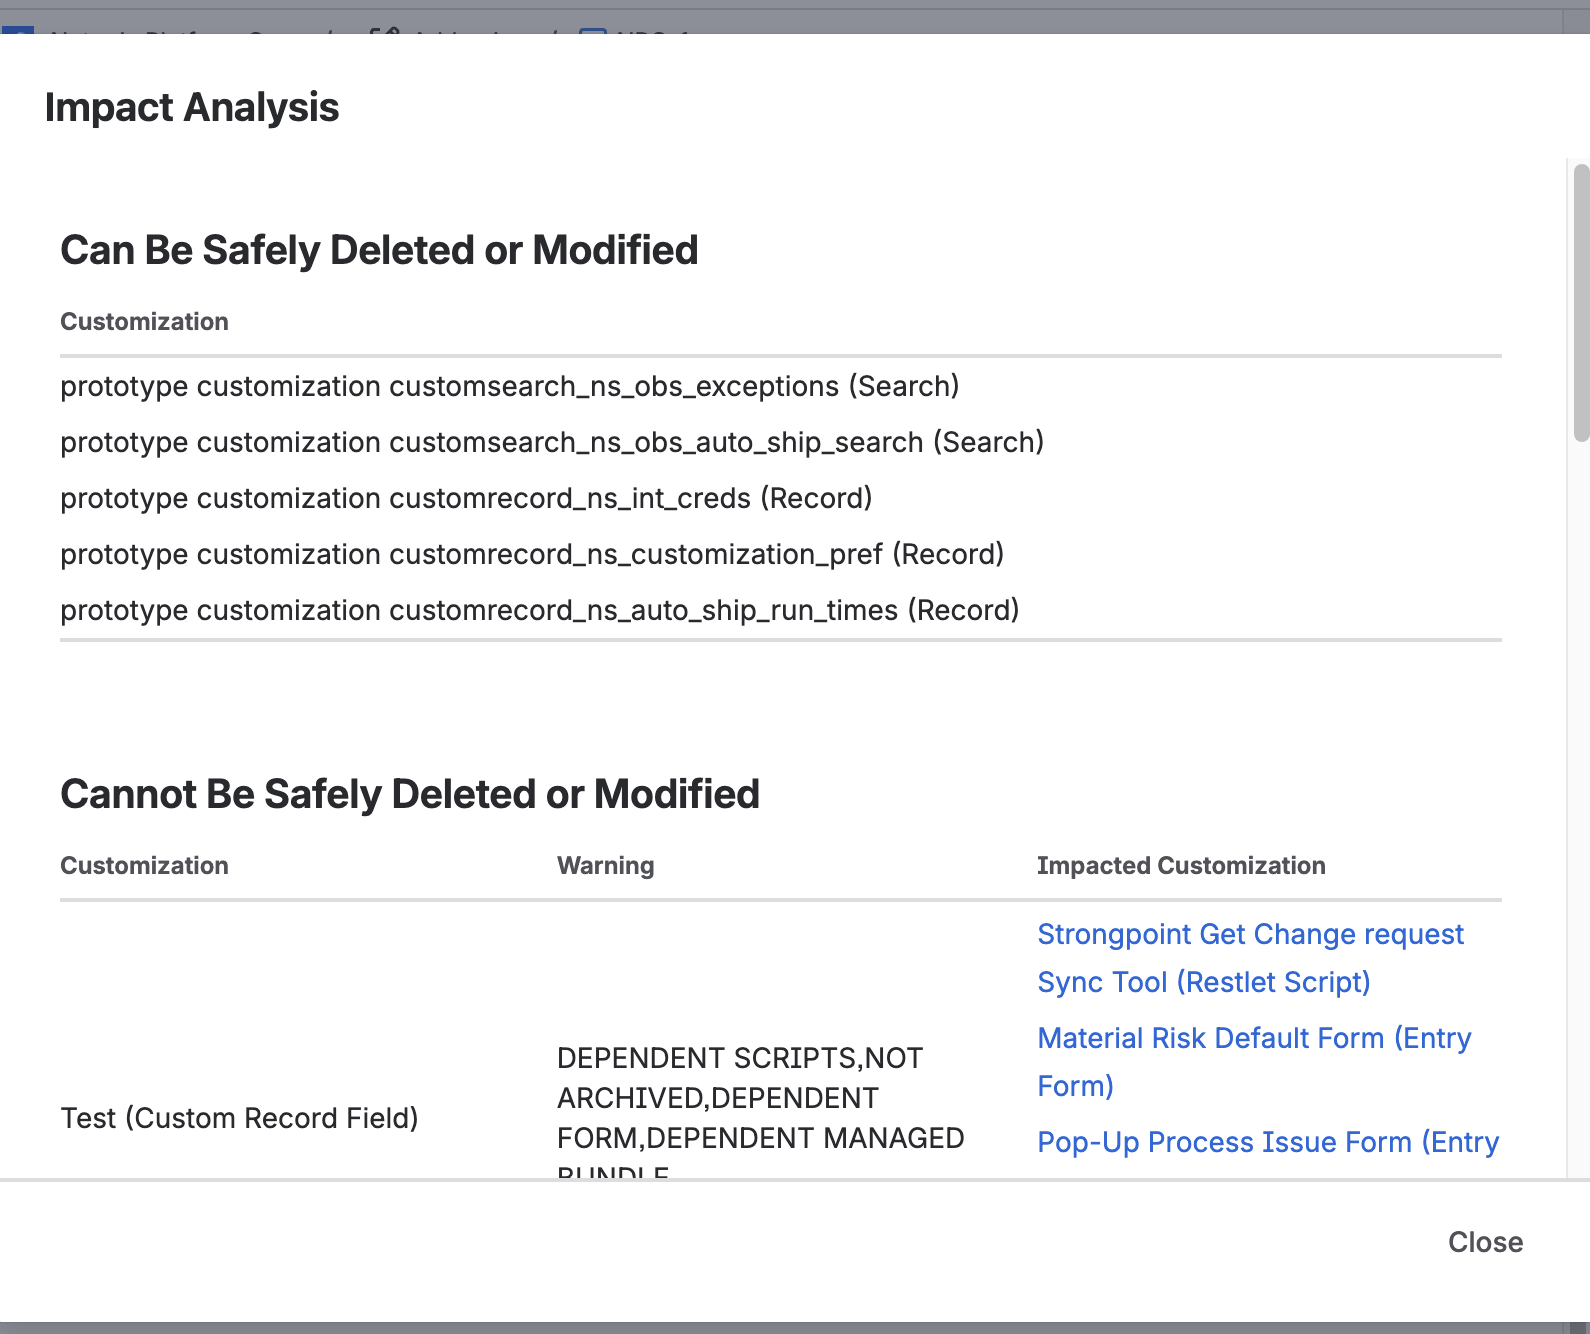
- The modal populates with objects that are impacted. They are categorized as Can Be Safely Deleted or Modified, Can't Be Safely Deleted or Modified and Inactive Customizations (Already Deleted). Objects under the Can't Be Safely Deleted or Modified will also show the Impacted Customizations.
After completing this section, you can:
- Perform an impact analysis on the customizations attached to the Jira ticket change request.
View Entity Relation Diagram
The Entity Relationship Diagram (ERD) tool graphically displays your Customizations and all dependencies.
To use ERD follow the steps below:
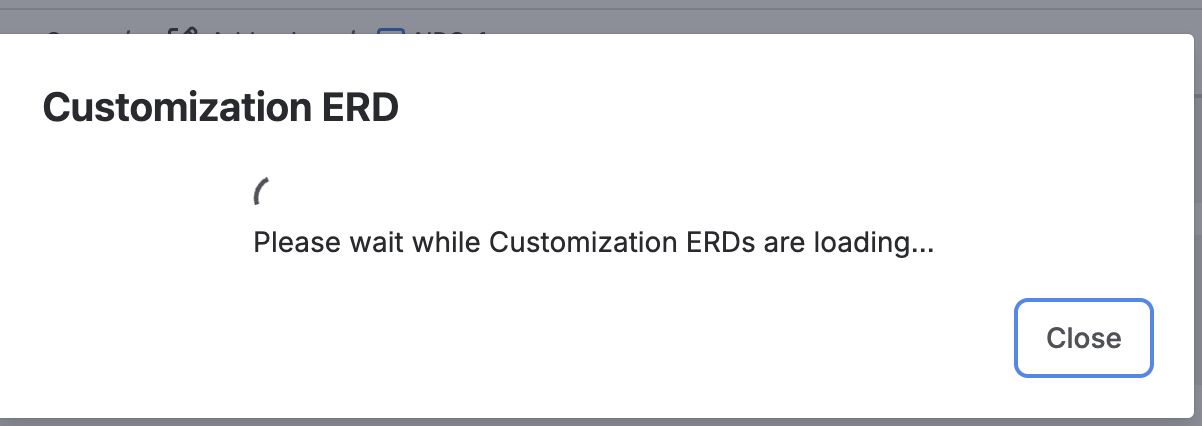
- Click the "View ERD" button located at the bottom left section of the form just beside the "Impact Analysis" button.

- A modal appears to start pulling ERD data.
- The modal populates with the customization and its corresponding hyperlink to the ERD.
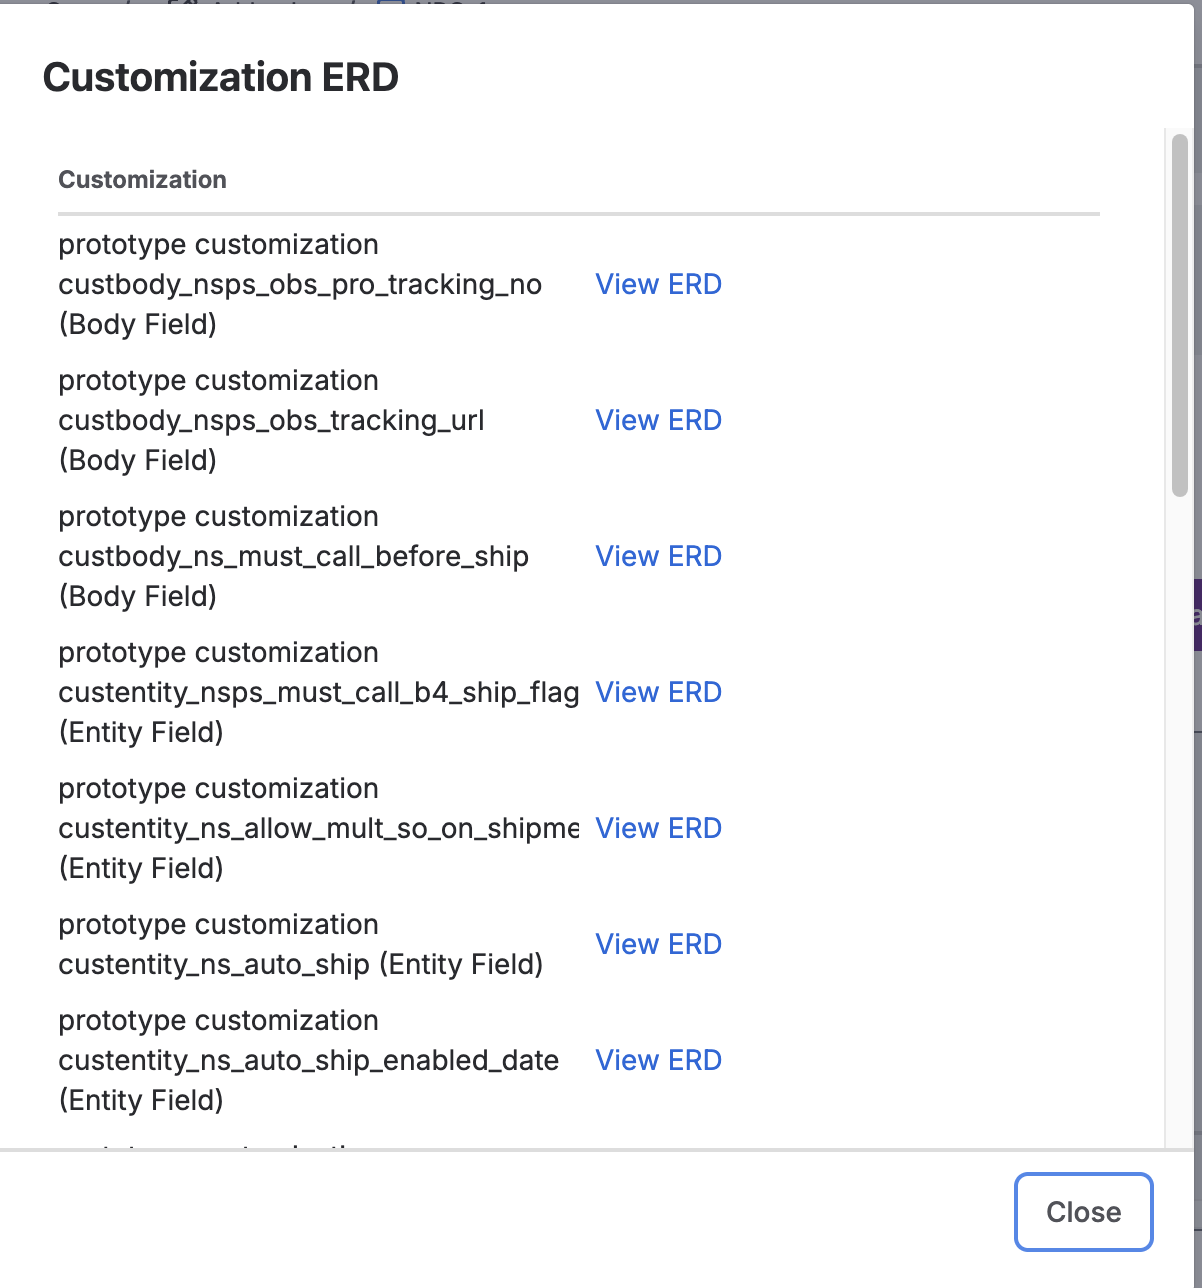
- Click View ERD to view the customization ERD. It opens in a new browser tab.
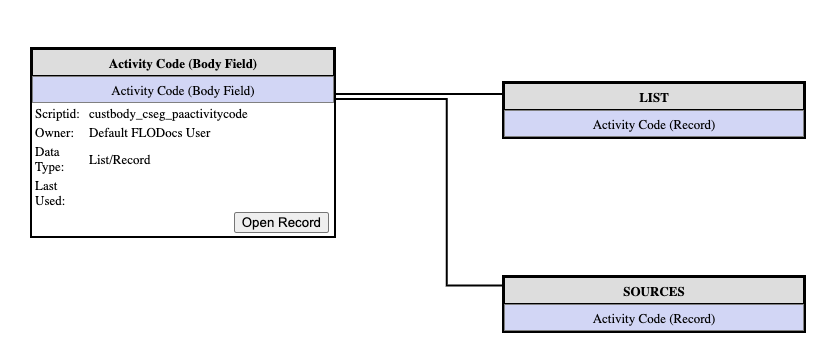
After completing this section, you can:
- View the entity relationship diagram of the customization attached to the Jira ticket change request.
Ready for Development
After you resolve any risks or conflicts, your changes are ready for development:
-
Change the Jira status of your ticket to match the status set up for Jira Statuses for Pending Approval Status. For example, Selected for Development.
-
Click Push if you aren't using Automatic Synchronization to push status changes. A confirmation your Change Request was Created/Updated is displayed.
- Below shows the "Push" button.
- Below shows a flag with a message that the action is in progress.

- Below shows a flag with a message that the action is successful.

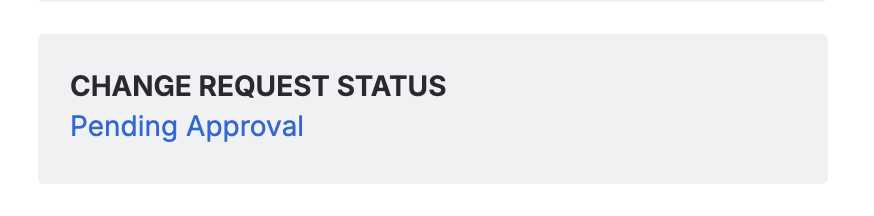
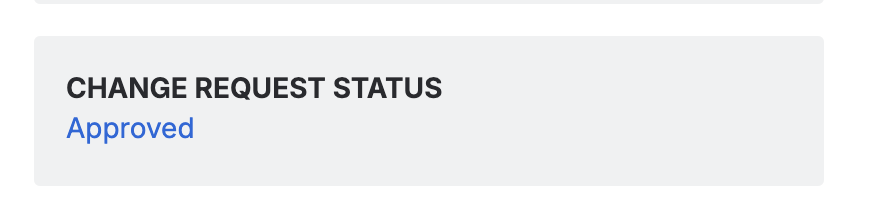
- The Change Request Status field on the form shows the change request status in NetSuite. The status is now Pending Approval, with a link to open the Change Request in NetSuite.
After completing this section, you can:
- Push a change request from a Jira ticket.
- View the change request status from Jira.
Deploy Changes and Complete the Ticket
When development is done, and the Change Request is approved according to your policy, the Jira ticket is ready to be updated.
- The Change Request Status field on the form shows the change request status in NetSuite. The status is now Approved, indicating the change request is approved in NetSuite.
-
Change the Jira status of your ticket to match the status set up for Jira Statuses for Approved Status. In this example, there are two possible statuses: Ready for Deployment and Done. Two statuses let you split the deployment and the ticket closure if you want to monitor the deployment task separately. Both statuses are valid for Deployment, but only Done closes the Jira ticket and updates the Change Request to Completed.
-
Click Push if you aren't using Automatic Synchronization to push status changes. A confirmation your Change Request was Created/Updated is displayed.
- Below shows a flag with a message that the action is in progress.
- Below shows a flag with a message that the action is successful.
- If you used Ready for Deployment, update your Jira status to Done once your deployment and verification activities are complete.
After completing this section, you can:
- Push a change request from a Jira ticket.
- View the Approved change request status from Jira.
If you open the Change Request in NetSuite:
- All Customizations added from Jira are displayed.
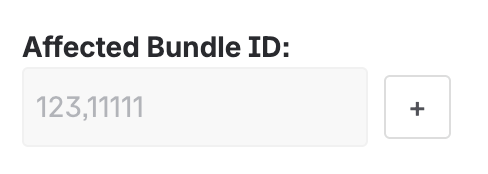
- Affected Bundle ID is added (if used).
- Change Overview is set to the Jira ticket description.
- Change Request is Approved and ready to be deployed.
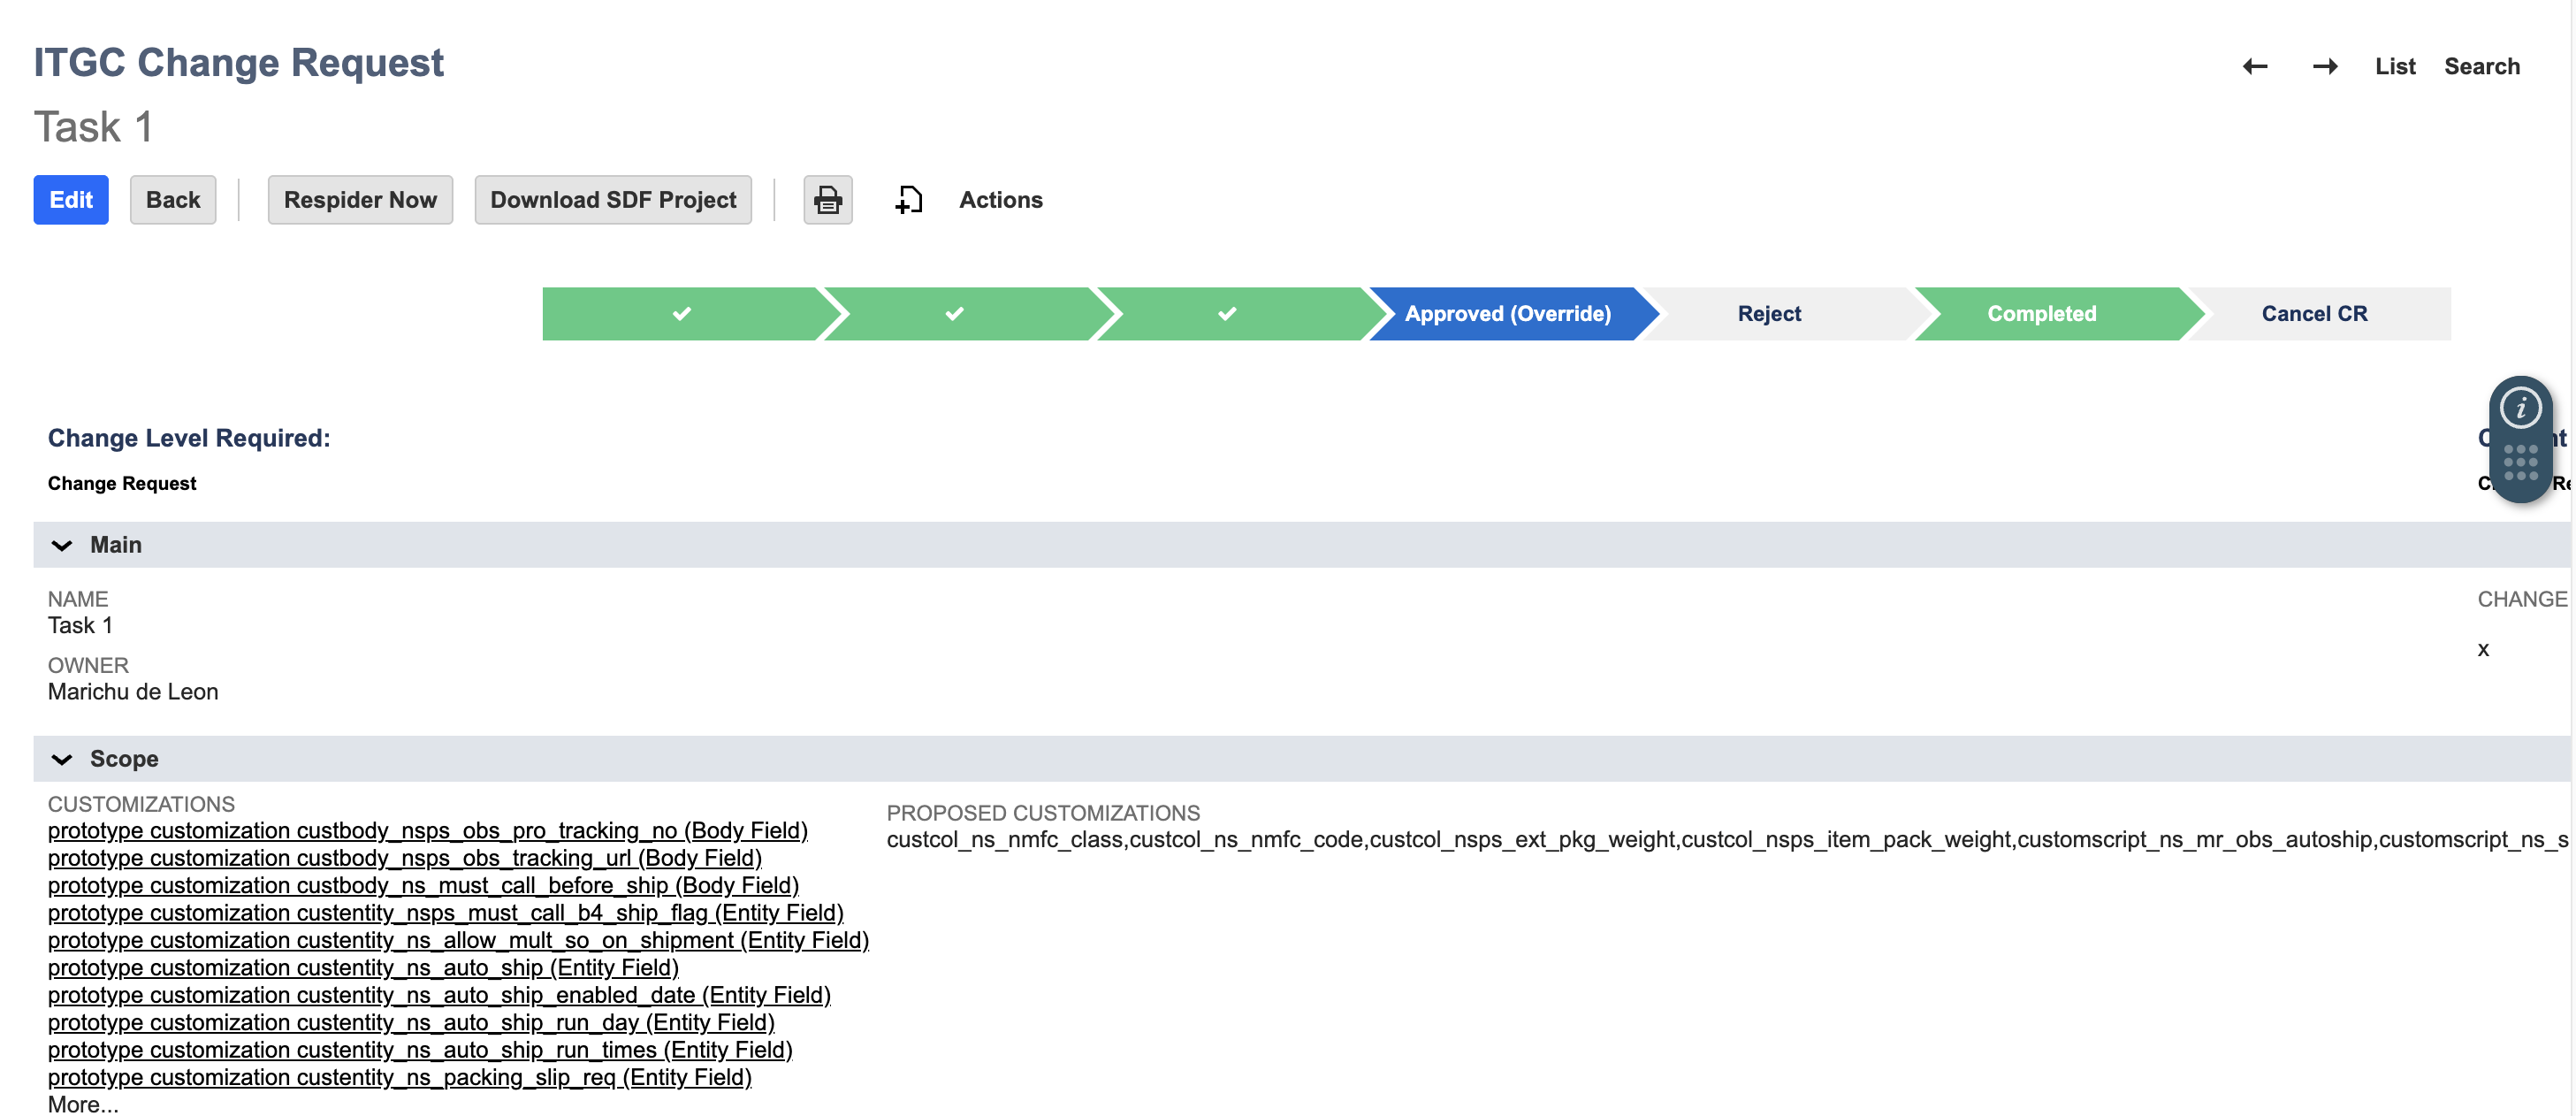
- Originated System, External Change Request Number and External Link to the Jira ticket are populated on the Related Change Records tab.

- If the Jira status is Done, the Change Request shows as Completed.
Other notable features
These are the other features whose actions aren't that commonly used but are of equal importance in the integration app.
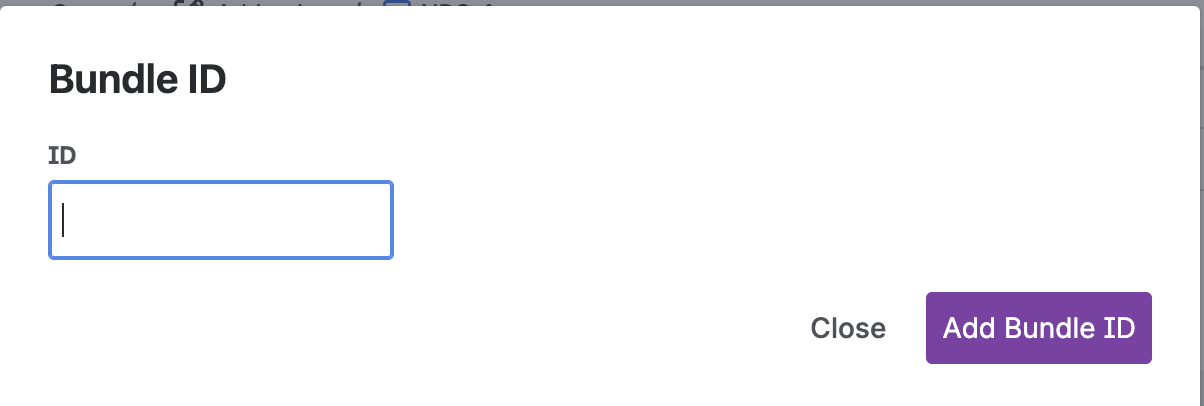
- Add Bundle ID - The + button beside the Affected Bundle ID field. Use it to add NetSuite bundle IDs to the change request. You can add one bundle ID at a time. To remove a bundle ID from the change request, contact a NetSuite Administrator.
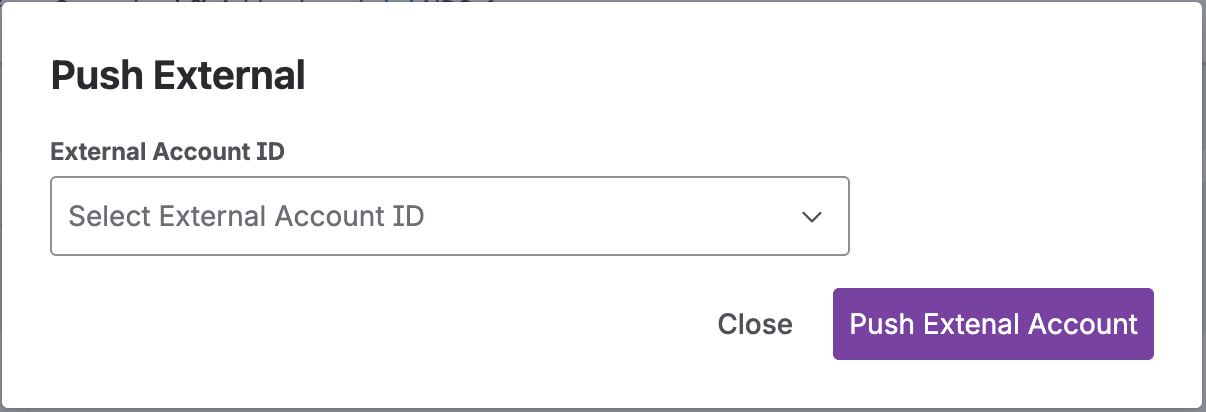
- Push External - This feature allows the user to "push" the Jira ticket change request and its objects to an external NetSuite account. Pushing to an external NetSuite account saves time when creating a change request with the same objects in another NetSuite account. To use Push External, click the Push External button. A modal appears to select the NetSuite account to push to. NetSuite accounts in the modal are the same accounts defined in the Netwrix NetSuite TBA Credentials page.
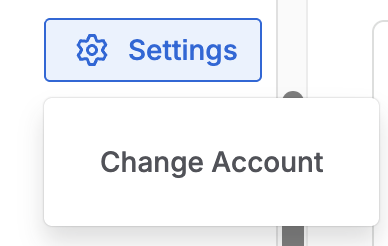
- Settings - The Settings is a dropdown button, allows the user to switch NetSuite accounts to connect to. When "Settings" button is clicked, a "Change Account" option is shown. When the user clicks "Change Account", the session is disconnected and the connection to a NetSuite account stopped. The connection form is then shown to allow the user to connect to another NetSuite account.
You have completed the Jira Forge Walkthrough.
Next Step: Jira Forge FAQs