Approving Policy Changes
-
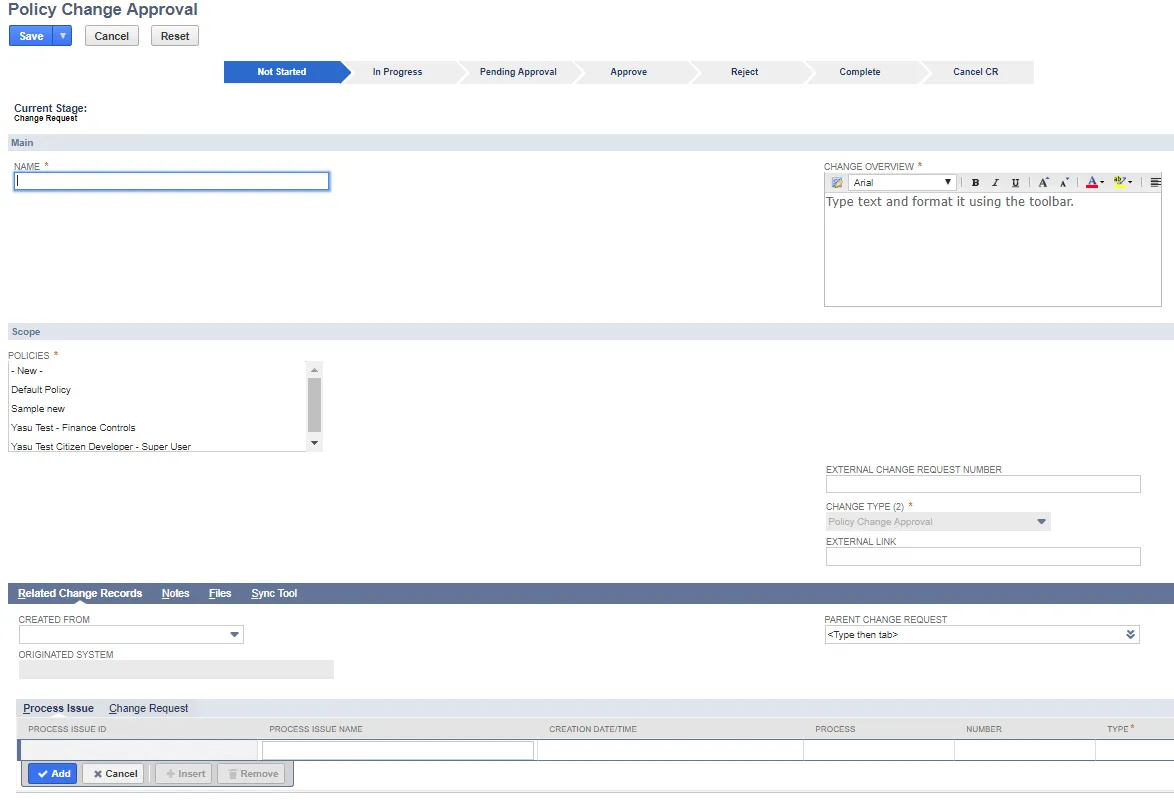
Open Strongpoint > Change Management Tools > Policy Change Approval (Beta)
-
Enter information into the required Name, Change Overview and Policies fields. Change Type is preset to Policy Change Approval.
-
Click In Progress on the status bar.
-
Click Save.
-
Review the approvers. Click Edit to add or change approvers. An administrator can add themselves as an additional approver and set the Approval Status to Approved to immediately approve the request. The status bar shows Approved (Override).

-
Click Pending Approval to begin the normal approval process. Approvers must be licensed Platform Governance for NetSuite users and have the correct role permissions if they are using a custom (non-Strongpoint) role.
-
Approvers can use the link in the email notification to Approve or Reject the Policy Change.
- Rejected changes can be edited and resubmitted. Click In Progress (hover over the status bar), make your changes, and click Pending Approval.
- Click Deploy to deploy approved changes. When finished, click Complete.