Management Console
This section introduces you to the Password Policy Enforcer management console, and explains how to configure Password Policy Enforcer's global properties. You will also learn how to disable and enable Password Policy Enforcer without uninstalling it.
Management Console Overview
The Password Policy Enforcer management console is a Microsoft Management Console snap-in that is used to edit Password Policy Enforcer's configuration. The management console is installed by default when Password Policy Enforcer is installed, but you can also install it on your computer if you want to remotely configure Password Policy Enforcer.
Installing the Management Console
Follow the steps below to install the Password Policy Enforcer management console onto your computer so that you can remotely configure Password Policy Enforcer.
Step 1 – Start the Password Policy Enforcer installer (PPE10.2.exe).
Step 2 – Read the license agreement and then click Yes if you accept all of the license terms and conditions.
Step 3 – Select the Advanced option and then click Next.
Step 4 – Double-click the PPE10.2.msi file.
Step 5 – Click Next when the Password Policy Enforcer installation wizard opens.
Step 6 – Select I accept the license agreement and then click Next.
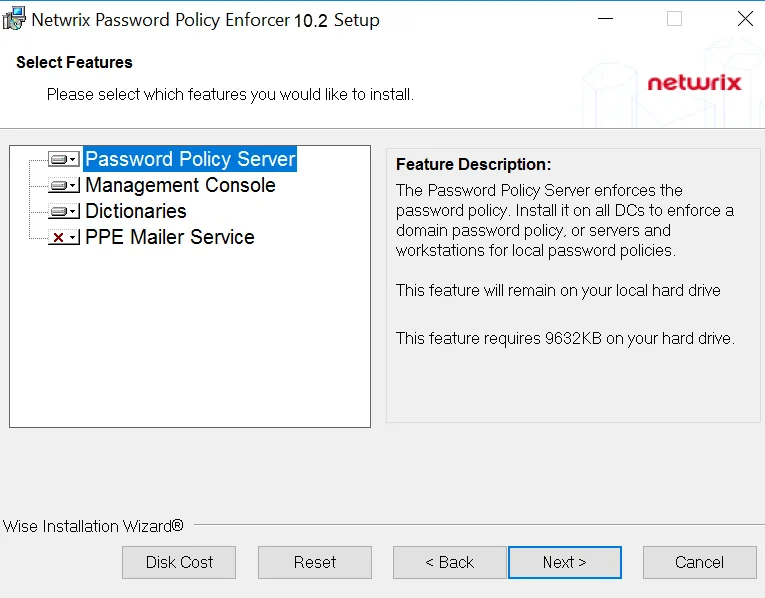
Step 7 – Select the Custom option, and then click Next.
Step 8 – Click the icon beside the Password Policy Server feature, and then click Entire feature will be unavailable.
Step 9 – Click Next twice.
Step 10 – Wait for the Management Console to install and then click Finish.
Opening the Management Console
Click Start > Netwrix Password Policy Enforcer 10 > PPE Configuration to open the Password Policy Enforcer management console.
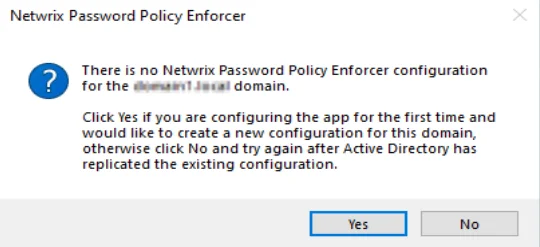
NOTE: If you are opening the management console for the first time, click Yes when asked if you would like to create a new Password Policy Enforcer configuration.
NOTE: Press F1 while using the management console to display help information for the current window.