Set Resources' Display Names
How to change the value of the display name for resources of an Entity Type.
Overview
Here you will learn how to change a resource's display name, which is the name used by the UI to
identify a resource of an entity type. Its value is computed from existing properties. For example
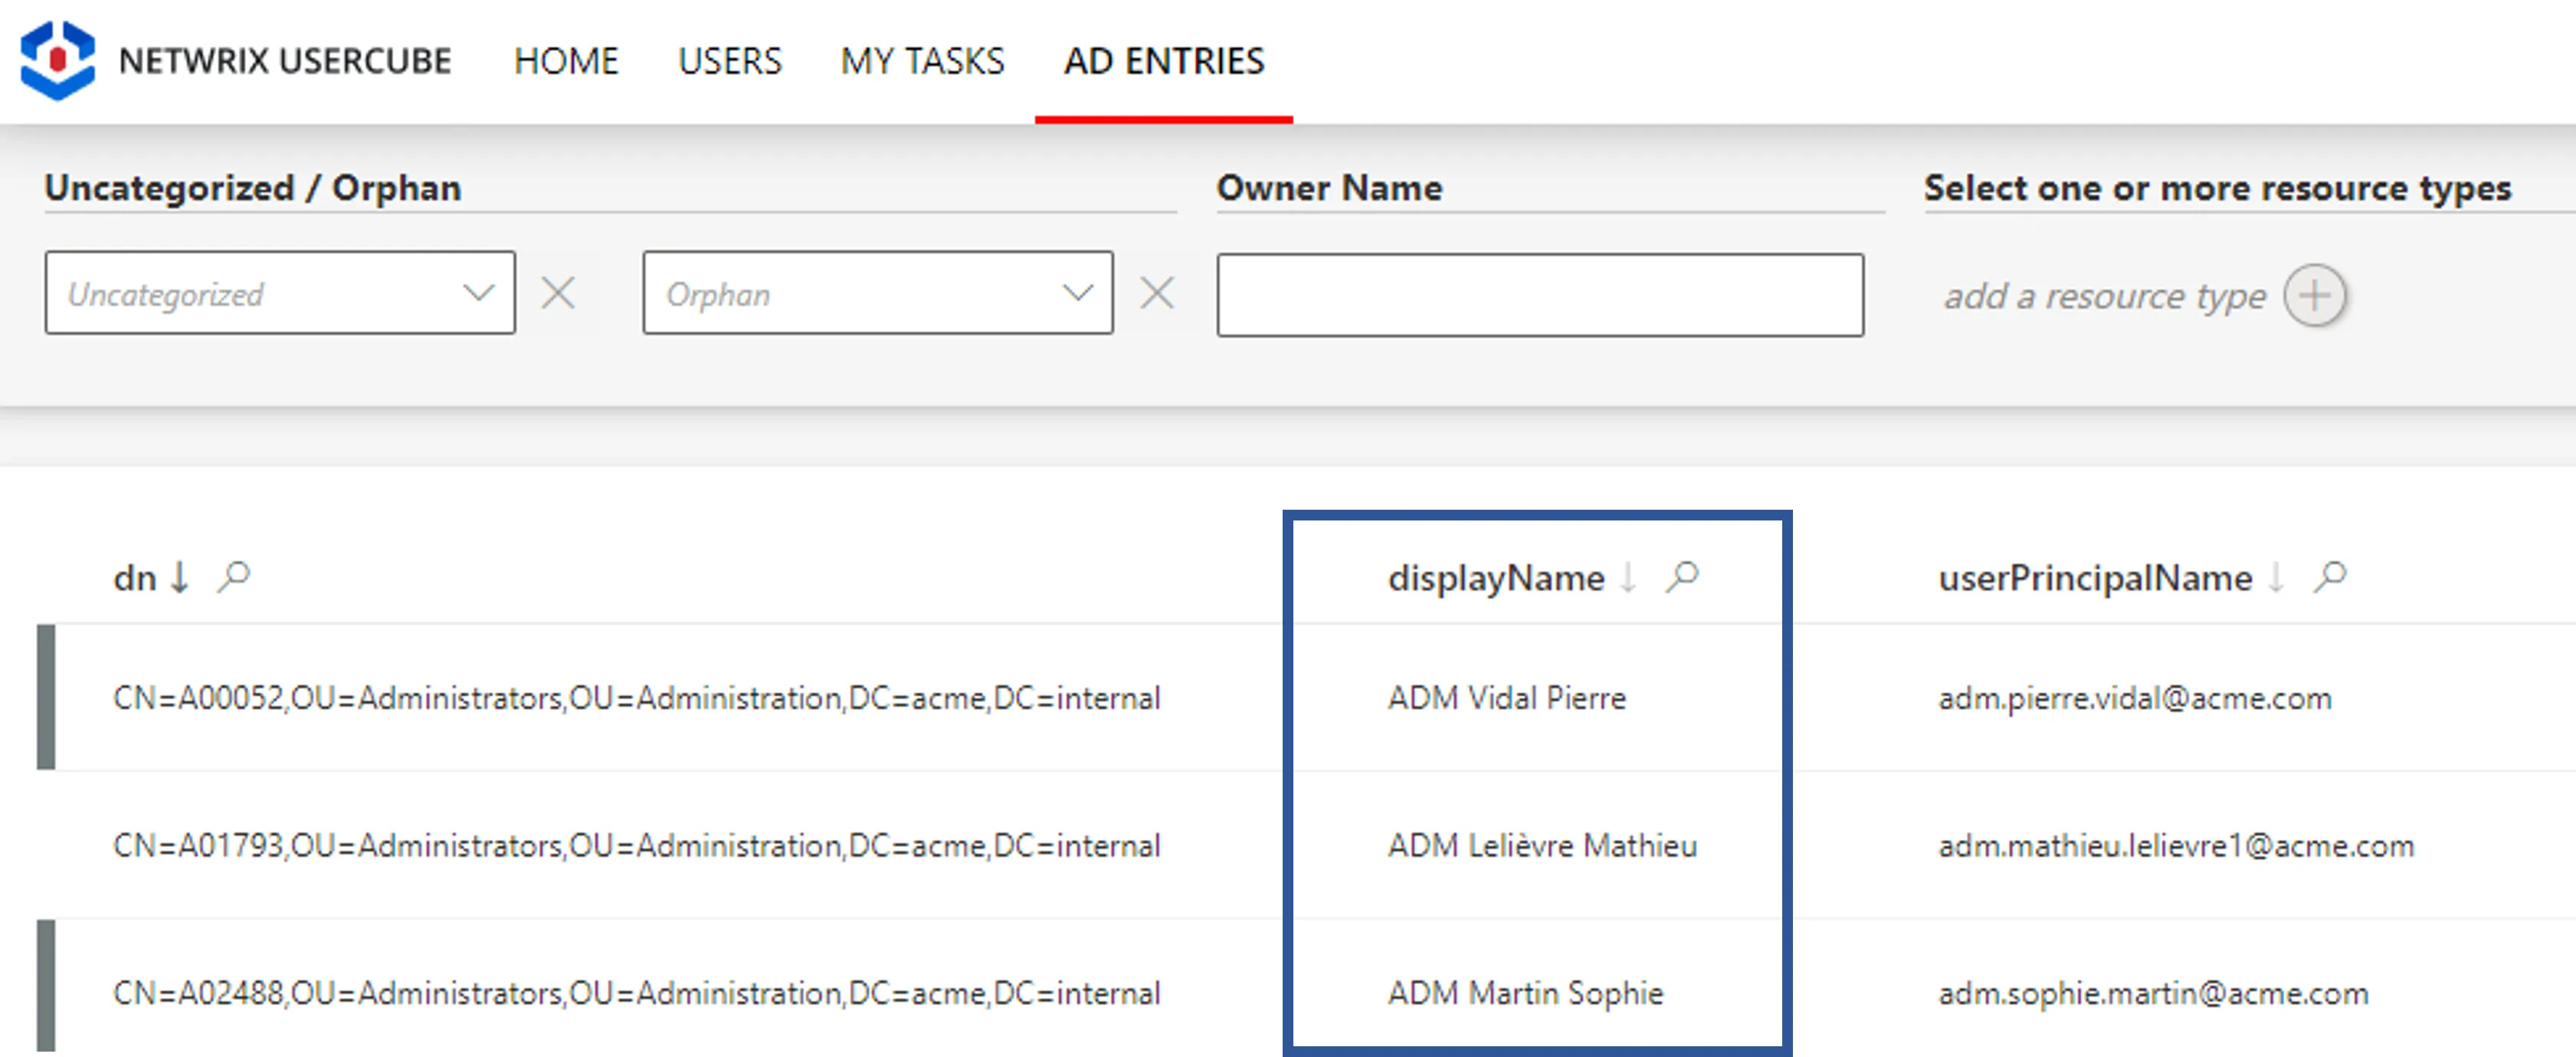
for the entity type HR - User, integrators may set the display name to:
<Employee_Id> - <Last_name> <First_name>.
![]()
If you do not set your own display name, Identity Manager provides a default value based on the
first scalar property after alphabetizing all the properties whose name contains name.
Set the Resource's Display Name
Set the resource's display name by proceeding as follows:
-
Start by creating the entity type with its calar properties and keys. See the Define Scalar Properties and Select Primary Keys topics for additional information.
-
Ensure that the created properties are saved by clicking on Save & Close > Save at the top right corner.
-
On the entity type's definition page, click on the Settings tab.

-
Set the display name. As a display name, you can use either the value of an existing property, or compute Expressions based on existing properties.
A resource from
AD - Entrycan be displayed using itsuserPrincipalNamewith predefined functions.
Another example from the HR connector (User entity type):


-
Click on Save & Close.
Changes inside connectors won't take effect until the next Synchronize Data. More specifically, changes in display names won't take effect until the next Update Entity Property Expressions Task runs.
Reload
Every time an entity type mapping is modified and saved, a green pop-up appears saying that you should reload the schema to implement the changes. You do not need to click on the button every time. It is essential though to reload after the final changes are made.

The Reload button mostly enables your changes to appear in the menu items, which configure the left menu links on the UI's home page.
You can find the Reload button either on the green warning, or on the connector's dashboard.
Troubleshooting
If no property appears in the display name auto-completion, then:

Ensure that the created properties are saved by clicking on Save & Close > Save at the top right corner of the screen.