Set the Working Directory's Permissions
This guide shows how to assign to the pool the right permissions on the working directory.
Overview
For Identity Manager to work correctly, the pool of the production agent must be configured with specific permissions on the working directory.
This page describes the optimal configuration of the pool's permissions on the working directory to prepare the production agent's installation.
Set the Working Directory's Permissions
Set the working directory's permissions by proceeding as follows:
-
Right-click on the working directory, for example
C:/identitymanager, to select Properties, and in the Security tab, click on Advanced.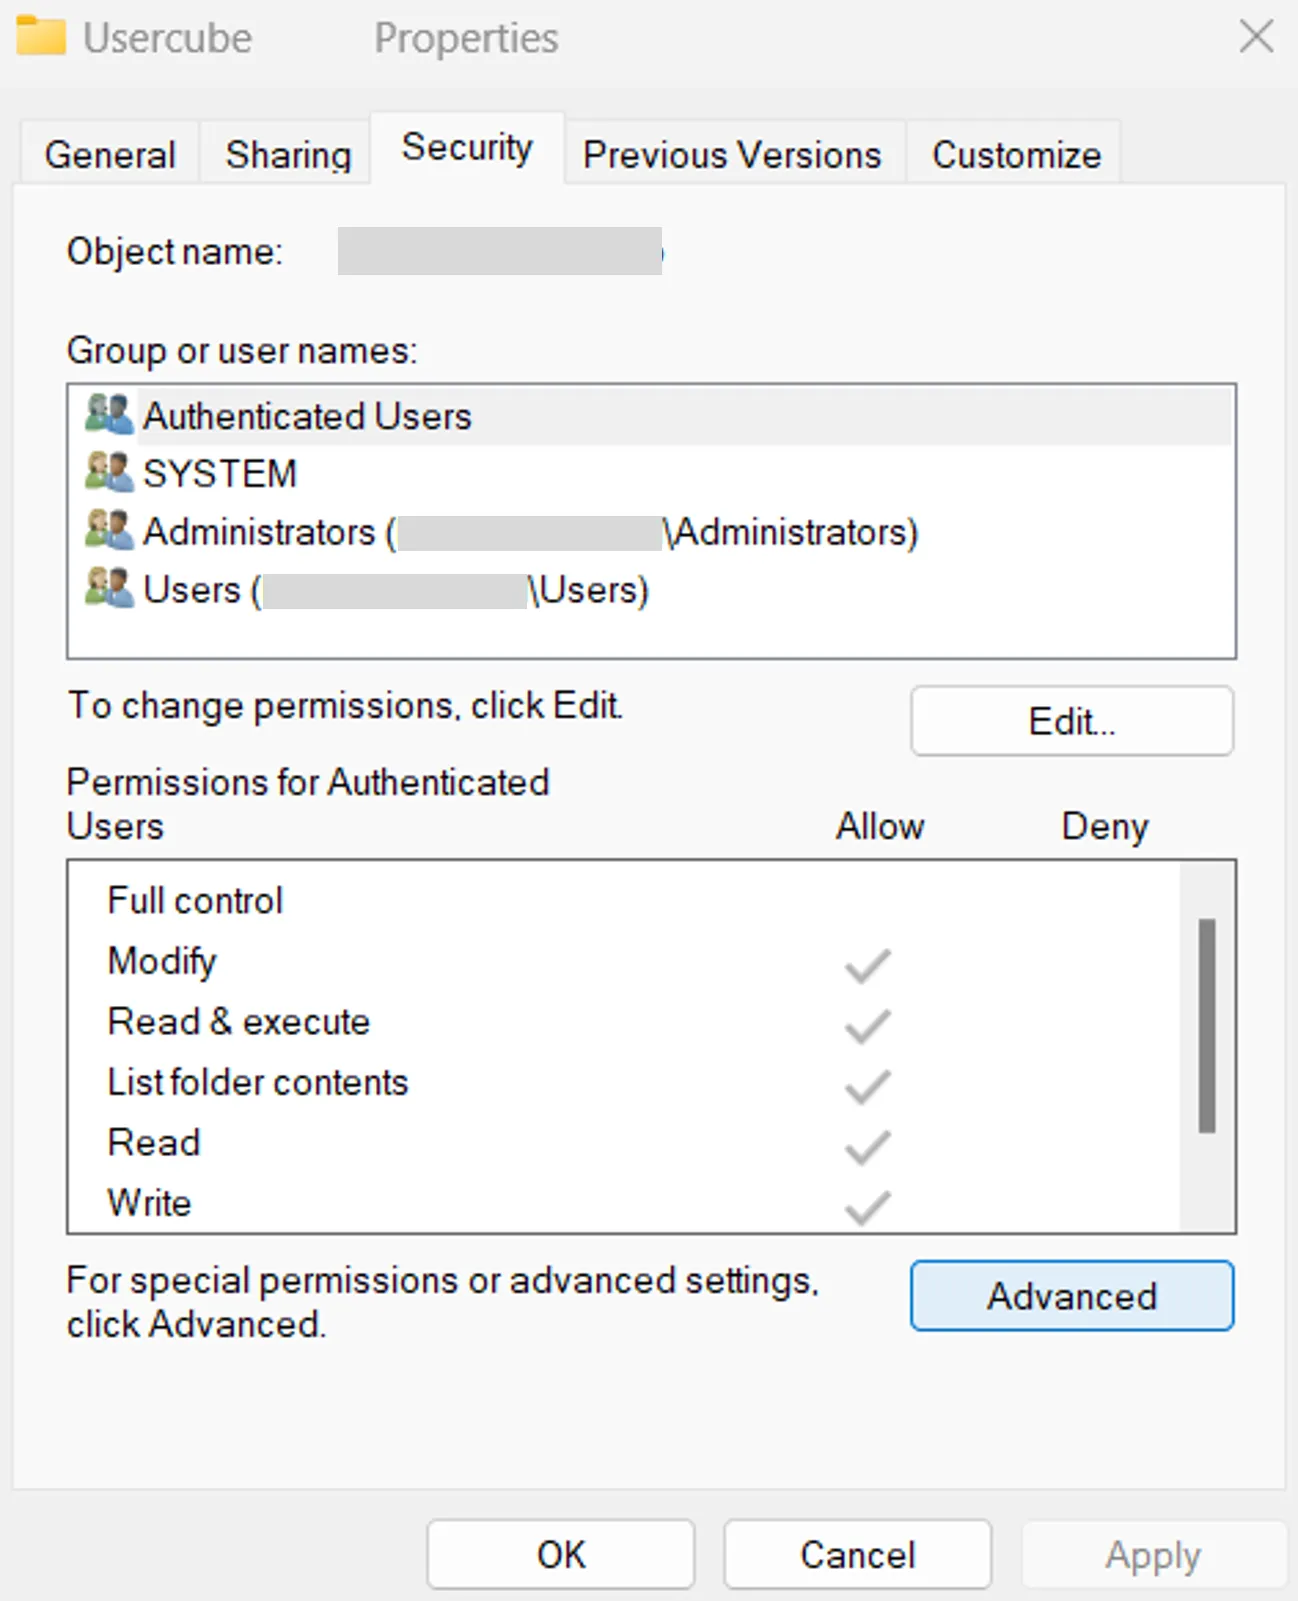
-
In the Permissions tab, click on Add, and in the pop-up window click on Select a principal.

-
Click on Locations to choose the current computer, and in the text area enter
iis apppool/identitymanager(Usercubebeing the name of the previously created pool).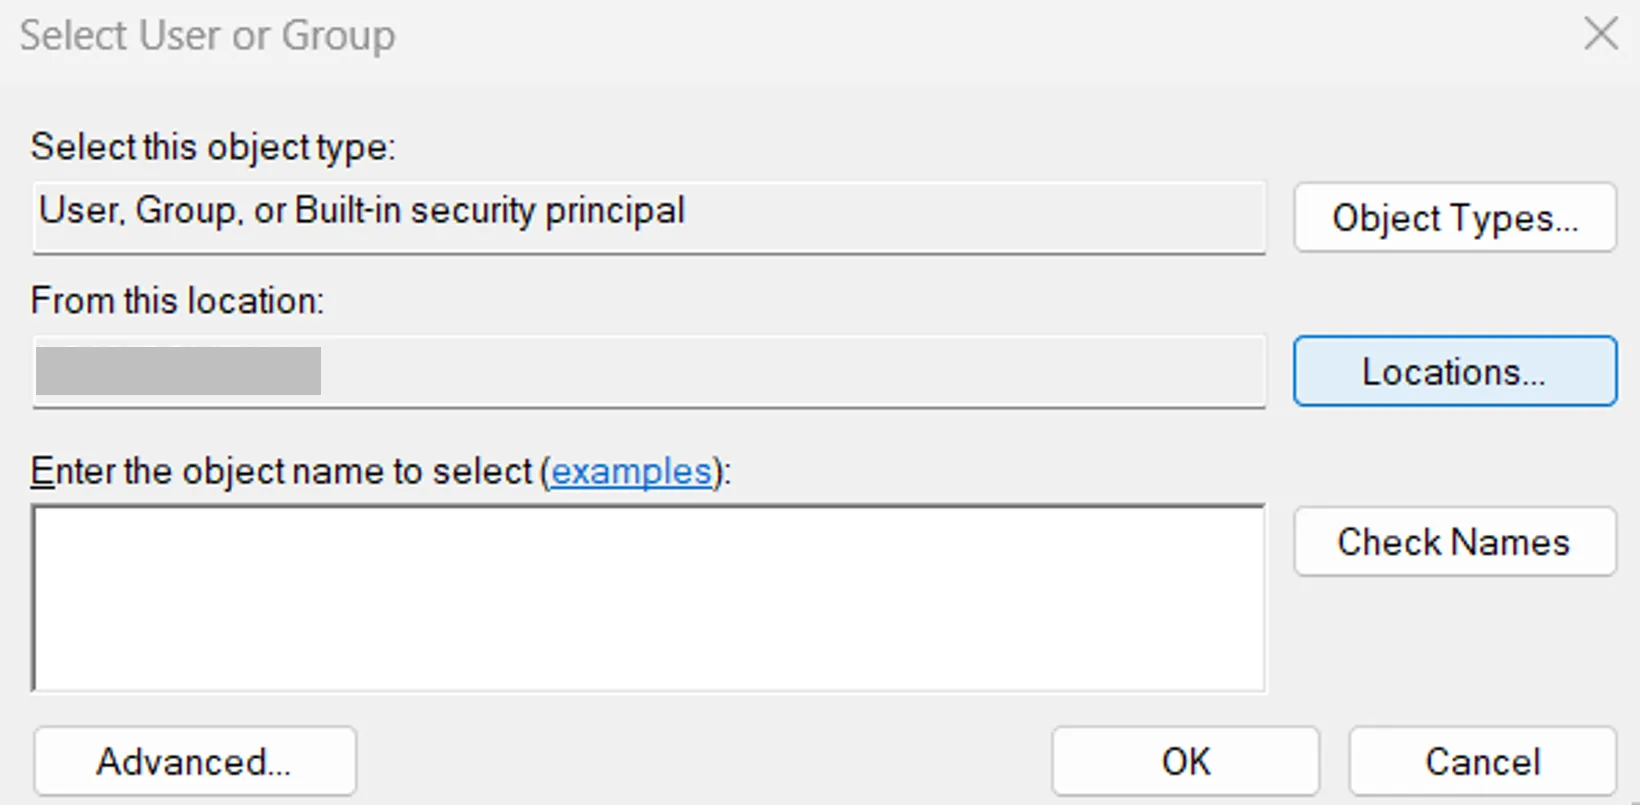
An error at this point should come either from a mistake in the pool's name or in the selected location.
-
Click on OK and make sure that only the Read and execute, List folder contents and Read permissions are selected.

-
Click on OK in the windows until they are all closed.
-
Right-click on the
Tempfolder to select Properties, and in the Security tab, click on Edit.
-
Select the user corresponding to the pool and give them
Full control.
-
Click on OK in the windows until they are all closed.
-
Repeat the last few steps (those concerning the
Tempfolder) to apply them to theWorkandMailsfolders.
Next Steps
To continue, Finalize the Installationin a few steps.