Creating the Policy
After the script and package are successfully uploaded, create a new Jamf policy. To create the new policy, follow these steps:
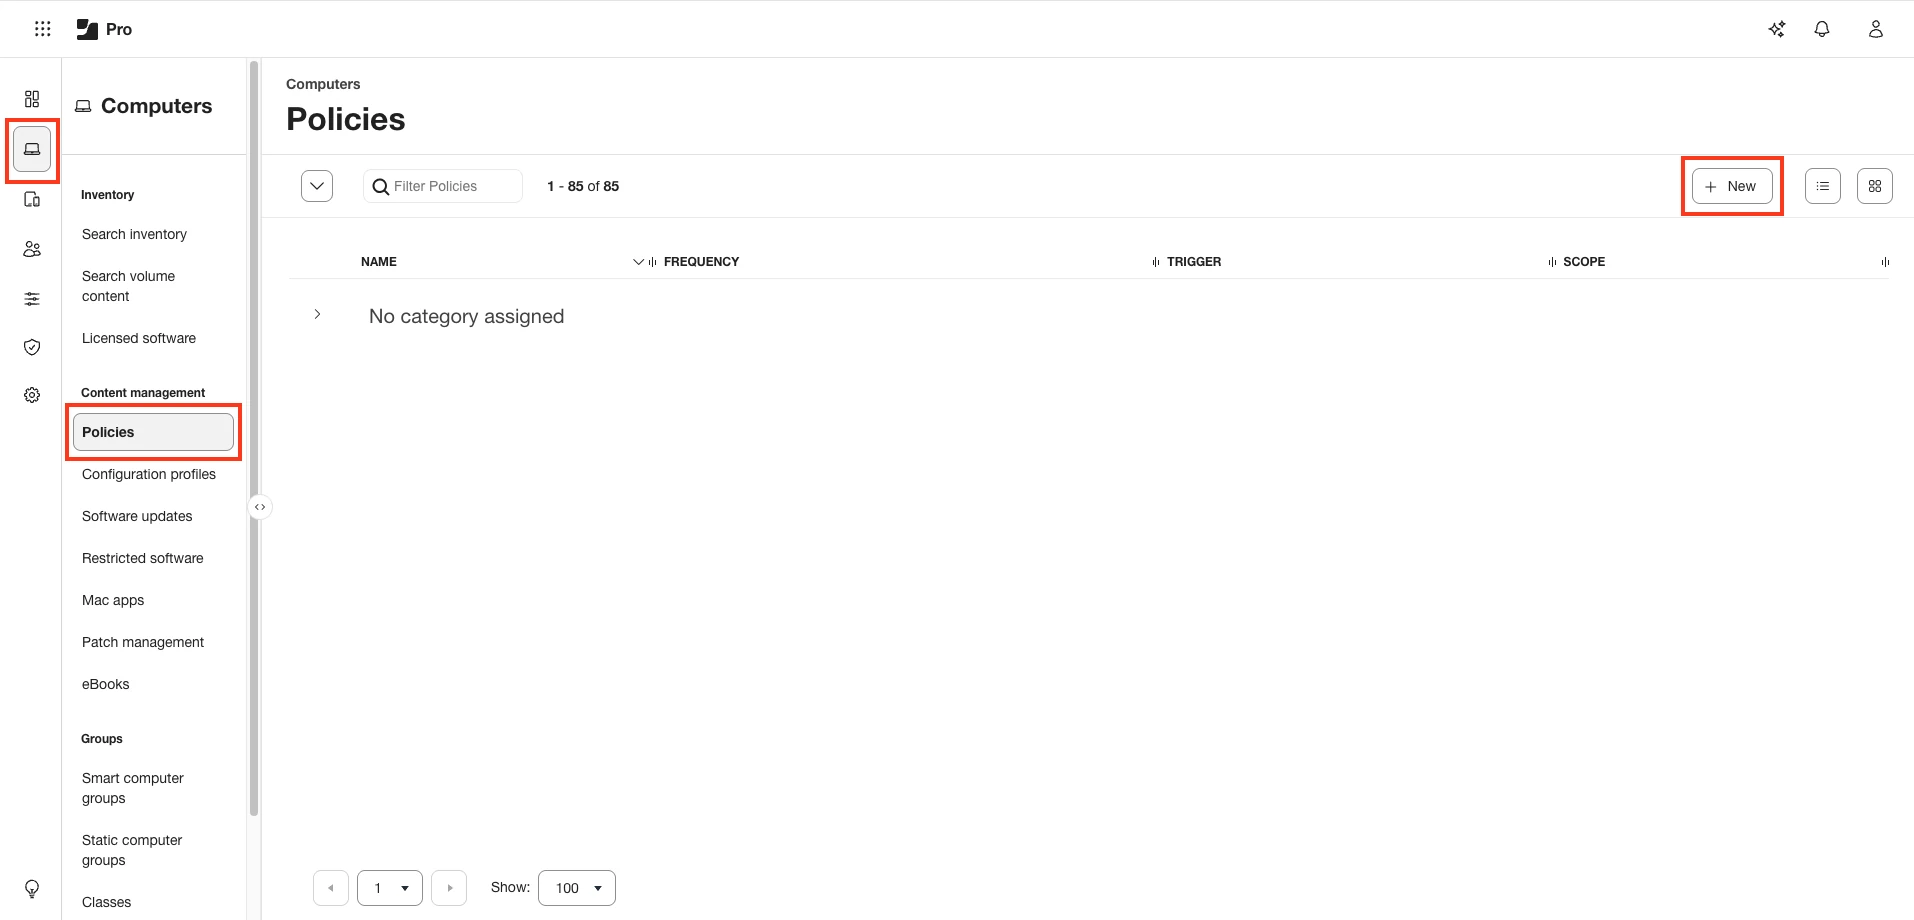
Step 1 – In your Jamf account, from the main navigation bar, click Computer, from the left sidebar menu, select Policies, and then click + New.
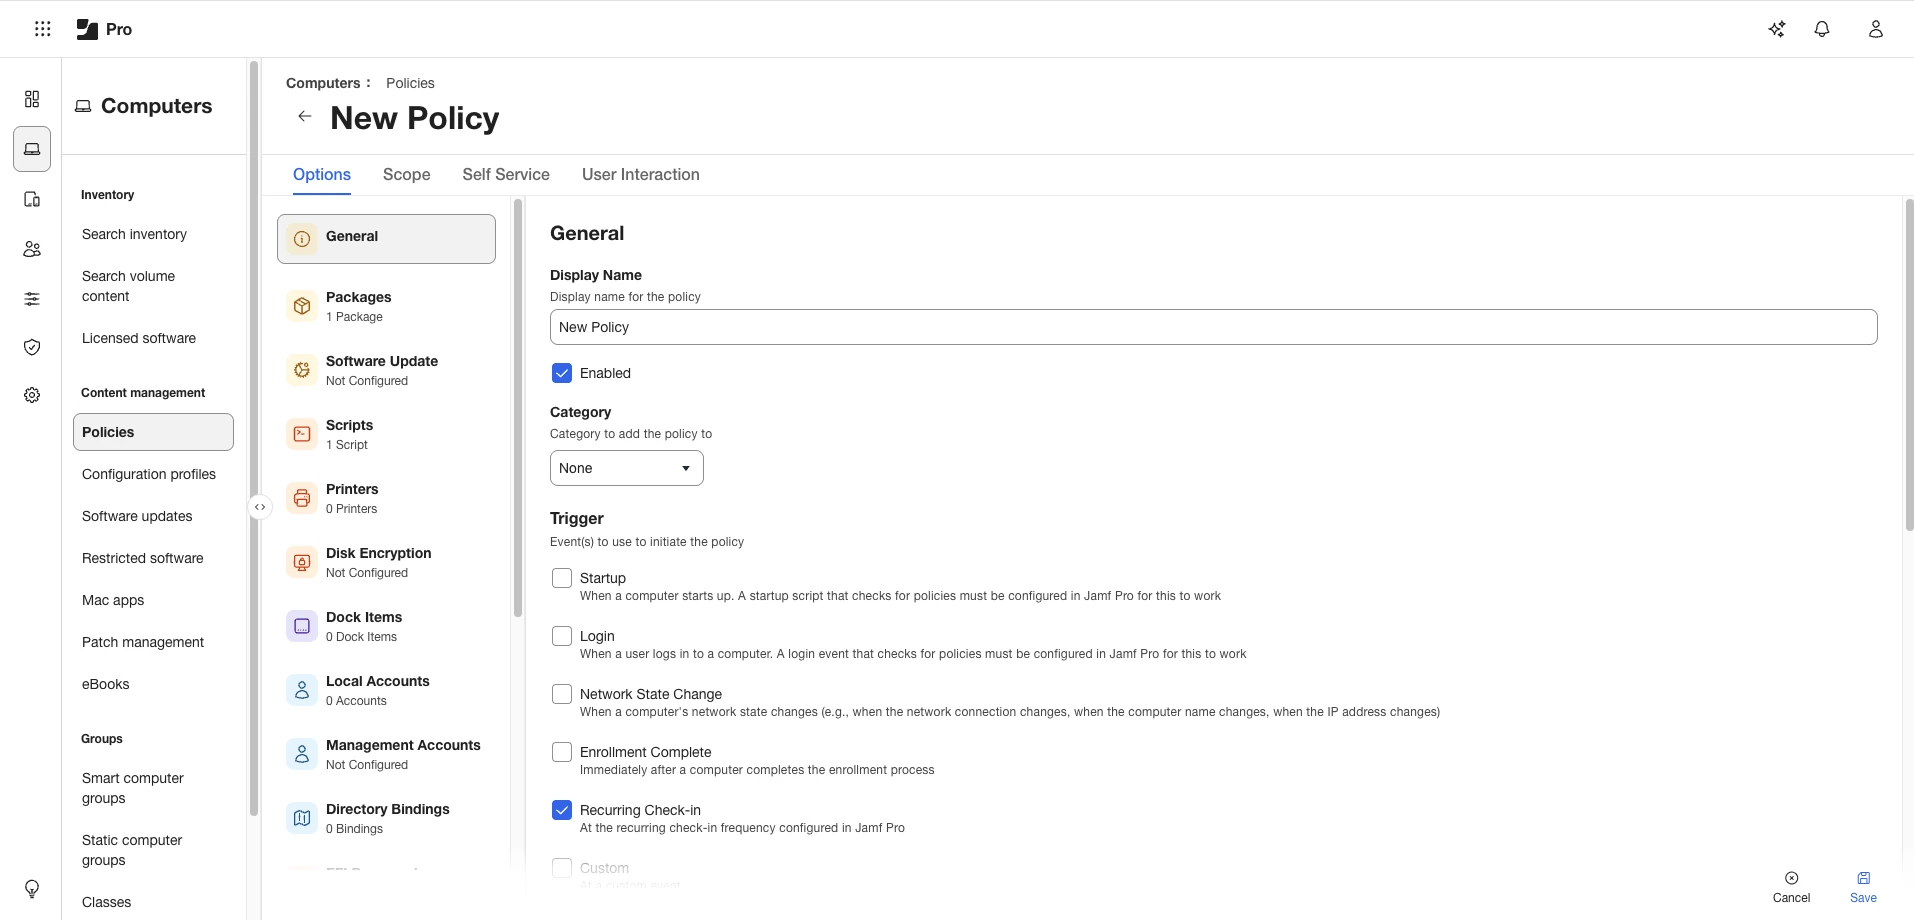
Step 2 – On the default General section, enter the following information:
- Display Name – enter the name to use for this policy.
- Select the Recurring Check-in check-box.
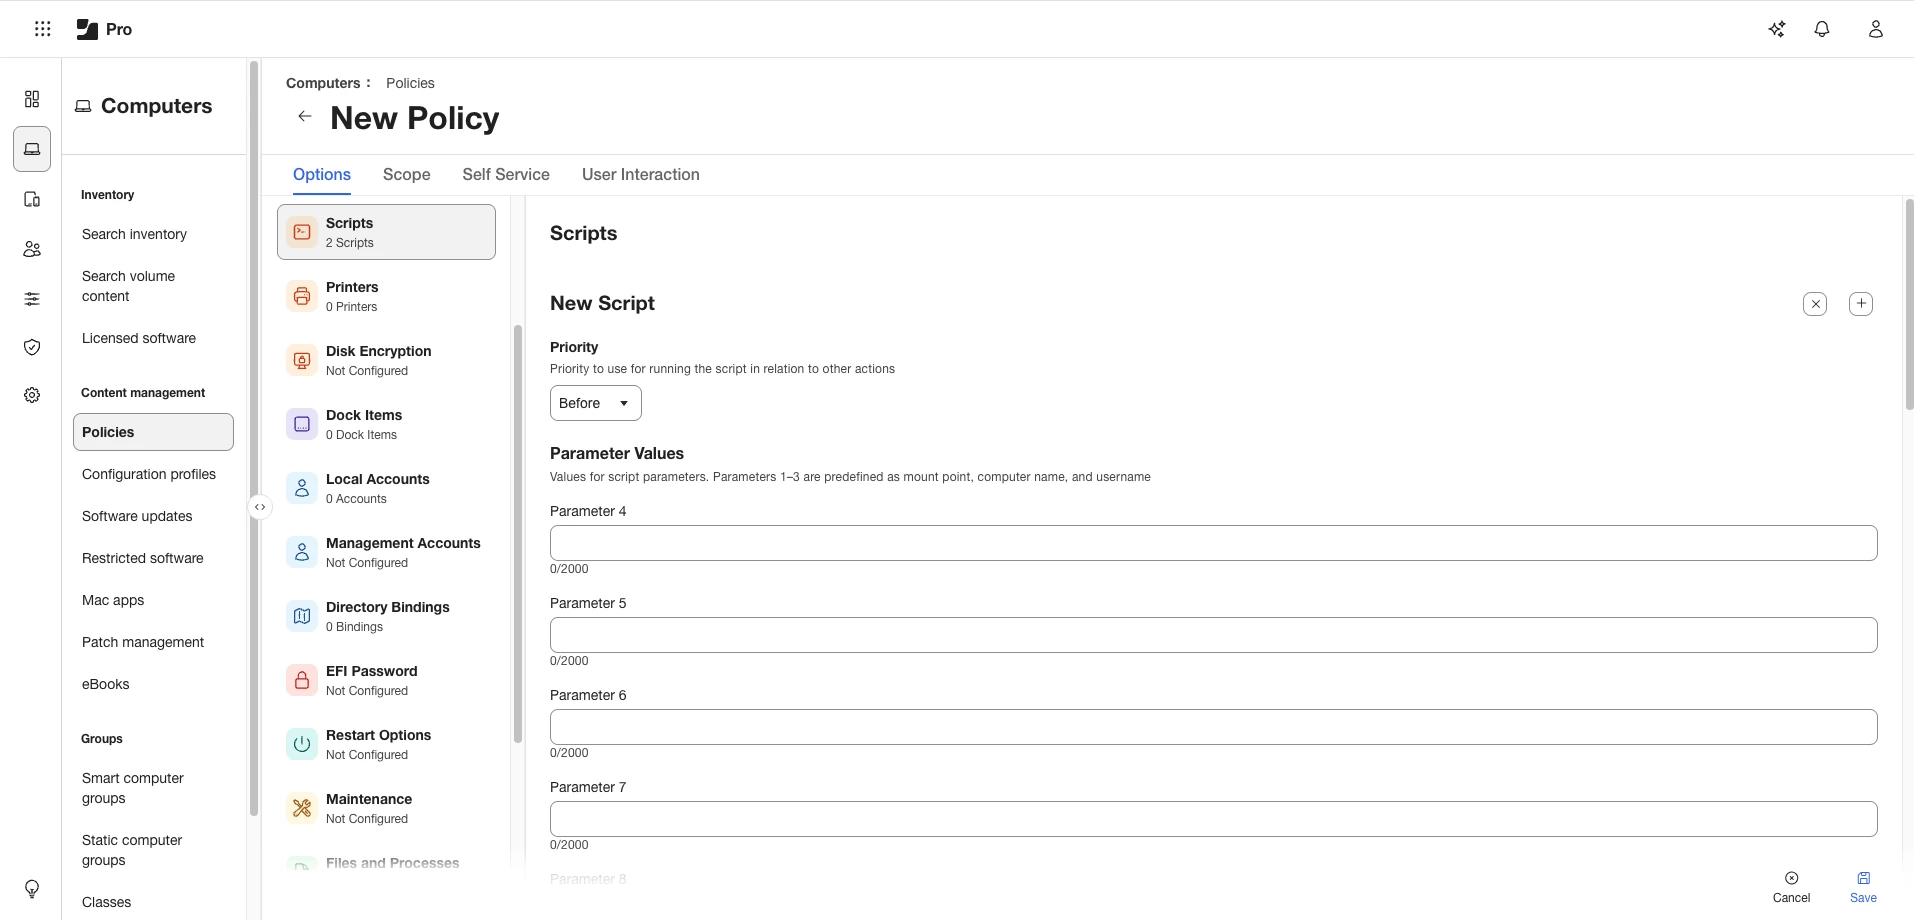
Step 3 – On the Scripts section, click Configure and then enter the following information:
- Add the epp_change_ip.sh script.
- Priority – set priority to Before, so you install the script before the next step.
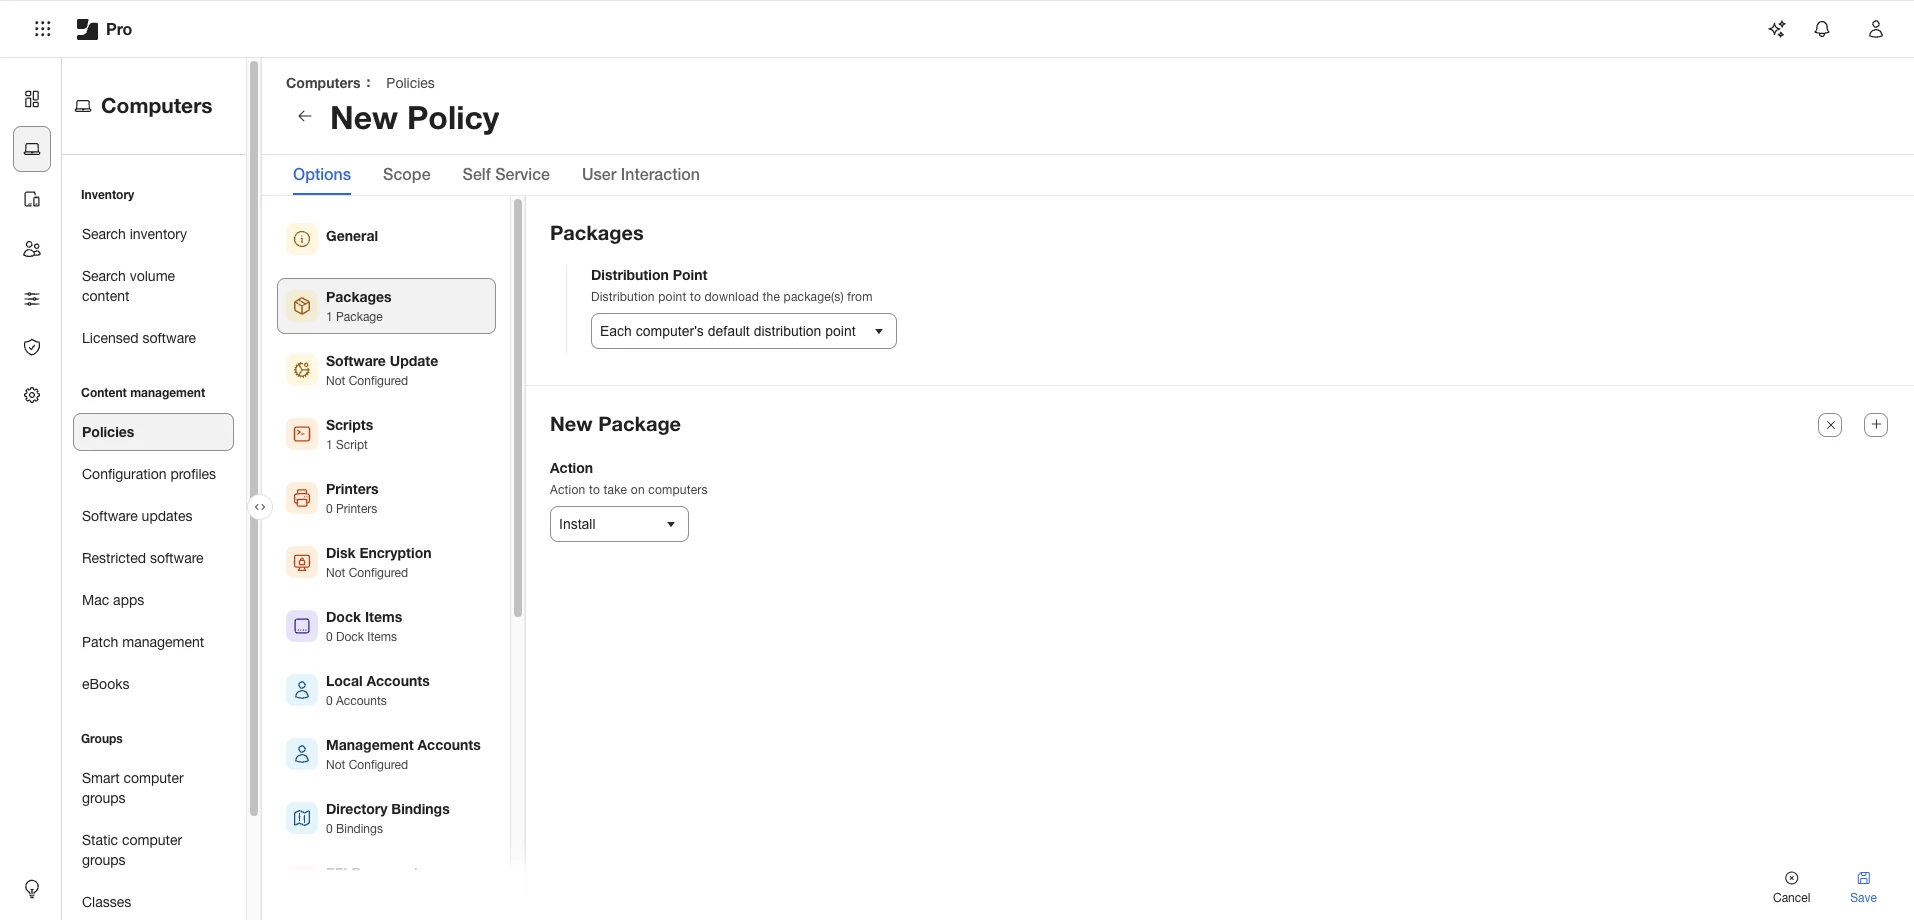
Step 4 – On the Packages section, click Configure and then add the package
EndpointProtectorClient2608.2.1.3.pkg.
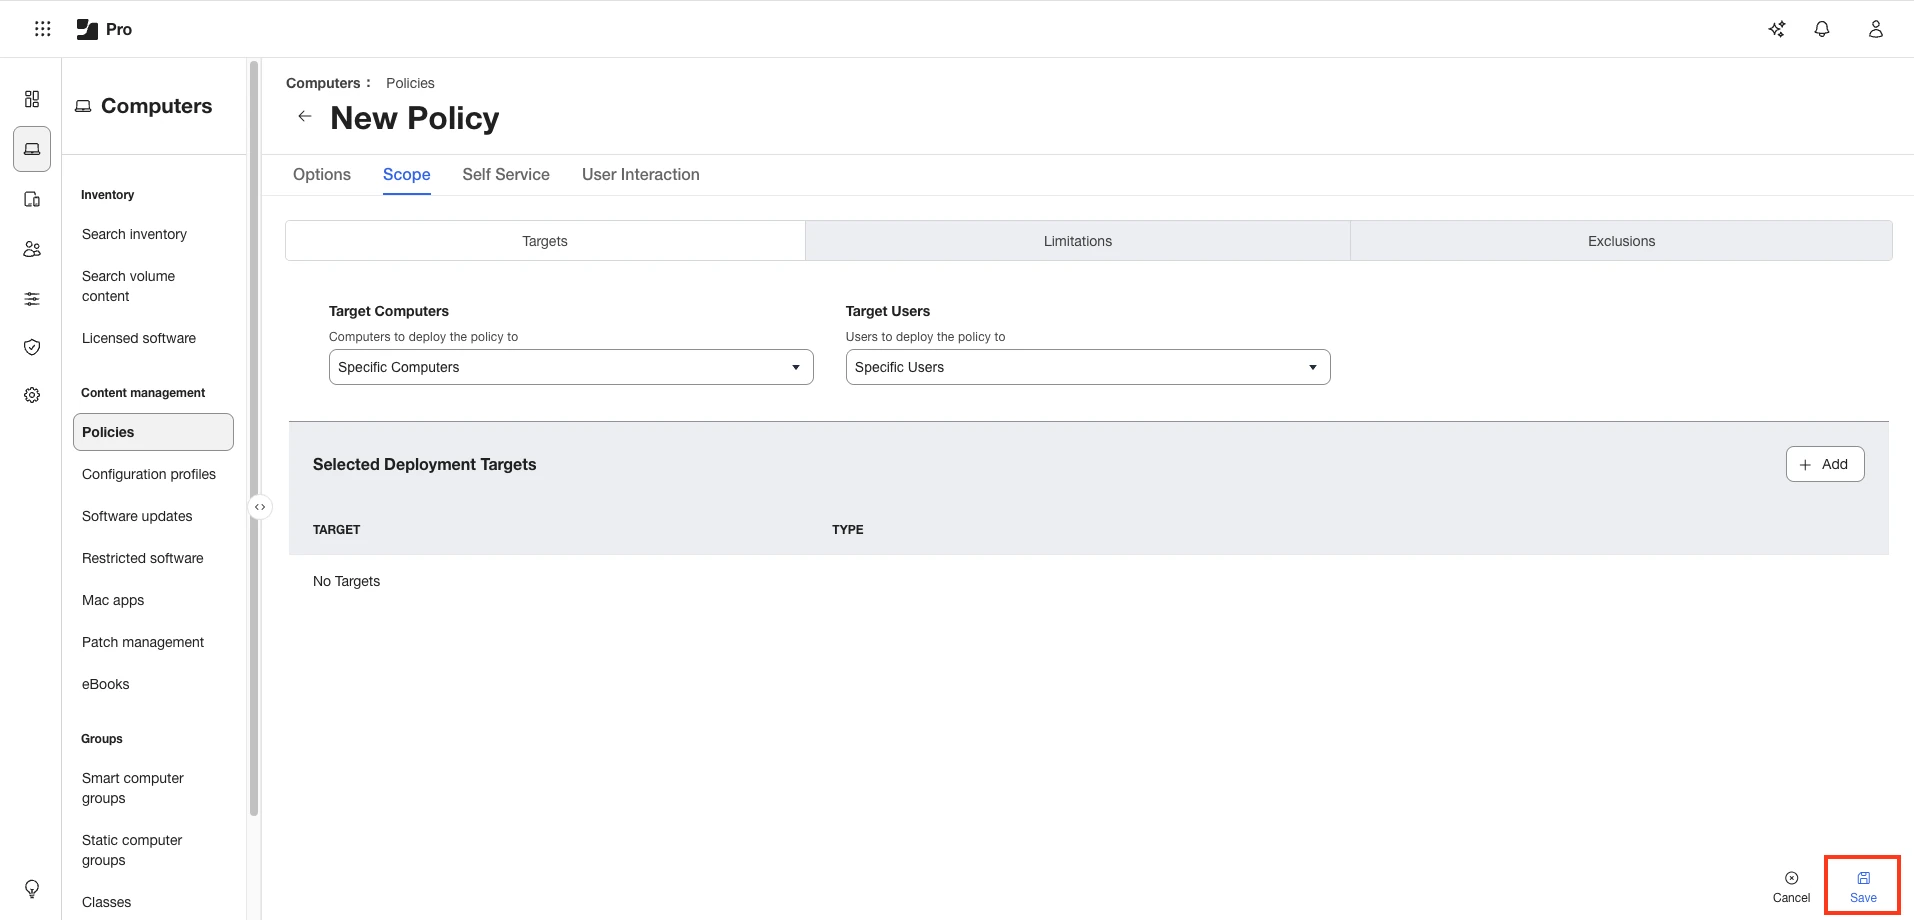
Step 5 – Go to the Scope tab and add the devices and users to apply the new policy.
Step 6 – Click Save to apply all settings to the new policy.
To verify that you've successfully deployed the Endpoint Protector Client and that Server-Client communication and policies work as expected, view the endpoint in the List of Computers from the Endpoint Protector UI. The Endpoint Protector Client appears in the menu bar.