Directory Manager Management Shell
Directory Manager Management Shell is a command-line interface for managing objects like users, contacts, mailboxes, groups, smart groups, dynasties and for performing other administrative tasks in an Active Directory and Microsoft Entra ID based identity stores.
Built with PowerShell Core technology, Directory Manager Management Shell provides a platform to perform many of the tasks you can perform with Directory Manager as well as tasks that the console does not support.
This documentation is a reference for the Directory Manager PowerShell commands. It provides detail on their function, syntax, parameters, and gives ready-to-use examples that you can modify and test in your own environment.
The documentation is intended for advanced users familiar with the use of the Windows Command prompt and PowerShell Core.
Identity Store-based Model
Directory Manager 11.1 has extensible identity store based model. It supports the following data stores for creating an identity store:
- Active Directory
- Microsoft Entra ID
- Generic LDAP
- Google Workspace
The commandlets covered in this section are for Active Directory and Microsoft Entra ID based identity stores.
Access Directory Manager Management Shell
Before using Directory Manager Management Shell, you must connect it to an identity store.
Follow the steps to access Management Shell.
Step 1 – On the Windows Start menu, search for Directory ManagerManagement Shell 11.1. Click it to launch Directory Manager Management Shell 11.1.
Step 2 – On the Netwrix Netwrix Directory Manager Authenticate page, select an identity store to connect to.
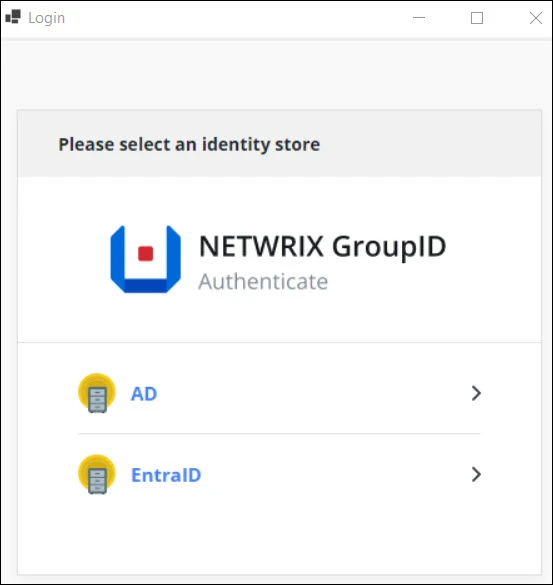
If your required identity store is not listed, contact the Directory Manager administrator.
Step 3 – In the Username and Password boxes, provide the user name and password of your identity store account and click Sign In.
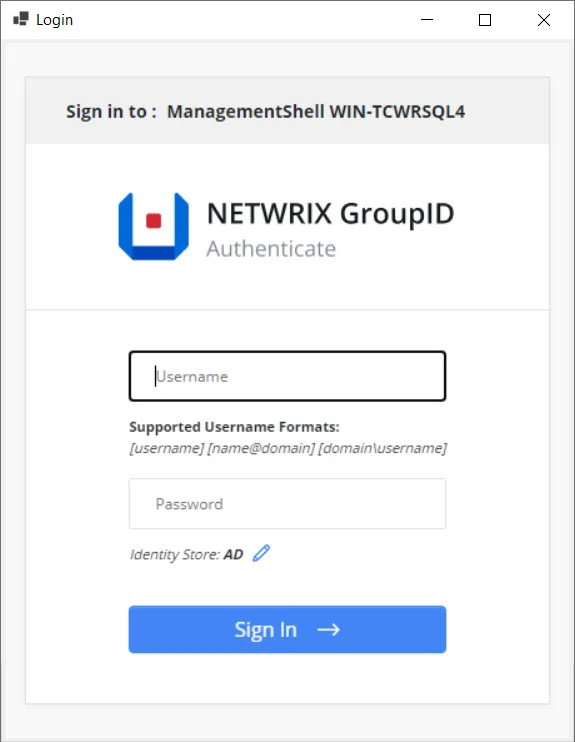
Click the Edit icon if you want to select another identity store to connect to.
The Management Shell window appears as follows:
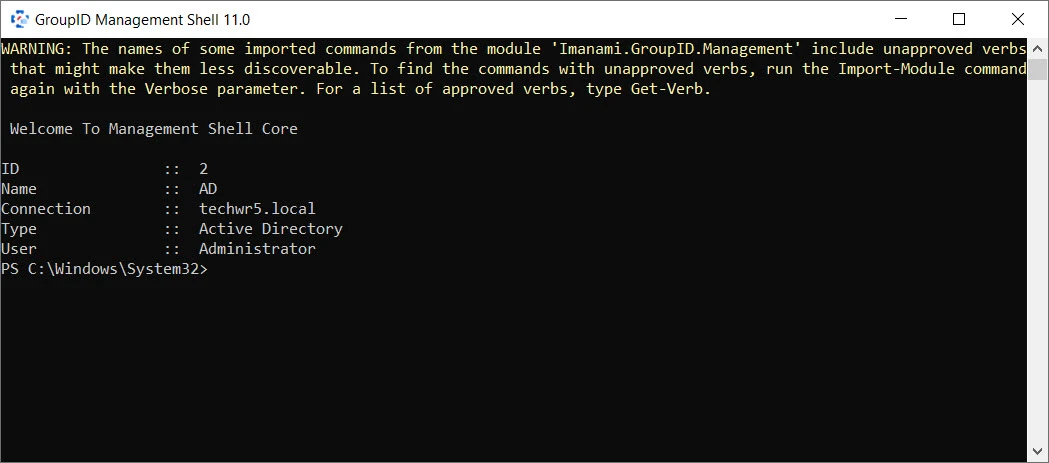
It displays information about the connected identity store.
You can now run Directory Manager Management Shell commandlets.
Connect Directory Manager Management Shell Remotely
To enable remoting on a Directory Manager machine, the remote machine must have one of the following Operating Systems:
- Windows Server 2016 or 2019 or 2022
- Windows Server Nano (1809 or higher)
- Windows 11
- Windows 10 1607+
Windows network location of that machine must be Domain or Private ("Home" or "Work"). If the network location is Public, Directory Manager Management Shell cannot create the required firewall exception for WS-Management Communication.
The Windows Management Shell remoting features are supported by the WS-Management protocol and the Windows Remote Management (WinRM) service that implements WS-Management in Windows.
Also make sure the following is available at the remote machine:
- Windows Powershell 7.4.6
- Windows Remote Management 2.0
Follow the steps to enable remoting on a Directory Manager machine.
Step 1 – Click Start > Windows Powershell. Right-click Windows PowerShell and select Run as administrator.
Step 2 – At the command prompt, type:
enable-psremoting
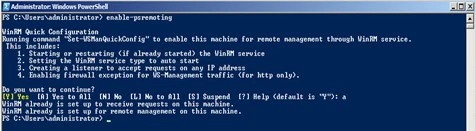
By default, on Windows Server 2016, Windows PowerShell remoting is enabled. Use this command to re-enable remoting on Windows Server 2016 if it becomes disabled.
You have to run this command only one time on each computer that will receive commands. You do not have to run it on computers that only send commands. Because the configuration starts listeners, it is prudent to run it only where it is needed.
To verify that remoting is configured correctly, run a test command:
new-PSSession –ComputerName <computer name>
This command creates a remote session on the local computer and returns an object that represents the session. The output should look as shown in the following snapshot:

Access Directory Manager Management Shell Remotely
Log on to the machine through which you want to remotely access the Directory Manager Management Shell and perform the following steps:
Step 1 – Right-click Start > PowerShell 7.4.6 using the Run as Administrator command to open it with Administrator privileges.
Step 2 – At the prompt, type the following script. It will display the new session created for the remote machine.
$username = "domain\username"
$pass = ConvertTo-SecureString "user password" -AsPlainText -Force
$Cred = New-Object System.Management.Automation.PSCredential ($username, $pass)
$s = New-PSSession -ComputerName "machine name" -Credential $Cred -ConfigurationName PowerShell.7
Invoke-Command -Session $s -ScriptBlock {$srcu = [reflection.assembly]::LoadFrom('C:\Program Files\PowerShell\7\System.Windows.Forms.dll'); $OnAssemblyResolve = [System.ResolveEventHandler] { param($sender, $e) if ($e.Name -like "System.Windows.Forms, Version=*") { return $srcu }return $null;};[System.AppDomain]::CurrentDomain.add_AssemblyResolve($OnAssemblyResolve);$reg=Get-ItemProperty -Path HKLM:SOFTWARE\Microsoft\PowerShell\1\PowerShellSnapIns\Imanami.Groups.Management.PowerShell.Admin11; $appbase=$reg.ApplicationBase;Import-Module -Name $appbase\directorymanagerManagementShell\bin\Imanami.directorymanager.Management.dll;Set-ModulePath -ModulePath $appbase\GroupIDManagementShell\bin}
Import-PSSession -Session $s -Type cmdlet -AllowClobber
Connect-IdentityStore -mode "2" -IdentityStoreID "identity store id" -Credential $Cred
Following line of the above script connects the current user to the identity store (having ID 1).
Connect-IdentityStore -mode "2" -IdentityStoreID "1" -Credential $Cred
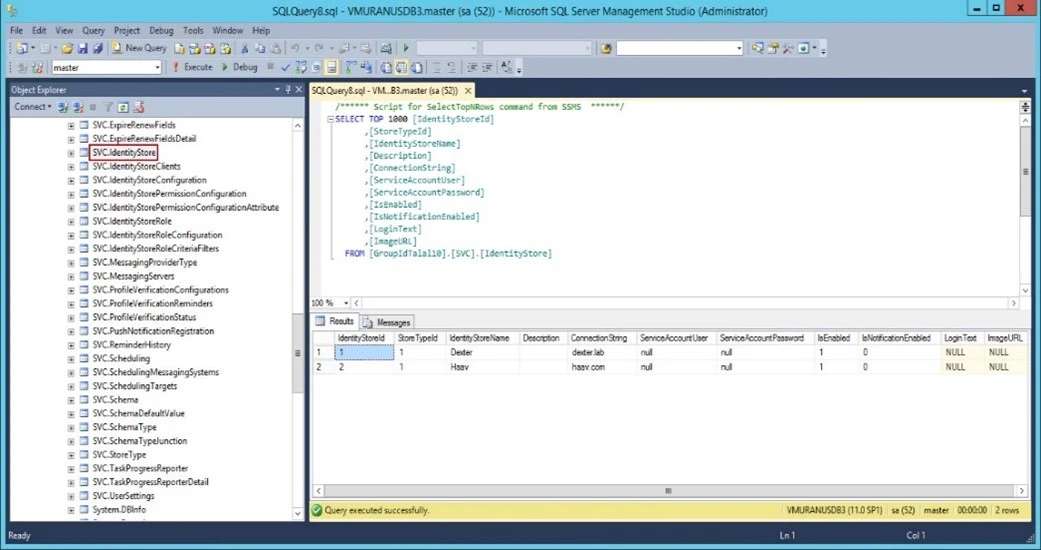
Follow the steps to get the identity store ID from Directory Manager SQL database in which the desired identity store exists:
-
Login to SQL server (having Directory Manager database) with account having read permissions.
-
View the table “Svc.Identitystore” top 100 rows. See the following snapshot for details:
Once the script has run, a remote session will be created. You can now run all Directory Manager cmdlets through PowerShell 7.4.6 without the need of signing into the Directory Manager server.