Security Utility
The NDM11-ADV-2025-014 utility is used to:
- Restrict the IP addresses that can access Directory Manager services.
- Generate and encrypt the password for the GroupID user account, which is a hard-coded account hidden from end-users. This account is used to authenticate from Security Service for the Replication service, Email service, and Scheduler service.
Downloads
- Click here to download NDM11-ADV-2025-014-Utility.
- Click here to download GroupIDPasswordTransferUtility.
Restrict IP Addresses
The NDM11-ADV-2025-014 utility adds an IIS IP security rule to prevent remote access to internal Directory Manager services. To achieve this, the utility:
-
Defines 127.0.0.1,::1, and the host's primary public address as an IIS IP security rule.
-
Detects whether the primary public address is obtained from DHCP and alerts that dynamically assigned addresses may present operational challenges. A DHCP Reservation or statically configured IP should be used for the Directory Manager server.
-
Allows you to add additional addresses to support remote Directory Manager servers.
-
The following services/virtual directories have the IP rule applied:
- GroupIDDataService
- GroupIDEmailService
- GroupIDReplicationService
- GroupIDSchedulerService
Follow the steps to limit access to the Directory Manager services to specific IP addresses.
Step 1 – On the Directory Manager server, run the “NDM11-ADV-2025-014-Utility.exe” utility from the command line as an administrator. This will present the following options:
- AddIpSecurity — Enables the IIS IP Security feature on the Directory Manager server
- GenerateSecurePassword — Generates a secure password for the GroupID user account
- --help — Displays details about a specific command
- version — Displays the NDM11-ADV-2025-014-Utility version
Step 2 – Run the NDM11-ADV-2025-014-Utility.exe AddIpSecurity cmdlet. This will enable the IIS IP
Security feature in Directory Manager and ask if there is any machine other than the local one that
accesses GroupIDDataService. If yes, provide the IP of that machine. Press Enter.
In case of multiple machines, use a comma to separate the IP addresses with no space after the comma.

RECOMMENDED: Use a static IP address for the Directory Manager server and the additional IP addresses you specify here to include in the IP security rules.
Step 3 – After successful configuration, the following message is displayed.
![]()
In the event of a Directory Manager multi-instance deployment, execute the above steps on each Directory Manager server in your environment.
NOTE: In case you deploy a new Directory Manager server/instance, add the IP address of the new server to the primary server's IP security rule allowed list. Run the NDM11-ADV-2025-014 utility on the primary server to add the additional IP. This should be done before the new server connects to the Data service on the primary server (this connection is required while configuring the new server). Once the new server is configured, you can remove the IP from the allowed list of the primary server.
Generate a Secure Password
Follow the steps to generate and encrypt the password for the GroupID user account.
Step 1 – On the Directory Manager server, run the “NDM11-ADV-2025-014-Utility.exe” utility from the command line as an administrator.
Step 2 – Next, run the NDM11-ADV-2025-014-Utility.exe GenerateSecurePassword cmdlet.
Step 3 – After that, provide the database configurations in the following cmdlet according to your environment:
NDM11-ADV-2025-014-Utility.exe GenerateSecurePassword -s "SQLSERVER" -i -u "sa" -d "NetwrixGroupIDDatabase"
Step 4 – You will be asked to provide the database connection password. On doing so, the password for the GroupID user account will be updated with the generated password.

Export/Import the New Password
If you have multiple Directory Manager servers or distributed portals, you must also run the GroupIDPasswordTransfer utility to securely transport the password to distributed Directory Manager systems. When done, you must restart IIS on those systems.
Follow the steps to export the generated password from the primary Directory Manager server to a secondary server/instance.
Step 1 – On the Directory Manager server, run the “directorymanagerPasswordTransferUtility.exe” utility from the command line as an administrator.
Step 2 – Next, run the directorymanagerPasswordTransferUtility.exe export -o "directory\filename" cmdlet to
export the encrypted password from the primary server.
Step 3 – Copy the encrypted password displayed on cmd in response to this command.
Step 4 – Then copy the file created at the directory path provided in the cmdlet and place it on another instance of Directory Manager.
Step 5 – Run the following cmdlet on the instance where you placed the file to import the encrypted password.
directorymanagerPasswordTransferUtility.exe import -i "path to the file" -p "password copied from above"
Step 6 – Restart IIS on this server.
Repeat Steps 3-6 on all Directory Manager servers to eliminate the hard-coded password for the GroupID user account on all servers.
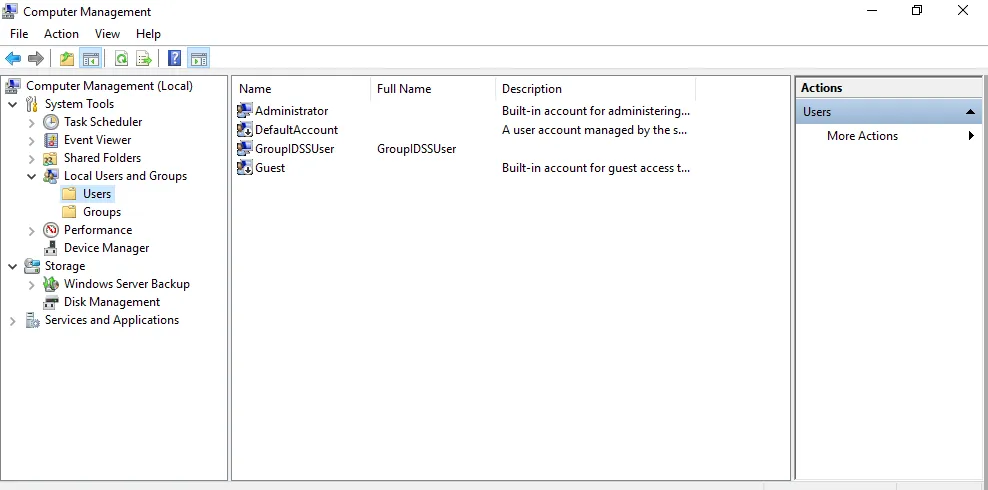
Delete the GroupIDSSUser Account
You must delete the GroupIDSSUser account from each Directory Manager server. Go to the Computer Management console to delete the account.