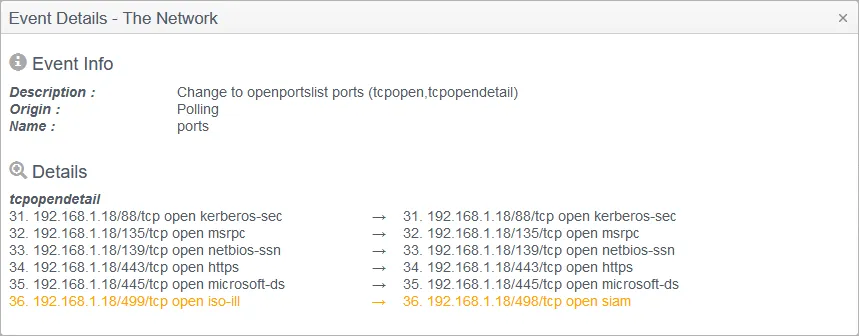
Network Scan
Configuring and defining a multi-device network scan requires several steps.
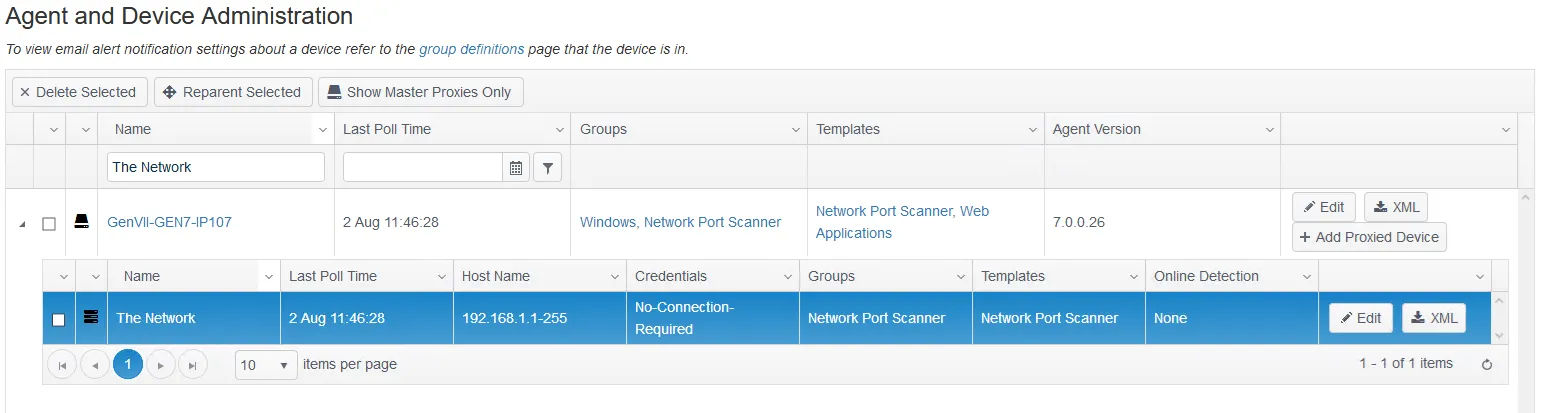
Step 1 – Define the network device. Select the Agent to run the scan from, usually the Agent installed on the Hub server. Any remote Agent or Agents can also run scans against their local subnet, simplifying routing and firewall rules.
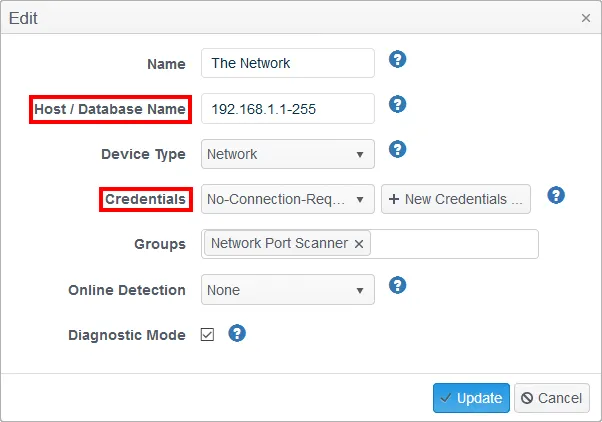
- Host/Database Name – Define the individual addresses and/or address range; use a space to separate multiple entries; use a 1-20 notation for an inclusive range.
- Credentials – For a multiple device or address port scan range, you don't need credentials; use a No-Connection-Required credential key instead.
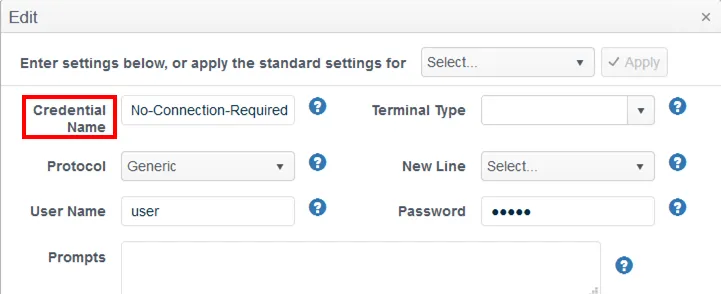
- Credential Name – Create a No-Connection-Required credential key. You need a username and password, but you can enter dummy credentials.
Step 2 – You can then schedule the Network Port Tracker to run like any other Tracker. Because scans typically take a long time to complete, especially if UDP ports are included, set the Tracker's Polling frequency: run at to 'agent startup' and repeat to 'No repeat'.

Step 3 – After the initial poll completes, the duration will be required as a communications Event.

Step 4 – If you enable Send Baseline Events in the Tracker template, you can see both the full baseline or status for the Tracker results, as well as the usual change events. You can also report on these, export the events, and receive alerts for any Planned and Unplanned changes.