Netwrix Privilege Secure
Starting with version 10.7, you can integrate Netwrix Auditor with Netwrix Privilege Secure.
You can configure the integration for the following Auditor data sources:
-
Active Directory. For details, see Use Netwrix Privilege Secure as a Data Collecting Account.
-
Group Policy. For details, see Use Netwrix Privilege Secure as a Data Collecting Account.
-
Logon Activity. For details, see Use Netwrix Privilege Secure as a Data Collecting Account.
-
Microsoft Entra ID. For details, see How to Add Microsoft Entra ID Monitoring Plan Using Netwrix Privilege Secure.
-
Windows File Server. For details, see Use Netwrix Privilege Secure as a Data Collecting Account.
-
Windows Server. For details, see Use Netwrix Privilege Secure as a Data Collecting Account.
-
Exchange. For details, see Use Netwrix Privilege Secure as a Data Collecting Account.
Software Requirements
| Component | Version |
|---|---|
| Netwrix Auditor | 10.7+ |
| Netwrix Privilege Secure | 4.2+ |
Key Concepts
Before configuring the integration, review the following Netwrix Privilege Secure concepts used in this topic:
- Access Policy — Controls which users can perform which activities on which resources. Each policy requires an associated Connection Profile and is one of two types: Resource-based or Credential-based.
- Resource-based — Netwrix Privilege Secure creates a temporary account at the start of the session and removes it when the session ends. This policy type requires you to onboard the target system in Netwrix Privilege Secure as a resource (a server, domain, database, or website). You don't need a pre-existing account on the resource. Netwrix recommends using the Netwrix Auditor host as the resource.
- Credential-based — Uses an account that already exists on the target resource. You must create the account, grant it the required permissions, and then define it in Netwrix Privilege Secure as a Credential before you can add it to the policy.
- Connection Profile — A Connection Profile defines the session settings for the policy: maximum session duration, session extension options, proxy configuration, session recording, and approval workflow. If data collection requires sessions longer than the default duration, configure the Connection Profile to support up to 72 hours.
- Activity — Defines which type of privileged session a user can start on a resource, including the actions performed before, during, and after the session (such as granting or revoking access).
For additional information, see the Netwrix Privilege Secure documentation.
Enable and Configure Netwrix Privilege Secure Integration
Step 1 – In Netwrix Auditor, navigate to Settings in the upper right corner.
Step 2 – Select Netwrix Privilege Secure.
Step 3 – Click Set up Integration.
Step 4 – Specify the Privilege Secure URL.
NOTE: If Netwrix Privilege Secure uses an untrusted certificate, Netwrix Auditor displays a page with the certificate details. Review the certificate information and, if the certificate is acceptable, select the checkbox to allow Netwrix Auditor to trust this certificate when connecting to this server.
Step 5 – Specify the application name and Netwrix Auditor client certificate. The following two options are available:
- Generate new certificate – Create a new certificate.
- Select an existing certificate – Select an available certificate from the dropdown list.
NOTE: Don't use spaces in the application name.
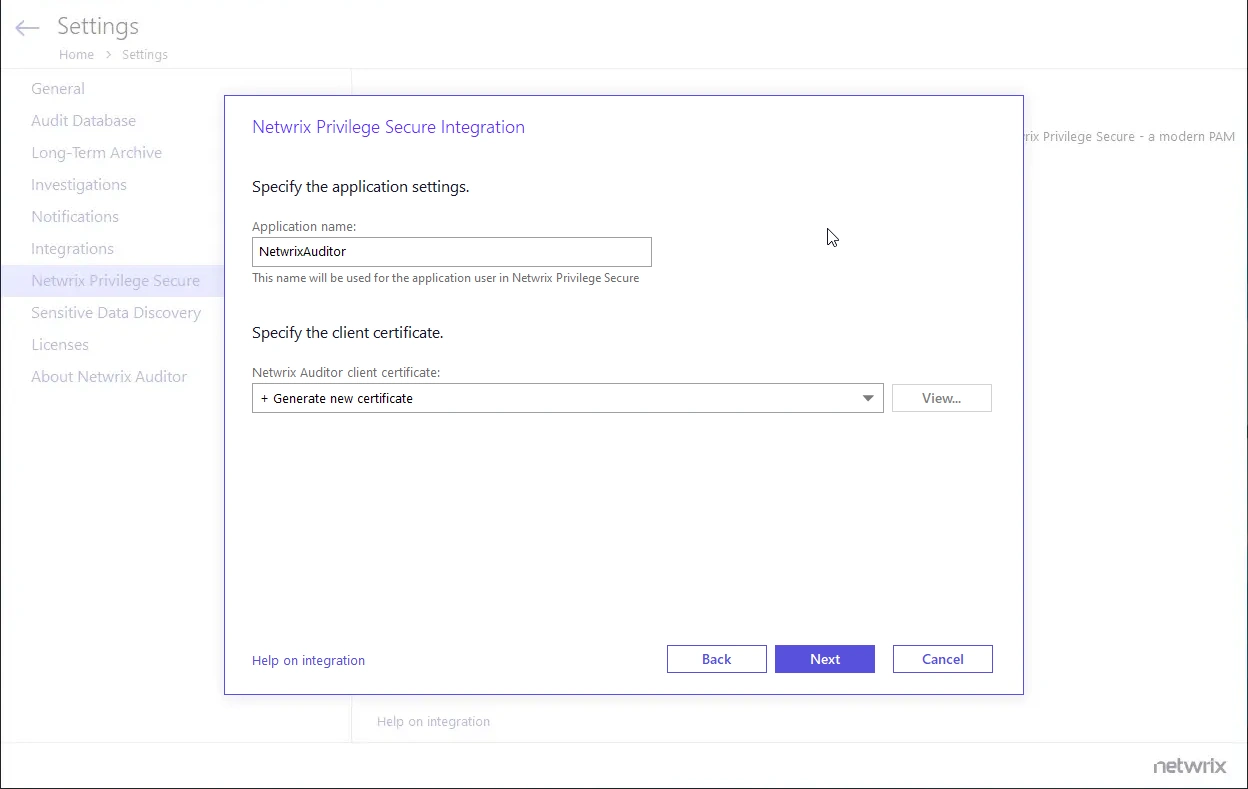
Step 6 – Click Next.
Step 7 – Export the Netwrix Auditor server certificate to install on the Netwrix Privilege Secure host:
- Click View next to the Certificate Serial Number field.
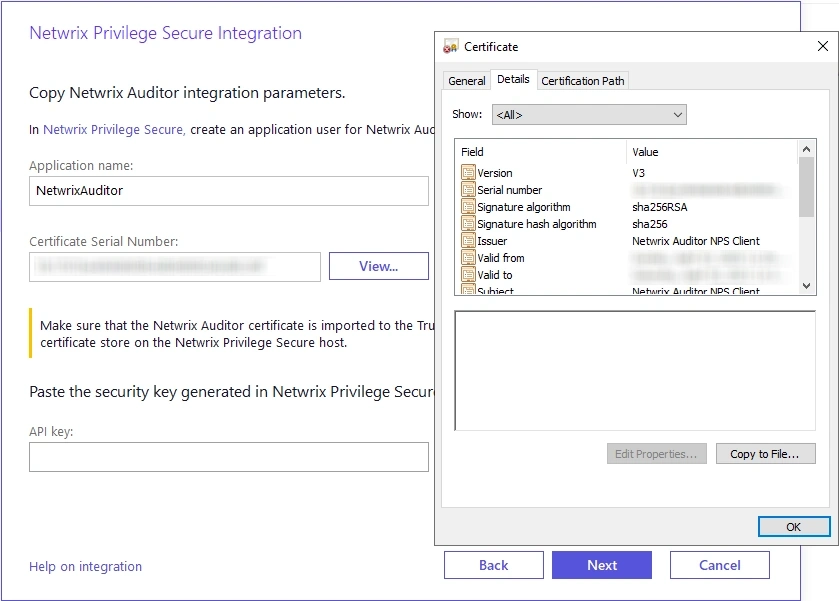
- In the window that appears, go to the Details tab, click Copy to File..., and follow the Certificate Export Wizard, selecting DER encoded binary X.509 (.CER) as the export format.
- After successful export, copy the certificate to the machine running Netwrix Privilege Secure.
Step 8 – Install the certificate on the machine running Netwrix Privilege Secure. Follow these steps:
- Right-click the copied certificate and select the Install Certificate option.
- In the Certificate Import Wizard, select Local Machine as a Store Location and click Next.
- In the next menu, select the Place all certificates in the following store option, click Browse, and select the Trusted Root Certification Authorities folder in the pop-up menu.
- Click Finish.
Step 9 – Launch Netwrix Privilege Secure to create an application user for Netwrix Auditor with the Application name and Certificate Serial Number that you received.
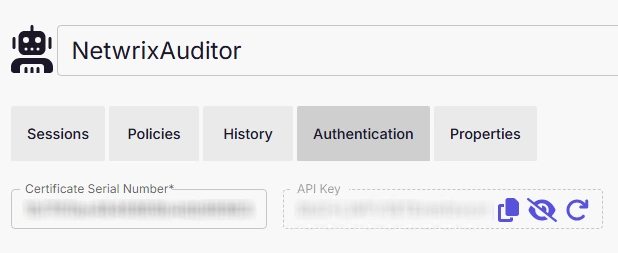
NOTE: For details on creating an application user, see the Netwrix Privilege Secure documentation.
Step 10 – In Netwrix Auditor, enter the API key from Netwrix Privilege Secure and click Next.
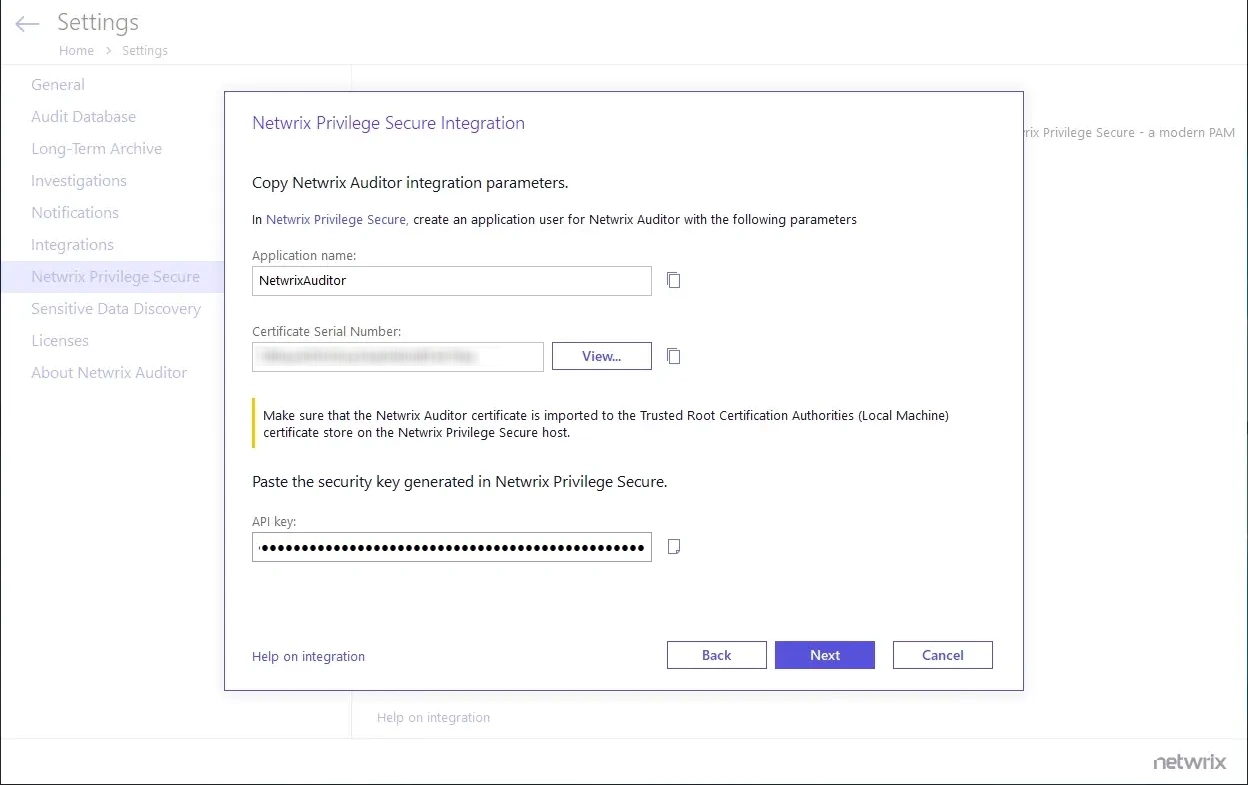
Step 11 – After validation, click Finish.
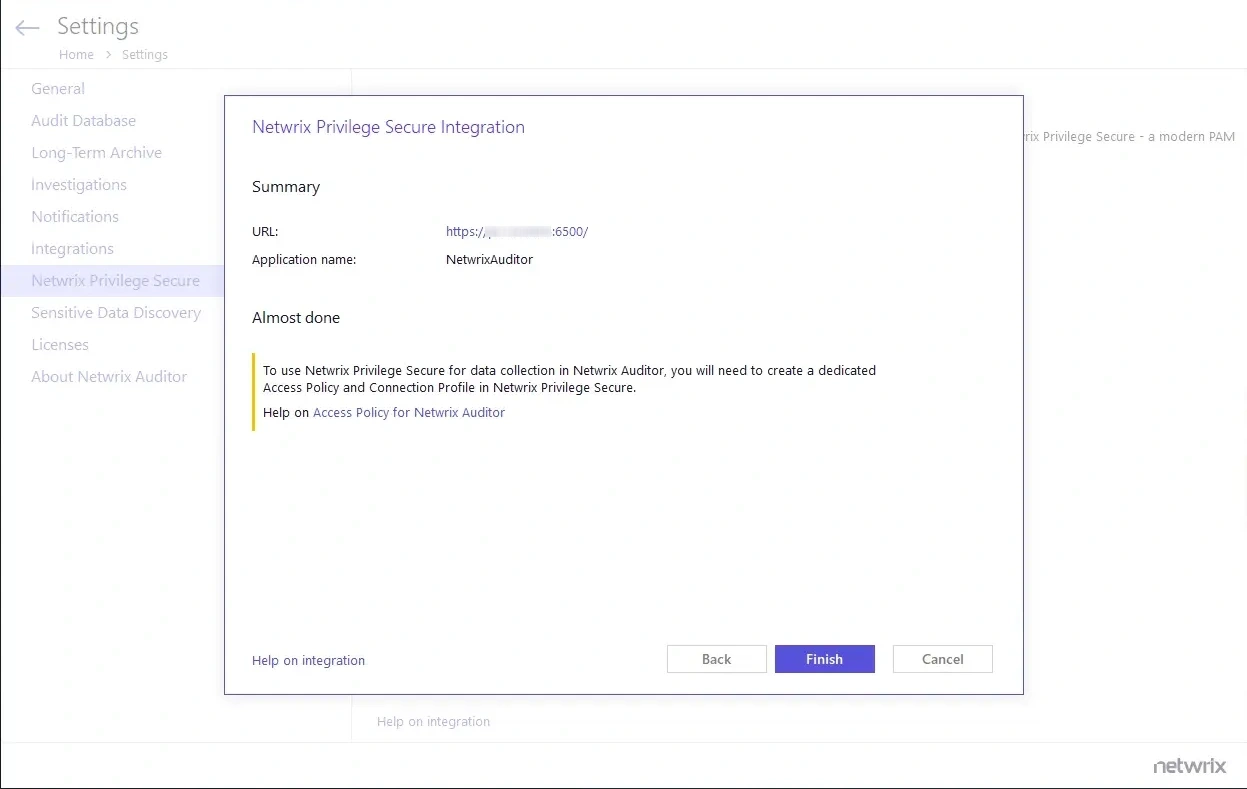
Netwrix Auditor now integrates with Netwrix Privilege Secure. Before using Netwrix Privilege Secure for data collection in Netwrix Auditor, ensure that you created a dedicated Access Policy and Connection Profile in Netwrix Privilege Secure.