Permissions for Exchange Online Auditing
Auditor allows you to audit Office 365 organizations that have established modern authentication as their identity management approach, including support for multi-factor authentication (MFA). To learn more about modern authentication, refer to the following Microsoft article: What is modern authentication.
In this scenario, Netwrix Auditor will access the cloud-based infrastructure via Microsoft Graph and other modern APIs, being authenticated through a pre-configured Microsoft Entra ID (formerly Azure AD) application with appropriate access permissions. So, you should register an Microsoft Entra ID app and provide its settings to Auditor when configuring a monitored item.
Configure the Microsoft Entra ID App for Auditing Exchange Online
Follow the steps to use a data collecting account with modern authentication.
Step 1 – Create a Microsoft Entra ID app that will be used for modern authentication. See the Create and Register a New App in Microsoft Entra ID topic for additional information.
NOTE: After you start a new monitoring plan and select a data source in the first step, you will be asked to enter a default data collection account. However, this step is not needed for Exchange Online as it cannot be used. Thus, there is no need to grant any permissions to this account. Instead, you will need to configure a modern authentication app and give the necessary permissions there.
Step 2 – Grant required permissions to that application. See the Grant Required Permissions topic for additional information.
Step 3 – Grant required roles to that application. See the Grant Required Roles topic for additional information.
Step 4 – Configure client secret for that application. See the Configure Client Secret topic for additional information.
Step 5 – Obtain tenant ID – you will need it when configuring a monitored item (Office 365 tenant) settings. See the Obtain the Tenant Name topic for additional information.
Non-owner Mailbox Access Audit Configuration
To prepare for non-owner mailbox access auditing in the Exchange Online organization, you will need to take several configuration steps, creating a Microsoft Entra ID app with the required permissions and instructing this app to automatically apply the necessary audit settings.
Follow the steps to configure a non-owner mailbox access audit.
Step 1 – Install the Exchange Online PowerShell V3 module. There are three versions in the repository: 3.0.0, 3.1.0 and 3.2.0.
NOTE: Make sure you are using the version specified in the App-only authentication for unattended scripts in Exchange Online PowerShell and Security & Compliance PowerShell Microsoft article.
Step 2 – In the Microsoft Entra ID admin center, create and register an Microsoft Entra ID app, as described in the related Connect to Exchange Online PowerShell Microsoft article.
Step 3 – At the top of the Request API permissions pane, click the APIs my organization uses tab and search for Office 365 Exchange Online.
Step 4 – Click on the Office 365 Exchange Online entry in the list of apps found.
Step 5 – Proceed with adding the permissions for this app: select Application permissions and then select Exchange.ManageAsApp.
Step 6 – Grant admin consent to the tenant (that is, for the Office 365 organization whose audit
data will be collected by the newly registered app). Go to the new app settings > API
permissions and click Grant admin consent for_<tenant name>_. When prompted to confirm
granting, click Yes.
Step 7 – Go to Azure Active Directory — Roles and administrators and assign Exchange Administrator role.
Step 8 – Download the PowerShell script for certificate creation, as provided in the Generate a self-signed certificate Microsoft article.
Step 9 – To create a self-signed certificate to be used by the app, run the following command:
.\Create-SelfSignedCertificate.ps1 -CommonName "MyCompanyName" -StartDate 2020-04-01 -EndDate 2022-04-01
where:
CommonName — specify "Netwrix Auditor"
StartDate — set to current date
EndDate — set to 2 years from now
Step 10 – When prompted to specify a password, click Enter.
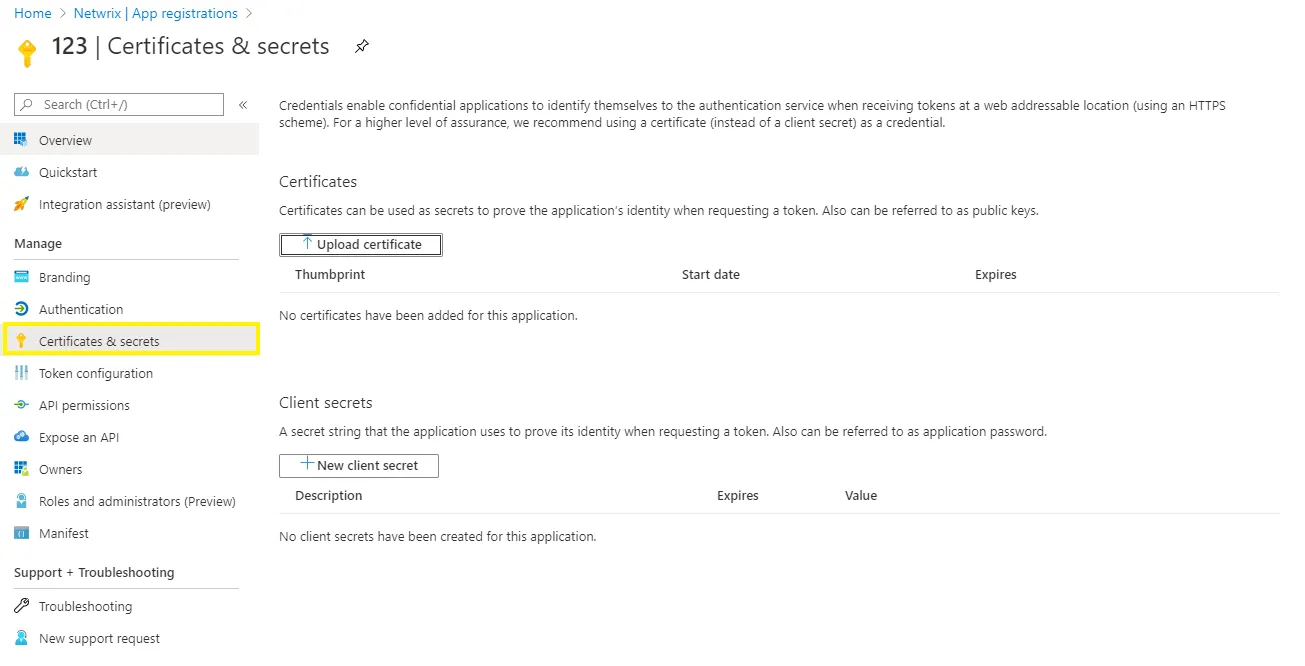
Step 11 – Go to Manage > Certificates & secrets, click Upload certificate and upload the*.crt* file you have just created.
Step 12 – To create Exchange Online connection session, you can provide certificate file path or thumbprint. If you want to use a file path, run the following command:
Connect-ExchangeOnline -CertificateFilePath "full_path_to_certificate"
-AppID "yourAppId" -Organization "Office365_tenant_name"
Application (client ID) can be found in the Overview page.

For example:
Connect-ExchangeOnline -CertificateFilePath "C:\Path\MyCompanyName1.pfx"
-AppId "402b12a2-fb2b-4222-8f54-5596def1" -Organization "myorganization123.onmicrosoft.com"
You can use certificate thumbprint instead of file path. For that, import the certificate to the local certificate store, using the following command:
Import-PfxCertificate -FilePath "path_to_pfx_certificate" -CertStoreLocation Cert:\CurrentUser\My
Then run the command like following:
Connect-ExchangeOnline -CertificateThumbprint 6AEА5A82911ААА3F76FEE149B7B52А70DDFD88 -AppId a14a 822d-f228-412b-9222-281de23
-Organization myorganization123.onmicrosoft.com
Finally, run the following command to end the session:
Disconnect-ExchangeOnline -Confirm:$false
To automate the process described above, you can create a a script comprising the corresponding commands and schedule its launch.
Non-owner Mailbox Access Audit: Manual Configuration
If you plan to manually apply the audit settings required to audit non-owner mailbox access in Exchange Online organization, you will need to create a remote PowerShell session to Exchange Online. Follow the steps to do so.
Step 1 – Install the Exchange Online PowerShell V2 module as described in the About the Exchange Online PowerShell module Microsoft article.
Make sure to install the latest version.
Step 2 – Launch PowerShell and connect to Exchange Online, as described in the About the Exchange Online PowerShell module Microsoft article.
Step 3 – Run the cmdlet, depending on the mailboxes you plan to audit (all mailboxes or selected individual mailbox):
| For | Command |
|---|---|
| All | Execute the following cmdlet: |
Get-ExoMailbox -PropertySets Minimum -RecipientTypeDetails UserMailbox,SharedMailbox,EquipmentMailbox,LinkedMailbox,RoomMailbox | |
Set-Mailbox -AuditEnabled $true --AuditAdmin Update,Copy,Move,MoveToDeletedItems,SoftDelete,HardDelete,FolderBind,SendAs,SendOnBehalf,Create --AuditDelegate Update,Move,MoveToDeletedItems,SoftDelete,HardDelete,FolderBind,SendAs,SendOnBehalf,Create | |
| Selected | Execute the following cmdlet: |
Set-Mailbox -Identity {0} -AuditEnabled $true --AuditAdmin Update,Copy,Move,MoveToDeletedItems,SoftDelete,HardDelete,FolderBind,SendAs,SendOnBehalf,Create --AuditDelegate Update,Move,MoveToDeletedItems,SoftDelete,HardDelete,FolderBind,SendAs,SendOnBehalf,Create | |
| Where the 0 character must be replaced with any of the following: | |
| - Display Name. Example: "Michael Jones" | |
- Domain\User. Example: enterprise.local\MJones | |
- Email address. Example: analyst@enterprise.onmicrosoft.com | |
- GUID. Example: {c43a7694-ba06-46d2-ac9b-205f25dfb32d} | |
- LegacyExchangeDN. Example: /o=EnterpriseDev/ou=Exchange Administrative Group(FYDIBOHF23SPDLT)/cn=Recipients/cn=97da560450c942aba81b2da46c60858a-analyst | |
- SamAccountName. Example: MANAG58792-1758064122 | |
- (DN) Distinguished name. Example: CN=MJones,CN=Users,DC=enterprisedc1,DC=enterprise,DC=local | |
- User ID or User Principal Name. Example: MJones@enterprise.onmicrosoft.com | |
| If you are going to audit multiple individual mailboxes, run the cmdlet for each mailbox you need. |