Permissions for Nutanix Files Auditing
Before you start creating a monitoring plan to audit Nutanix Files, plan for the accounts that will be used for data collection. They should meet the requirements listed below.
Account for Accessing Nutanix File Server
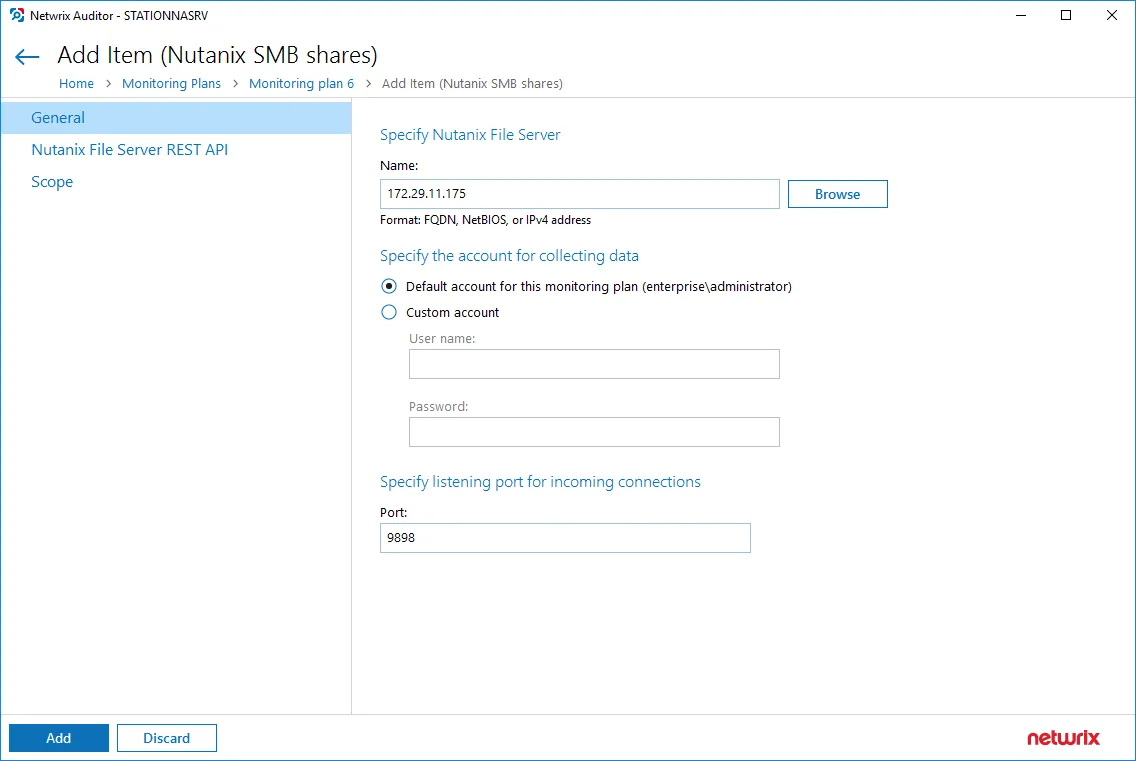
First, you need an account that Netwrix Auditor will use to access Nutanix File Server. This account requires at least Read permission for the target SMB shares on the Nutanix File Server.
This is the account you will provide in the monitoring plan wizard at the Create a New Monitoring Plan step; it can be modified in the General tab of the monitored item settings.
This account must have a role with sufficient privileges on that server: File Server Admin (recommended) or Backup Admin role.
Account for Accessing REST API
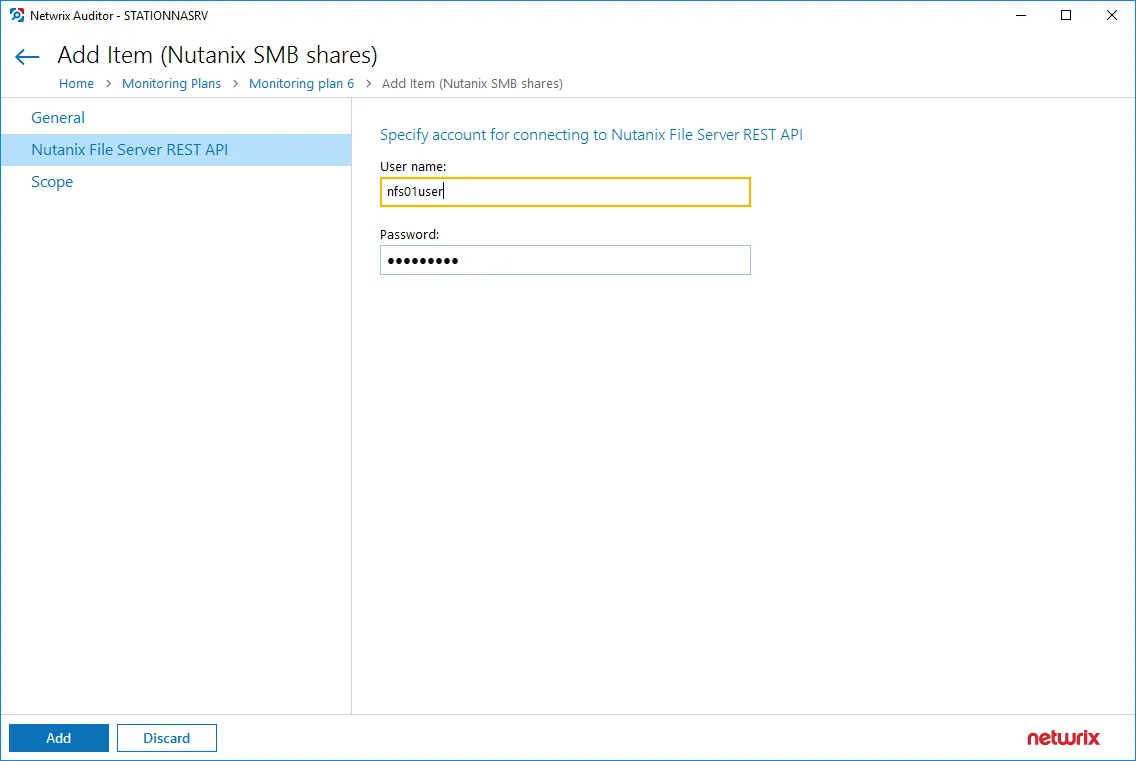
You will also need an account that will be used to connect to Nutanix File Server REST API.
This account should be provided in the Nutanix File Server REST API tab of the monitored item (Nutanix SMB shares) settings.
This account must be assigned the REST API access users role for Nutanix File Server you want to audit.
See the section below for the instructions on user role assignment.
Role Assignment Procedure
Before starting the role assignment, make sure your Nutanix File Server is included in the AD domain.
Follow the steps to assign the required roles to the corresponding accounts using Nutanix Prism.
Step 1 – Open Nutanix Prism web portal.
Step 2 – Select File Server category. In the list of servers, select the server you want to audit.
Step 3 – Click Manage roles.
Step 4 – In the Manage roles dialog locate the Add admins section and click +New user.
Step 5 – Enter the AD user account (to be used as data collection account) in the domain\name format and select the File Server Admin or Backup Admin role to assign
Step 6 – Click Save next to these cells to save the settings.
Step 7 – Next, in the REST API access users section click +New user.
Step 8 – Enter the local user account and password, then click Save next to these cells to save the settings.
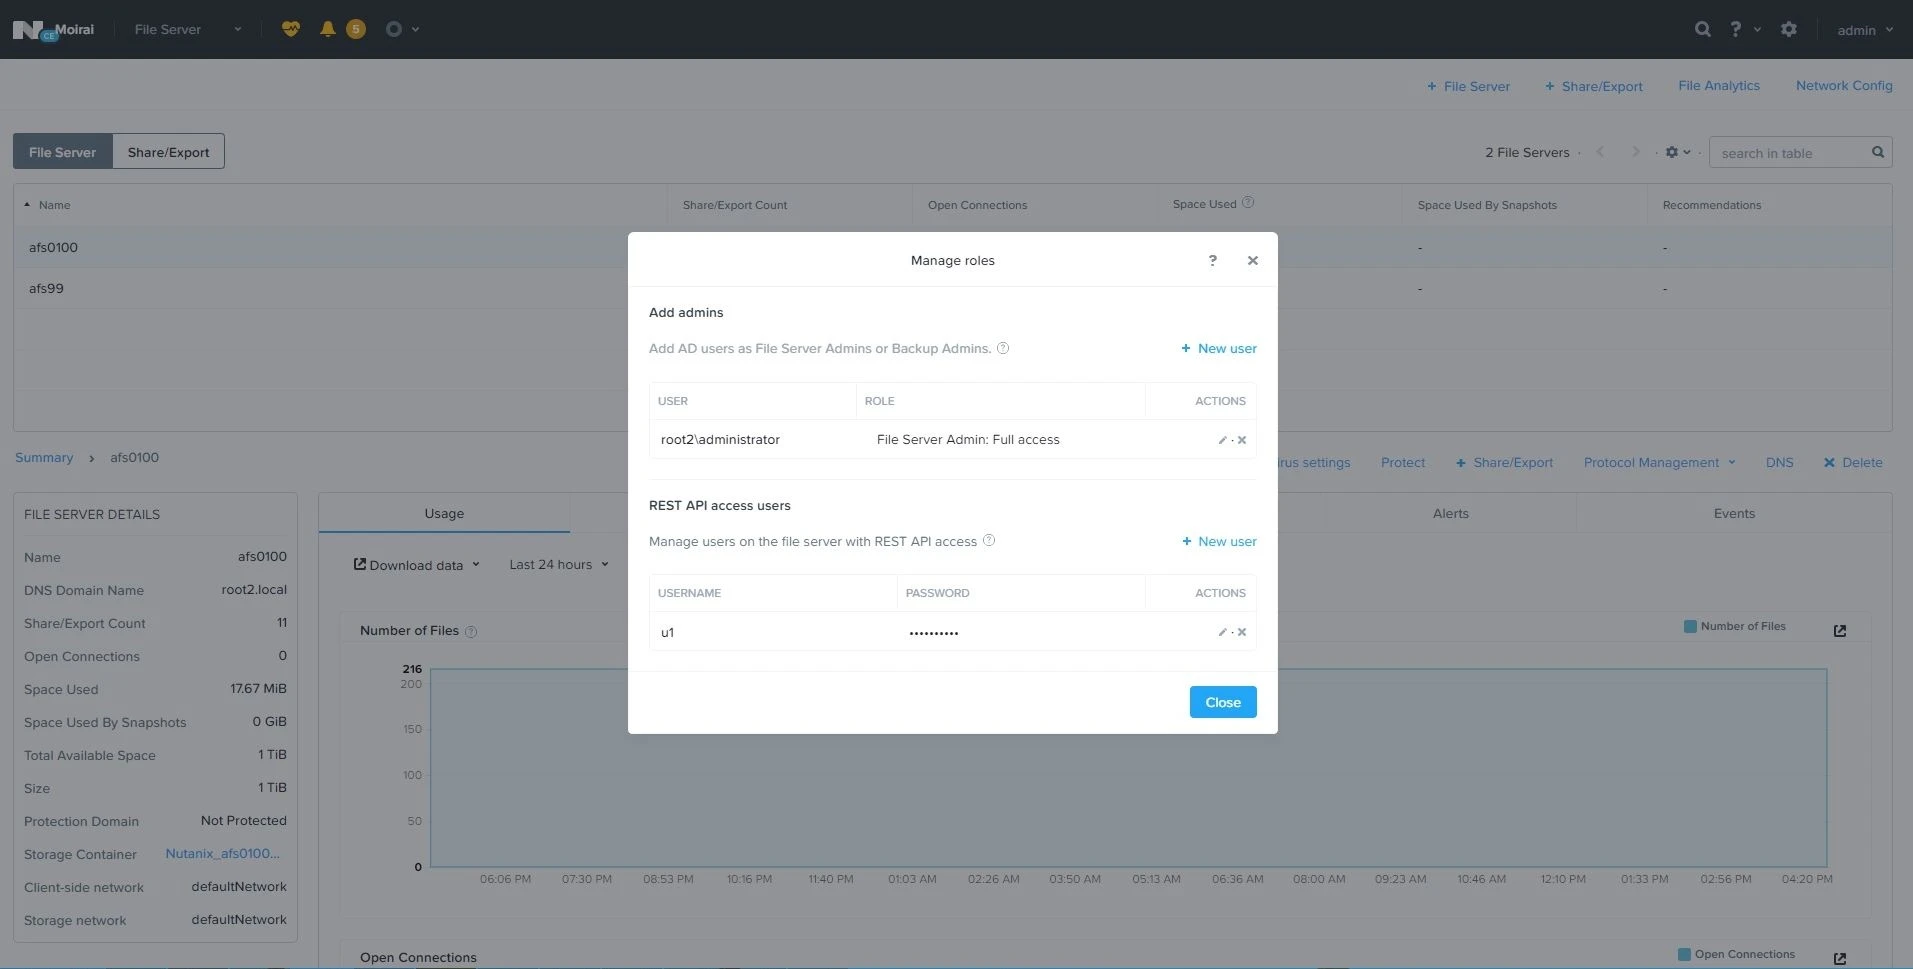
Step 9 – When finished, click Close.
See the following topics for additional information.