Configure ConnectWise
This section describes how to configure settings of the main add-on component, Netwrix Auditor ConnectWise Manage Integration Service that is required for connection to ConnectWise Manage and service ticket creation.
Follow the steps to configure ConnectWise.
Step 1 – To connect to ConnectWise Manage REST API, the API keys will be required. To obtain them, you will need an API Member account. See this article for details.
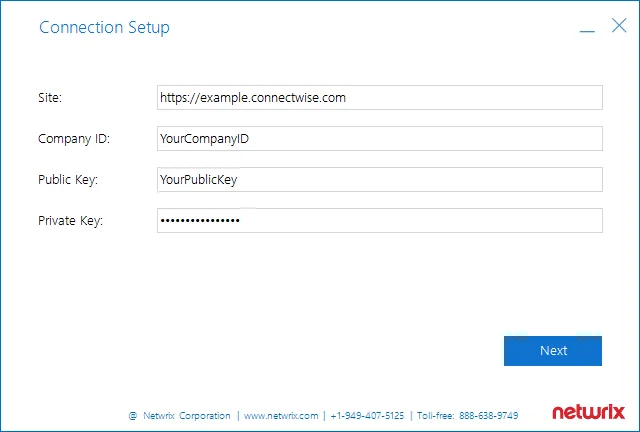
Step 2 – Navigate to the add-on folder and run ConfigureConnection.exe. Follow the steps of the wizard to configure connection to ConnectWise Manage and ticketing options. At the Connection Setup step, specify the following:
| Parameter | Description |
|---|---|
| Site | URL of ConnectWise Manage system. |
| Company ID | The ID of ConnectWise Manage subscriber (Managed Service Provider). |
| PublicKey | Public key you obtained for the API Member — it will be used to access ConnectWise REST API. |
| PrivateKey | Private key you obtained for the API Member — it will be used to access ConnectWise REST API. |
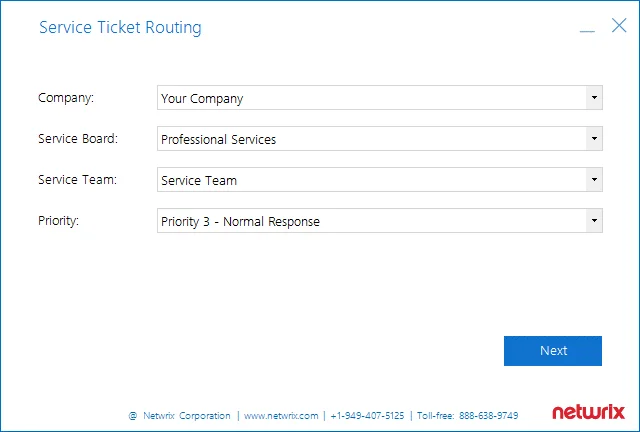
Step 3 – At the Service Ticket Routing step, specify the following:
| Parameter | Description |
|---|---|
| Company | Organization that will be recorded as ticket originator — this can be a company or MSP's managed client. |
| Service Board | Service board where the tickets will be processed. Service tickets created by the add-on will be assigned the default ticket status for the selected service board. |
| Service Team | Service team that will be responsible for tickets handling. |
| Priority | Priority for ticket handling. Default is Priority 3 — Normal Response. |
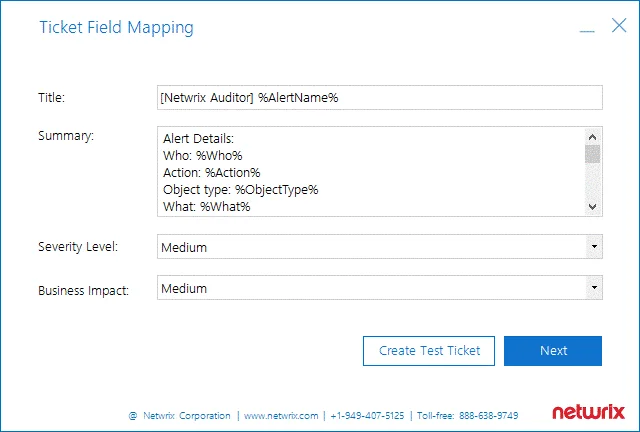
Step 4 – Configure how Auditor activity record fields will be mapped with ConnectWise Manage ticket fields.
| Parameter | Description |
|---|---|
| Title | Specify how the Title field of the service ticket will be filled in. Default: [Netwrix Auditor] %AlertName% That is, the Title field for tickets originating from Netwrix alerts will include the alert name with [Netwrix Auditor] prefix (e.g., [Netwrix Auditor] Password Reset). |
| Summary | Specify how the Summary field of the service ticket will be filled in. By default, it will contain the following detailed information received from the corresponding Auditor alert and activity record: Alert Details: Who: %Who% Action: %Action% Object type: %ObjectType% What: %What% When: %When% Where: %Where% Workstation: %Workstation% Details: %Details% Data source: %DataSource% Monitoring plan: %MonitoringPlanName% Item: %Item% Sent by Netwrix Auditor from %Computer% |
| Severity Level | Specify what severity level will be assigned to the service tickets. Default is Medium. |
| Business Impact | Specify what business impact level will be assigned to the service tickets. Default is Medium. |
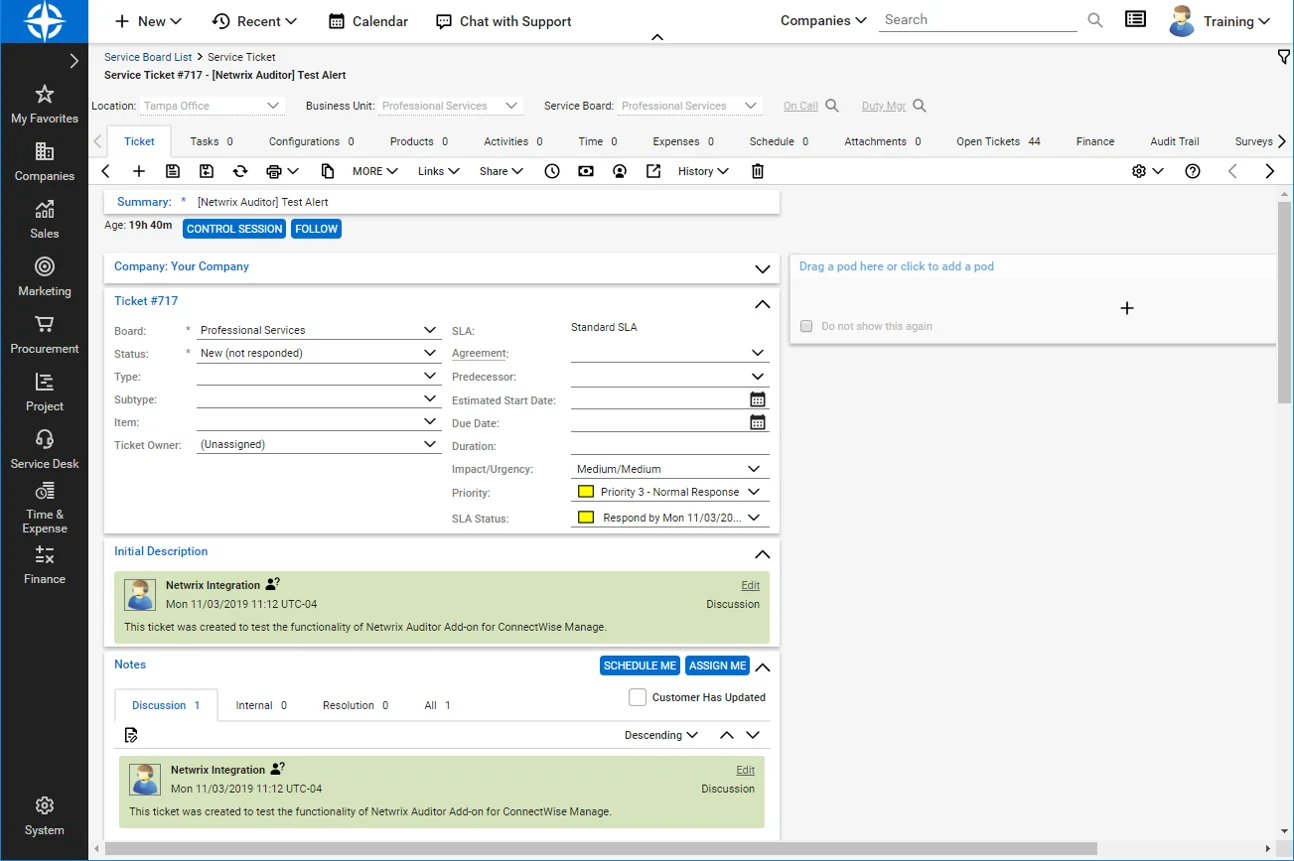
Optionally, you can click the Create Test Ticket button — then a test ticket will be created in
ConnectWise Manage to help you verify the connection and ticketing settings you configured.
Its Summary field will contain [Netwrix Auditor] Test Alert; its Initial Description field will
contain This ticket was created to test the functionality of Netwrix Auditor Add-on for ConnectWise
Manage. Also, the test ticket will have a sample attachment (TestAttachment.txt).
Step 5 – Finally, at the Summary step, review the location of configuration file with the settings you specified: C:\Addon\ITSM_CW\ConnectWiseSettings.xml.
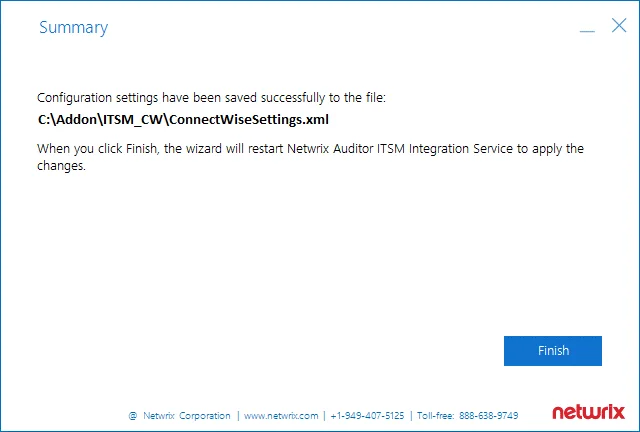
If needed, you can edit the configuration file manually. See the Connection and Ticketing Settings topic for additional information.
Click Finish to restart the add-on service so that the changes can take effect.
Transferring Configuration
If necessary, you can use configuration file created with this wizard as a template for multiple managed clients. Perform the following steps:
Step 1 – Open the file path provided at the Summary step of the wizard.
Step 2 – Locate the ConnectWiseSettings.xml file and copy it to the add-on folder on another client's server.
Step 3 – Then run ConfigureConnection.exe on that server to launch the configuration wizard and specify the necessary settings — for example, provide the managed client company name at the Service Ticket Routing step, and so on.