Install Application
Netwrix Activity Monitor comes with a 10-day trial license to start. If an organization's license key has been acquired already, which should be provided by a Netwrix Representative, the file should be saved in the same location where the Activity Monitor will be installed.
Follow the steps to install the Netwrix Activity Monitor Console.
Step 1 – Run the NetwrixActivityMonitorSetup.msi executable to open the Netwrix Activity Monitor Setup wizard.
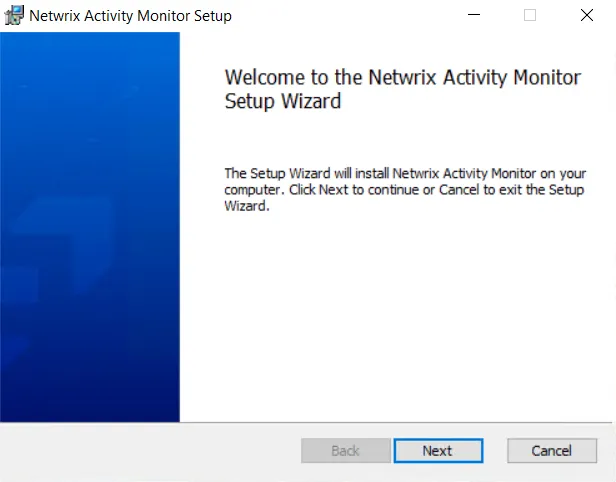
Step 2 – On the Activity Monitor Setup Wizard welcome page, click Next .
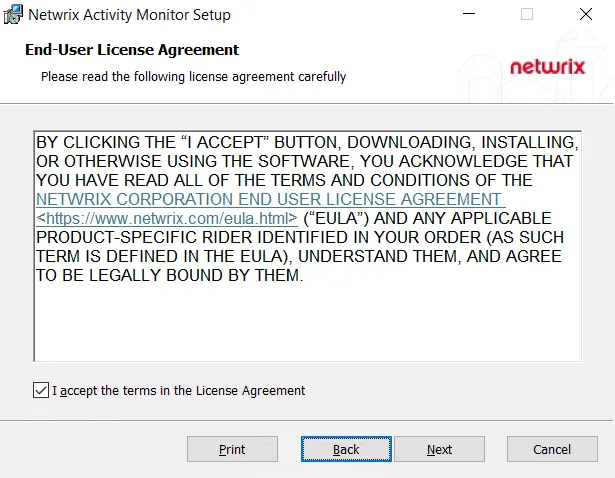
Step 3 – On the End User License Agreement page, check the I accept the terms in the License Agreement box and click Next.
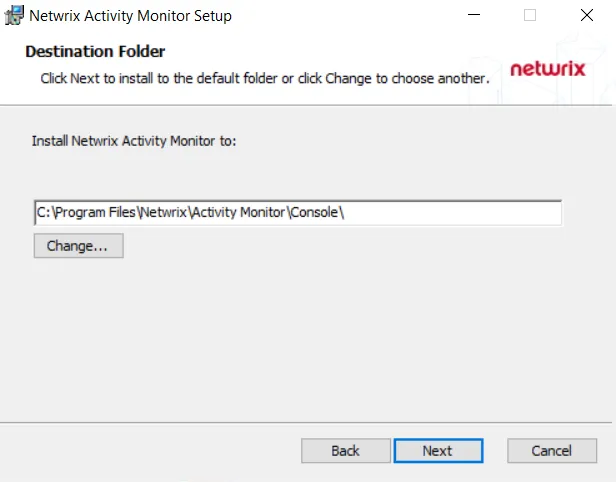
Step 4 – On the Destination Folder page, select a destination folder for Activity Monitor. The
default destination folder is C:\Program Files\Netwrix\Activity Monitor\Console\. Click Next.
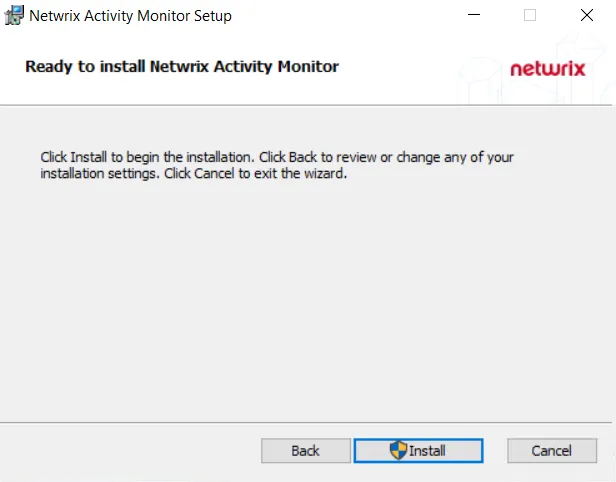
Step 5 – Click Install to begin installation.
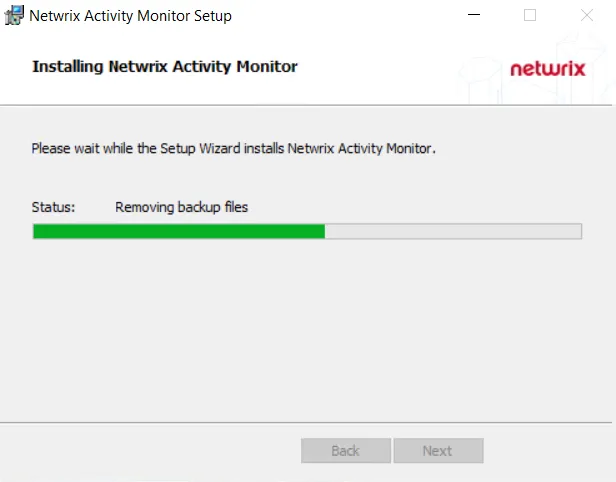
Step 6 – The installer displays a status page during the installation process. Wait for the next window to appear when the status is complete.
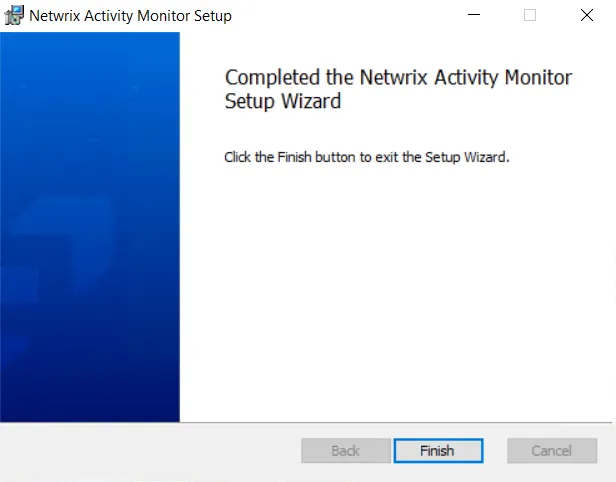
Step 7 – Once installation is complete, click Finish.
The setup wizard closes and the Activity Monitor Console opens.
The Activity Monitor Console installs with a 10-day, 1-host license key. After completing the installation, see the Import License Key topic for instructions on importing an organization’s license key.