Manually Install the Activity Agent
The Netwrix Activity Monitor Agent can be deployed via the console or manually.
Follow the steps to manually install the agent.
Step 1 – Navigate to the Activity Monitor Console installation path and locate the agent installation package. The default location is:
C:\Program Files\Netwrix\Activity Monitor\Console\Agents\x64\SBFileMonAgent.msi
Step 2 – Copy the Activity Monitor agent installation package to the target server.
Step 3 – Click the Activity Monitor agent installation package and the Wizard opens.
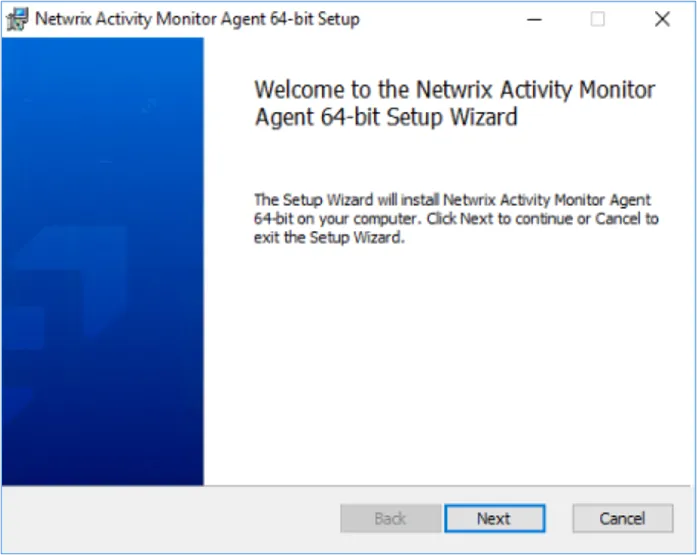
Step 4 – On the welcome page click Next.
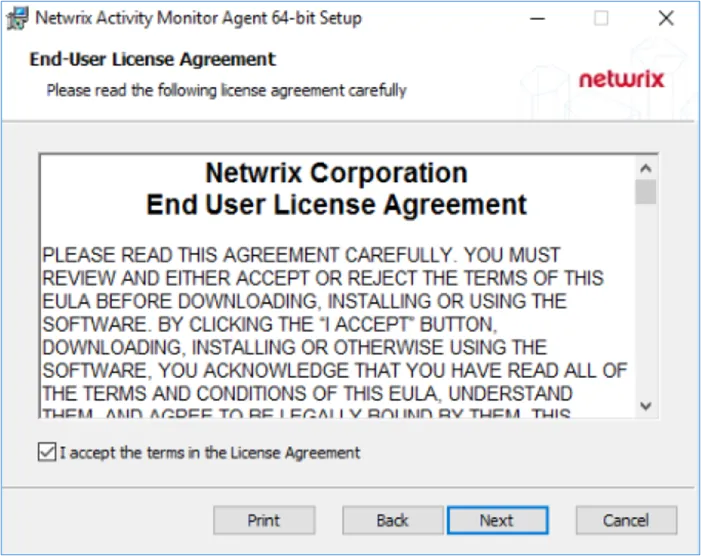
Step 5 – On the End-User License Agreement page, select the I accept the terms in the License Agreement option and click Next.
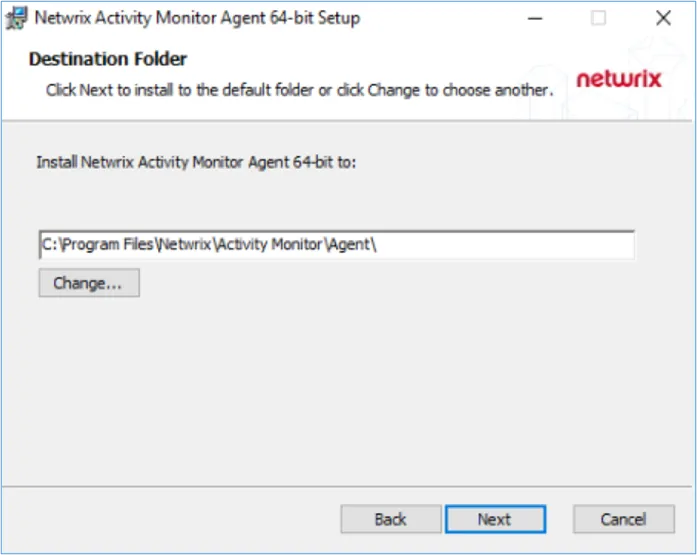
Step 6 – (Optional) On the Destination Folder page, click Change to change the installation directory location.
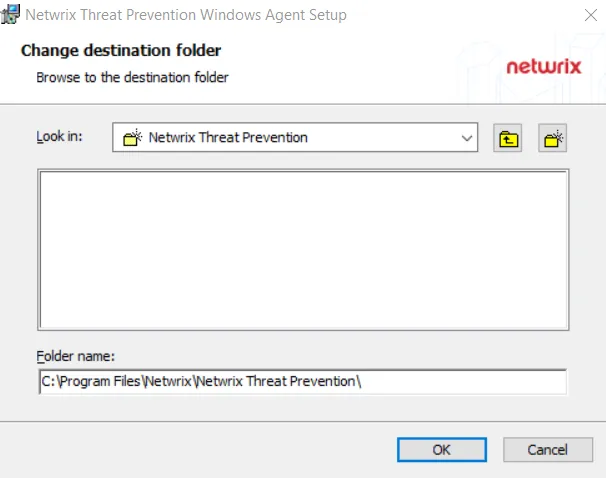
Step 7 – Click OK on the Change destination folder page to return to the Destination folder page. Click Next.
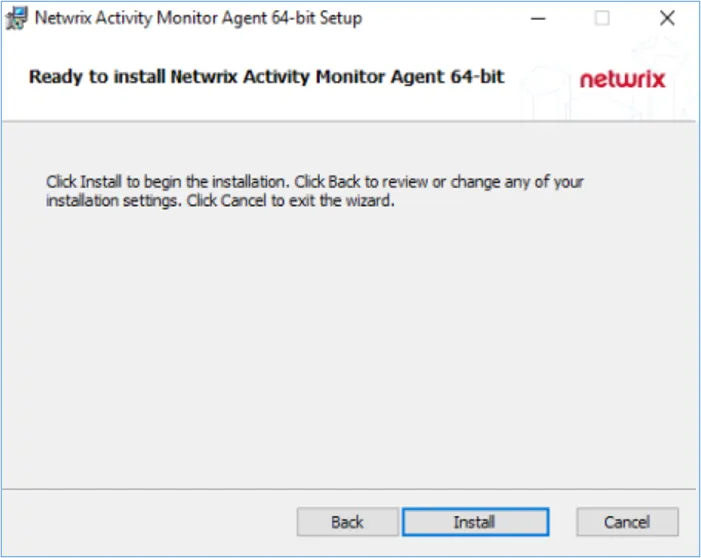
Step 8 – On the Ready to install page, click Install. The installation process begins. The Setup wizard displays the installation status.
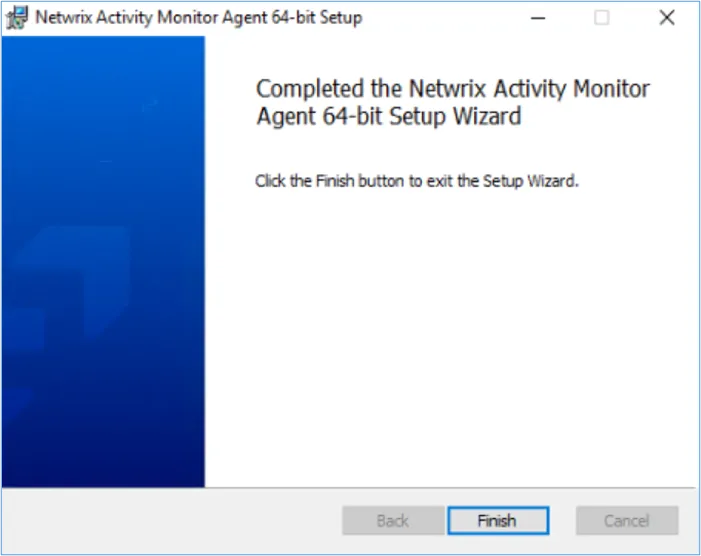
Step 9 – When installation is complete, click Finish.
(Optional) Command Line Installation
If needed, the following command line options can be used with extra logging and install options. The Activity Monitor Agent command line has the following parameters:
-
AGENT_PORT
- To specify Activity Monitor Agent port.
- Default value: “4498”
- AGENT_PORT=1234
-
AGENTINSTALLLOCATION
- To specify the Activity Monitor Agent installation path.
- Default value: “C:\Program Files\Netwrix\Activity Monitor\Agent”
- AGENTINSTALLLOCATION=“D:\AMAgent”
-
MANAGEMENT_GROUP
- To specify the Activity Monitor Agent Management Group (This allows user to limit users in the specified group to manage agents, but does not allow users in specified group to install, upgrade, or uninstall agents).
- Default value: “BUILTIN\Administrators”
- MANAGEMENT_GROUP=AMDOMAIN\AMGROUP
-
/l*v
- To include verbose install logging.
- /l*v "C:\amagent.log"
noteIf installation fails, locate the log file, and search for "Return value 3". The lines above "Return value 3" should contain information on what caused the installation to fail.
-
/qn
- To install the agent in quiet / Unattended Mode (without UI)
Example:
msiexec.exe /i C:\SBFileMonAgent.msi AGENT_PORT=1234 AGENTINSTALLLOCATION=“D:\AMAgent” MANAGEMENT_GROUP=AMDOMAIN\AMGROUP /l*v c:\amagent.log /qn
Add the Activity Agent to the Console
Before deploying the Activity Monitor agent, ensure all Activity Agent Server Requirements have been met, including those for NAS devices when applicable.
These steps are specific to deploying activity agents for monitoring file systems, SharePoint, SQL Server, Azure and Office 365 environments. See the Active Directory Agent Deployment section for instruction on deploying the AD agent. See the Linux Agent Deployment topic for instructions on deploying agents to Linux servers.
Follow the steps to deploy the activity agent to a single Windows server.
Step 1 – Open the Activity Monitor Console.
Step 2 – On the Agents tab, click Add Agent. The Add New Agent(s) window opens.
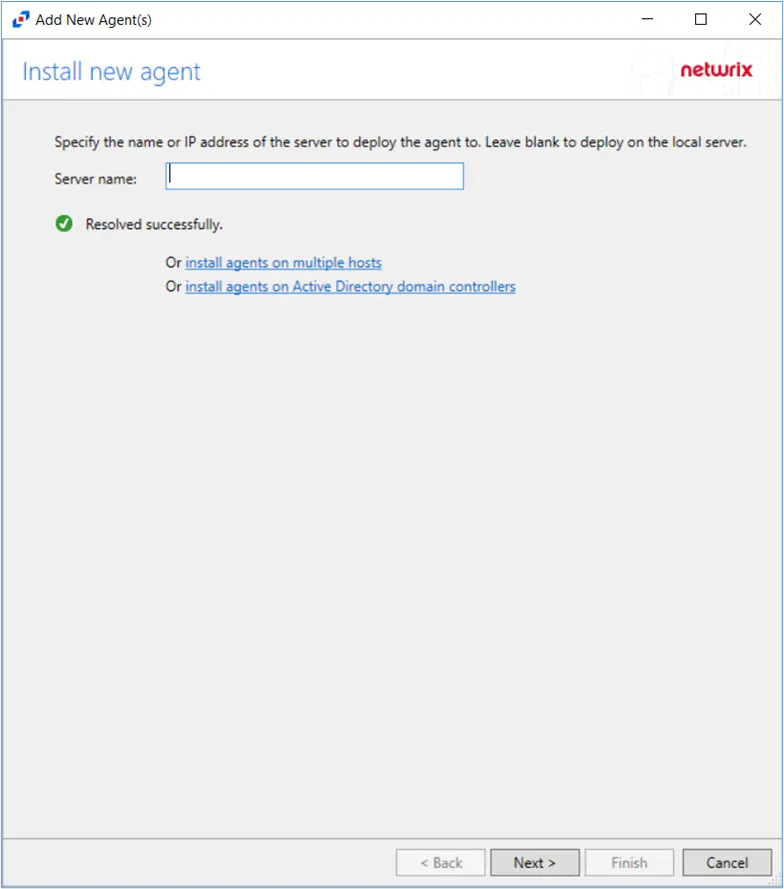
Step 3 – Specify the server name where the agent will be deployed. To add multiple server names, see the Multiple Activity Agents Deployment topic for additional information. Click Next.

Step 4 – Specify the port to be used for the agent. Click Next.
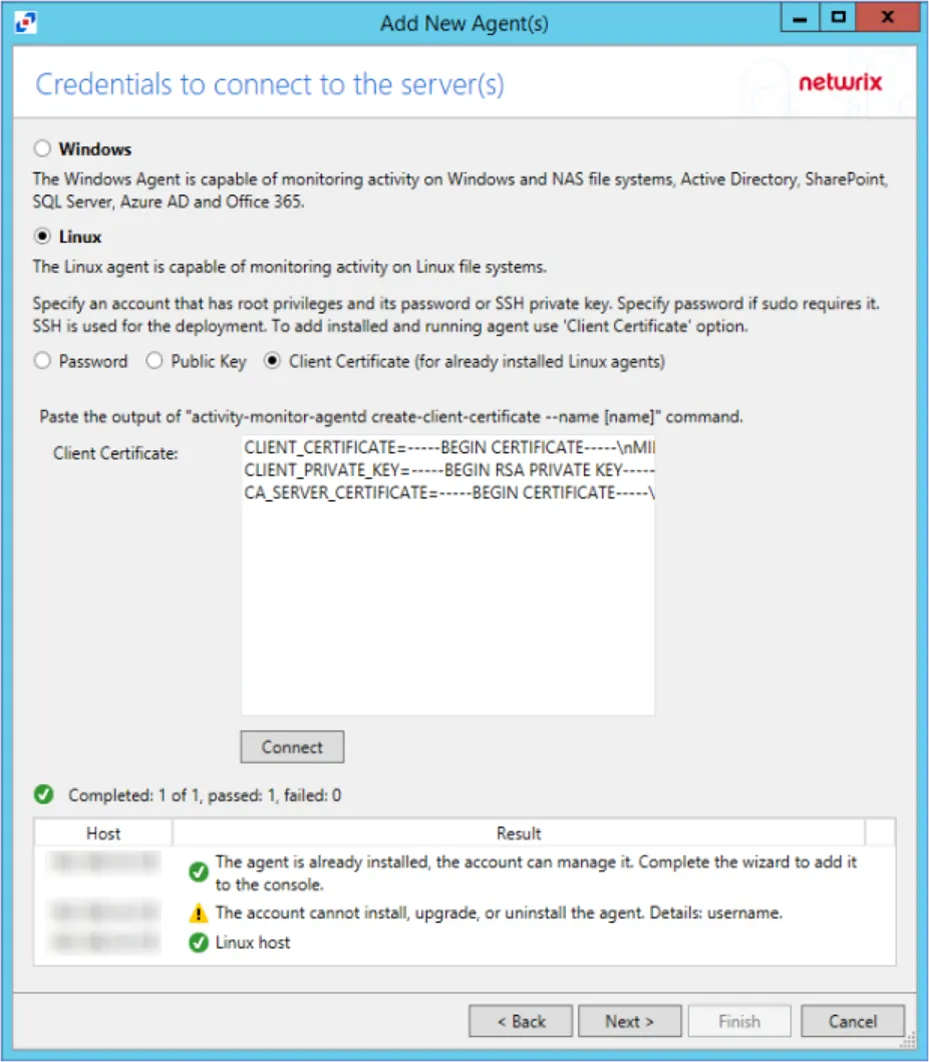
Step 5 – On the Credentials to Connect to the Server(s) page, specify the credentials for the server to which the agent is deployed. See the Single Activity Agent Deployment topic for additional information on credential options. Click Connect.
When clicking Connect while adding the Agent to the Console, the connection may fail. When clicking Connect, the Activity Monitor verifies not only its ability to manage the agent but the console's ability to deploy the agent as well. Errors can be ignored if the agent was manually installed.
Step 6 – Regardless of the warning messages that the agent cannot be installed or upgraded, click Next. The console will automatically detect the agent as it is already installed.
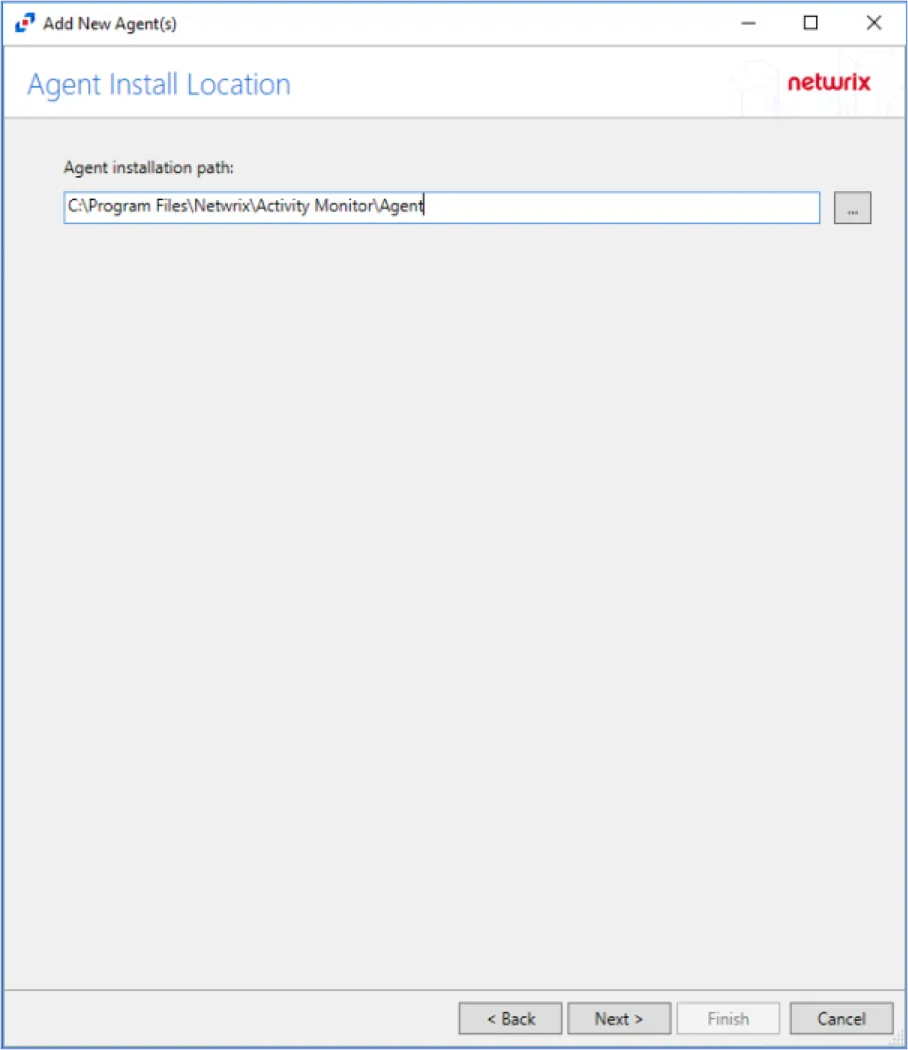
Step 7 – Specify the path of the Activity Monitor Agent, that has already been installed. Click Next.
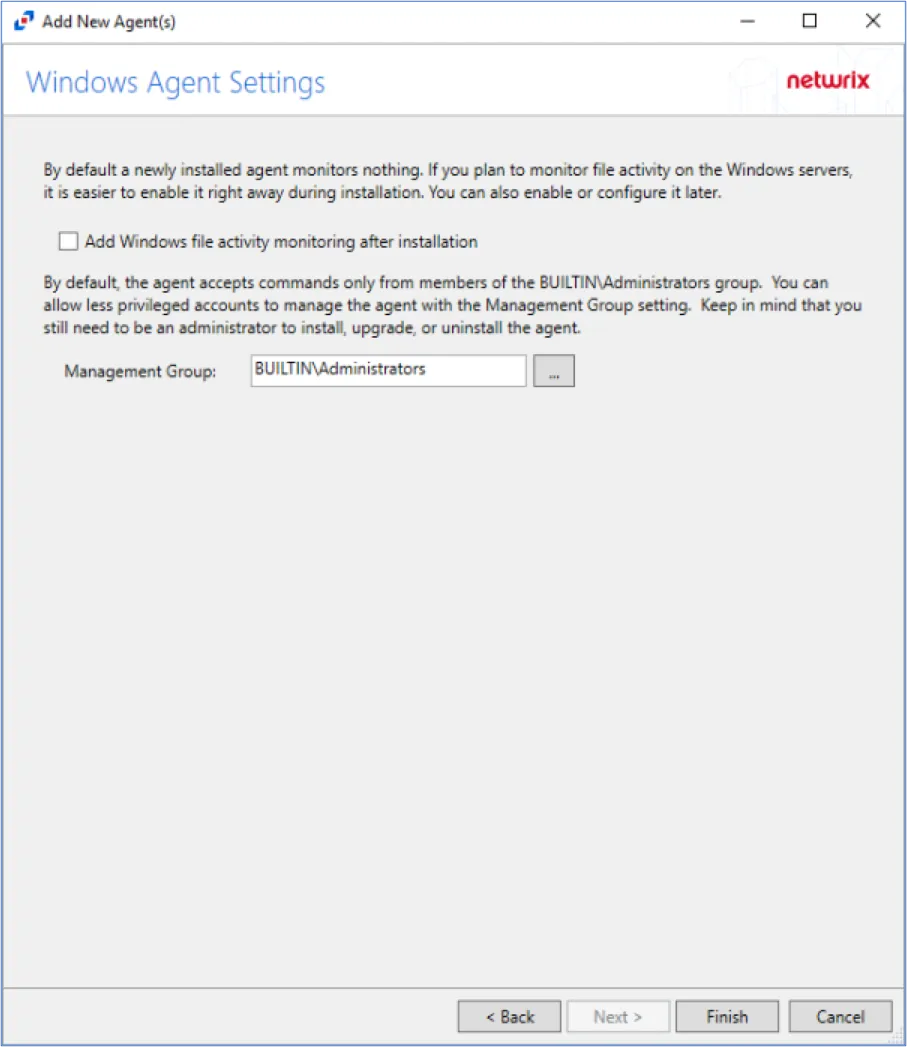
Step 8 – Specify the Activity Monitor Agent Management Group (if desired). Click Finish.
The Activity Monitor Agent Management Group allows users in the specified group to manage agents, but does not allow users in specified group to install, upgrade, or uninstall agents.
The Agent is now added to the Activity Monitor.
During the installation process of the agent, the status will display Installing. If there are any errors, the Activity Monitor stops the installation and lists the errors in the Agent messages box.
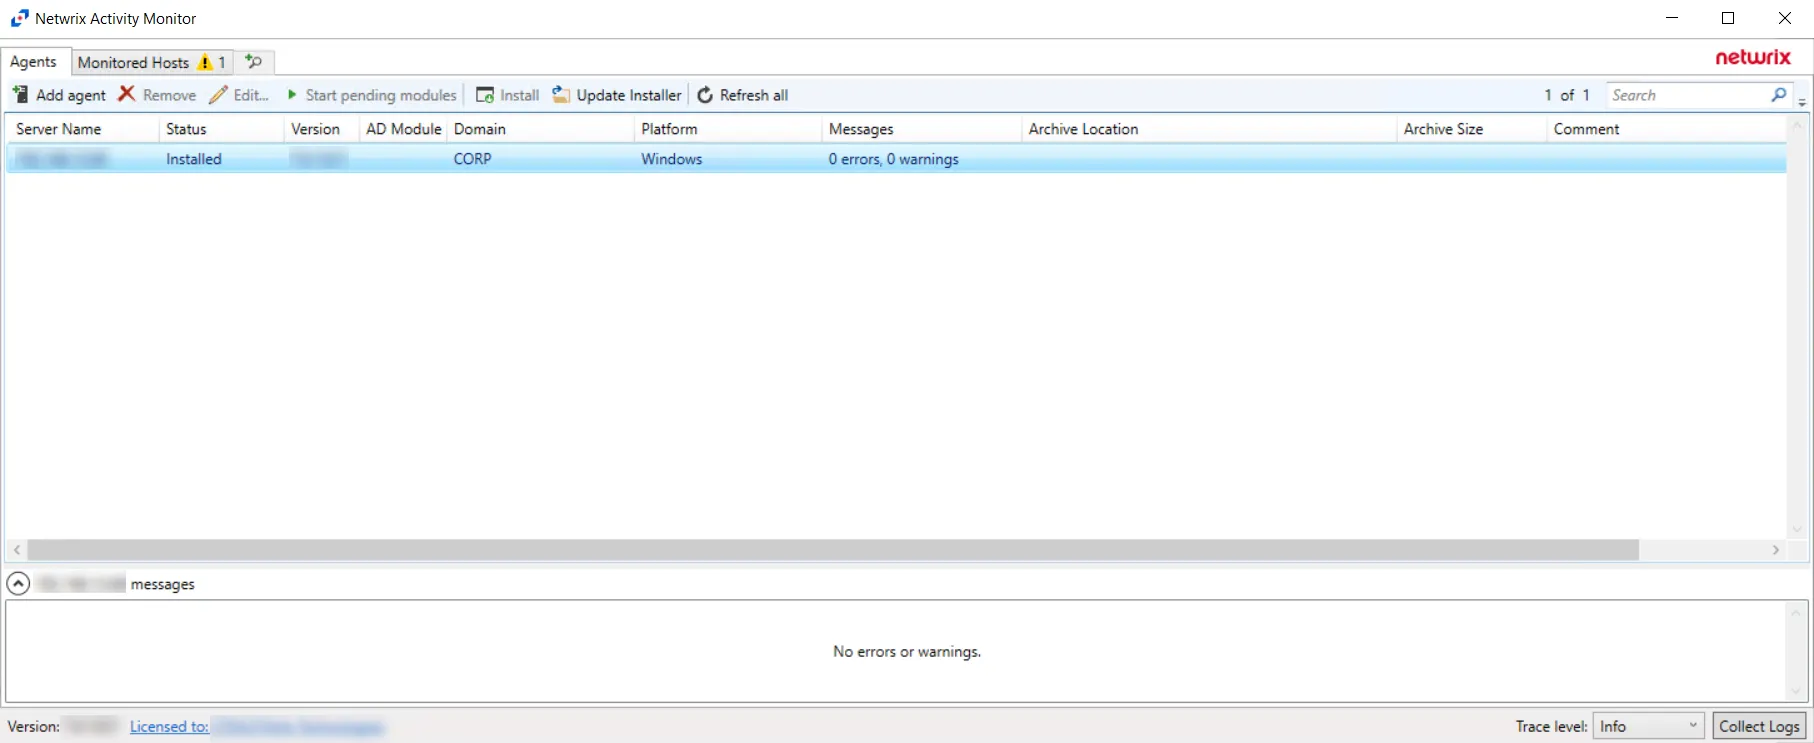
When the Activity Monitor agent installation is complete, the status changes to Installed and the activity agent version populates. The next step is to add hosts to be monitored.