Account Exclusions Tab
The Account Exclusions tab on an output Properties window is where monitoring scope by account name can be modified. These settings are initially configured when the output is added.
Select an output from the Monitored Hosts tab and click Edit to open the output Properties window. The tab varies based on the type of host selected.
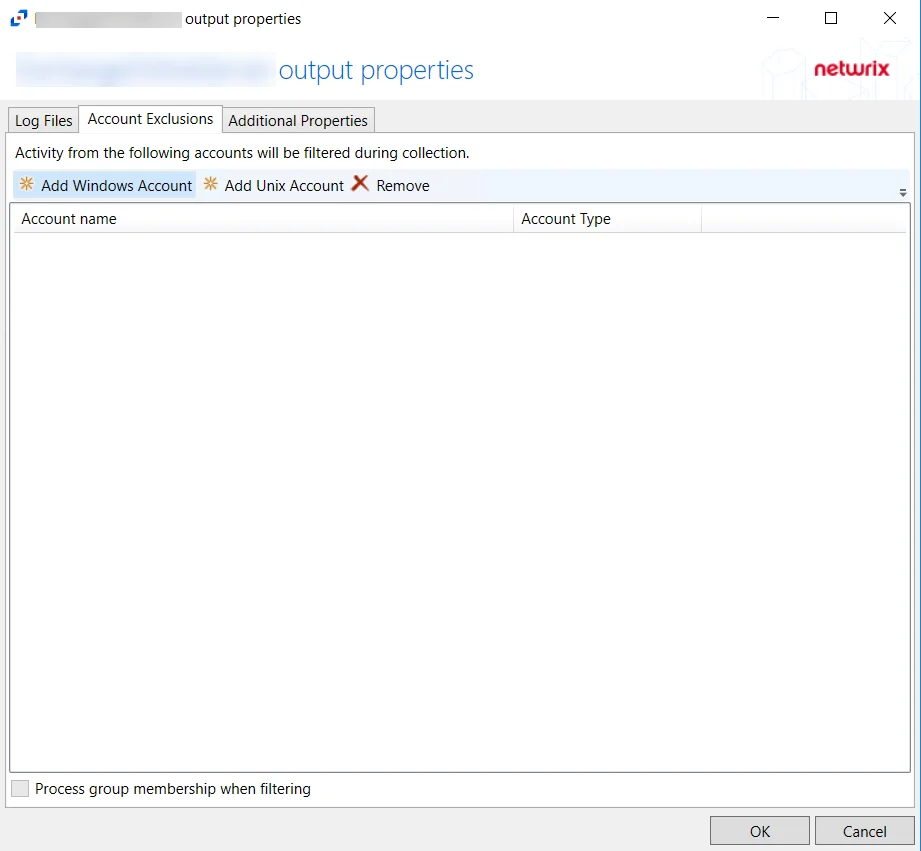
For Exchange Online Hosts
The tab contains the following settings:
-
Add Windows Account – Opens the Specify account or group window to add an account for exclusion. See the Specify Account or Group Window topic for additional information.
-
Add Unix Account – Opens the Specify Unix Account window to add an account for exclusion. See the Specify Unix Account Window topic for additional information.
-
Remove – Removes the selected account from exclusion. Confirmation is not requested.
warningIf an account is removed by accident, use the Cancel button to discard the change.
-
Process group membership when filtering – Indicates if group memberships is processed when filtering accounts
The table lists accounts that are being excluded from monitoring, displaying columns for Account Name and Account Type. By default, no accounts are being excluded.
Click OK to commit the modifications. Click Cancel to discard the modifications. The output Properties window closes.
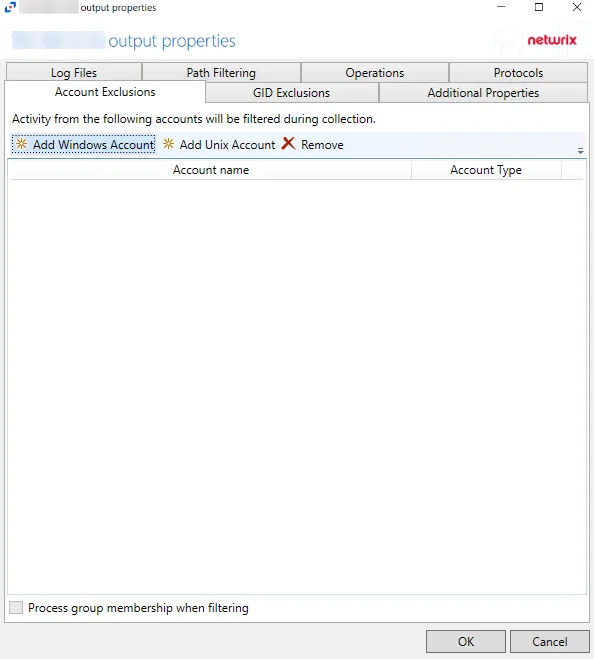
For Linux Hosts
The tab contains the following settings:
-
Add Windows Account – Opens the Specify account or group window to add an account for exclusion. See the Specify Account or Group Window topic for additional information.
-
Add Unix Account – Opens the Specify Unix Account window to add an account for exclusion. See the Specify Unix Account Window topic for additional information.
-
Remove – Removes the selected account from exclusion. Confirmation is not requested.
warningIf an account is removed by accident, use the Cancel button to discard the change.
-
Process group membership when filtering – Indicates if group memberships is processed when filtering accounts
The table lists accounts that are being excluded from monitoring, displaying columns for Account Name and Account Type. By default, no accounts are being excluded.
Click OK to commit the modifications. Click Cancel to discard the modifications. The output Properties window closes.
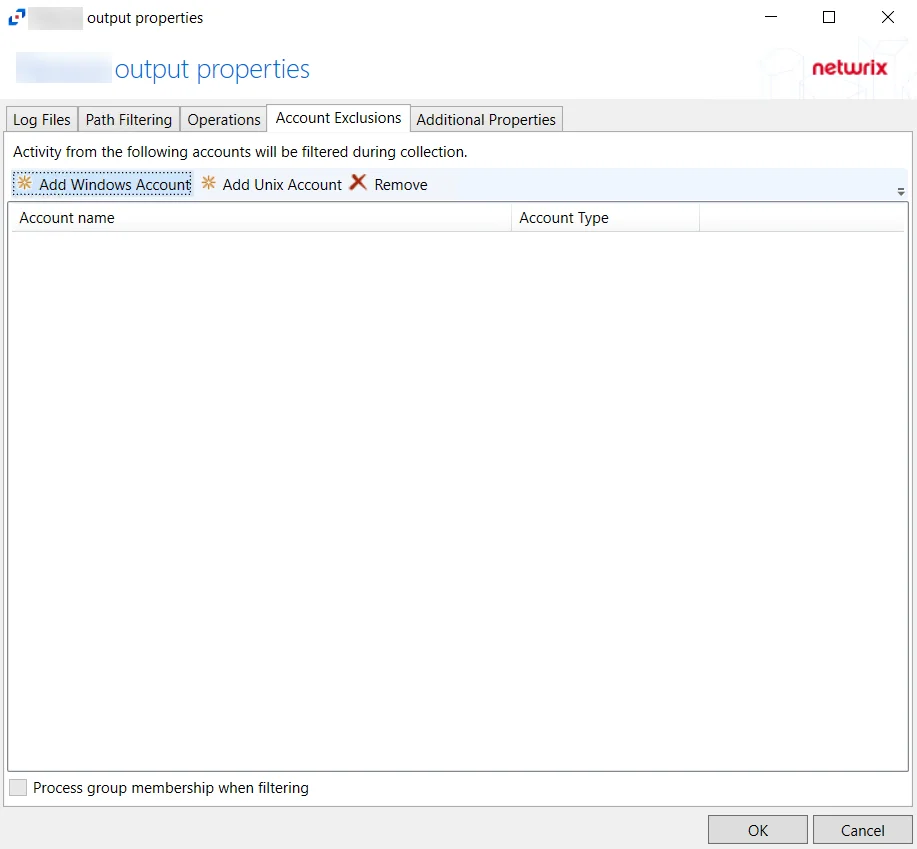
For NAS Device Hosts
The tab contains the following settings:
-
Add Windows Account – Opens the Specify account or group window to add an account for exclusion. See the Specify Account or Group Window topic for additional information.
-
Add Unix Account – Opens the Specify Unix Account window to add an account for exclusion. See the Specify Unix Account Window topic for additional information.
-
Remove – Removes the selected account from exclusion. Confirmation is not requested.
warningIf an account is removed by accident, use the Cancel button to discard the change.
-
Process group membership when filtering – Indicates if group memberships is processed when filtering accounts
The table lists accounts that are being excluded from monitoring, displaying columns for Account Name and Account Type. By default, no accounts are being excluded.
Click OK to commit the modifications. Click Cancel to discard the modifications. The output Properties window closes.
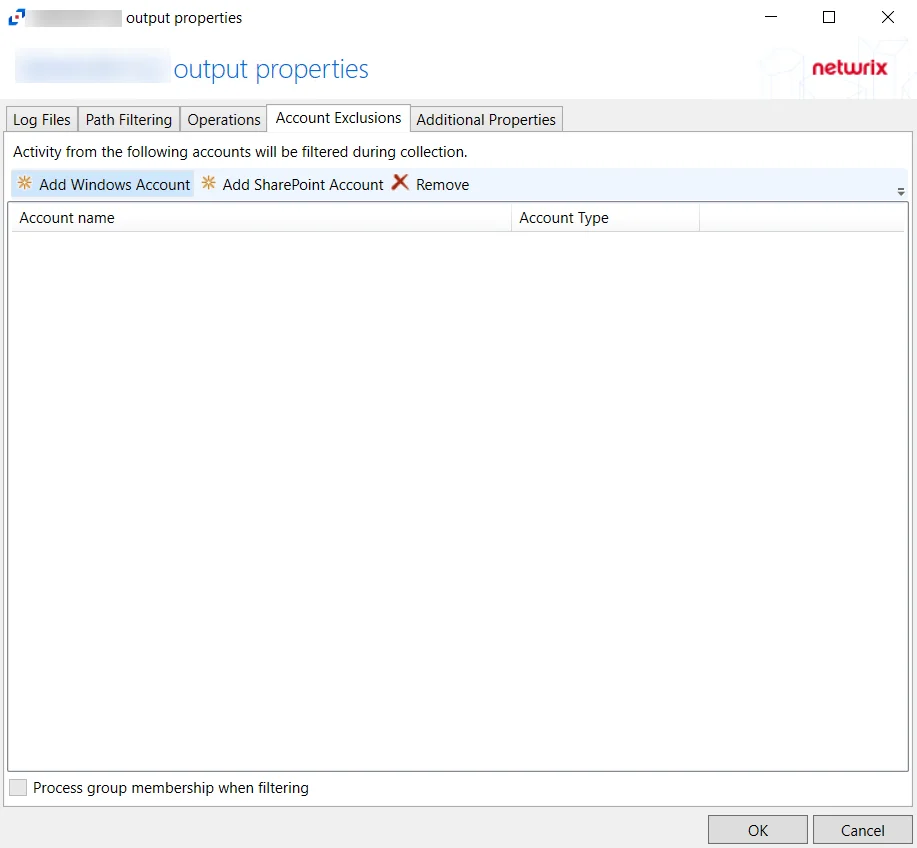
For SharePoint Hosts
The tab contains the following settings:
-
Add Windows Account – Opens the Specify account or group window to add an account for exclusion. See the Specify Account or Group Window topic for additional information.
-
Add SharePoint Account – Opens the Specify account window to add an account for exclusion. See the Specify Account Window topic for additional information.
-
Remove – Removes the selected account from exclusion. Confirmation is not requested.
warningIf an account is removed by accident, use the Cancel button to discard the change.
-
Process group membership when filtering – Indicates if group memberships is processed when filtering accounts
The table lists accounts that are being excluded from monitoring, displaying columns for Account Name and Account Type. By default, no accounts are being excluded.
Click OK to commit the modifications. Click Cancel to discard the modifications. The output Properties window closes.
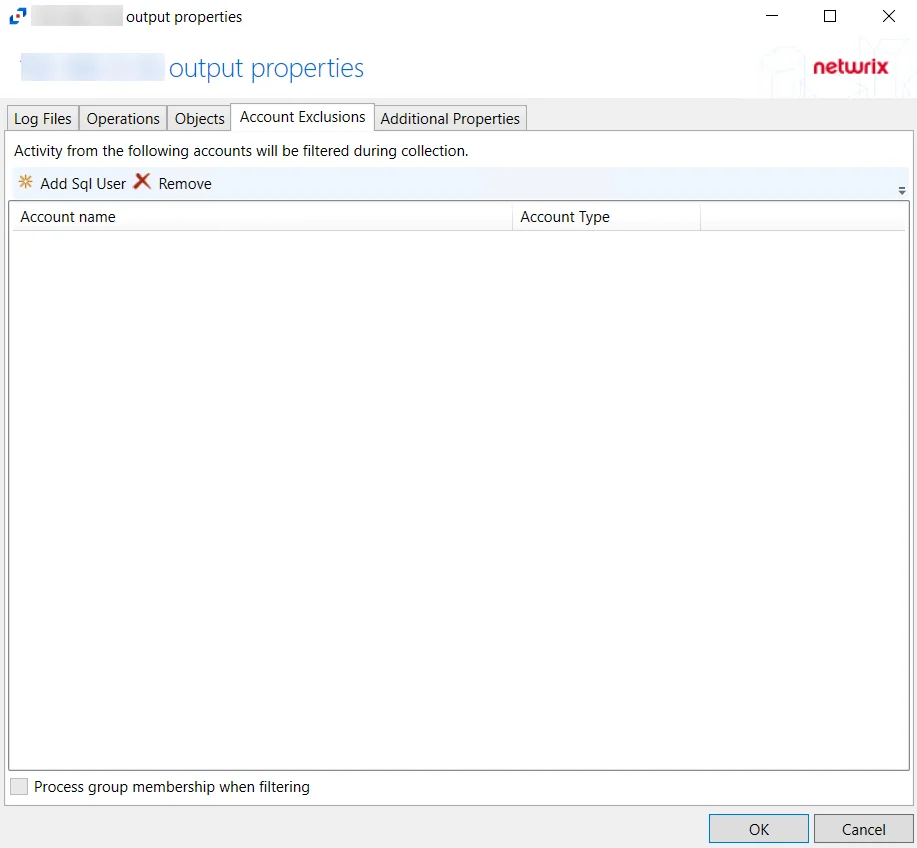
For SQL Server Hosts
The tab contains the following settings:
-
Add Sql User – Opens the Specify Sql User name window to add an account for exclusion. See the Specify Sql User Name Window topic for additional information.
-
Remove – Removes the selected account from exclusion. Confirmation is not requested.
warningIf an account is removed by accident, use the Cancel button to discard the change.
-
Process group membership when filtering – Indicates if group memberships is processed when filtering accounts
The table lists accounts that are being excluded from monitoring, displaying columns for Account Name and Account Type. By default, no accounts are being excluded.
Click OK to commit the modifications. Click Cancel to discard the modifications. The output Properties window closes.
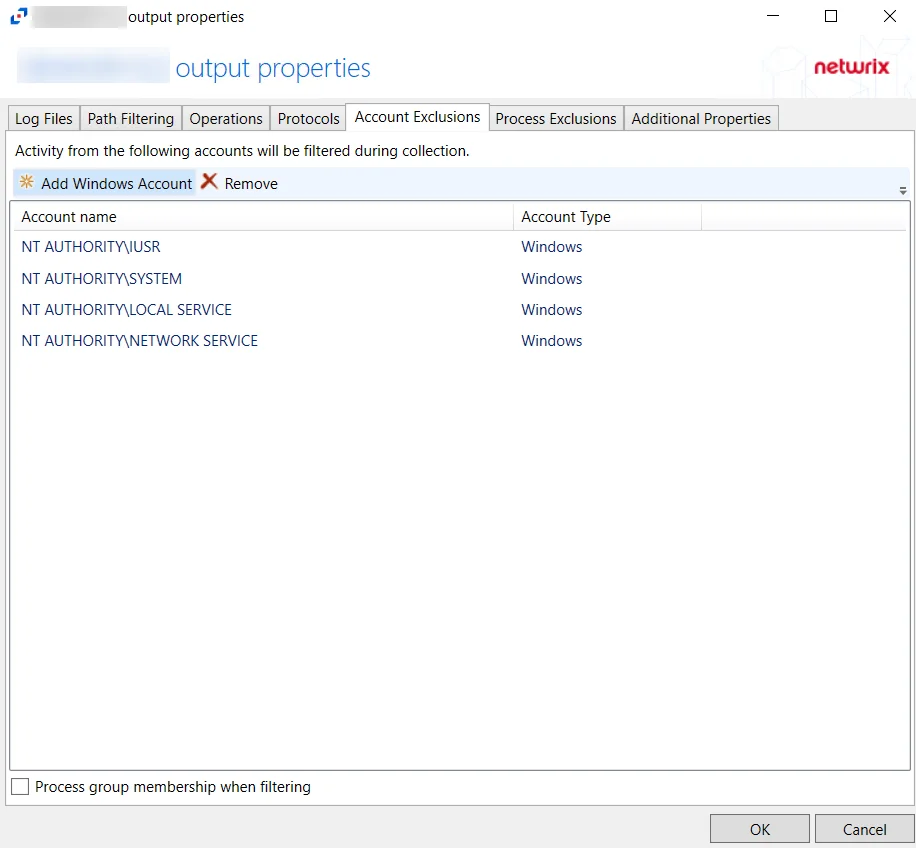
For Windows File Server Hosts
The tab contains the following settings:
-
Add Windows Account – Opens the Specify account or group window to add an account for exclusion. See the Specify Account or Group Window topic for additional information.
-
Remove – Removes the selected account from exclusion. Confirmation is not requested.
warningIf an account is removed by accident, use the Cancel button to discard the change.
-
Process group membership when filtering – Indicates if group memberships is processed when filtering accounts
The table lists accounts that are being excluded from monitoring, displaying columns for Account Name and Account Type. By default, the Windows File Server monitoring is excluding the following accounts:
- NT Authority\IUSR
- NT Authority\SYSTEM
- NT Authority\LOCAL SERVICE
- NT Authority\NETWORK SERVICE
Click OK to commit the modifications. Click Cancel to discard the modifications. The output Properties window closes.