Single Activity Agent Deployment
Before deploying the activity agent, ensure all Activity Agent Server Requirements have been met, including those for NAS devices when applicable. Follow the steps to deploy the activity agent to a single Windows server.
NOTE: These steps are specific to deploying activity agents for monitoring supported target environments.
Step 1 – On the Agents tab, click Add agent to open the Add New Agent(s) window.
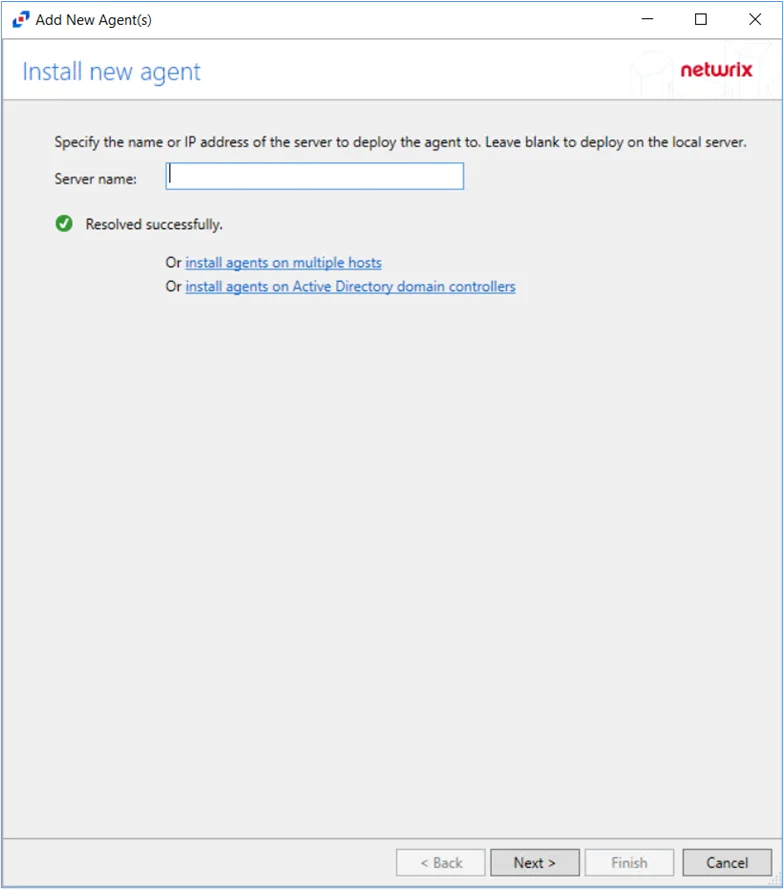
Step 2 – On the Install new agent page, enter the Server name (name or IP Address) to deploy to a single server. Leave the field blank to deploy the agent on the local server. Click Next.
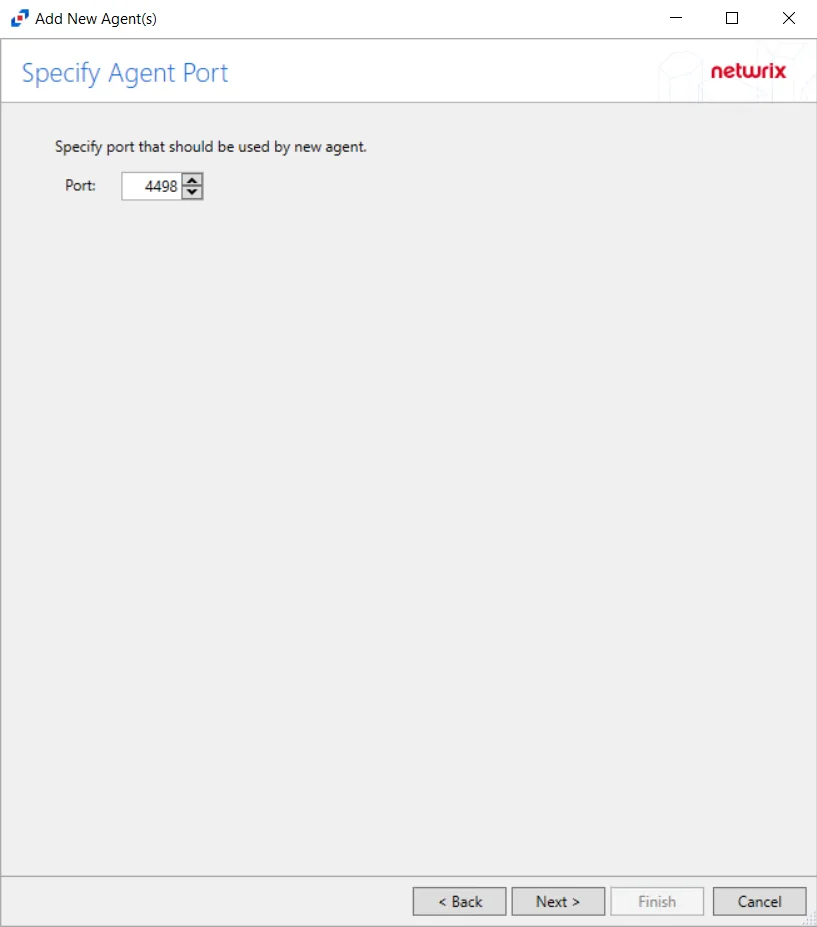
Step 3 – On the Specify Port page, specify the port that should be used by the new agent. The default port is 4498. Click Next.
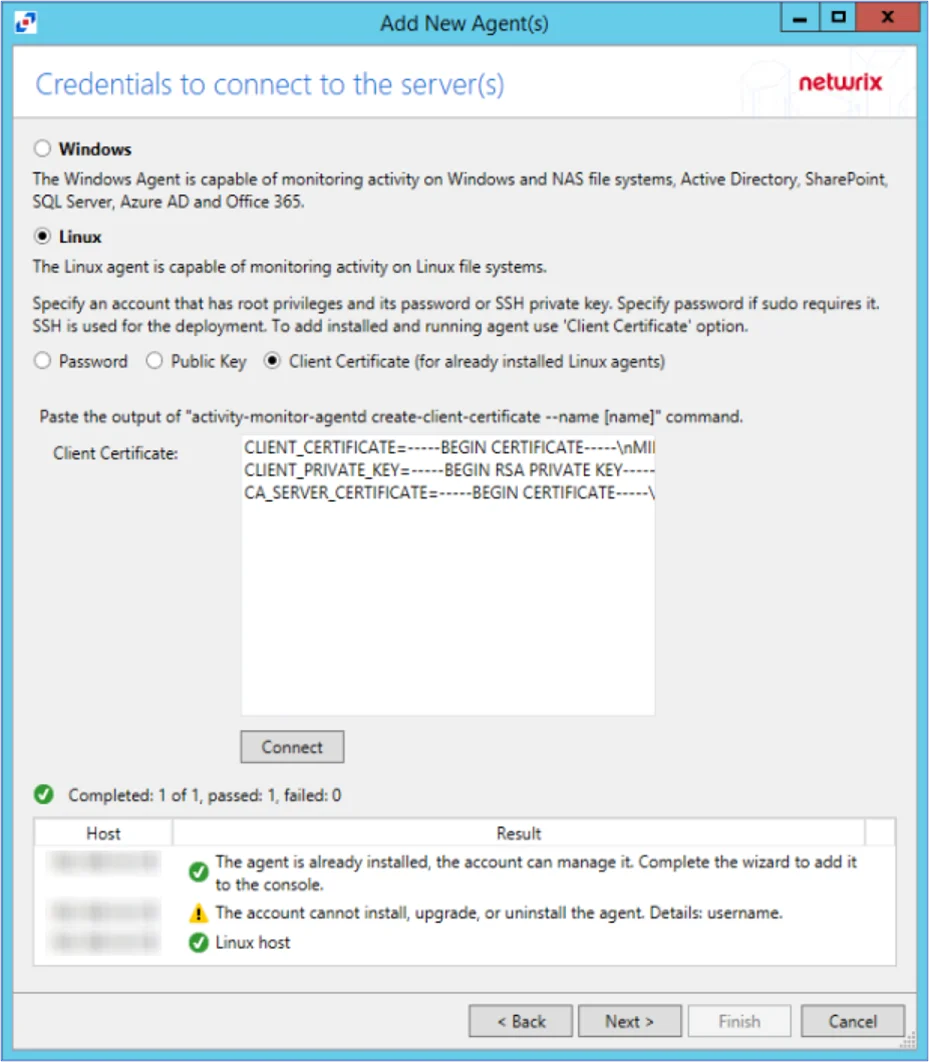
Step 4 – On the Credentials To Connect To The Server(s) page, select ether Windows or Linux file monitoring. Then, enter the User name and Password to connect to the API Server.
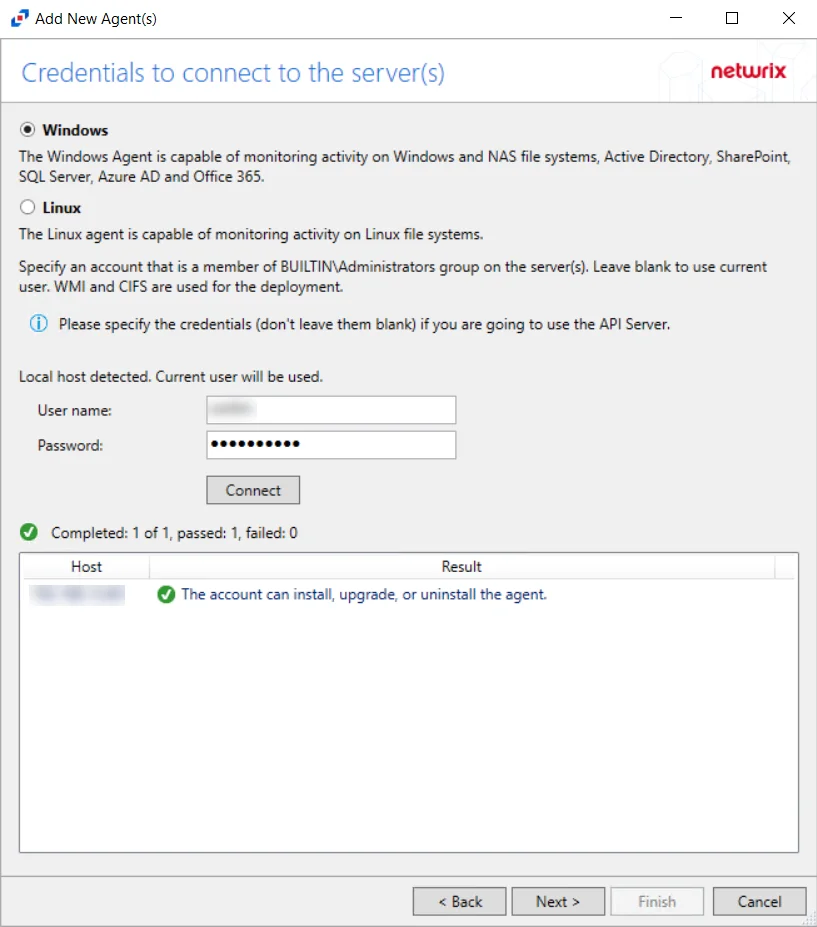
Step 5 – Click Connect to test the connection. If the connection is successful, click Next. If the connection is unsuccessful, see the status message that appears for information on the failed connection and correct the error to proceed.

Step 6 – On the Agent Install location page, specify the Agent installation path. The
default path is C:\Program Files\Netwrix\Activity Monitor\Agent. Click Next.
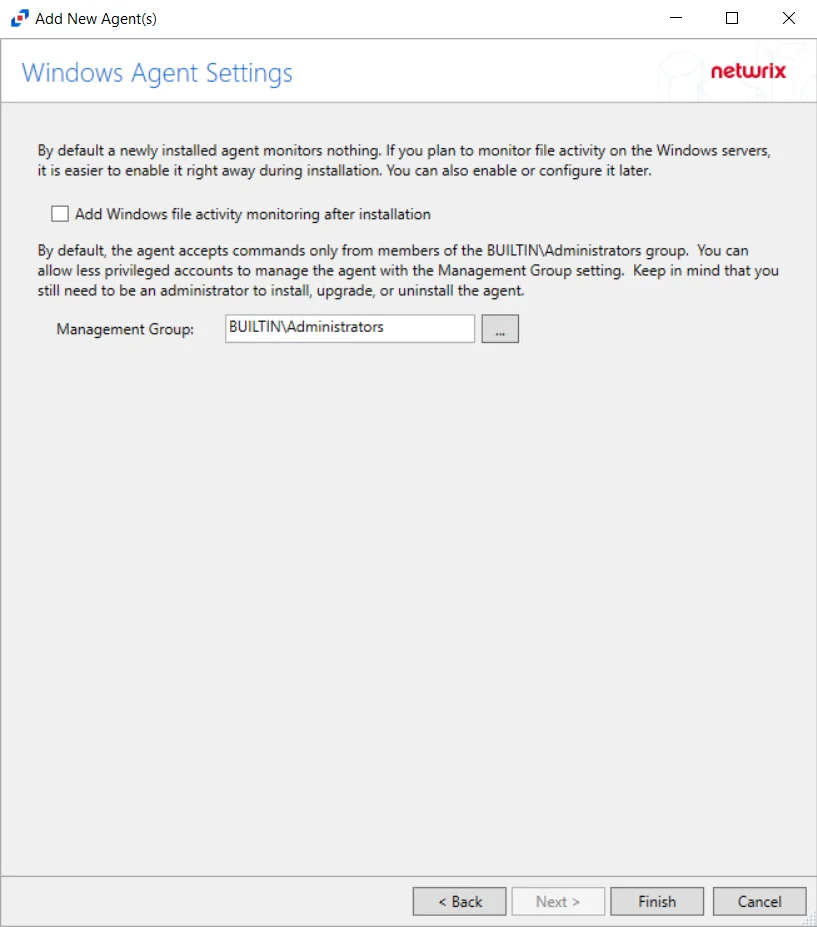
Step 7 – On the Windows Agent Settings window, configure the following options:
- Windows Activity Monitoring — Check the Add Windows file activity monitoring after installation checkbox to enable monitoring all file system activity on the targeted Windows server after installation. Alternatively, the Windows monitoring can be enabled later on the Monitored Hosts page.
- Management Group — By default, the agent only accepts commands from members from the BUILTIN\Administrators group. Less privileged accounts can be used to manage the agent with the Management group setting. Keep in mind that an administrator account must be used to install, upgrade or uninstall an agent. The value must be a domain or local security group entered in the DOMAIN\groupname format.
Step 8 – Click Finish. The Add New Agent(s) window closes, and the activity agent is deployed to and installed on the target host.
During the installation process of the agent, the status will display Installing. If there are any errors, the Activity Monitor stops the installation and lists the errors in the Agent messages box.
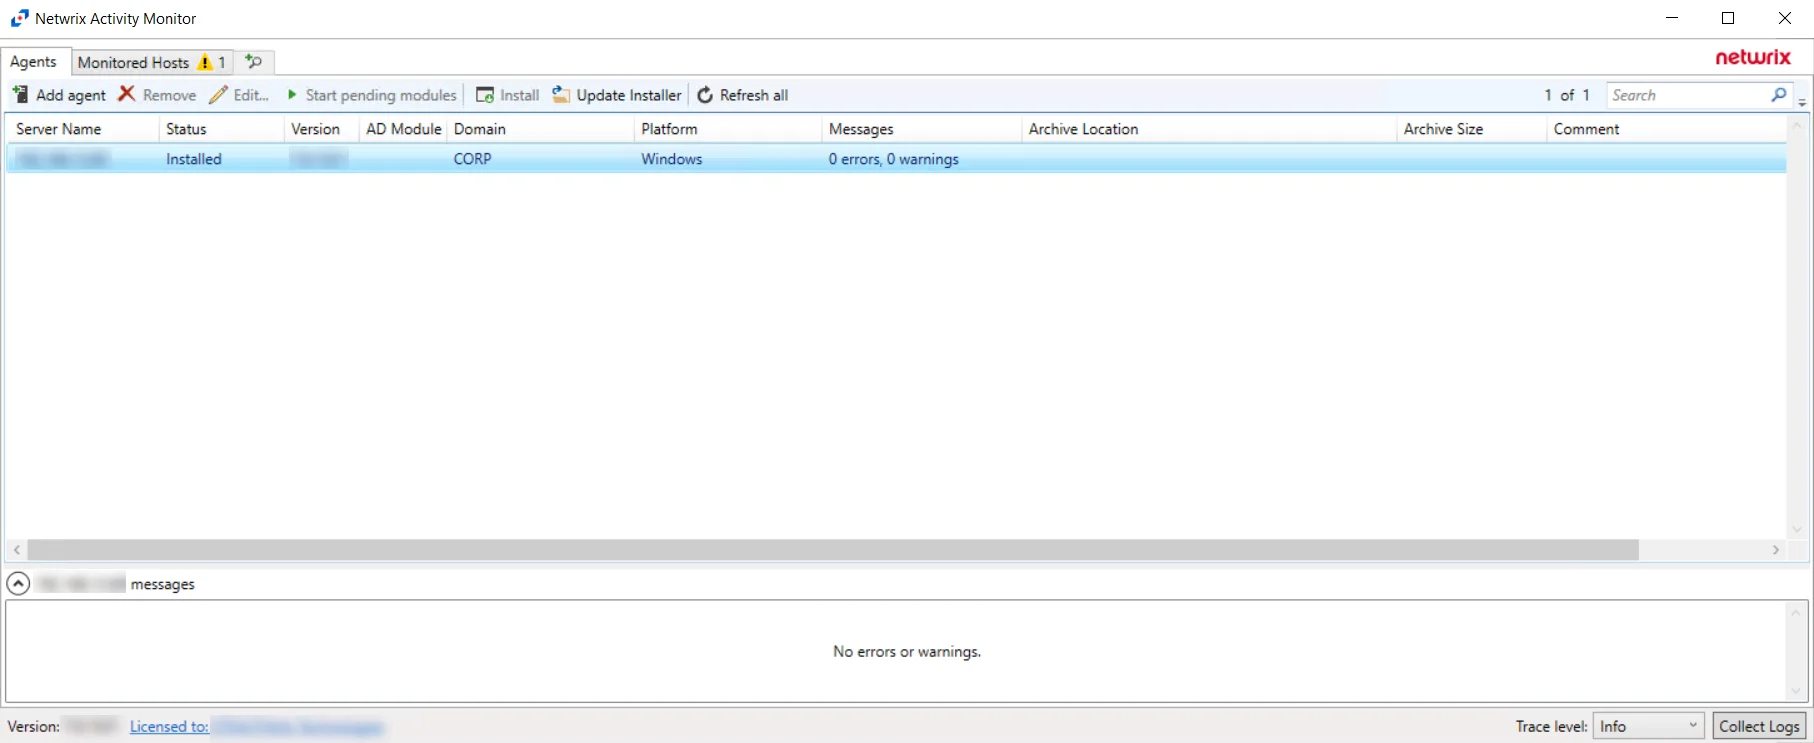
When the activity agent installation is complete, the status changes to Installed and the activity agent version populates. The next step is to add hosts to be monitored. See the Monitored Hosts Tab topic for additional information.