Users and Roles
Roles
Access Analyzer has exactly three roles. Every user holds one of them, and there are no custom roles.
| Role | What it can do |
|---|---|
| Admin | Everything. Only Admins can change Application settings, feature flags, sources, scans, sensitive data patterns, agents, service accounts, backups, and enrollment tokens, and only Admins can open the System logs tab. |
| User admin | User management only: the Users tab, the Single sign-on card on the System tab, and the identity provider setup flow. A User admin can't grant the Admin role and can't edit, deactivate, delete, or reset the password of an existing Admin. User admins have no access to dashboards, sources, or scans, and land on Settings > Users after signing in. |
| Viewer | Read-only access across the product, including the Application and Feature flags tabs. Viewers can stop, pause, and resume scan executions. They can't see the Users, System, or System logs tabs, and can't open Sensitive data patterns. |
If someone opens a page their role doesn't allow, Access Analyzer redirects them away without an error message.
The Add user form labels the Admin role Administrator; the Users list and the rest of the product show it as Admin.
The Users Tab
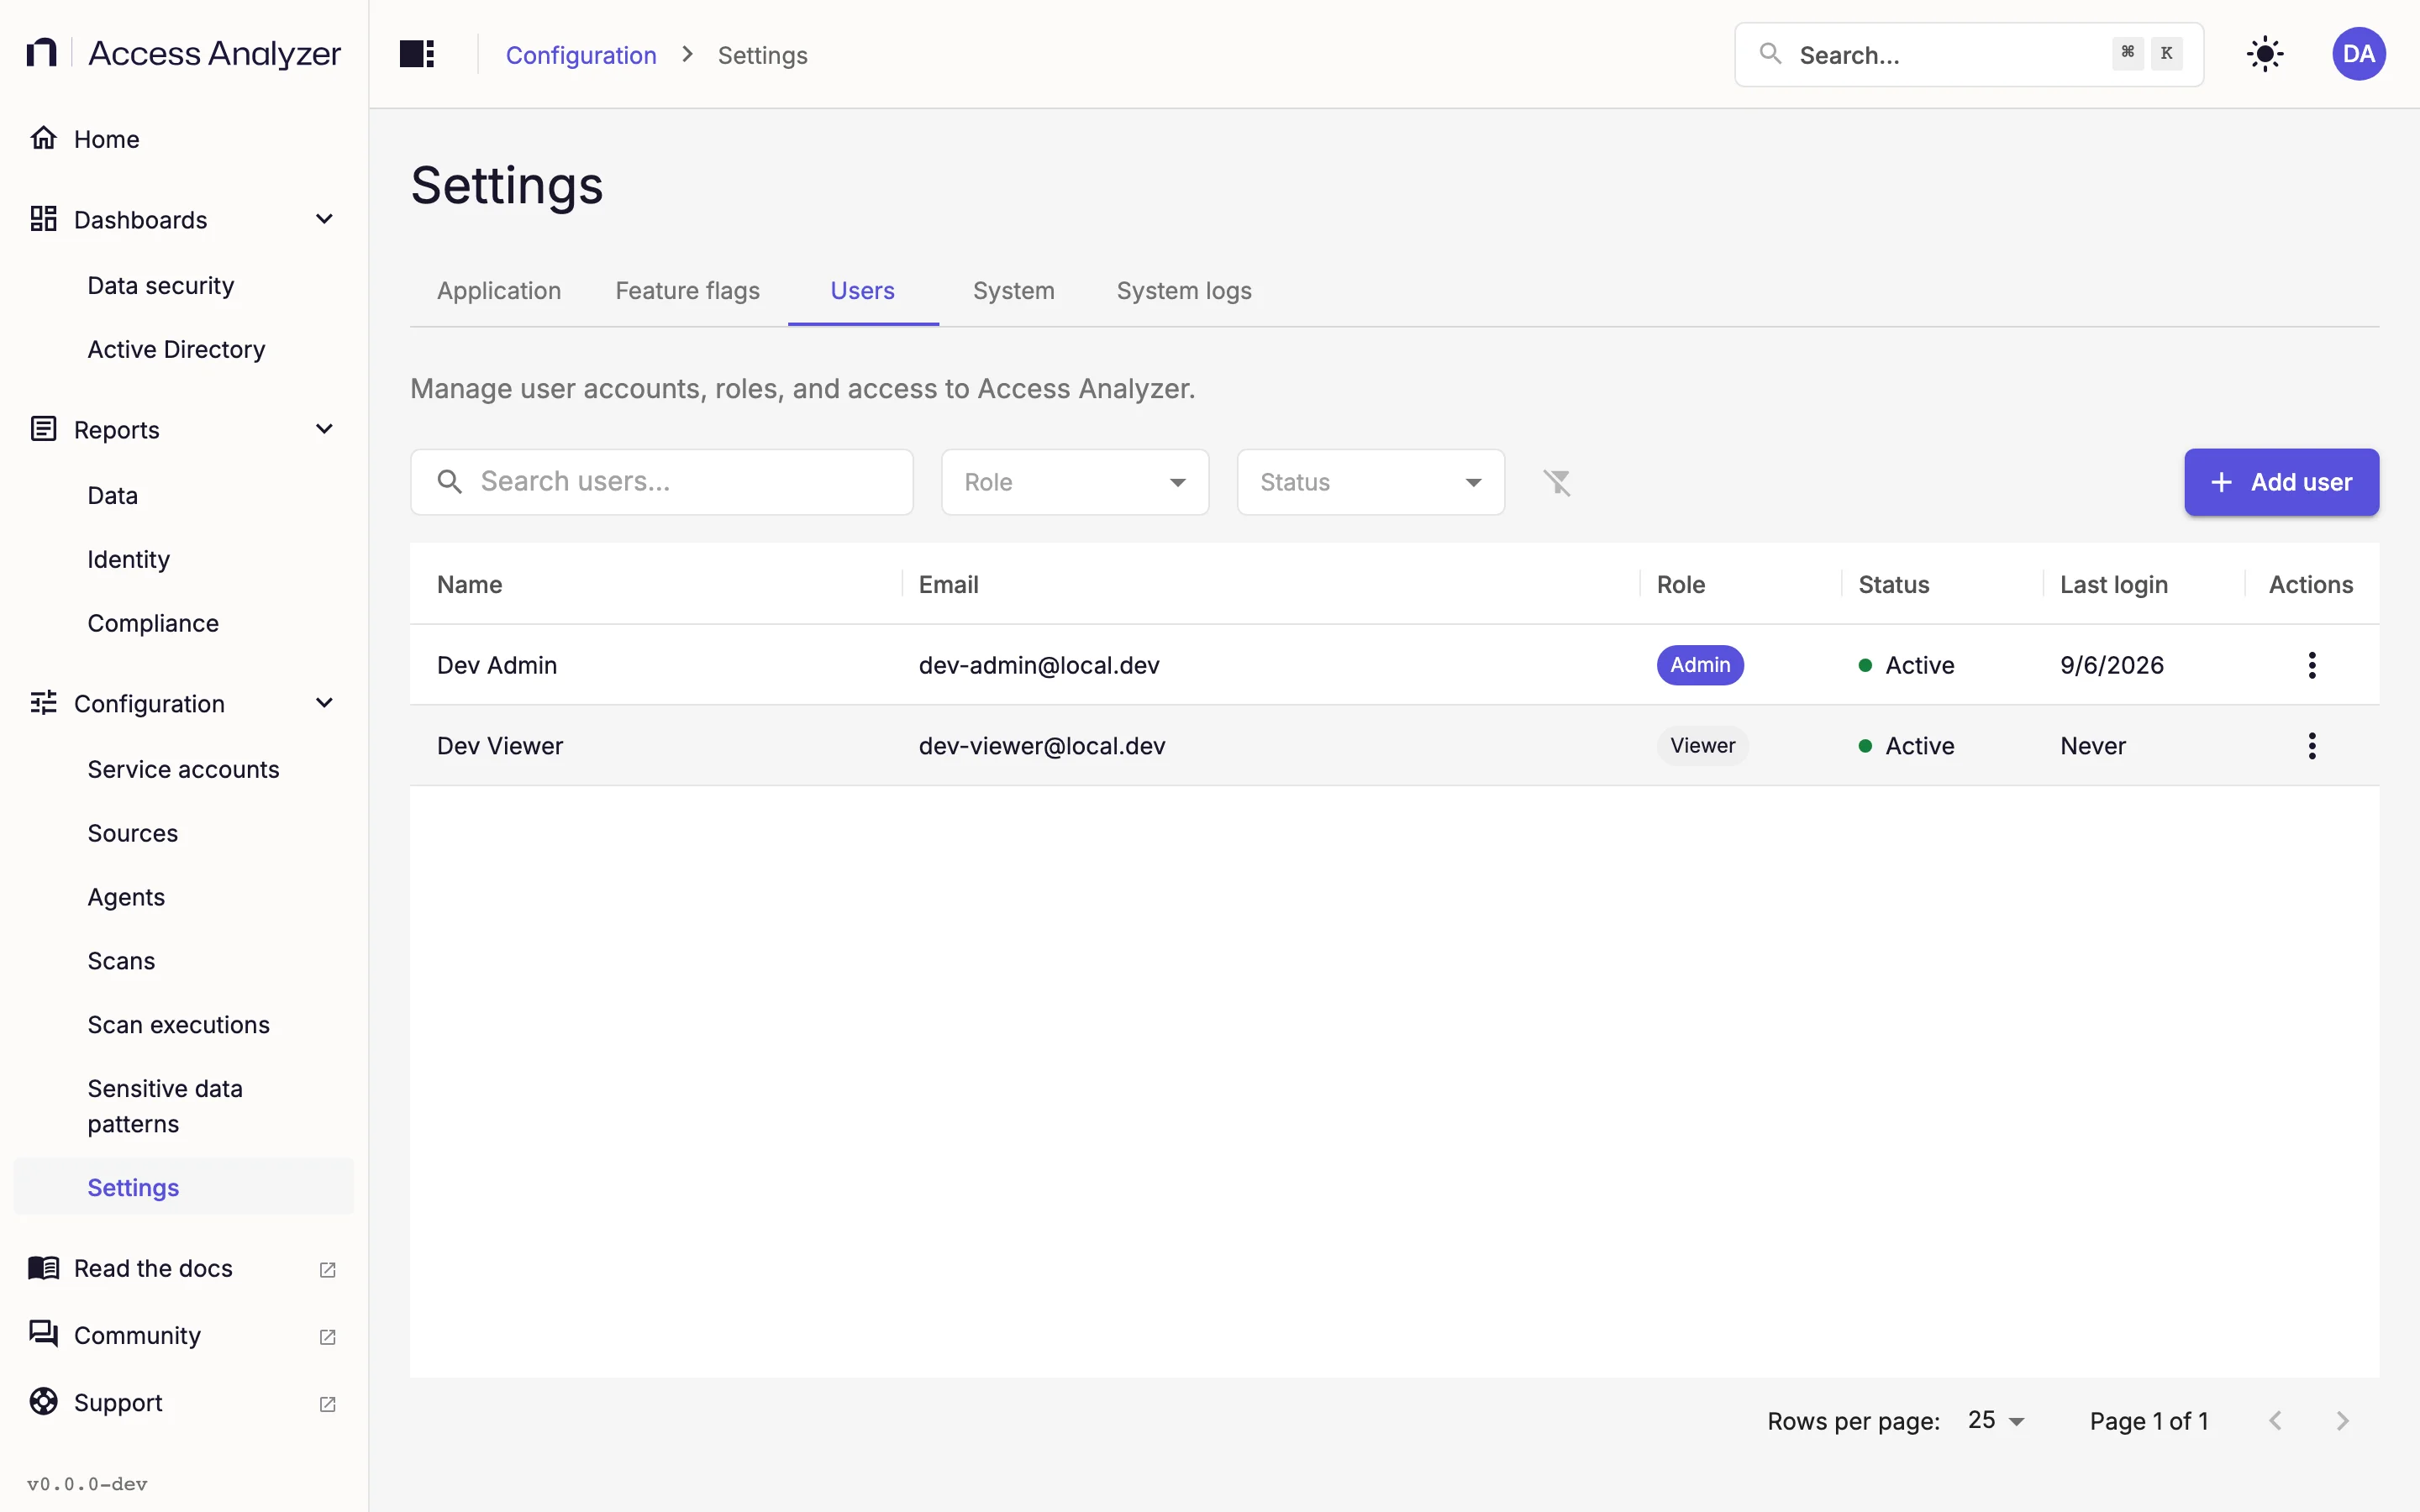
Settings > Users lists every account. Admins and User admins can open it.
| Column | What it shows |
|---|---|
| Name | The user's display name. |
| The sign-in identity. For federated accounts this must match the email the directory reports. | |
| Role | Admin, User admin, or Viewer. |
| Status | Active or Inactive. Inactive users can't sign in. |
| Last login | When the user last signed in. |
| Actions | The row menu; see Row actions. |
The toolbar has a Search users… box, a Role filter (All roles, Admin, User admin, Viewer), a Status filter (All statuses, Active, Inactive), Clear filters, and Add user. The table shows 10, 25, 50, or 100 rows per page.
Row Actions
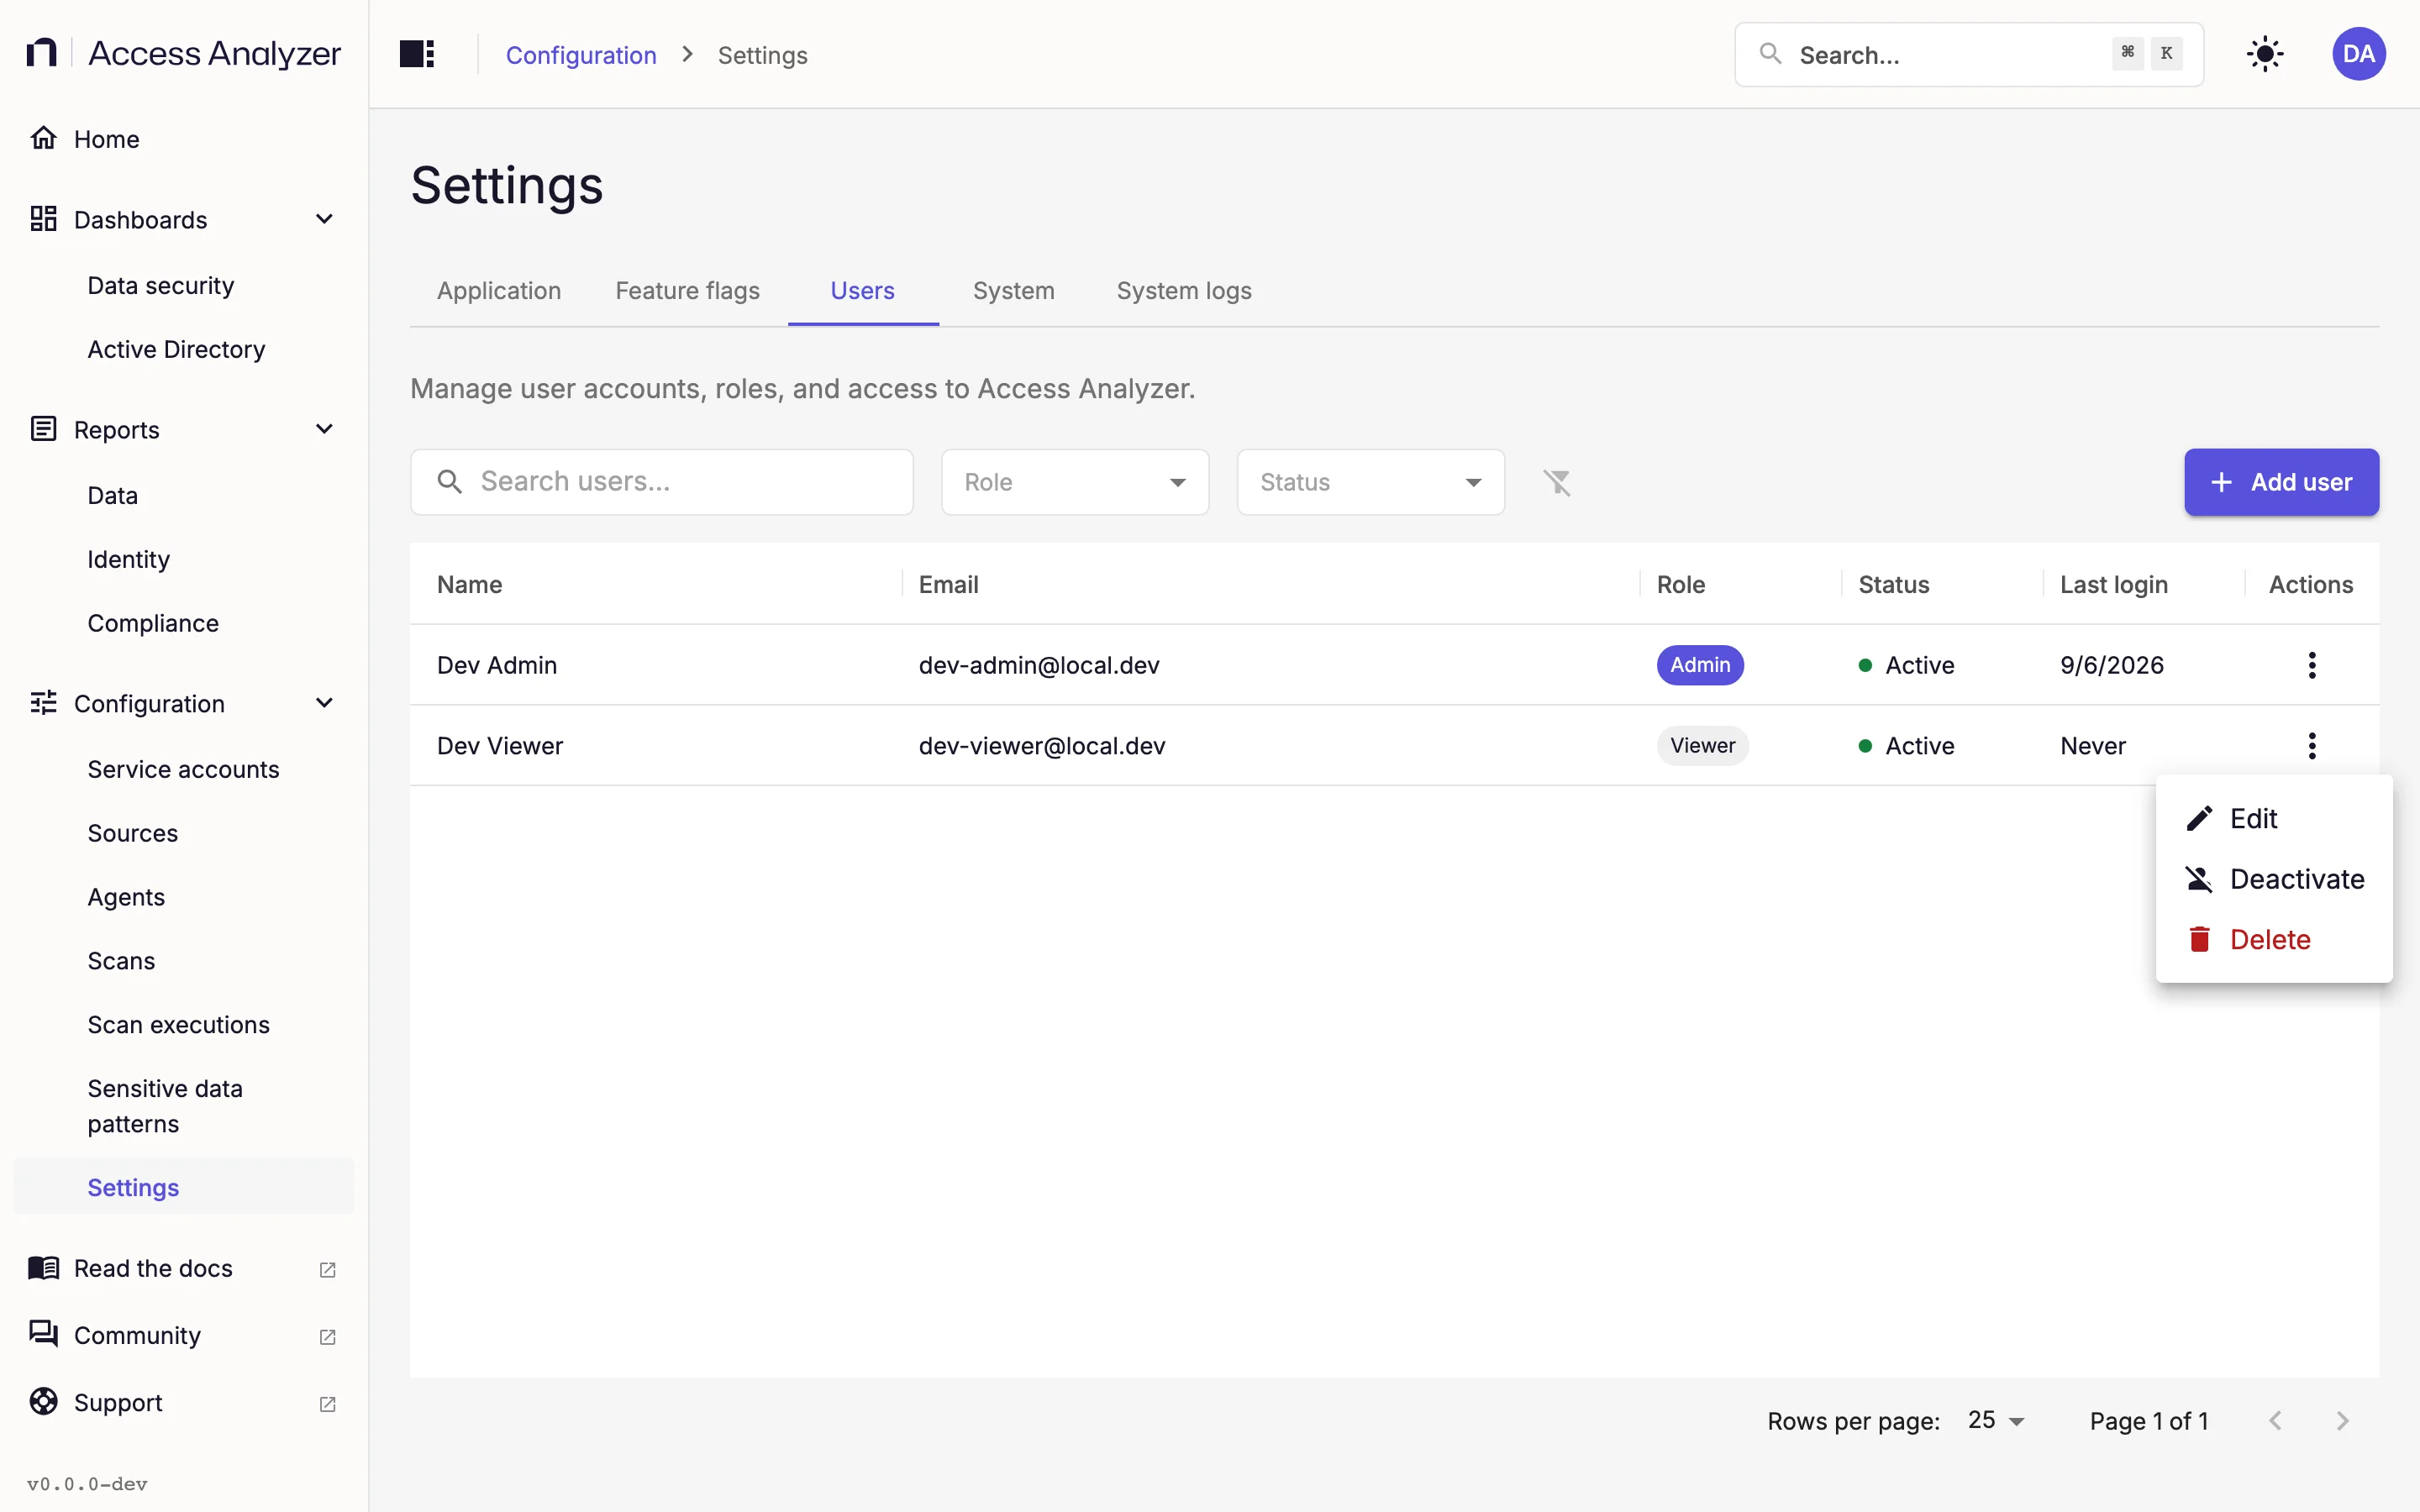
Each row has an Actions menu.
| Action | What it does | Shown for |
|---|---|---|
| Edit | Opens the Edit user form to change name, email, and role. | Every account |
| Deactivate | Blocks sign-in and ends the user's sessions. | Active accounts |
| Activate | Lets the user sign in again. | Inactive accounts |
| Reset password | Issues a new password, either generated or typed, and ends the user's sessions. | Local accounts |
| Unlock | Clears the lockout from repeated failed sign-ins. Doesn't reset the password. | Local accounts |
| Delete | Removes the account permanently and ends the user's sessions. | Every account |
You can't deactivate or delete your own account, or the last remaining active Admin or User admin, so you can't lock everyone out.
Add a User
Decide two things before you start: the role, and whether the person signs in with a local password or through your identity provider. You can't change the account type later.
- Go to Settings > Users.
- Click Add user.
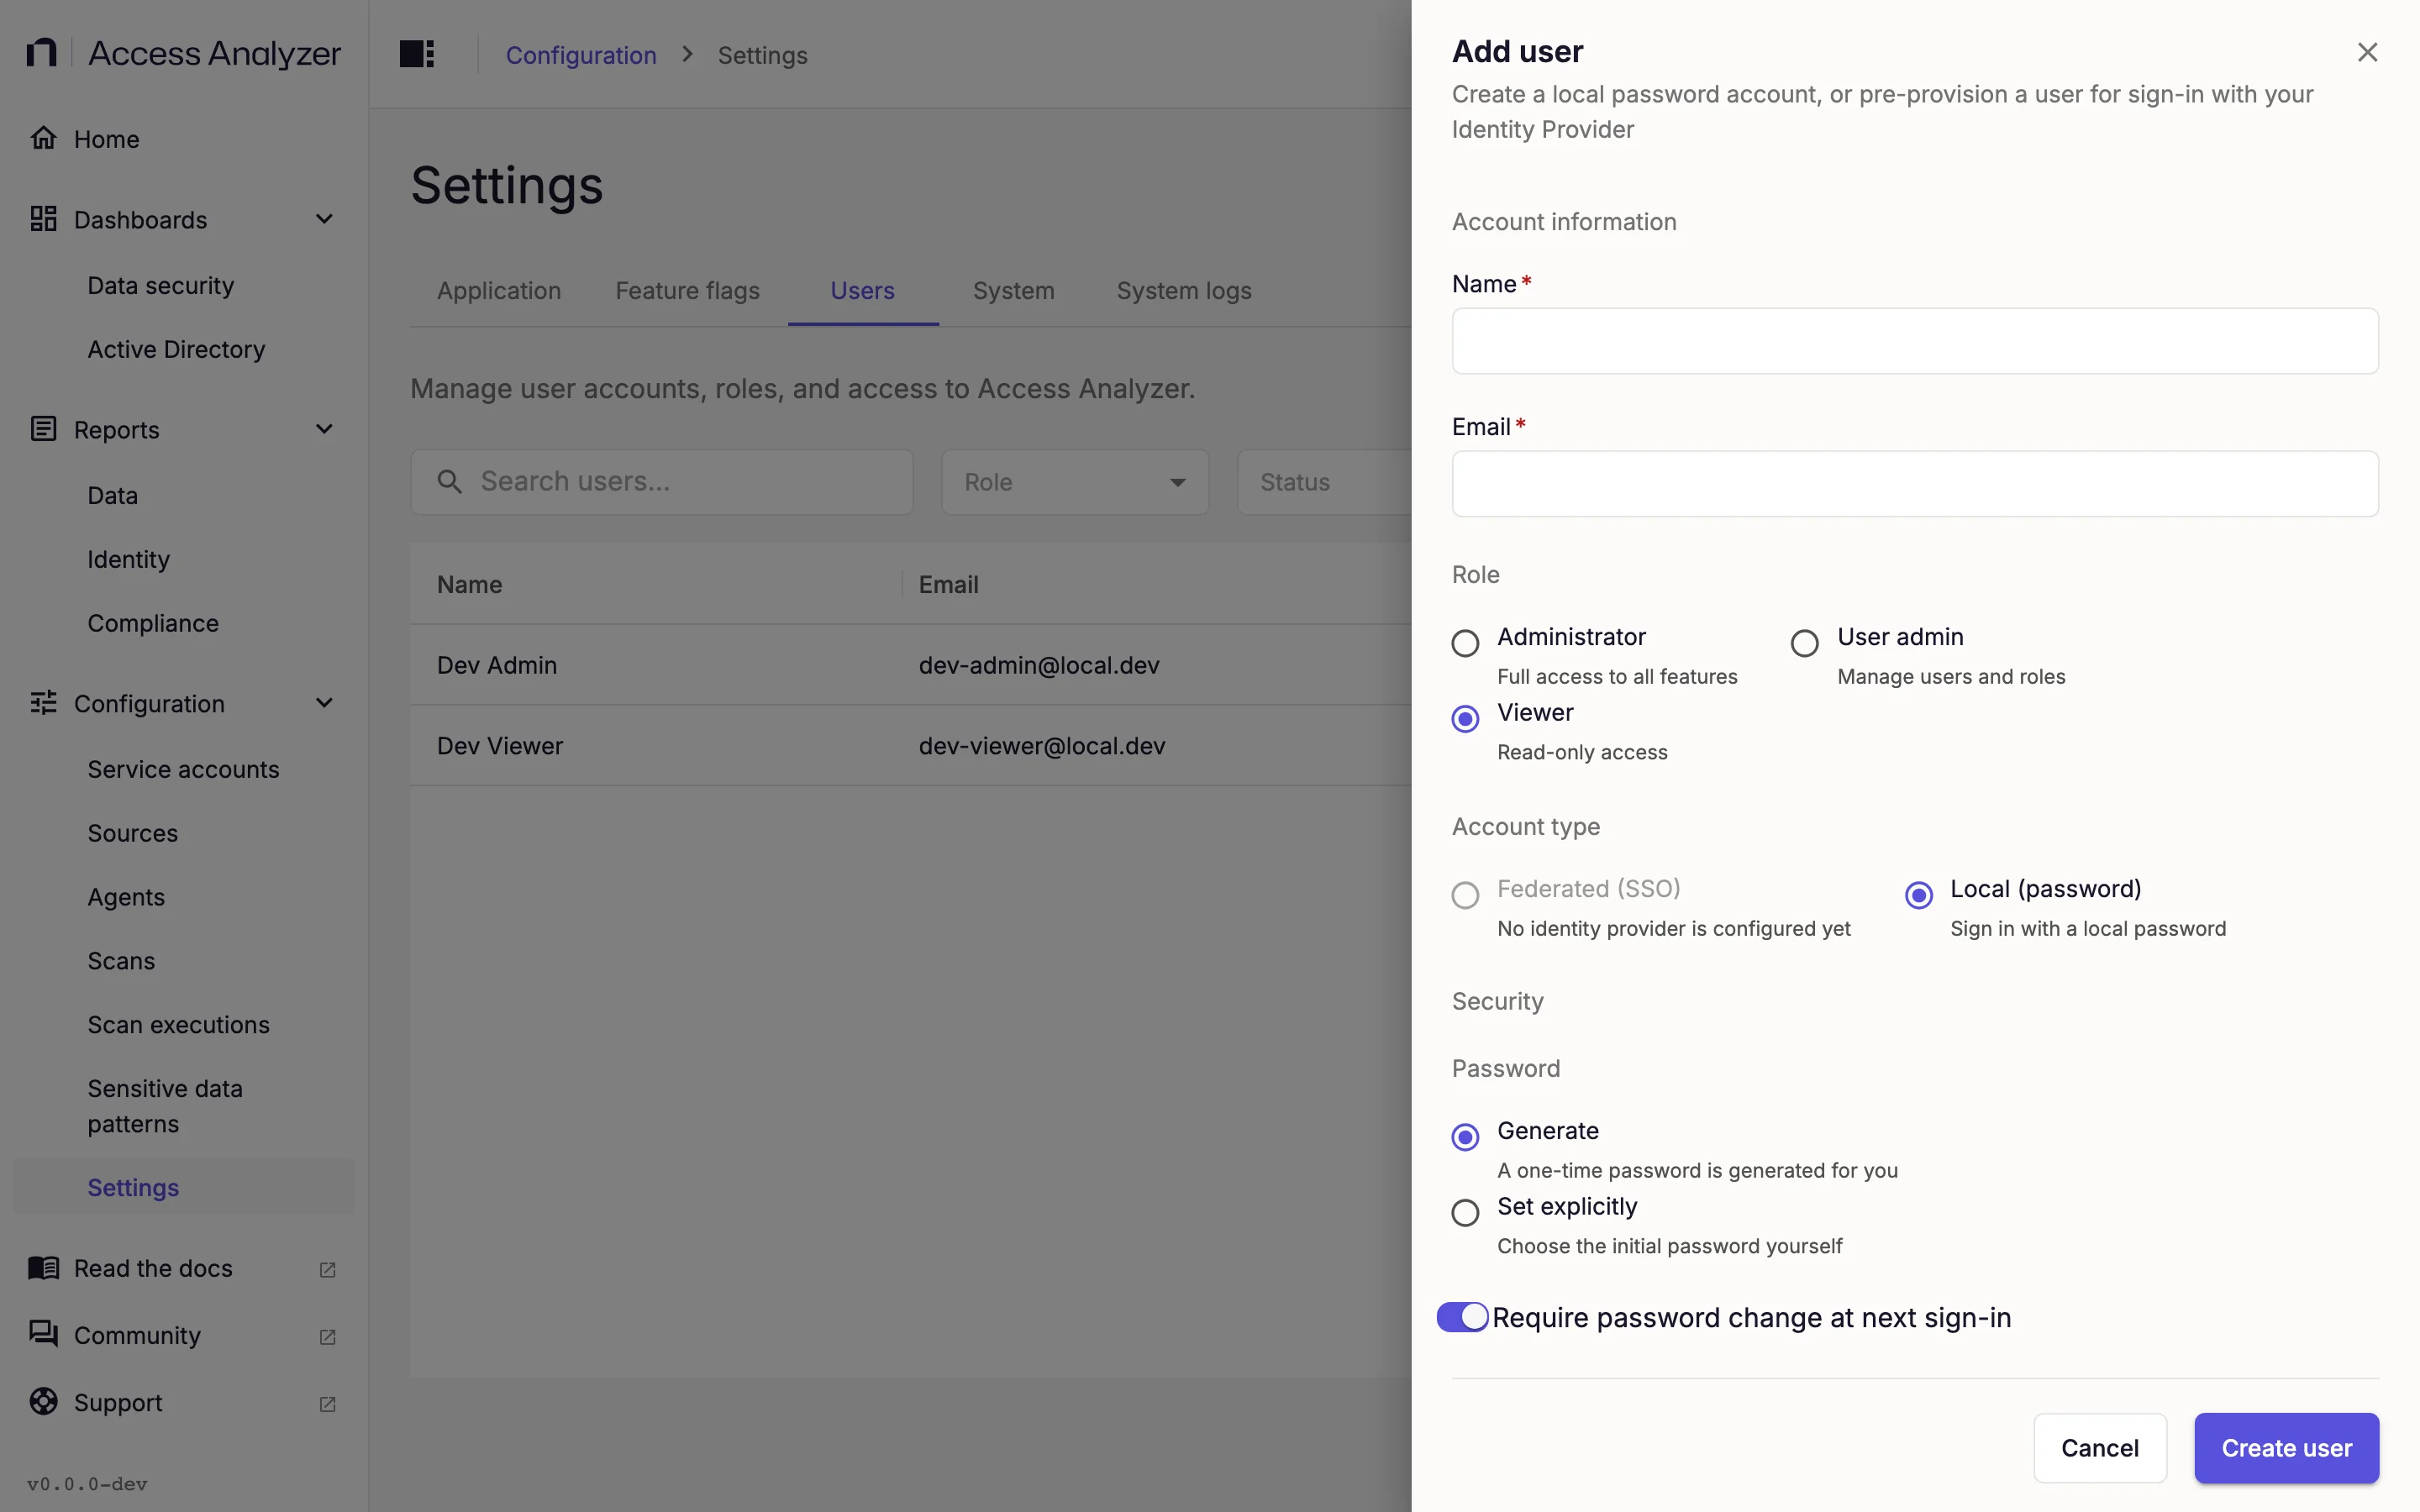
- Under Account information, enter the Name (2 to 100 characters) and Email.
- Under Role, select Administrator, User admin, or Viewer. The default is Viewer.
- Under Account type, select Federated (SSO) for single sign-on (SSO) through your identity provider, or Local (password). Federated is the default when you've connected an identity provider. If you haven't, Access Analyzer disables that option, shows "No identity provider is configured yet", and selects Local (password) for you.
- For a local account, under Security > Password, keep Generate or select Set explicitly.
- If you selected Set explicitly, enter a password of at least 12 characters in the Password field that appears.
- Leave Require password change at next sign-in on. It's on by default and appears only for local accounts.
- Click Create user.
If you chose Generate, the Password generated dialog appears. It reads "This password is shown once and can't be retrieved again. Copy it now and deliver it to the user through a secure channel."
- Click the copy icon next to the password.
- Select the I have copied this password checkbox.
- Click Done.
Generated passwords are at least 20 characters long. If you close the dialog without copying, use Reset password on the row to issue a new one.
A federated user doesn't get a password. They sign in through Active Directory or Entra ID, and Access Analyzer matches them to this row by email. See How federated users sign in.
Validation Messages
| Message | Cause |
|---|---|
| Name must be at least 2 characters | The name is too short. |
| Name is too long | The name is over 100 characters. |
| Invalid email format | The email isn't a valid address. |
| Password is required when setting it explicitly | You selected Set explicitly and left the password empty. |
| Password must be at least 12 characters | The typed password is too short. |
Edit a User
- On the user's row, click Actions > Edit.
- Change the Name, Email, or Role.
- Click Update user.
Once a federated user has signed in for the first time, the form locks Name and Email, and you can change only Role. You can never change the account type.
Deactivate or Reactivate a User
On the row, click Actions > Deactivate. The user's sessions end immediately and their status changes to Inactive. A message confirms User "<name>" deactivated. To let them back in, click Actions > Activate.
Deactivating is the right choice when someone leaves temporarily or you want to keep their row for reference. For a federated user your directory has disabled, deactivating the Access Analyzer row is optional: the directory already blocks their sign-in.
Reset a Password
Only local accounts have a password to reset. There is no self-service password reset on the sign-in page, so this is how a user who has forgotten their password gets back in.
- On the row, click Actions > Reset password. The Reset password for
<name>dialog opens. - Under Password, keep Generate or select Set explicitly.
- If you selected Set explicitly, enter a new password of at least 12 characters.
- Turn Require password change at next sign-in on or off.
- Click Reset password.
If you chose Generate, the Password generated dialog appears as it does when creating a user. The user's existing sessions end, and a message confirms Password reset.
Unlock a User
An account locks after three consecutive wrong passwords or five consecutive wrong two-factor verification codes. The sign-in page then shows "Account locked. Contact your administrator." An Admin or User admin clears the lock with Unlock.
On the row, click Actions > Unlock. A message confirms User "<name>" unlocked. Unlocking doesn't change the password; if the user has forgotten it, also click Actions > Reset password.
If every Admin and User admin account is locked out and nobody can reach this tab, see Unlock a user without admin access.
Delete a User
- On the row, click Actions > Delete.
- In the Delete user dialog, confirm the deletion.
The user's sessions end, the row disappears, and a message confirms User "<name>" deleted. Deleting a federated user removes only the Access Analyzer account; nothing changes in Active Directory or Entra ID.
Password Policy and Lockout
Local passwords must be at least 12 characters. There are no character-class rules, and you can't edit the policy in the web app. For federated users, their directory governs passwords, not Access Analyzer.
An account locks after repeated failed sign-ins; the thresholds and how to clear the lock are in Unlock a user.
When a user signs in with Require password change at next sign-in set, a Change password step appears with New password and Confirm password fields and a Start over button. It reads "You must set a new password before continuing." The step rejects these entries:
| Message | Cause |
|---|---|
| Passwords don't match. | New password and Confirm password differ. |
| Password doesn't meet complexity requirements. | The new password is under 12 characters. |
| New password can't be the same as your current password. | The new password matches the current one. |
The first Admin created by the installer goes through this step on their first sign-in; see Sign in for the first time.
Sessions
A session ends after 4 hours of inactivity or 8 hours after signing in, whichever comes first. Deactivating a user, deleting them, or resetting their password ends their sessions immediately.
Security Settings for Your Own Account
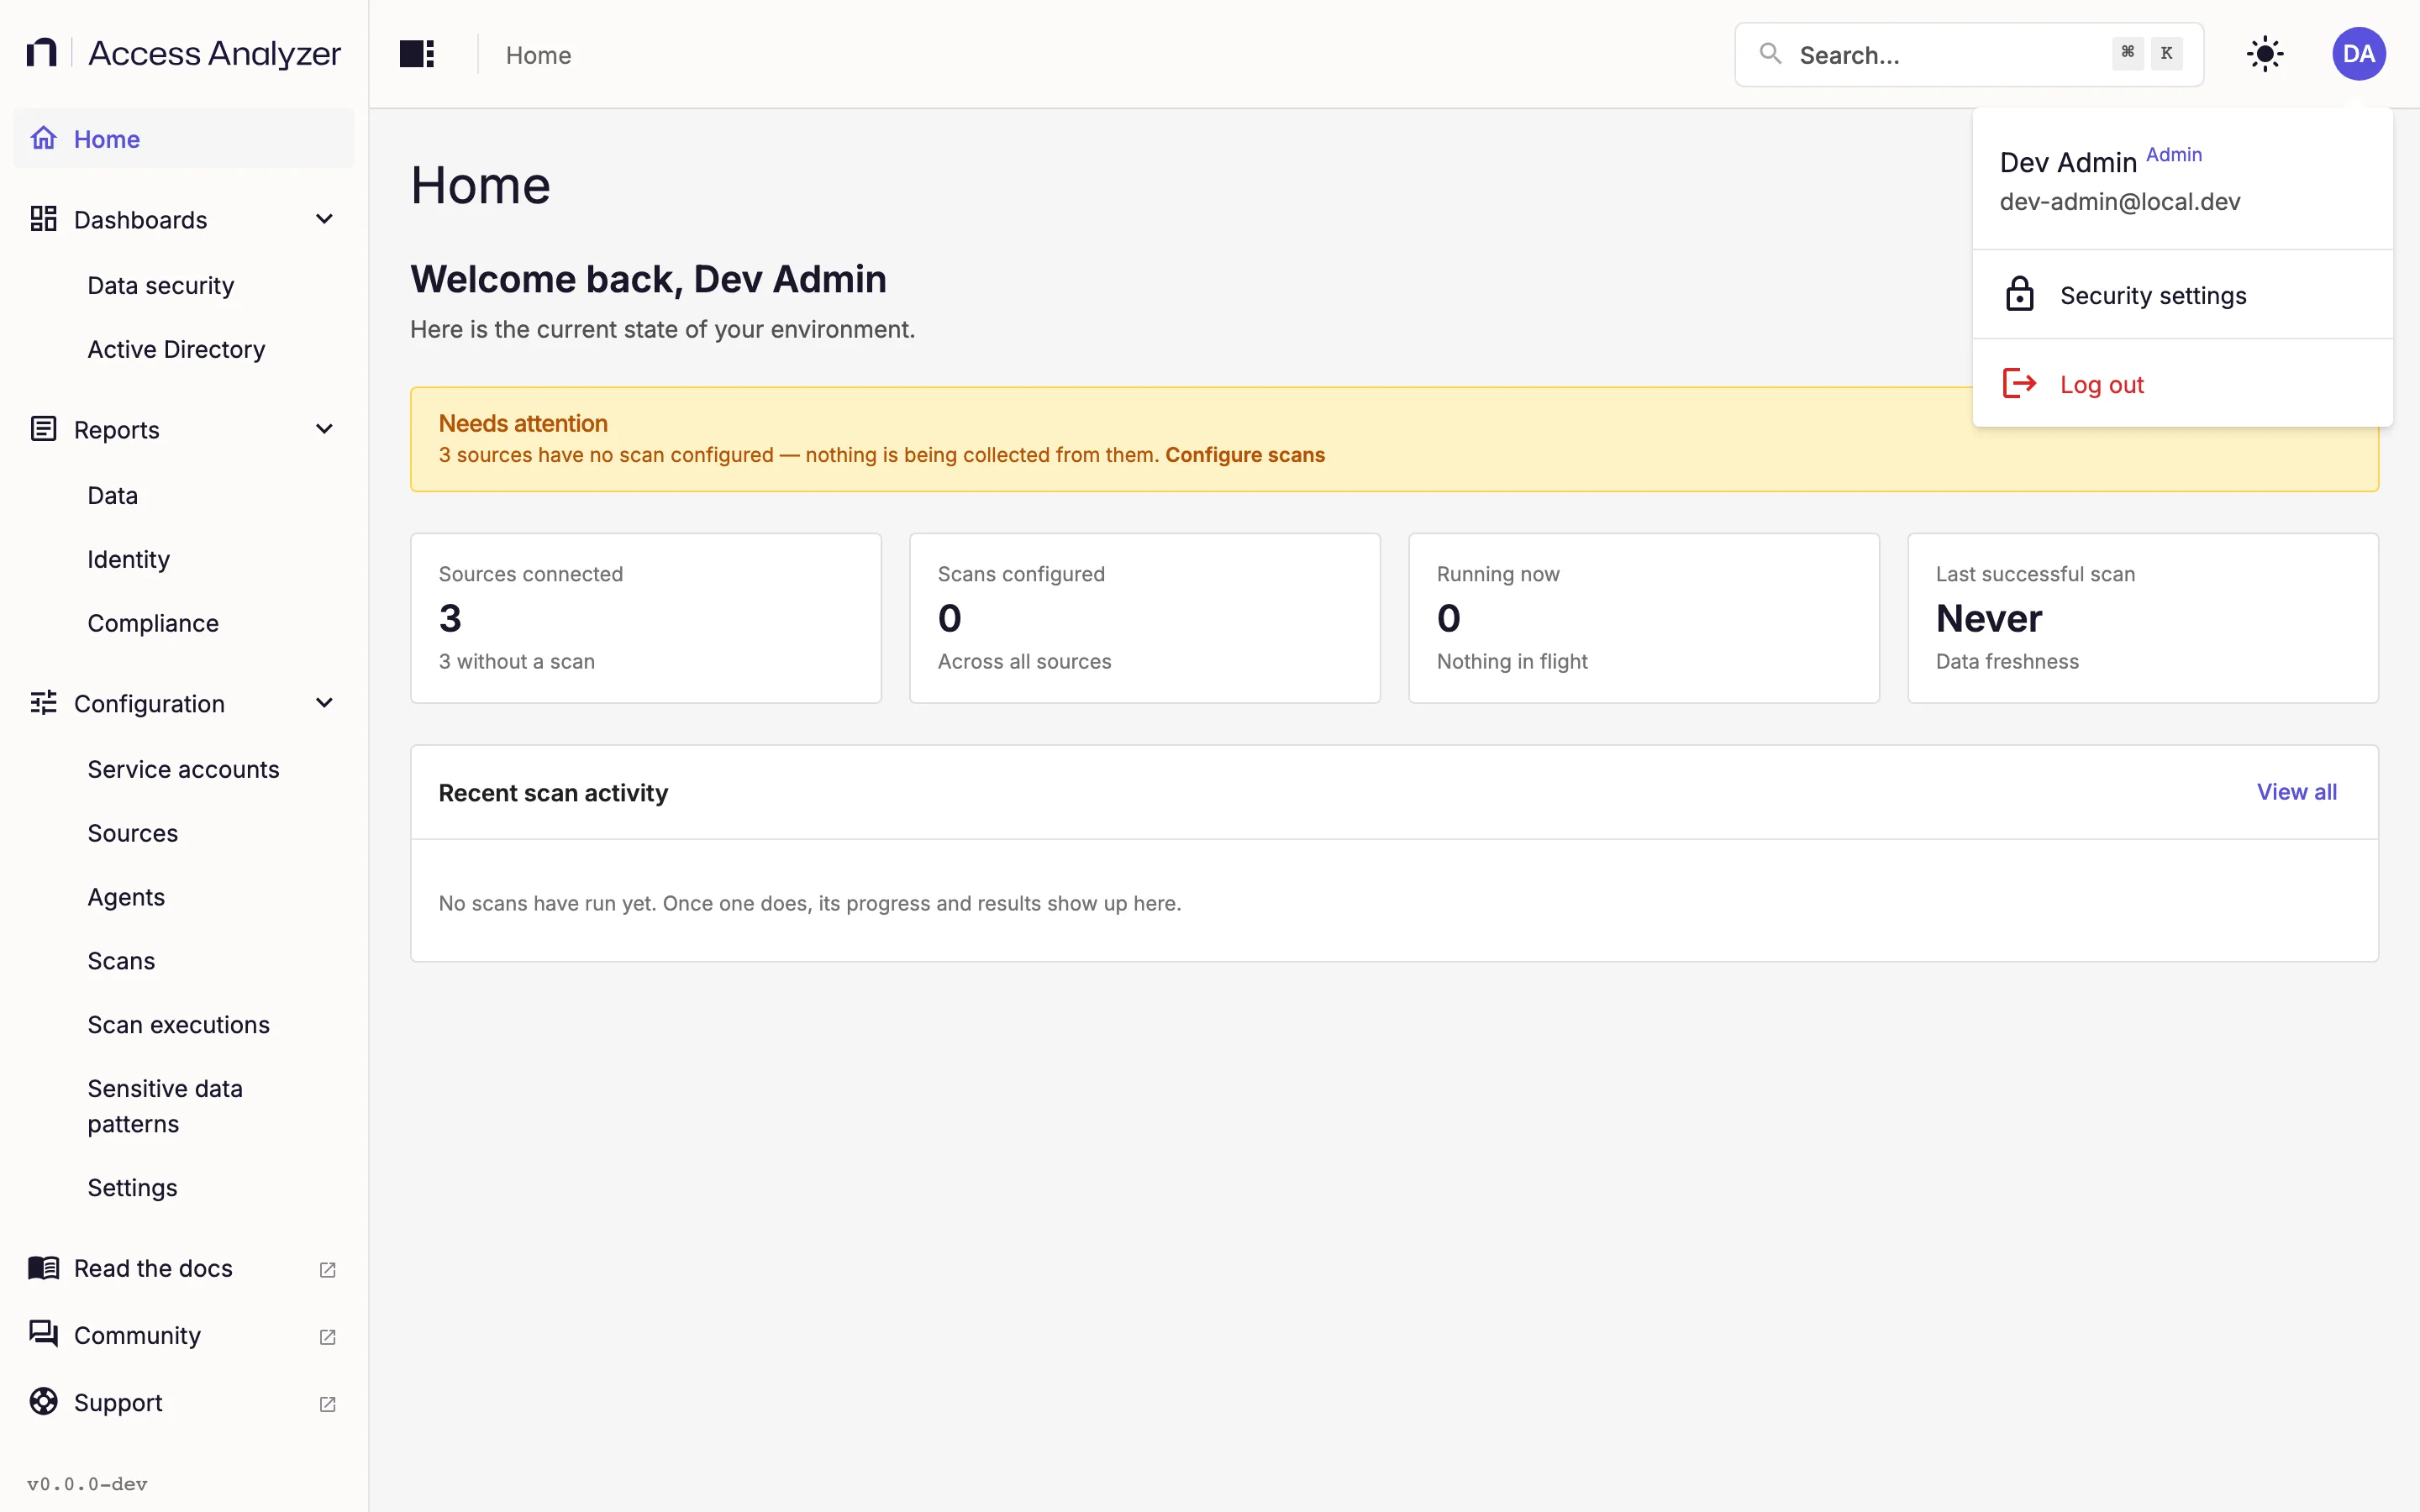
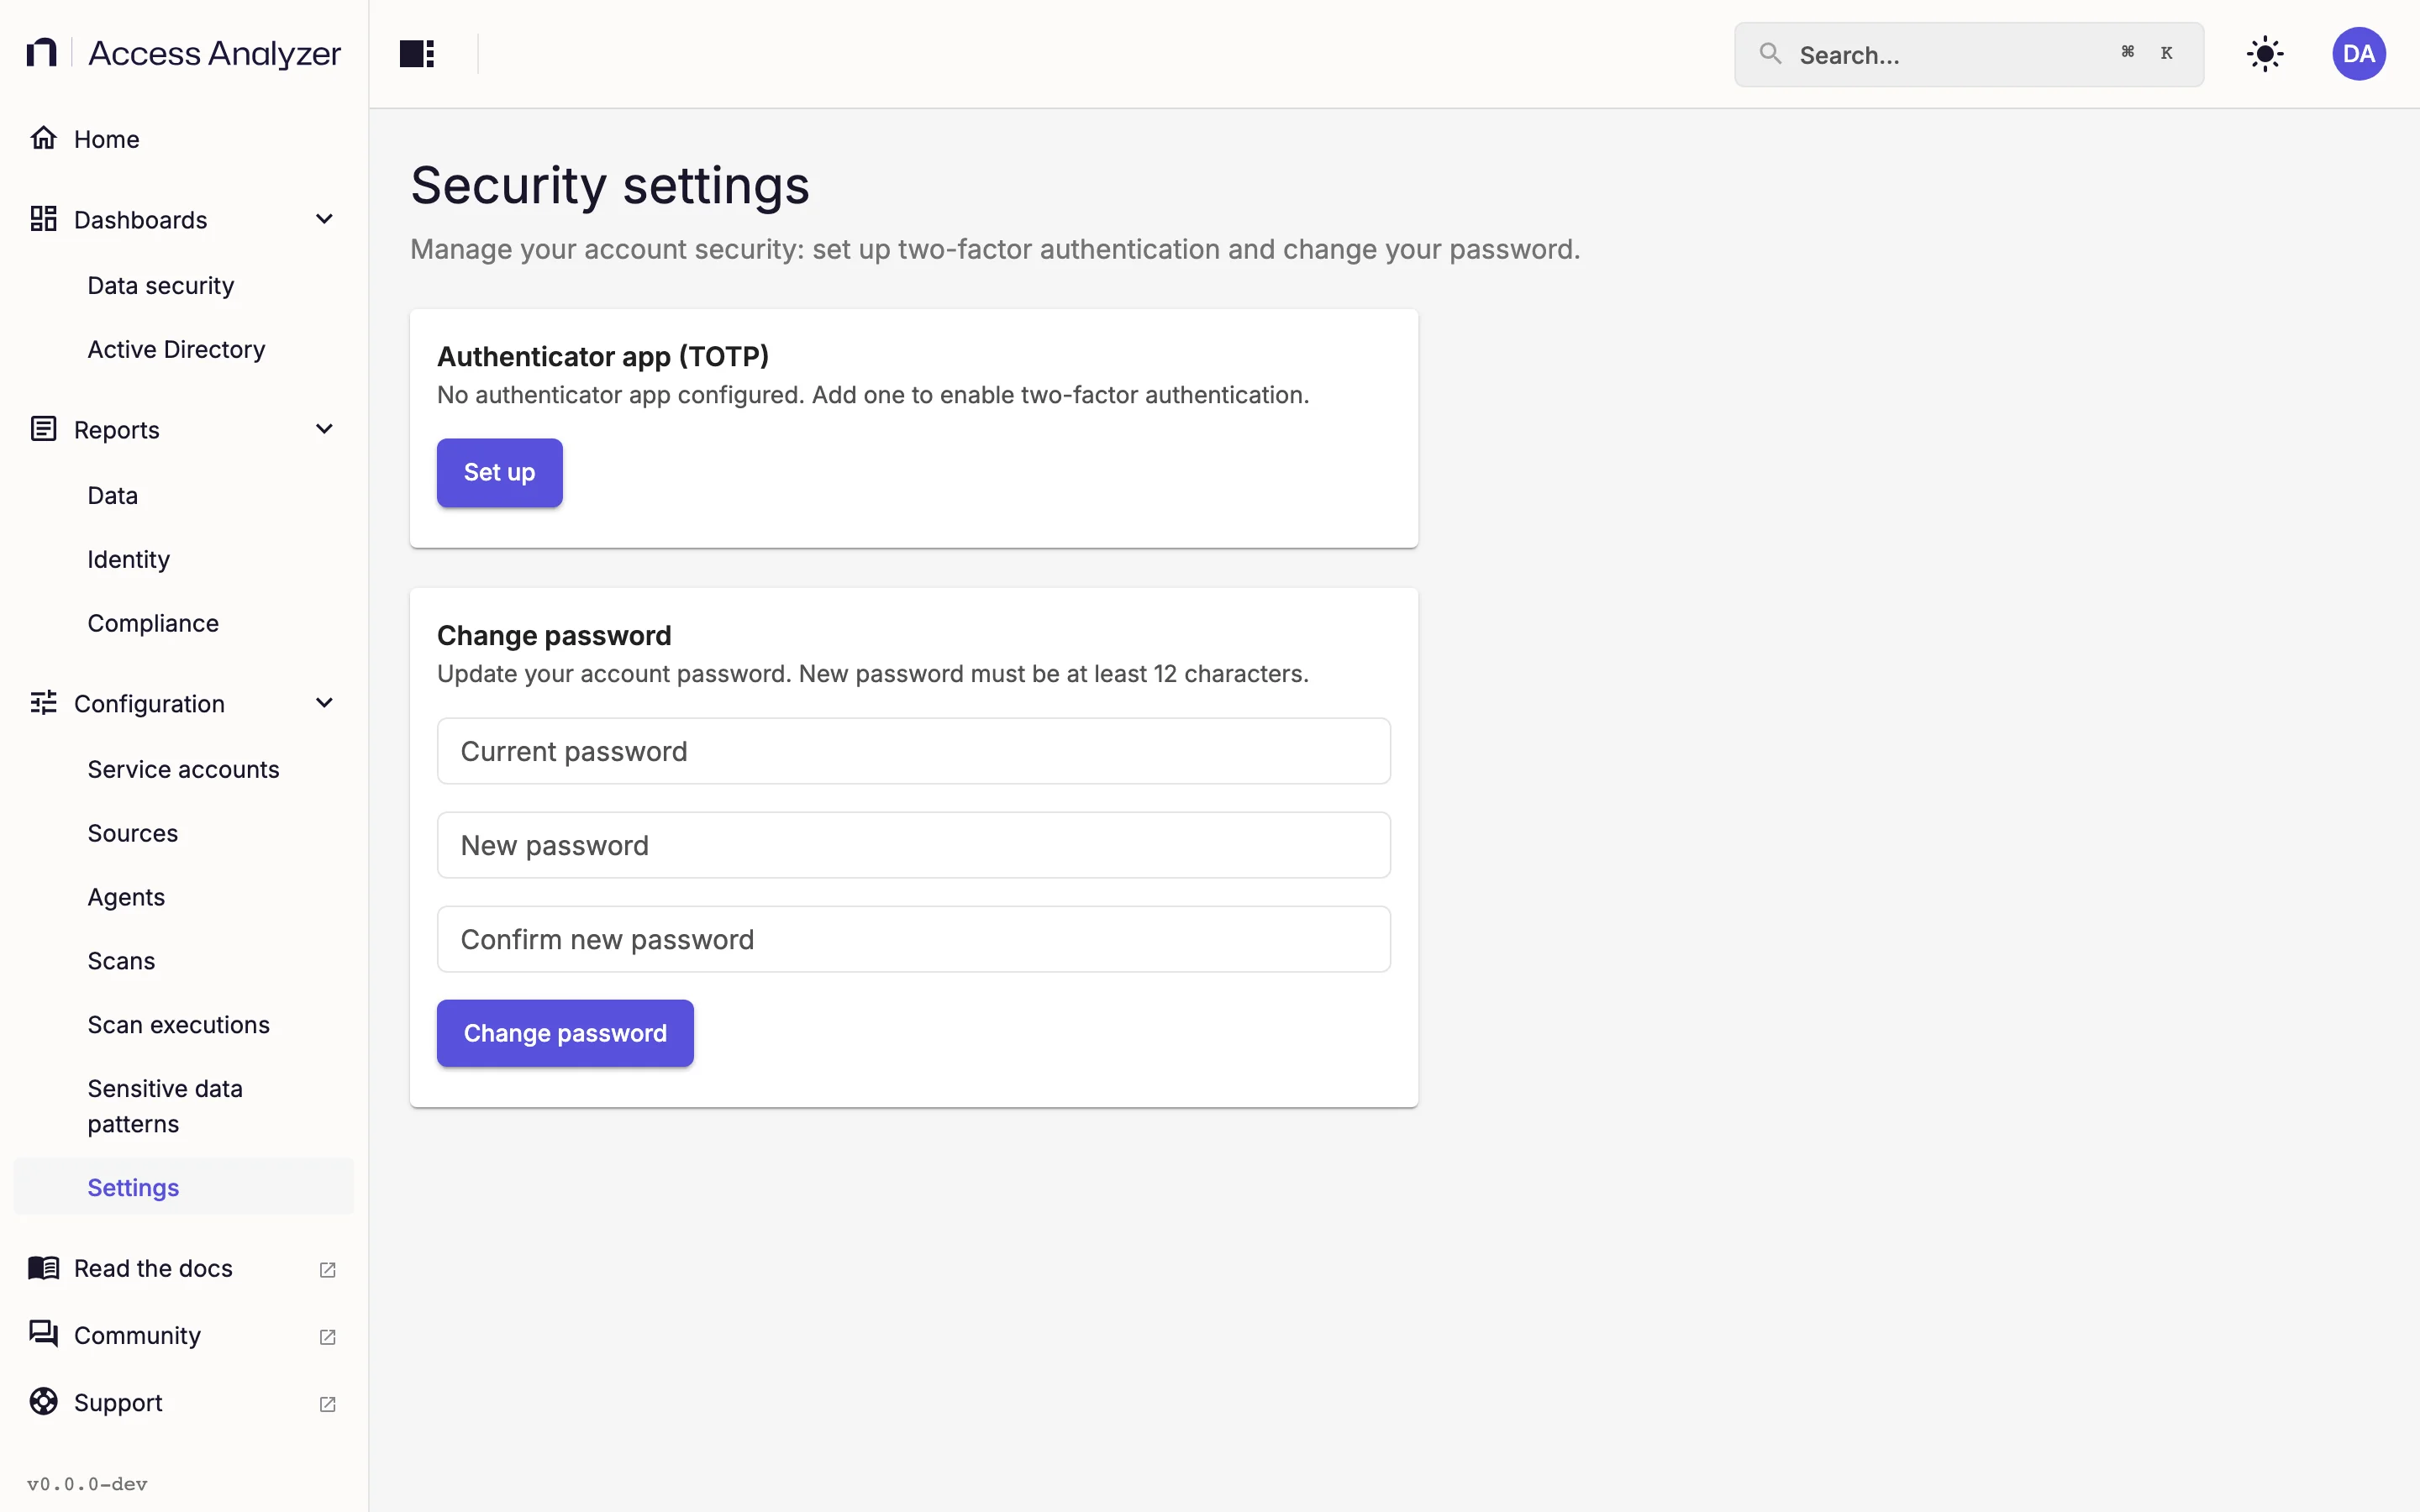
If you have a local account, you can manage your own password and two-factor authentication. Open the avatar menu in the top-right corner and click Security settings. The menu also shows your name and email (Admins see an Admin badge next to the name), and holds Log out. Federated users don't see Security settings; their password and any second factor belong to the directory.
The Security settings page has two cards: Authenticator app (TOTP), for two-factor authentication with a time-based one-time password app, and Change password.
Set Up an Authenticator App
Two-factor authentication is optional and per user; no role can make it mandatory. It works with any TOTP authenticator app.
- On the Authenticator app (TOTP) card, click Set up.
- In the Set up authenticator app dialog, scan the Quick Response (QR) code with your authenticator app, or use the copy icon (Copy secret) next to the secret and enter the secret manually.
- In 6-digit code, enter the code your app shows.
- Click Verify.
The card then reads "An authenticator app is configured. You will be prompted for a code on sign-in." At your next sign-in, after Username and Password, a Two-factor verification step asks for the Verification code; click Verify to continue.
There are no recovery codes, and the Users tab has no action to remove another user's authenticator app. If you lose access to your authenticator app, you can't sign in until someone removes the app from your account on the server, outside the web app. Remove the app from this page before you replace or reset your device.
Remove an Authenticator App
- On the Authenticator app (TOTP) card, click Remove.
- In the Remove authenticator app dialog, enter your Current password.
- Click Remove.
A message confirms Authenticator app removed.
Change Your Password
- On the Change password card, enter your Current password.
- Enter the New password and repeat it in Confirm new password.
- Click Change password.
A message confirms Password changed.