Client ID and Certificate
A Client ID/certificate account holds the application (client) ID and tenant ID of an app registration in Microsoft Entra ID, plus a certificate whose private key proves the application's identity. SharePoint Online sources use this type; they don't accept a client secret. The form labels this type Client ID/certificate.
Access Analyzer holds the private key, and the app registration holds the matching public certificate. Both halves must be in place before a scan can authenticate, so update the app registration whenever you change the certificate here.
Certificate Options
When you create the account, the Certificate section offers two choices.
| Option | What happens | Choose it when |
|---|---|---|
| Generate for me (default) | Access Analyzer creates a self-signed certificate with a 2048-bit RSA key when you click Add account. It's valid for one year. You download the public certificate and upload it to the app registration. | You want the quickest path and your organization accepts self-signed certificates for app authentication. |
| Upload my own | You provide one .pem file containing the certificate and its unencrypted private key. | Your organization issues certificates from its own certificate authority, or the app registration already has the certificate. |
Whichever you choose, Access Analyzer keeps the private key. You can't download it, and Access Analyzer discards it when you regenerate or replace the certificate.
Requirements for an Uploaded PEM File
| Requirement | Detail |
|---|---|
| File | A single .pem file, up to 1 MB, with the certificate and the private key in the same file. |
| Certificate | At least one CERTIFICATE block. The first is the account's certificate; Access Analyzer keeps any further blocks as its chain. The certificate must not be expired. |
| Private key | Exactly one key block in Public-Key Cryptography Standards (PKCS) #1 format (RSA PRIVATE KEY) or PKCS #8 format (PRIVATE KEY). The key must match the certificate. |
| Not accepted | Passphrase-protected keys, elliptic-curve (EC) keys, and PFX or PKCS #12 files. |
The form checks the file before you can continue and shows one of these messages when it finds a problem.
| Message | Cause |
|---|---|
| No certificate found in the file. Upload a combined PEM containing both the certificate and its private key. | The file has no CERTIFICATE block. |
| No private key found in the file. Upload a combined PEM containing both the certificate and its private key. | The file has no key block. |
| The private key is encrypted. Upload a PEM with an unencrypted private key. | The key is passphrase-protected. |
The form can't detect every problem. An EC key, a key that doesn't match the certificate, or an expired certificate fails after you click Add account, and the panel reads Certificate upload failed with the reason. If your certificate and key are in separate files, combine them into one file first.
Fields
| Field | Required | Notes |
|---|---|---|
| Name | Yes | The name shown in the list and on sources. |
| Service account type | Yes | Select Client ID/certificate. |
| Client (application) ID | Yes | The app registration's application ID, a globally unique identifier (GUID) in the form xxxxxxxx-xxxx-xxxx-xxxx-xxxxxxxxxxxx. |
| Tenant ID | Yes | The directory (tenant) ID of your Entra tenant, also a GUID. For SharePoint Online, the tenant ID lives here on the account, not on the source. |
| Certificate | — | Defaults to Generate for me. Select Upload my own to add a .pem file in the Upload a combined PEM file area instead; a file is then required. |
Validation runs when you leave a field. An ID that isn't a GUID shows Client (Application) ID must be a valid GUID (e.g. xxxxxxxx-xxxx-xxxx-xxxx-xxxxxxxxxxxx) or Tenant ID must be a valid GUID (e.g. xxxxxxxx-xxxx-xxxx-xxxx-xxxxxxxxxxxx); choosing Upload my own without a file shows Certificate file is required.
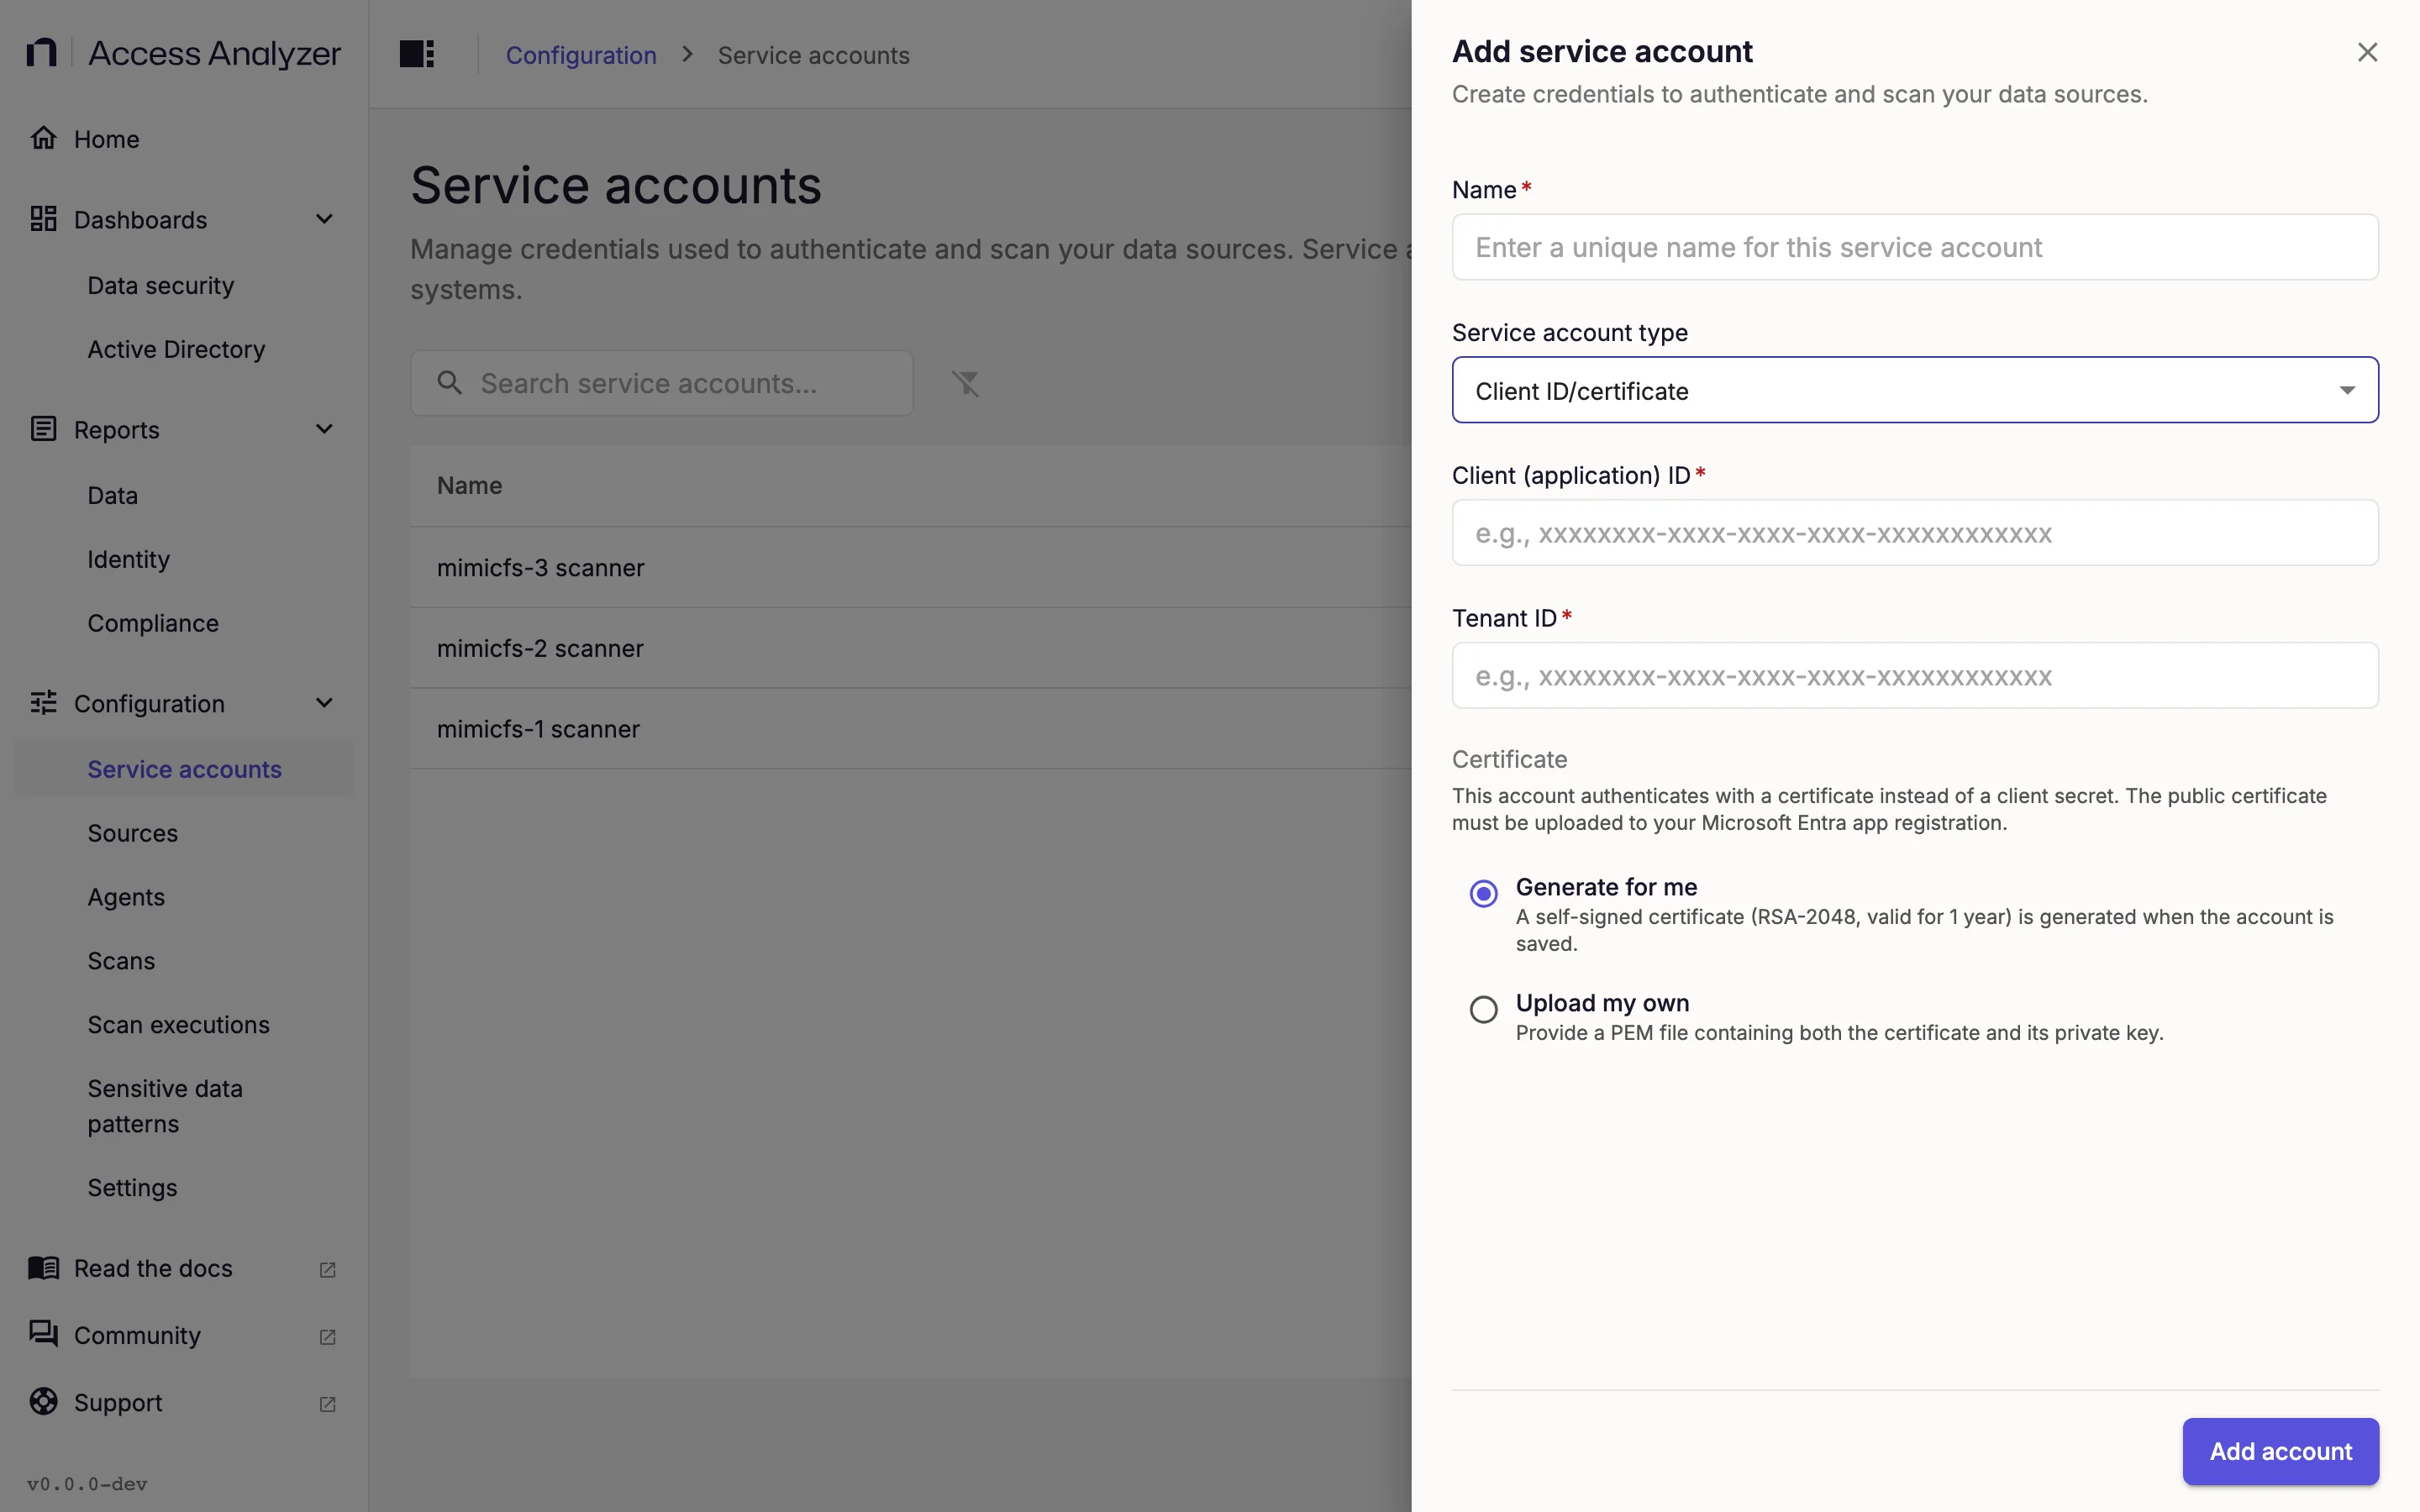
Create a Client ID/Certificate Service Account
- Generate for me
- Upload my own
-
Go to Configuration > Service accounts.
-
Click Add service account.
-
In Name, enter a name, for example
sharepoint-online-scanner. -
In Service account type, select Client ID/certificate.
-
In Client (application) ID and Tenant ID, paste the values from the app registration.
-
Under Certificate, leave Generate for me selected.
-
Click Add account.
Access Analyzer creates the account and then the certificate. The panel moves to a certificate step headed Account created and certificate generated, showing the certificate's thumbprint and Expires followed by the date.
-
Click Download certificate (.pem). Access Analyzer names the file after the account, for example
sharepoint-online-scanner-certificate.pem, and includes the public certificate only. -
To keep the thumbprint for comparison, click the Copy thumbprint icon next to it.
-
Click Done.
-
In the Microsoft Entra admin center, open the app registration.
-
Go to Certificates & secrets.
-
Upload the file you downloaded.
-
Compare the thumbprint Entra shows with the one you copied. If you need it again, open the account with Actions > Edit; the Certificate section shows it.
Until the public certificate is on the app registration, scans that use this account can't authenticate.
If certificate generation fails, the panel reads Certificate generation failed and shows the reason. The account exists but has no certificate. Click Try again, or click Close and add a certificate later by editing the account (see Manage the certificate).
- Go to Configuration > Service accounts.
- Click Add service account.
- In Name, enter a name, for example
sharepoint-online-scanner. - In Service account type, select Client ID/certificate.
- In Client (application) ID and Tenant ID, paste the values from the app registration.
- Under Certificate, select Upload my own.
- Add your combined
.pemfile in the Upload a combined PEM file area. - Click Add account.
Access Analyzer creates the account and uploads the certificate. On success, the message Service account created appears with the detail Certificate uploaded, and the panel closes.
Register the same certificate on the app registration under Certificates & secrets if it isn't already there. If you need the public part again, edit the account and click Download.
If the upload fails, the panel reads Certificate upload failed with the reason, and the upload area reappears. Fix the file and click Try again, or click Close and add a certificate later by editing the account.
Then create or edit the SharePoint Online source, select this account in Service account, and click Test connection. For the source settings, see SharePoint Online source; for the whole path from app registration to first scan, see Scan SharePoint Online.
Manage the Certificate
Open the account with Actions > Edit. The Certificate section shows the current thumbprint and expiry date with three buttons. Unlike the rest of the form, these act right away: Download on click; Regenerate and Replace as soon as you confirm their dialogs. You don't need to click Save changes.
| Button | What it does |
|---|---|
| Download | Downloads the public certificate as <account-name>-certificate.pem, where the account name appears in lowercase with hyphens between words. Use it when you need to register the certificate on another app registration or no longer have the earlier download. |
| Regenerate | Creates a new self-signed certificate and private key, discarding the old ones. The Regenerate certificate dialog warns that scans using this account fail until you upload the new public certificate to the app registration. After you confirm, download the new certificate and upload it under Certificates & secrets. |
| Replace | Lets you upload a different combined .pem file that meets the requirements for an uploaded PEM file. Click Upload and replace, then confirm in the Replace certificate dialog. Scans fail unless the app registration already has the new certificate. |
If the account has no certificate, for example because generation failed when you created it, the section shows Generate certificate and Upload certificate buttons together with the warning No certificate is attached to this account. Scans can't authenticate until you add one.
Renew the Certificate Before It Expires
A generated certificate is valid for one year from the day you create it. The Certificate section shows Expires and the date; after the date passes, it shows Expired in red. Plan to renew before then:
- Open the account with Actions > Edit.
- Click Regenerate.
- In the Regenerate certificate dialog, click Regenerate to confirm.
- Click Download.
- Upload the new certificate to the app registration under Certificates & secrets.
Scans that use the account fail between step 3 and step 5, so complete all the steps without a break. If you uploaded your own certificate, use Replace with the renewed file from your certificate authority instead.