Scan Active Directory
Add one Active Directory domain as a source and run an Identity sync, which reads the domain's users, groups, and direct group memberships, along with the organizational unit path of each user and group. The results feed the Active Directory dashboard and the AD Users report, and they let file server permission reports show account and group names instead of security identifiers (SIDs).
One source covers one domain. If you have several domains, repeat the guide for each.
Before You Start
Account
The Identity sync only reads. A regular domain user with the default read access to the domain is enough.
Network
The Access Analyzer server, or the agent that runs the scan, needs one Lightweight Directory Access Protocol (LDAP) port open to a domain controller. The port you choose decides how Access Analyzer secures the connection.
| Port | Protocol | Notes |
|---|---|---|
| 389 | LDAP with StartTLS or DIGEST-MD5 authentication | Enter the domain controller's fully qualified domain name (FQDN) in Host; DIGEST-MD5 authentication requires an FQDN and doesn't work with an IP address. Works with domain controllers that require LDAP signing. |
| 636 | LDAP over TLS (LDAPS) | Access Analyzer checks the domain controller's certificate only when you turn on Enforce strict SSL validation. With it on, the server or agent that runs the scan must trust the certificate. |
When a connection uses TLS, it uses TLS 1.2 or later. On port 389, Access Analyzer first tries StartTLS with a simple bind; if that attempt fails, it retries with DIGEST-MD5 signing. Access Analyzer doesn't use Kerberos. See Active Directory for the details.
On port 389, if StartTLS and DIGEST-MD5 both fail, Access Analyzer falls back to a simple bind without encryption, which sends the password in cleartext. To rule out the fallback, use port 636.
Adding a domain as a source has nothing to do with how people sign in to Access Analyzer. Sign-in with Active Directory credentials is a separate setup task; see Single sign-on.
1. Create the Service Account
Active Directory sources use a Username/password service account.
- Go to Configuration > Service accounts and click Add service account.
- In Name, enter a unique name, for example
svc-ad-sync. - Leave Service account type set to Username/password.
- In Username, enter the account's user name only, for example
svc-ad-sync, without aDOMAIN\prefix or@domainsuffix. Access Analyzer supplies the domain from the source's Domain field. - In Password, enter the password.
- Click Add account.
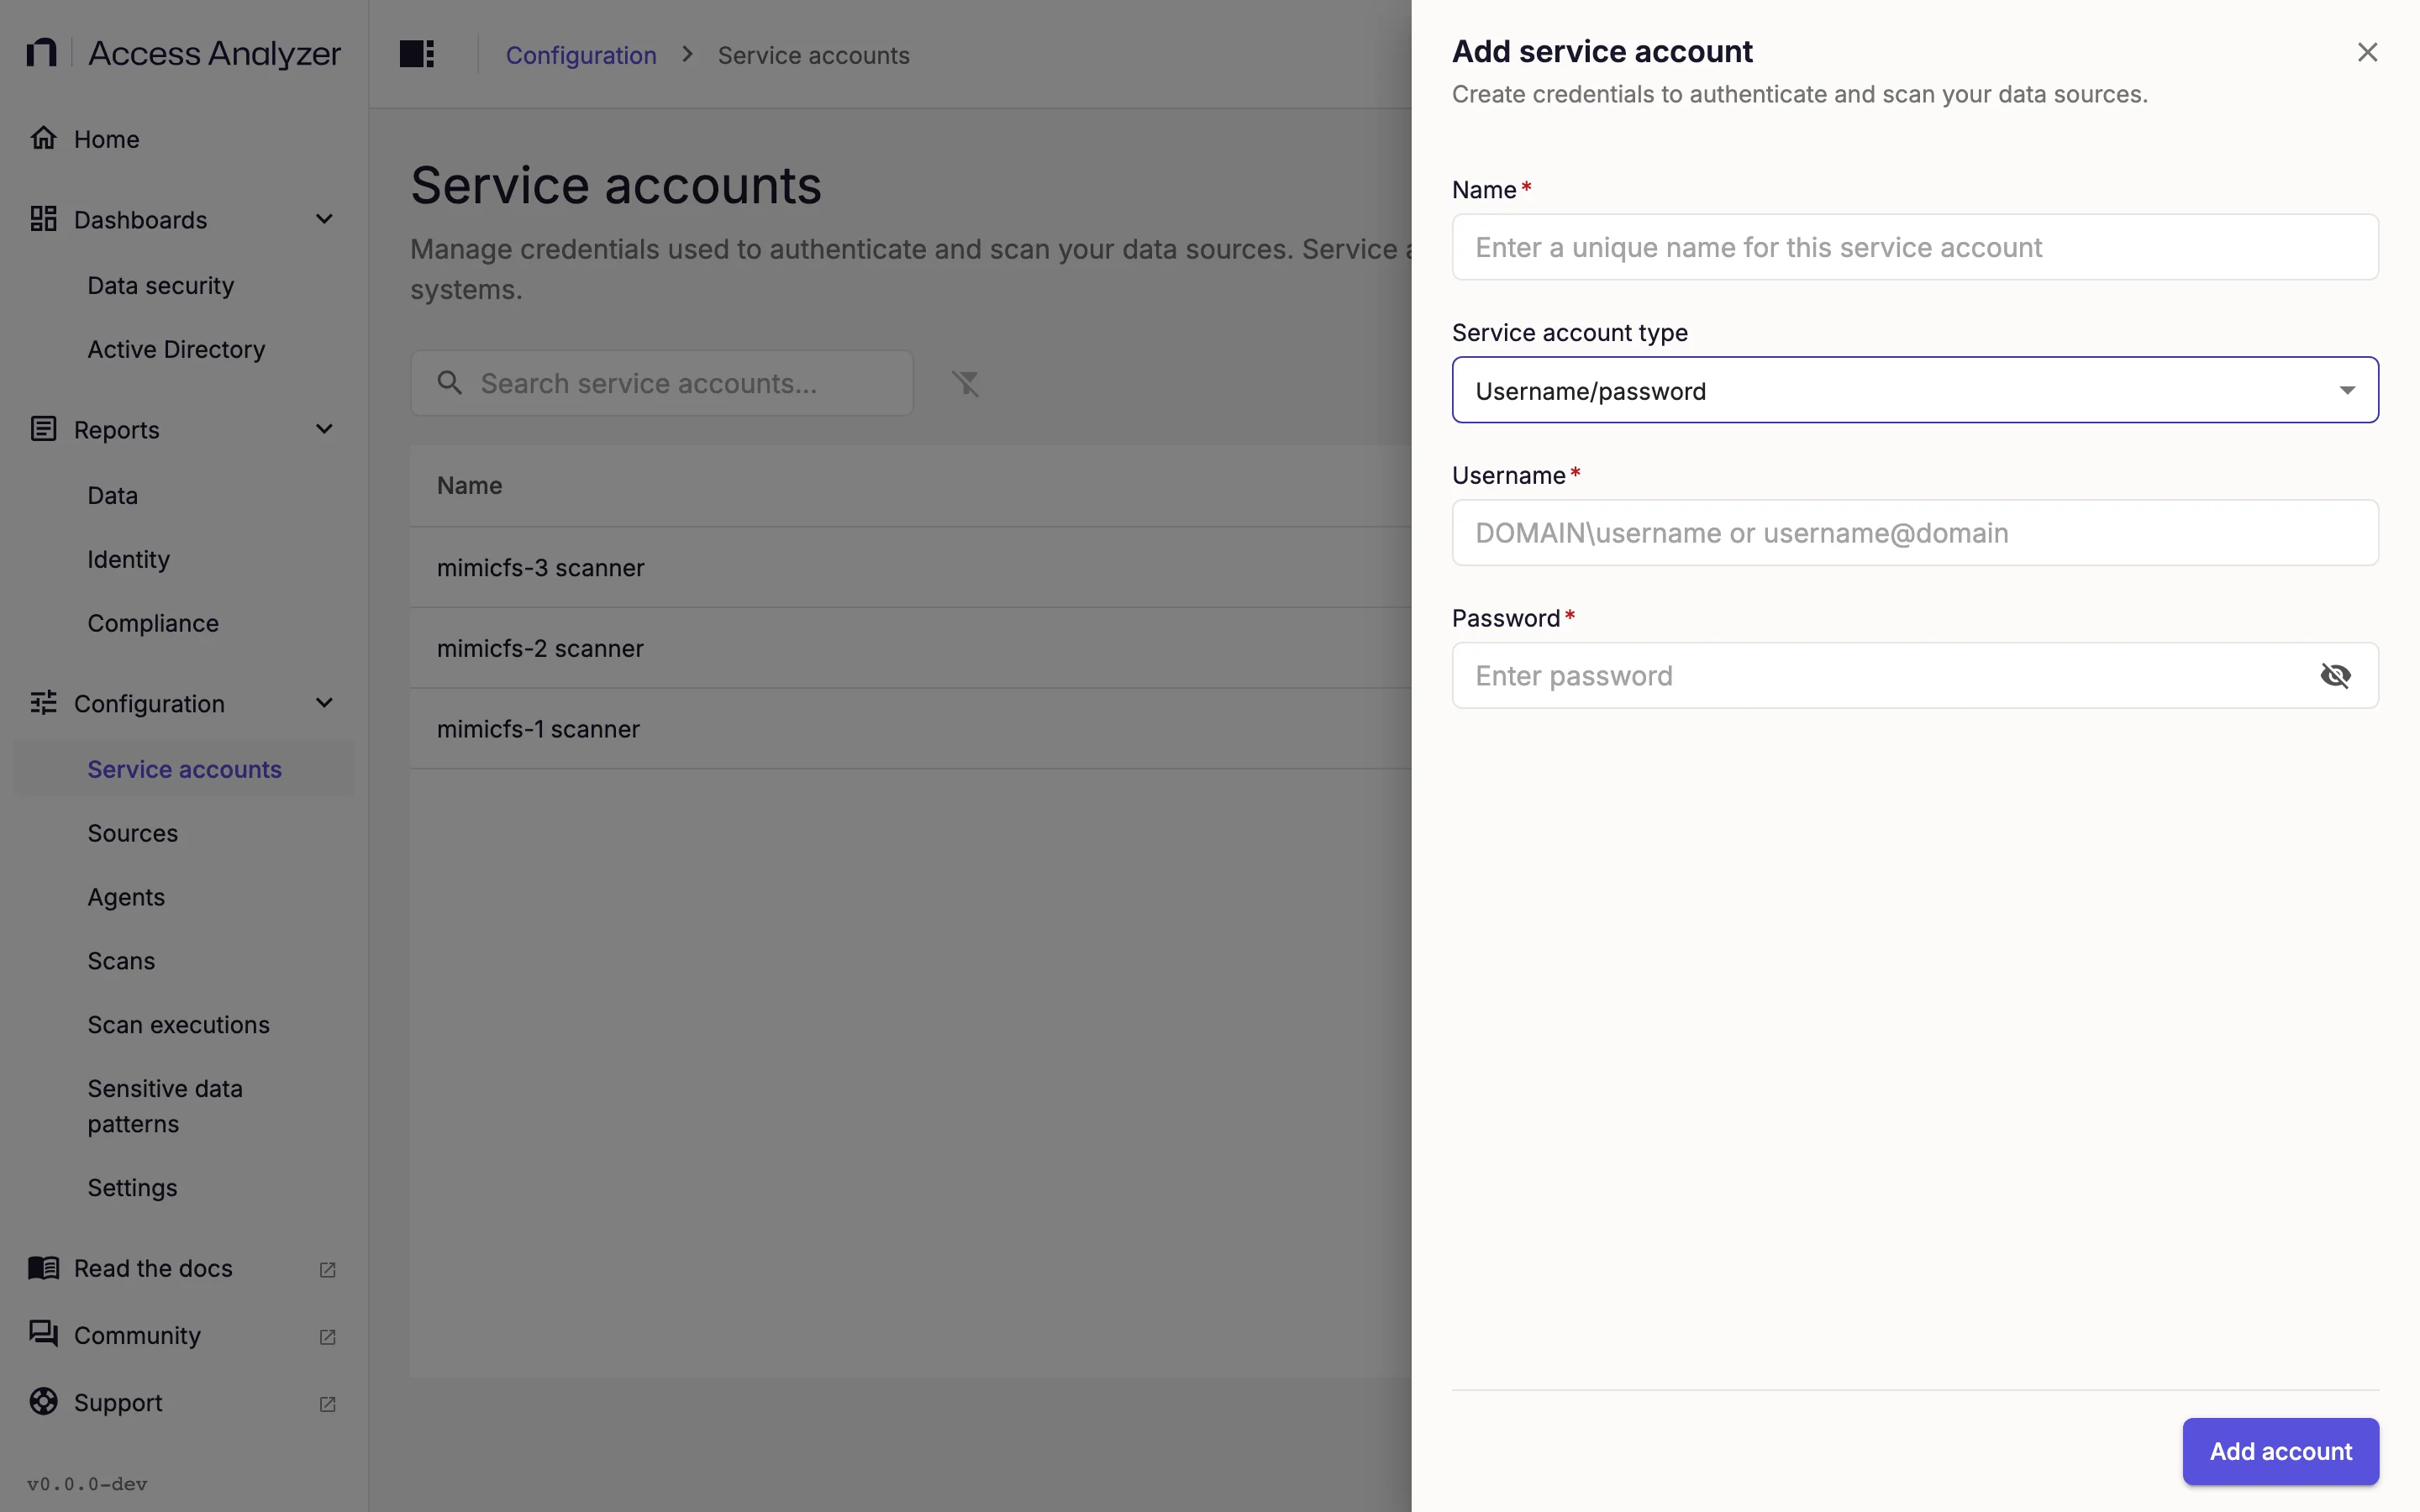
If you already created a Username/password account for a file server in the same domain and its Username is a plain user name with no domain prefix, you can reuse it here; the Username and password page covers the details.
2. Add the Source
- Go to Configuration > Sources and click Add source.
- In Source type, select Active Directory.
- Under Details, enter a Name for the source, such as the domain name.
- Under Connection, in Host, enter a domain controller, for example
dc01.example.com. Use the FQDN if you connect on port 389. - In Port, leave 389 or enter 636 for LDAPS.
- Turn on Enforce strict SSL validation when the domain controller's certificate chains to a certificate authority the agent trusts. Leave it off for a lab domain controller with a self-signed certificate.
- In Domain, enter the DNS name of the domain, for example
corp.example.com. - Under Access, in Service account, select the service account you created earlier.
- Click Test connection. Access Analyzer binds to the domain controller and reads its root directory entry. Success shows the Connection successful message; failure shows a Connection failed alert with the reason, including a hint when the port and protocol don't match.
- Click Add source.
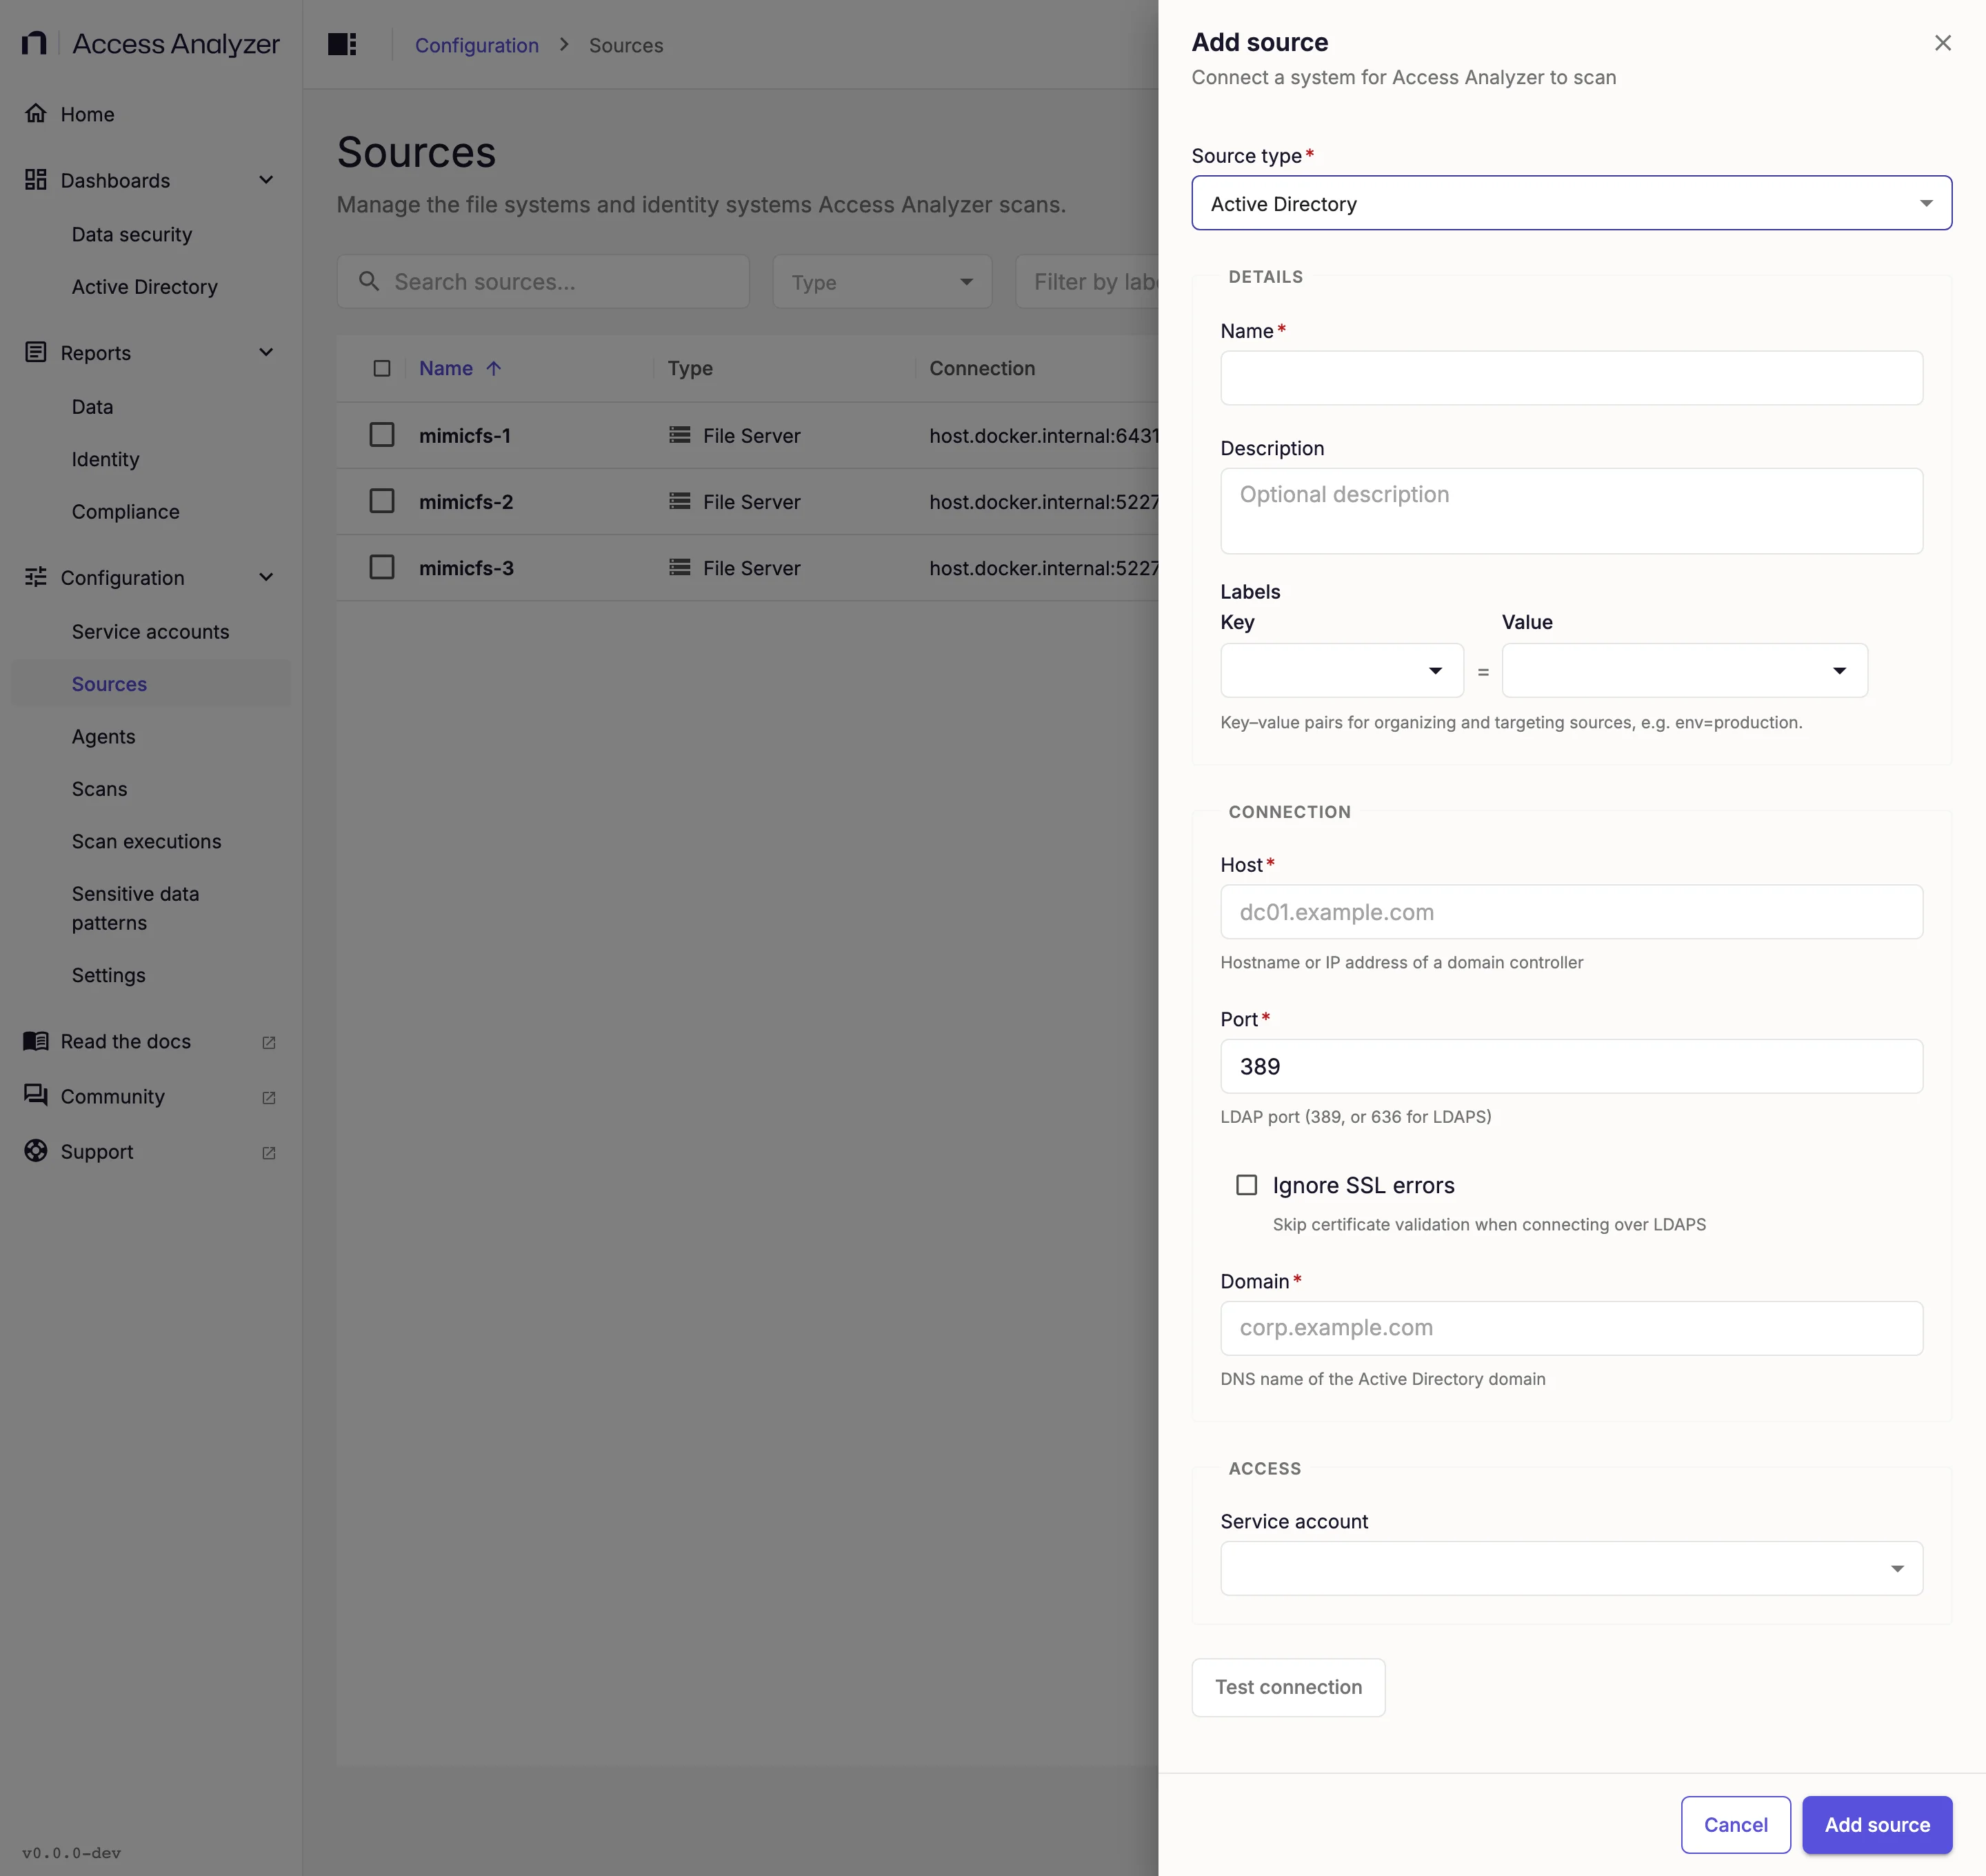
The Active Directory source page describes each field and the connection checks in more depth.
3. Create the Identity Sync
Click Next to move from one step to the next.
-
Go to Configuration > Scans and click Create scan.
-
On the Type step, select Identity sync.
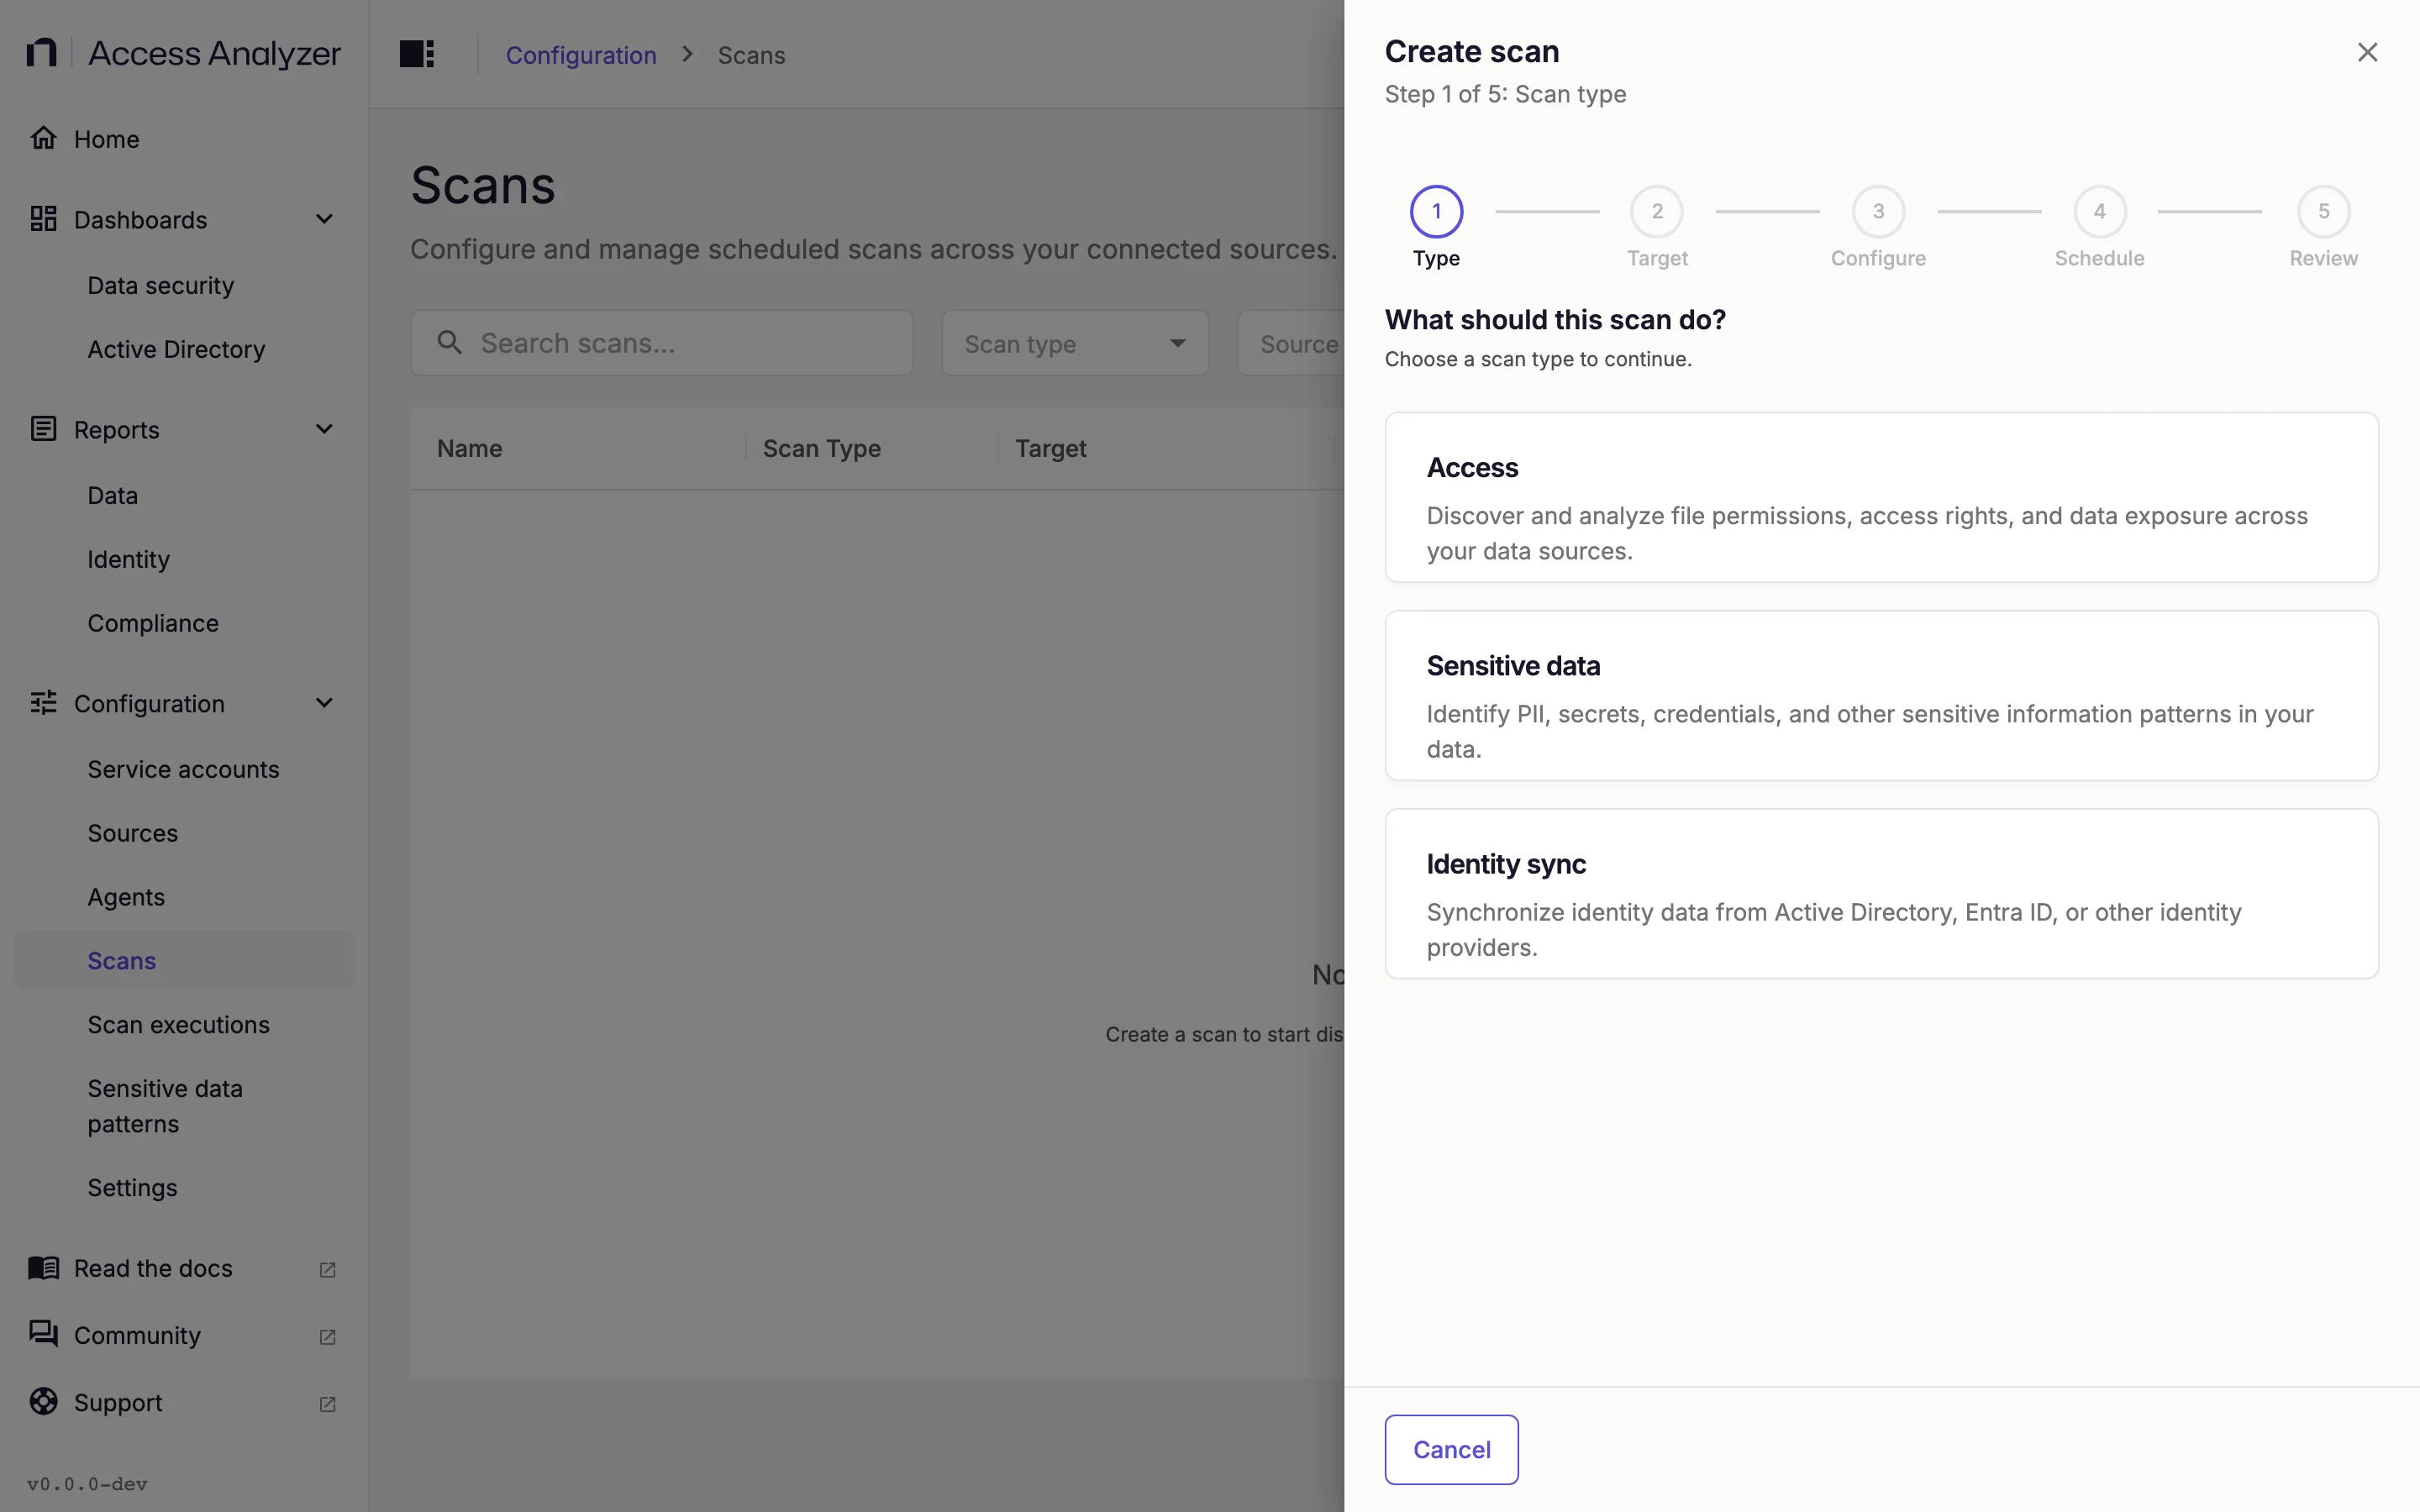
-
On the Target step, keep Specific sources and select the domain's checkbox. The list shows only sources that support Identity sync.
-
On the Configure step, leave Use default configuration selected. The default turns on Differential Scan: the first run reads the whole domain; later runs read only the objects that changed since the previous run.
-
On the Schedule step, select On a schedule.
-
Keep the default Daily at 02:00 so group memberships stay current for the reports that depend on them.
-
Leave the agent set to System agent.
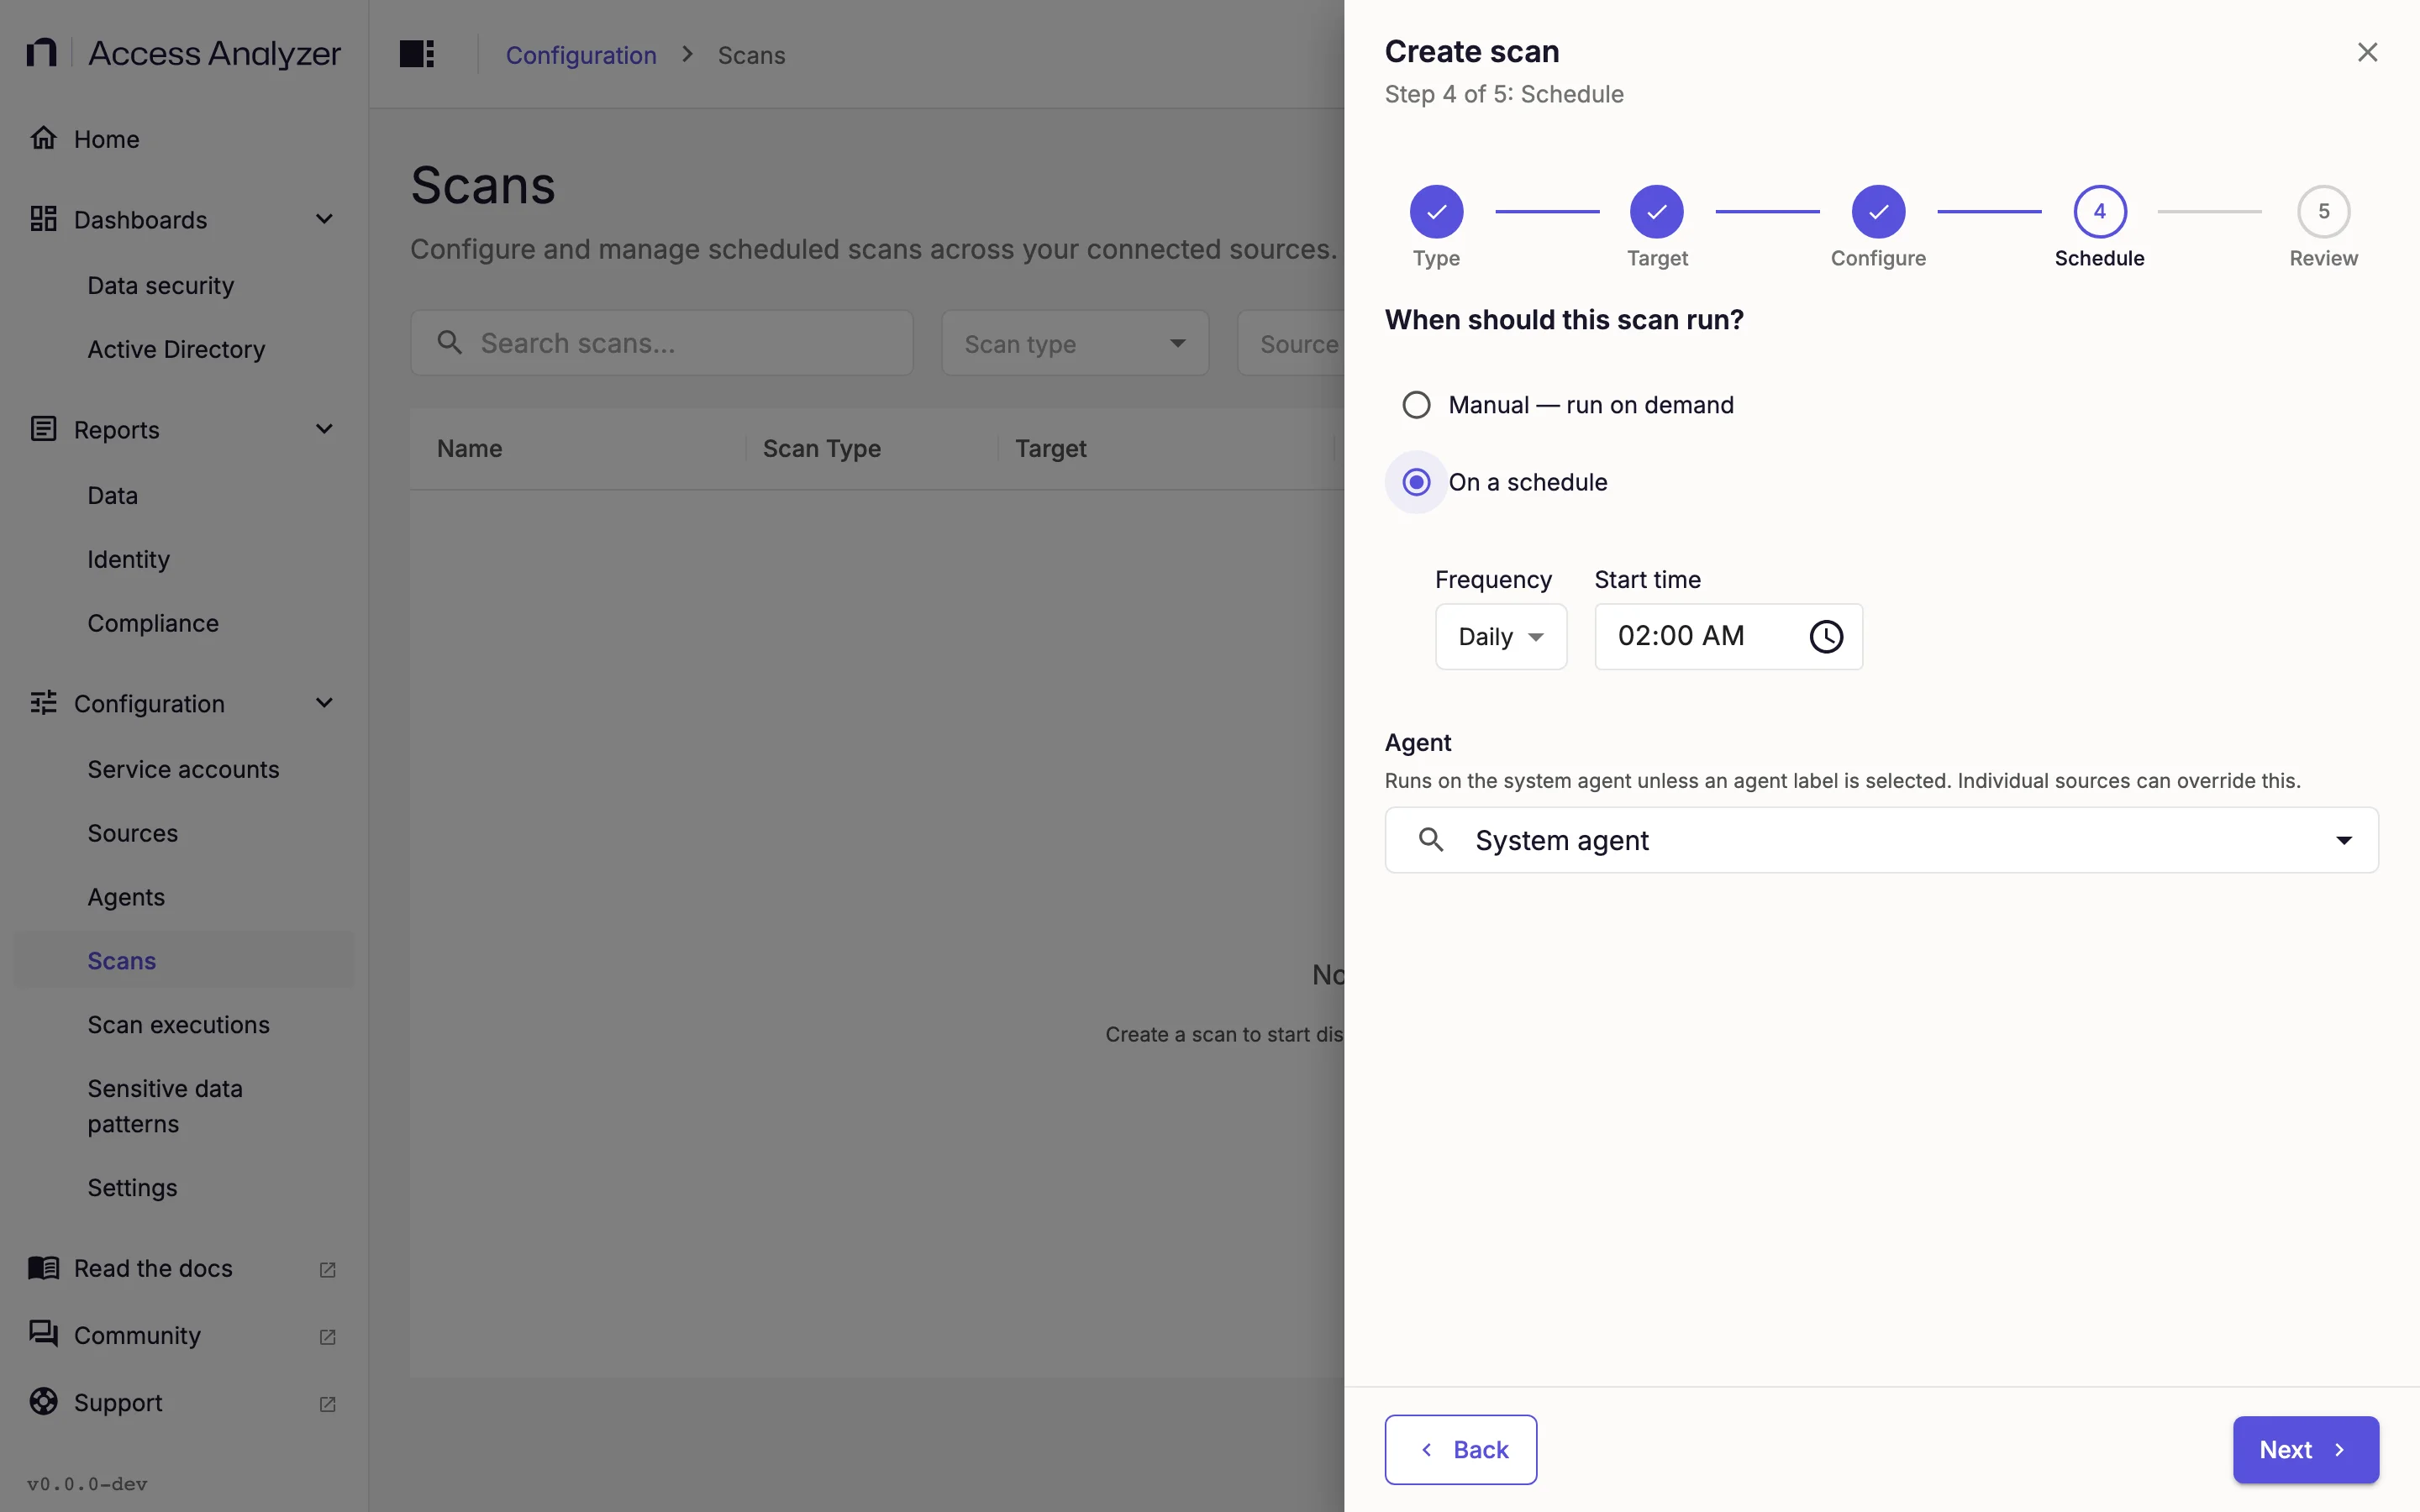
-
On the Review step, enter a Name such as
corp.example.com - identity sync. -
Click Create & run now.
Schedules explains the frequency options and what the Schedule Status column shows.
4. Watch the Execution
Go to Configuration > Scan executions and find the row for the new scan. The list refreshes on its own and shows the execution's Status and, under Progress, how many users and groups it read.
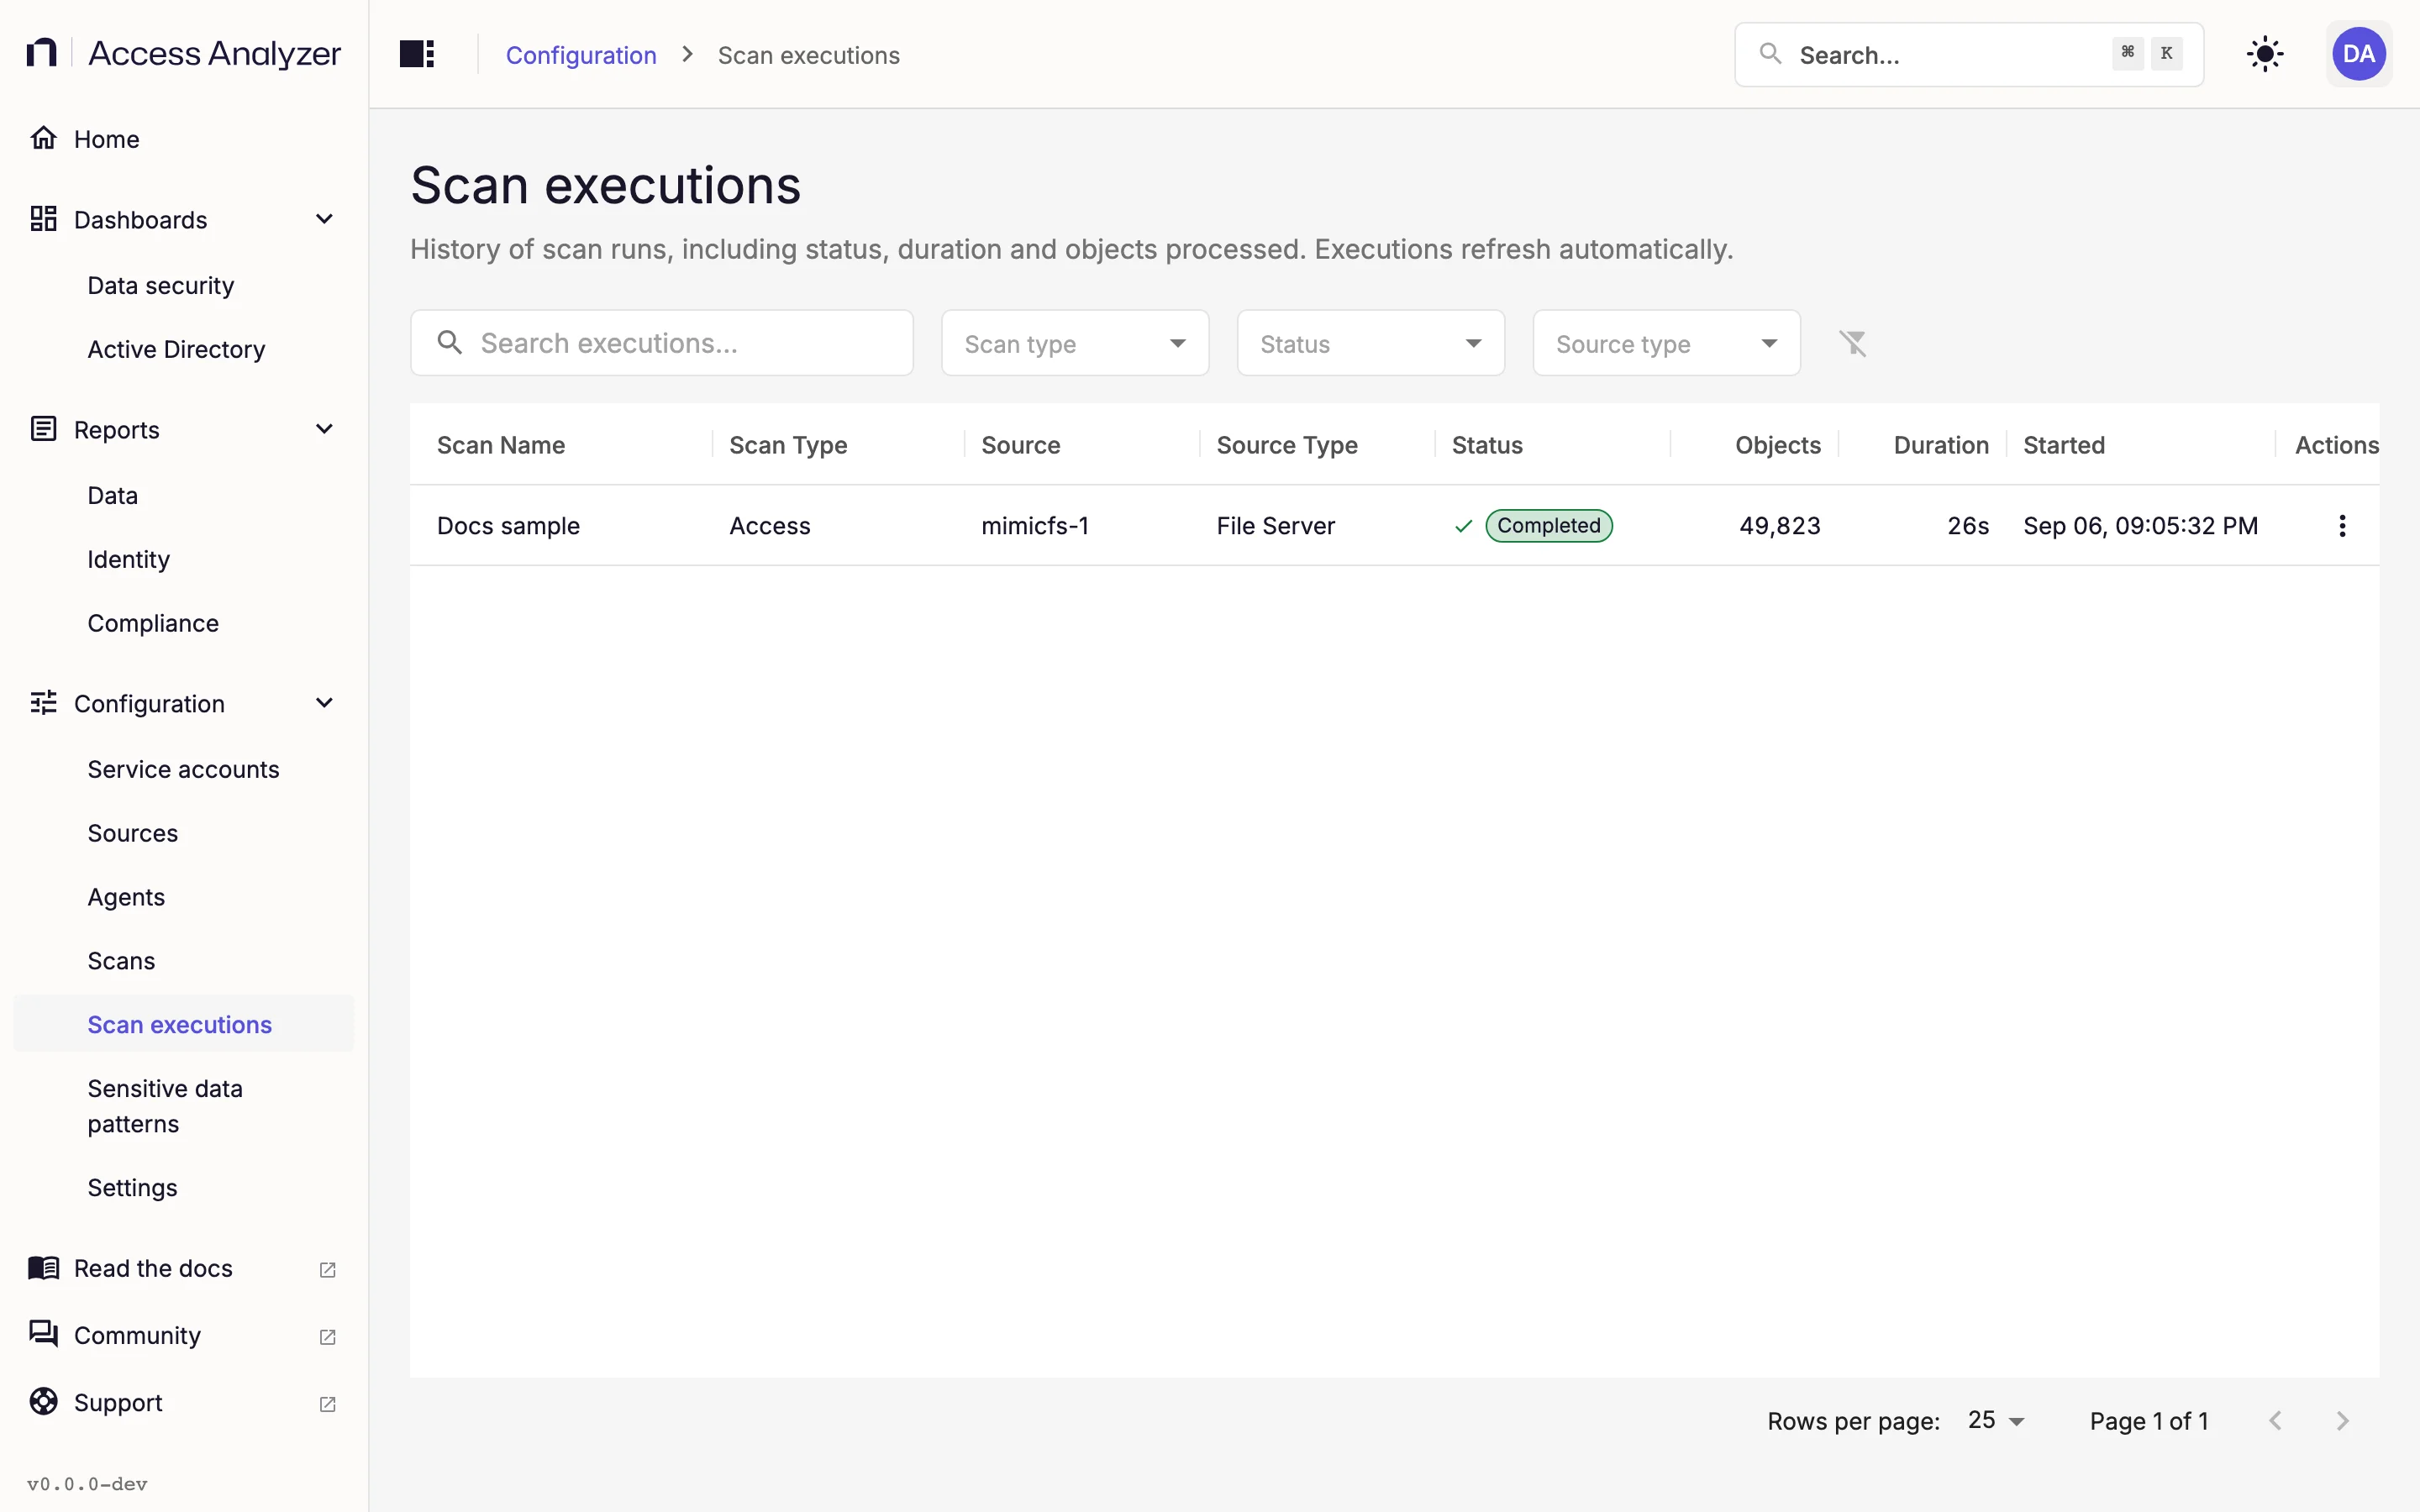
When the sync itself finishes, the execution moves to Post processing while Access Analyzer expands nested group memberships in a step named Refresh Effective Memberships. The step appears as a child row under the execution; click the arrow at the start of the row to show it. The execution reaches Completed once that step is done.
If the status is Failed, open the row's Actions menu and click View logs. Authentication problems appear in the Detailed logs tab. If the message asks for an FQDN, Host holds an IP address and the port is 389; enter the domain controller's name instead.
5. Check the Dashboard and Reports
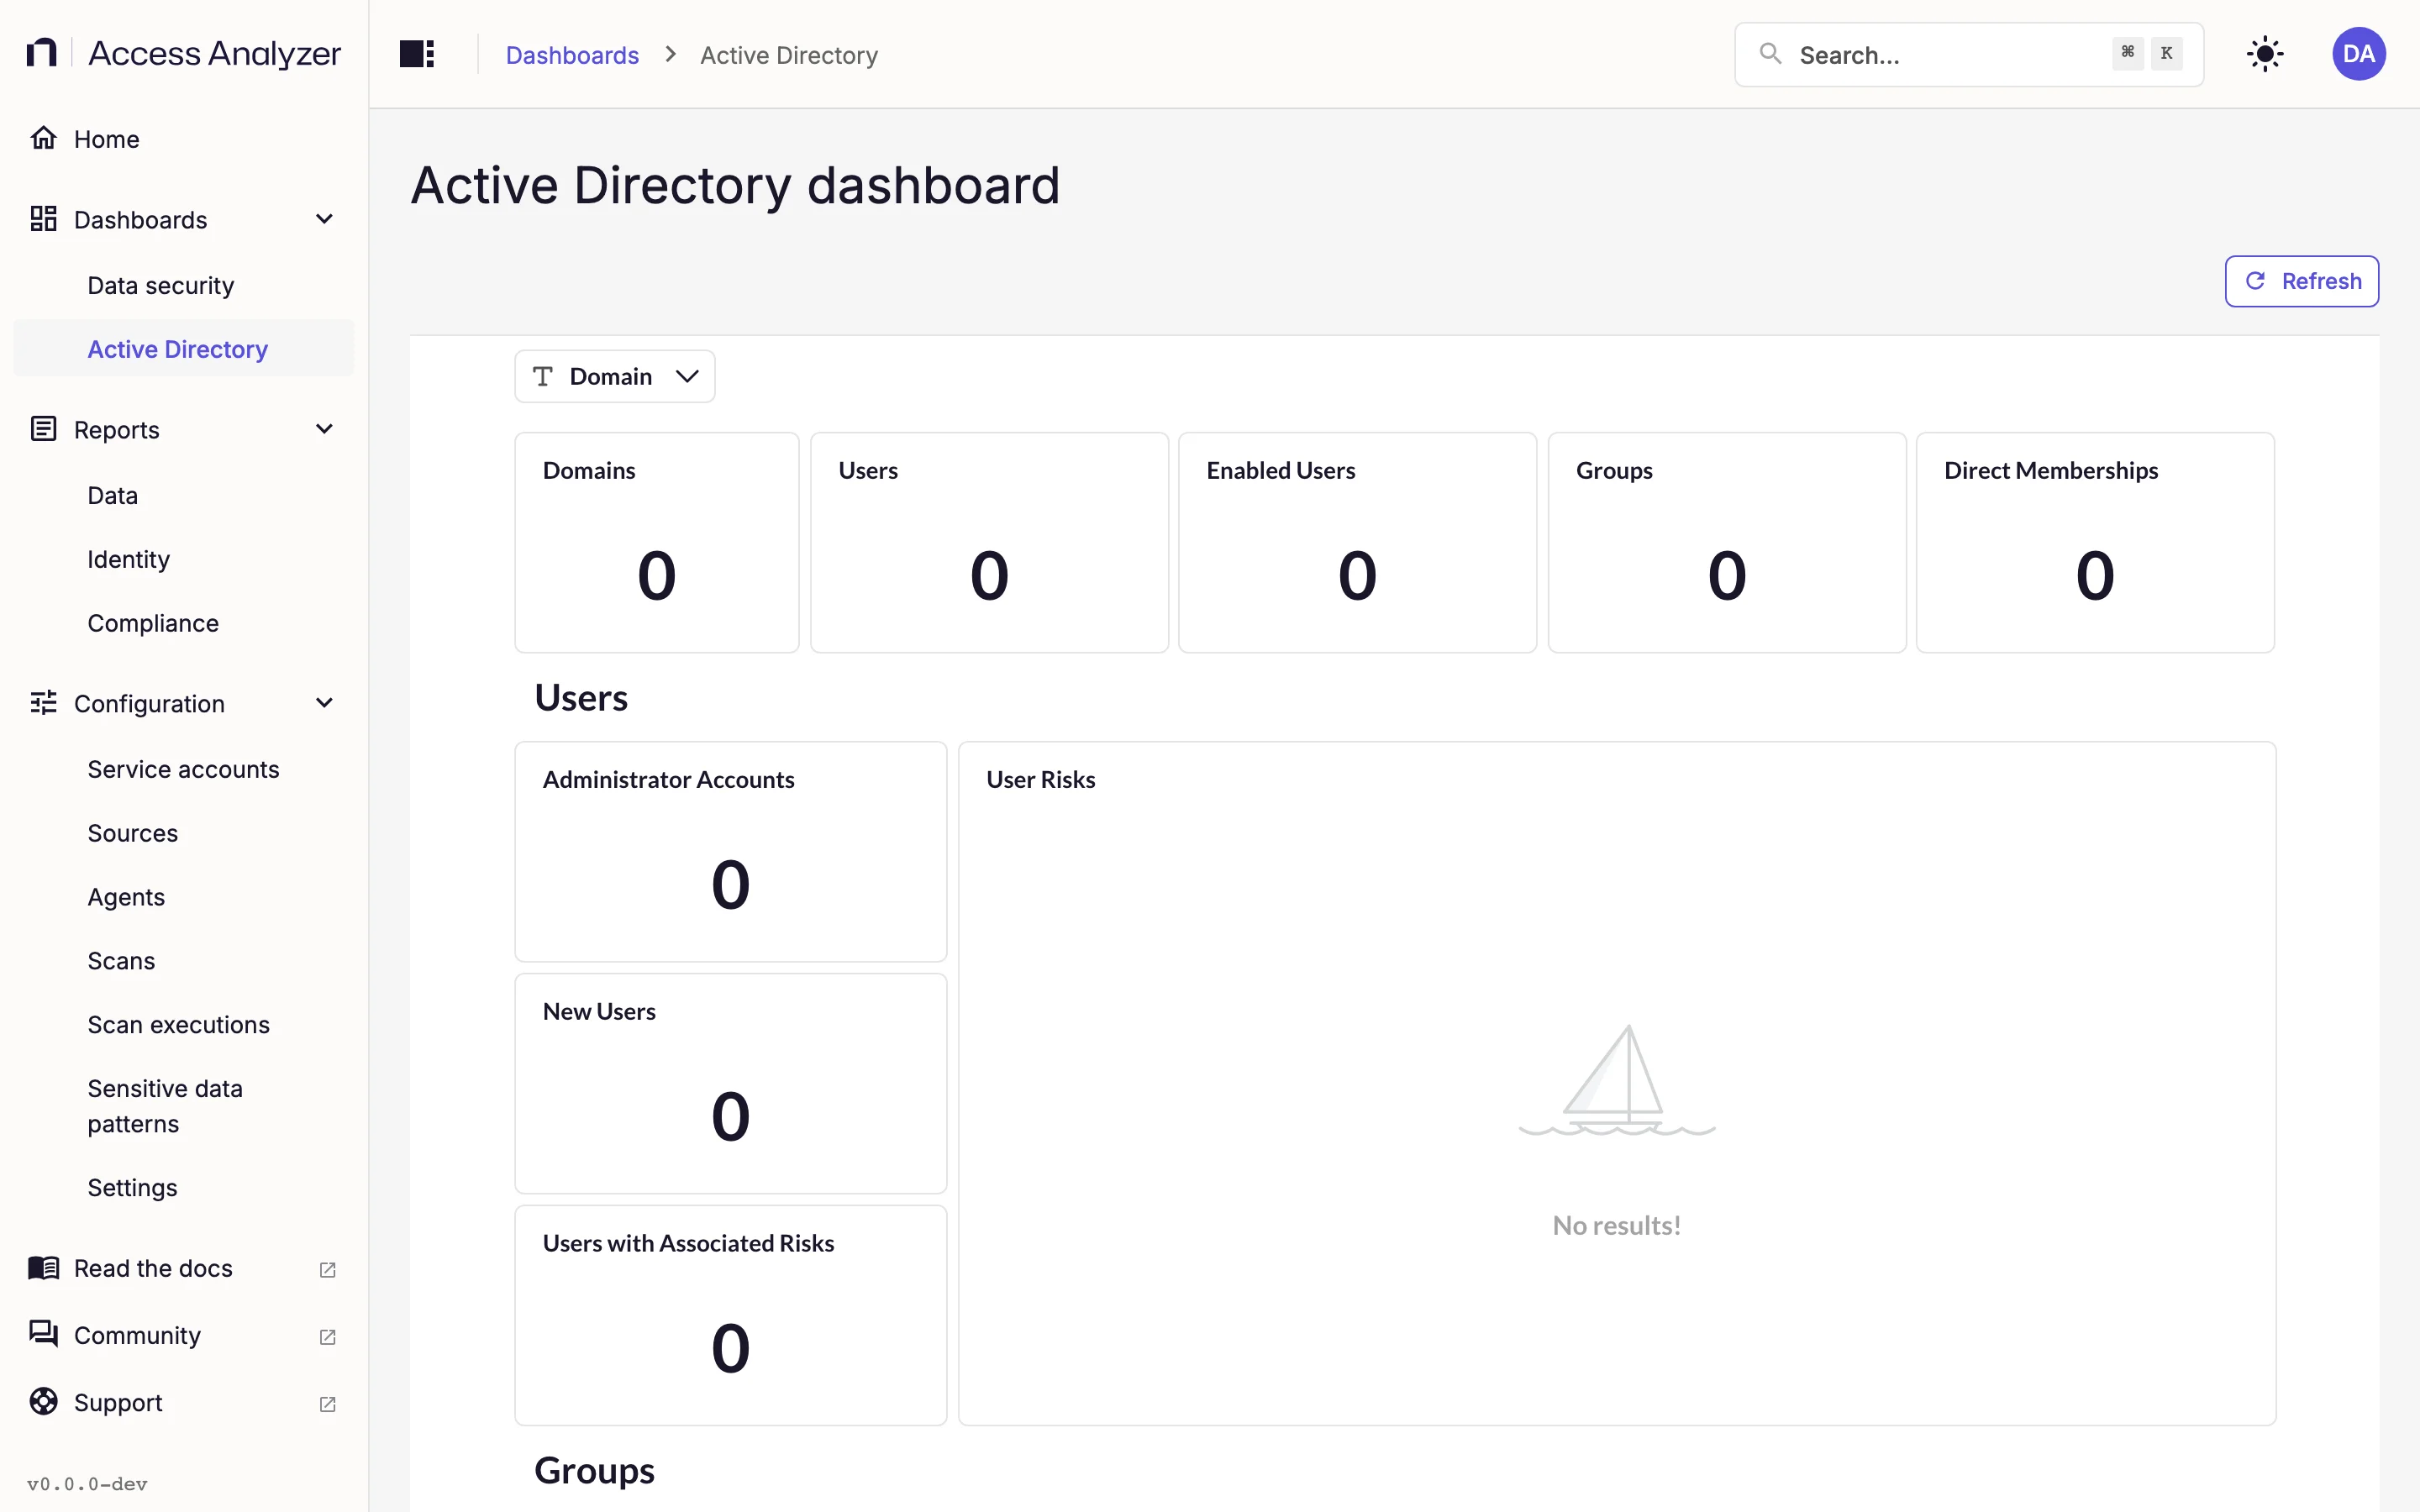
Go to Dashboards > Active Directory and click Refresh. In the Domain filter, select the domain you synced. The dashboard opens with counts for Domains, Users, Enabled Users, Groups, and Direct Memberships, followed by Users, Groups, and All Risks sections that end in the Active Directory Risks table. The Active Directory dashboard page describes each card.
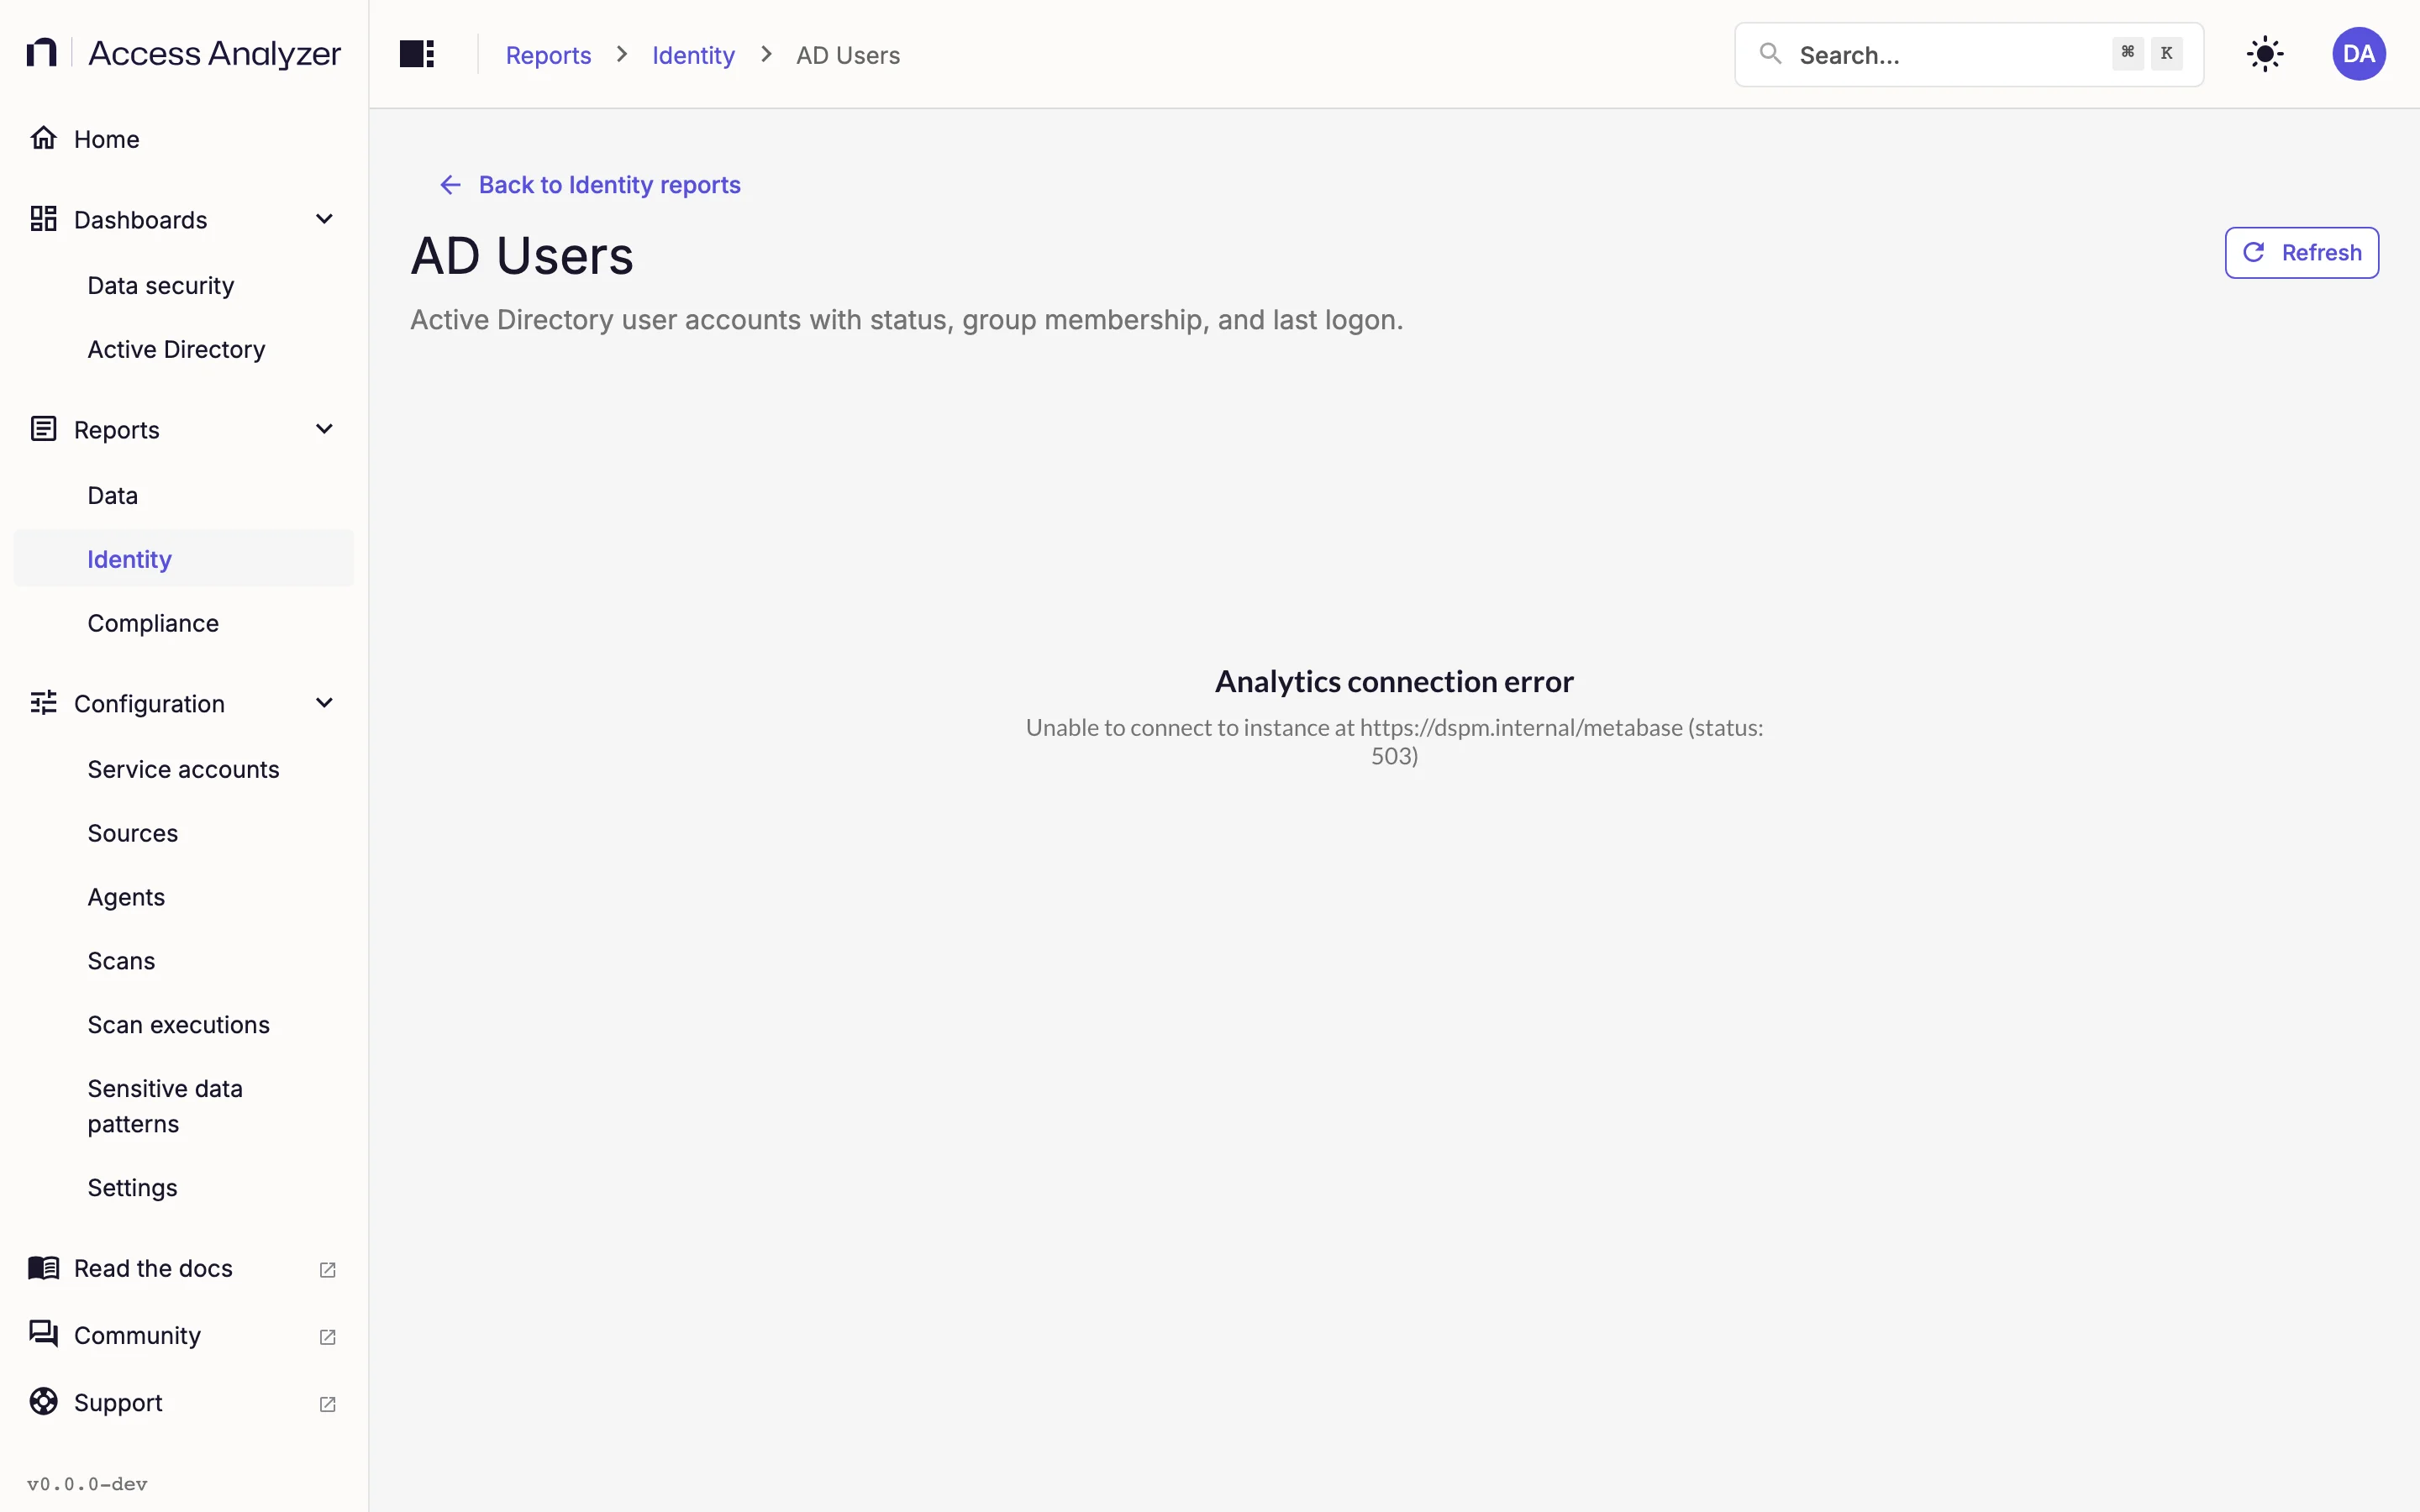
Under Reports > Identity, the Active Directory tab has the AD Users report: every user account with its status, password age, and last logon. The Identity reports page describes each column.
The sync also improves reports you may already be using. After it completes, the reports on the File system tab under Reports > Data resolve SIDs to names, expand group membership, and recognize open access granted through groups such as Domain Users. If you haven't scanned a file server yet, Scan SMB file servers is the next guide.