Access Analyzer Core Installation
Save the organization’s Access Analyzer license key, received from your Netwrix Sales Representative, to the server where you will install Access Analyzer.
The process explained in this topic assumes that both the downloaded binary and the license (.lic) file are located on the server which will become the Access Analyzer Console.
If User Account Control (UAC) is enabled on the server, ensure you run the installation package in Administrative/privilege mode.
Step 1 – Run the Netwrixaccessanalyzer.exe executable to open the Access Analyzer Setup Wizard.
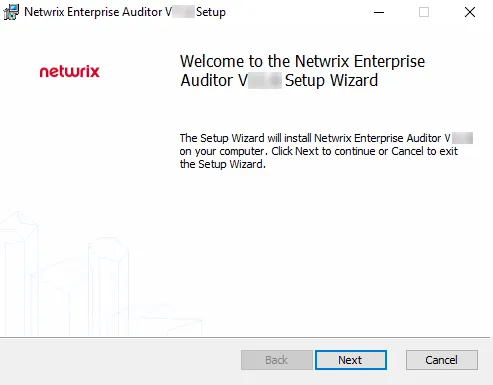
Step 2 – On the Welcome page, click Next to begin the installation.
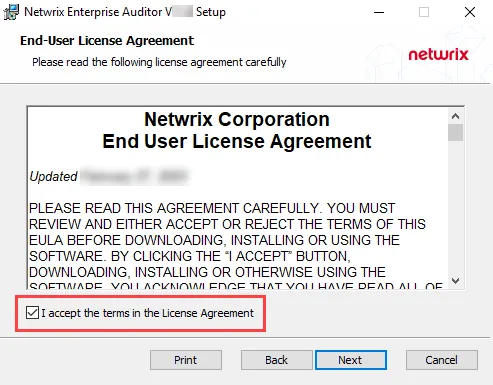
Step 3 – On the End-User License Agreement page, read the End User License Agreement, then check the I accept the terms in the License Agreement box and click Next.
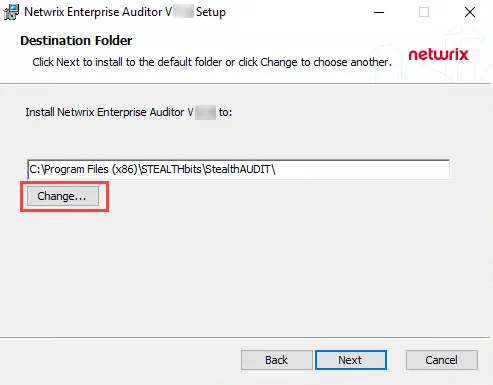
Step 4 – On the Destination Folder page, click Change to select the folder location to
install Access Analyzer. The default destination folder is
C:\Program Files (x86)\STEALTHbits\StealthAUDIT\. Click Next to continue.
 |  |
|---|---|
| Default License File Page | Mapped License File |
Step 5 – On the License File page, click Browse and navigate to your StealthAUDIT.lic file. When the path to the file is visible in the textbox, click Next.
You must store the license file on the Access Analyzer Console server before the installation begins.
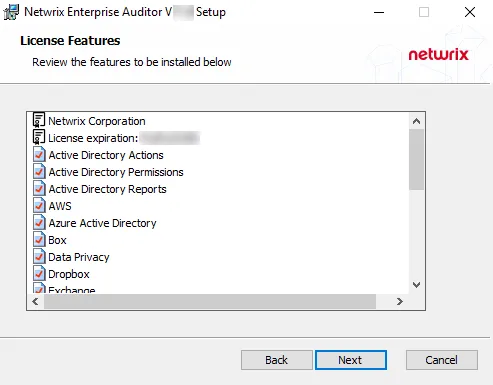
Step 6 – The License Features page displays a list of all features covered by the imported license. It also displays the name of the organization which owns the license, the expiration date, and the host limit. These are the features the installer will install. Click Next.
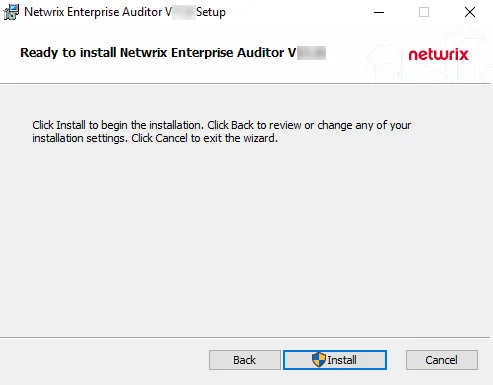
Step 7 – On the Ready to install Access Analyzer page, click Install to begin the installation.

Step 8 – When the installation has completed, click Finish to exit the wizard.
You have now installed the Access Analyzer Console, and the installer has created two desktop icons: Access Analyzer and Published Reports. Launch the Access Analyzer application to complete the initial configuration.