Access Analyzer Core Upgrade Instructions
If you have enabled Role Based Access, a user with the Administrator role must perform the upgrade. Other user roles don't have the necessary permissions to perform upgrades.
Upgrade to Access Analyzer 12.0 on the same server where an older version of Access Analyzer is installed.
If a Netwrix Engineer has made any customizations, ensure the custom work isn't lost during the upgrade process. The Upgrade Wizard archives customizations before solution upgrades. These archives are available after the solution upgrades complete. Contact Netwrix Support for additional information.
The new global Settings will overwrite any previously configured Sensitive Data criteria. Make a note of any configured Sensitive Data Criteria before upgrading Access Analyzer. Sensitive Data Criteria must be reconfigured after an upgrade. See the Configure Global Sensitive Data Settings topic for additional information.
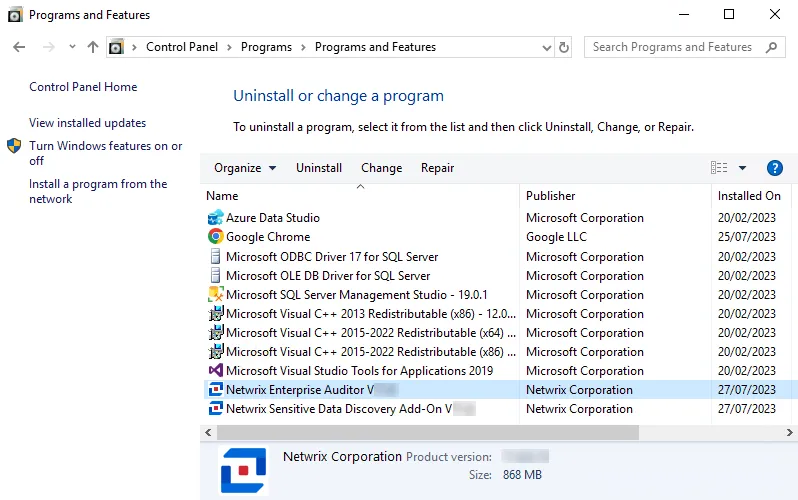
Step 1 – From Programs and Features (Control Panel > Programs > Programs and Features), uninstall the previous version of Access Analyzer. Jobs, application configuration files, and reports remain in the installation directory after the uninstall process.
If you have the old Netwrix Sensitive Data Discovery Add-On installed, you must uninstall it before continuing with this upgrade. For Access Analyzer 12.0, the main installation includes Sensitive Data Discovery if your license includes it.
- The installer automatically retains the
WebServer.exe.configfile in a Backup folder under the Web folder of the installation directory and keeps any custom application settings in this file as part of this upgrade process.
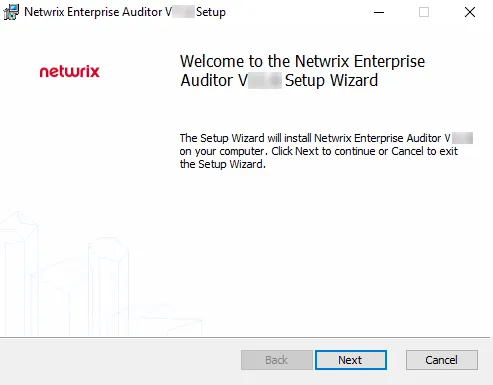
Step 2 – Install Access Analyzer 12.0. See the Access Analyzer Core Installation topic for detailed instructions.
- Before installation, store the new
StealthAUDIT.liclicense file locally on the Access Analyzer Console so the installer can reference it during the installation process - The installer installs Access Analyzer to the following directory by default:
…\STEALTHbits\StealthAUDIT
If another installation path is designated, be sure to leave STEALTHbits\StealthAUDIT
as the path suffix in the installation wizard.
- During the installation, the installer automatically restores any customizations to the settings
in the
WebServer.exe.configfile from the backup file retained when installing the previous version. The installer deletes the../Web/Backupfolder after it restores the settings.
After the installation completes, the upgrade wizard launches from the Access Analyzer desktop icon.
Upgrade Wizard
After the Access Analyzer installation process is complete, go through the Upgrade Wizard. There are three Upgrade options for a solution:
- Full Upgrade – Performs a full synchronization of the directory and file structure of the solution to mirror the Instant Solution
- Upgrade in place – Performs file content updates of jobs matching the Instant Solutions but does not change the Jobs tree structure
- Don't upgrade – Performs no upgrade, leaving the previous version of the solution
The default settings configured within the Advanced Upgrade Options window align with the best practices of the Netwrix Professional Services and Support teams.
The Upgrade Wizard conducts the following actions according to the State identified and whether the Upgrade action is set to Full Upgrade or Upgrade in place:
| State | Condition | Action: Full Upgrade | Action: Upgrade in place |
|---|---|---|---|
| Normal | Job exists in Locked state and has matching ID in Instant Solutions | Upgrade | Upgrade |
| New | Job exists in Instant Solutions but not in the Jobs tree for an existing solution | Install | Install |
| Removed | Job exists in Locked state in the Jobs tree but doesn't exist in Instant Solutions | Delete | Nothing |
| Copied | Original job exists in original location, but multiple instances of the job exists | Delete | Upgrade |
| Moved | Original job exists but in a different location than in the Instant Solutions | Move & Upgrade | Upgrade |
| Renamed | Job found via ID match but was renamed | Rename & Upgrade | Upgrade |
| Conflict | Changes have been made to the job | Overwrite | Overwrite |
The Upgrade Wizard identifies conflicts when a user or a Netwrix engineer has made customizations. You need to either resolve conflicts before the upgrade action or manually apply them after the upgrade is complete. You can resolve conflicts on the Changes window by undoing a customization. However, if you undo the conflict before a solution upgrade, the Upgrade Wizard will not archive the customization.
If you have enabled Role Based Access, a user with the Administrator role must perform the upgrade. Other user roles don't have the necessary permissions to perform upgrades.
Use the Upgrade Wizard:
Step 1 – Launch the Access Analyzer application. The installation wizard placed the Access Analyzer icon on the desktop.
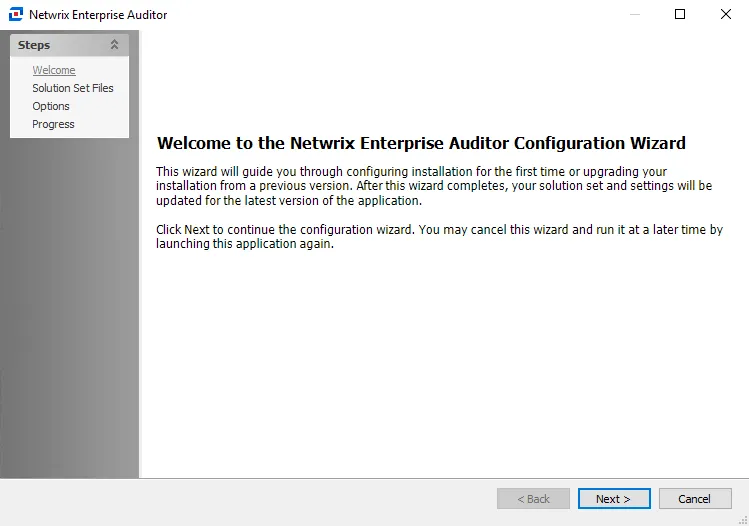
Step 2 – The Access Analyzer Configuration Wizard opens. Click Next to continue.
When you install Access Analyzer 12.0 on a server that already has a previous version of Access Analyzer installed, the Version Selection page of the Configuration Wizard doesn't appear.
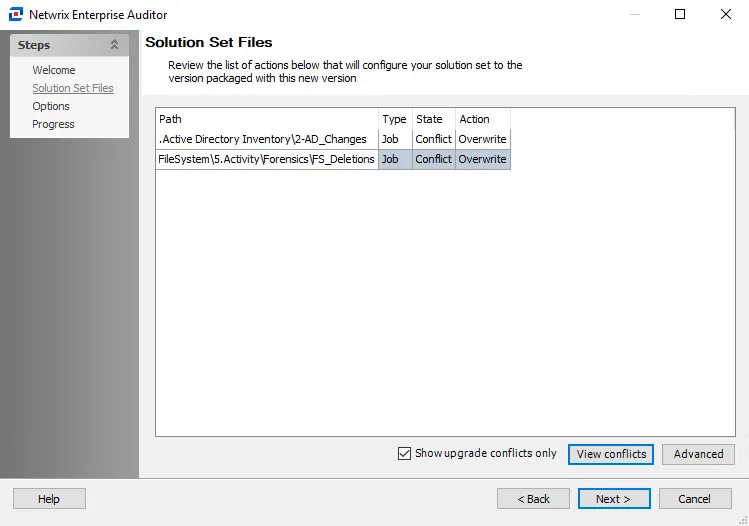
Step 3 – By default, the Solution Set Files page displays only upgrade conflicts.
Investigate the changes where the Upgrade Wizard has identified conflicts before proceeding.
Step 4 – (Optional) Select an item with the Conflict State and click View conflicts to open the Changes window.
Additional options include:
- Show upgrade conflicts only – Displays upgrade actions for all solutions
- Advanced – Opens the Advanced Upgrade Options window to view or modify the Upgrade option per solution

Step 5 – (Optional) You can resolve conflicts on the Changes window, which the View conflicts button opens. Remember, if you resolve the conflict before a solution upgrade, the Upgrade Wizard will not archive the customization. To resolve a conflict, select it from the list and click Undo.
Step 6 – When you have set the Upgrade options as desired, click Next.
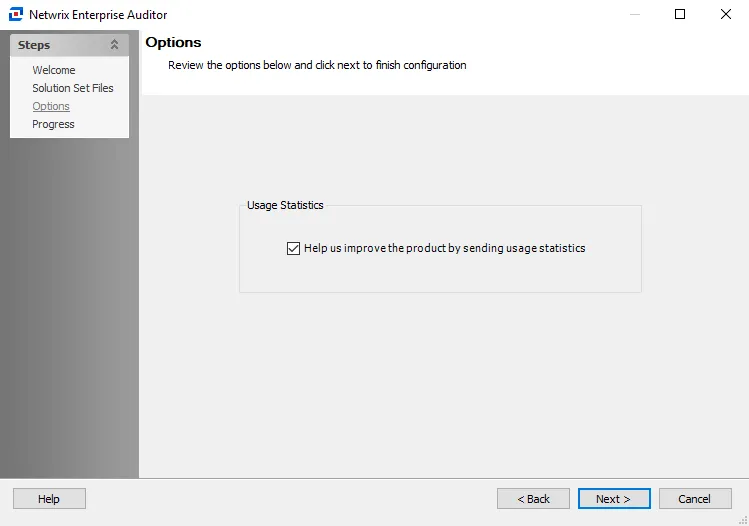
Step 7 – On the Options page, select whether to send usage statistics to Netwrix to help improve the product. After you set the Usage Statistics option as desired, click Next to continue.
-
If selected, Access Analyzer collects usage statistics and sends them to Netwrix
- Upon startup of the Access Analyzer console, the system checks whether it has sent usage statistics in the last 7 days. If it hasn't, stored procedures run against the Access Analyzer database and gather data about job runs, access times, and environmental details like resource counts, users counts, number of exceptions, and so on. The system then sends this data back to Netwrix to identify usage trends and common problem areas, which Netwrix uses to improve the product.
- Access Analyzer includes only anonymous statistic-level data. It doesn't collect or send any private company or personal data to Netwrix.
-
If cleared, Access Analyzer doesn't collect or send usage statistics to Netwrix
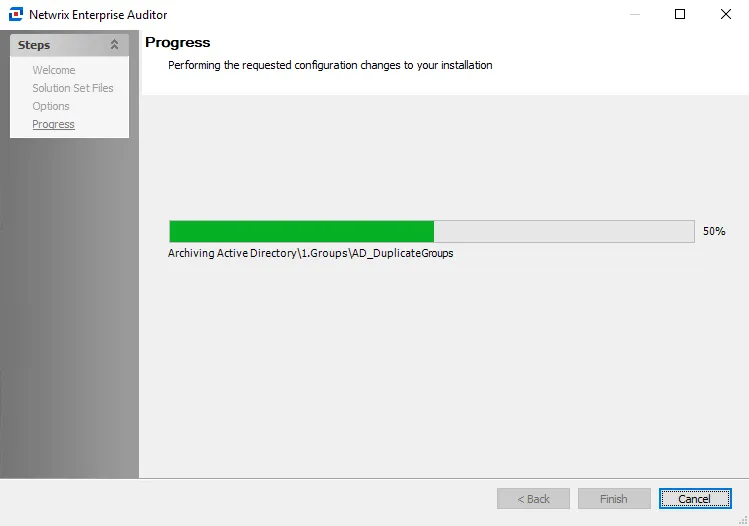
Step 8 – The Upgrade Progress page opens and displays the progress of the upgrade actions. When the action completes, click Finish.
The Upgrade Wizard closes, and Access Analyzer launches. The archived Jobs directory is in a ZIP
file located within the Jobs directory: …\STEALTHbits\StealthAUDIT\Jobs.
The ZIP file name reflects the date and time of the upgrade. For example, the file name for an
upgrade performed on June 4, 2023 at approximately 6 PM would be: 20230604180542.zip.