Access Analyzer Initial Configuration
After the Access Analyzer installation process is complete, and before performing actions within Access Analyzer, you must configure the initial settings for the Access Analyzer Console.

Step 1 – Launch the Access Analyzer application. The installation wizard places the Access Analyzer icon on the desktop.
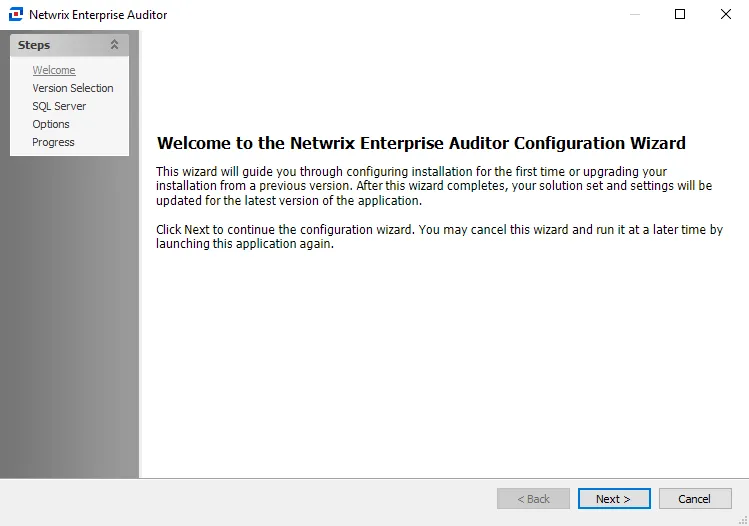
Step 2 – On the Welcome page of the Access Analyzer Configuration Wizard, click Next to continue.
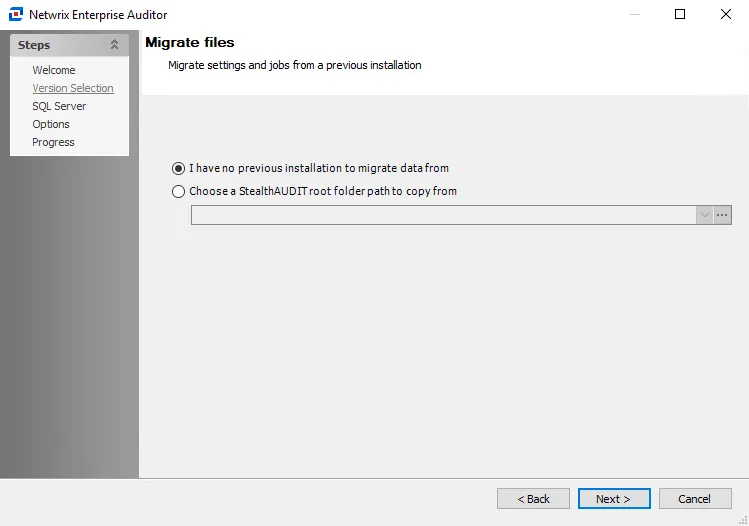
Step 3 – On the Version Selection page, select the I have no previous versions to migrate data from and click Next to continue.
If you are upgrading from a previous version of Access Analyzer, select Choose a StealthAUDIT root folder path to copy from. See the Access Analyzer Console Upgrade topic for additional information.
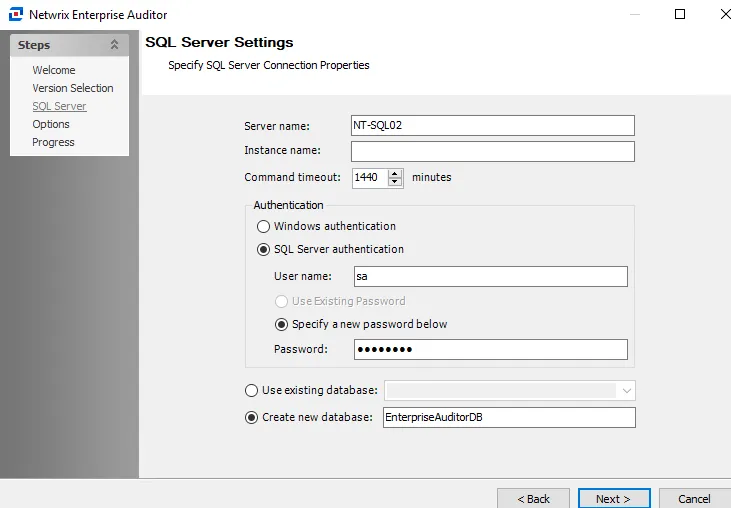
Step 4 – Configure the options on the SQL Server Settings page.
-
Server name – Enter the database server host name (NetBIOS name, FQDN, or IP Address)
-
Instance name – If you configured the SQL Server to use an instance name, provide the instance name in the text box. If not, leave this text box blank.
- To change the instance port number, provide the instance name in the format
<Instance name>,<Port>. For example, if using the default MSSQLSERVER instance and port 12345, the instance name should be entered asMSSQLSERVER,12345.
- To change the instance port number, provide the instance name in the format
-
Command timeout [number] minutes – Number of minutes before Access Analyzer halts any SQL queries running for that amount of time. This prevents SQL queries from running excessively long. The default is 1440 minutes.
-
Windows authentication – Uses the account used to open the Access Analyzer Console. This option will use Windows NT Authentication to authenticate to the SQL Server. It also requires the Schedule Service Account to have proper permissions on the SQL database.
-
SQL Server authentication – Uses an account created within the SQL Server.
- User name and password – If you select SQL Server authentication, provide the User name and Password for the SQL account.
- Specify a new password below – Specify a new password for the SQL server.
-
Use existing database – Confirm that Access Analyzer established the SQL Server connection by selecting the radio button for Use existing database and clicking the dropdown arrow. If a listing of databases appears, Access Analyzer established the connection. Select this option to use a pre-existing database. Then select a database from the dropdown menu of available databases.
-
Create new database – Select this option to create a new database during the configuration of the storage profile. Enter a unique, descriptive name for the new database. If multiple databases might exist for Access Analyzer, avoid using the default name of Access Analyzer.
See the Securing the Access Analyzer Database topic for additional information on creating a SQL Server database for Access Analyzer.
Step 5 – Click Next.
- If you use SQL Server authentication, the Options page displays next. Skip to Step 7.
- If you use Windows Server authentication, the Schedule Account page becomes enabled for configuration. Continue to Step 6.
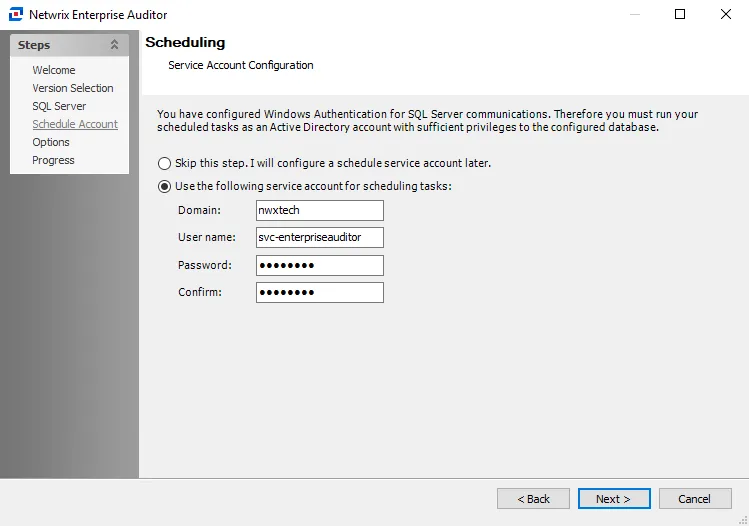
Step 6 – (Windows Authentication Only) Configure the schedule service account on the Scheduling page. The account configured here must be an Active Directory account and must have rights to the Access Analyzer Console server’s local Task folders as well as sufficient rights to the Access Analyzer database.
You can select one of two options:
-
Skip this step, I will configure a schedule service account later – Select this radio button to skip this step and configure the schedule service account later
-
Use the following service for account – Select this radio button to configure the schedule service account and enter the following information:
- Domain – The domain for the service account
- User name – The user name for the service account
- Password – The password for the service account
- Confirm – Re-enter the password for the service account
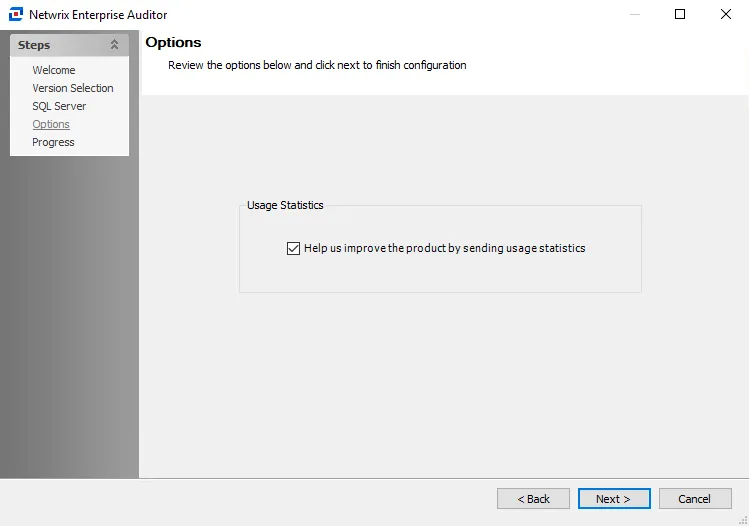
Step 7 – On the Options page, select whether to send usage statistics to Netwrix to help improve the product. After you set the Usage Statistics option as desired, click Next to continue.
-
If selected, Access Analyzer collects usage statistics and sends them to Netwrix
- Upon startup of the Access Analyzer console, the system checks whether it sent usage statistics in the last 7 days. If not, stored procedures run against the Access Analyzer database and gather data about job runs, access times, and environmental details like resource counts, users counts, number of exceptions, and so on. Access Analyzer then sends this data back to Netwrix to help identify usage trends and common issues, which Netwrix uses to improve the product.
- Access Analyzer includes only anonymous statistic-level data, and doesn't collect or send any private company or personal data to Netwrix.
-
If cleared, Access Analyzer doesn't collect or send usage statistics to Netwrix

Step 8 – After the Access Analyzer Configuration Wizard finishes configuring your installation, click Finish to open the Access Analyzer Console.
To view the log for the setup process, click View Log to open it. If you need to view
the log after exiting the wizard, it is located in the installation directory at
..\STEALTHbits\StealthAUDIT\SADatabase\Logs. See the
Troubleshooting topic for more information about logs.
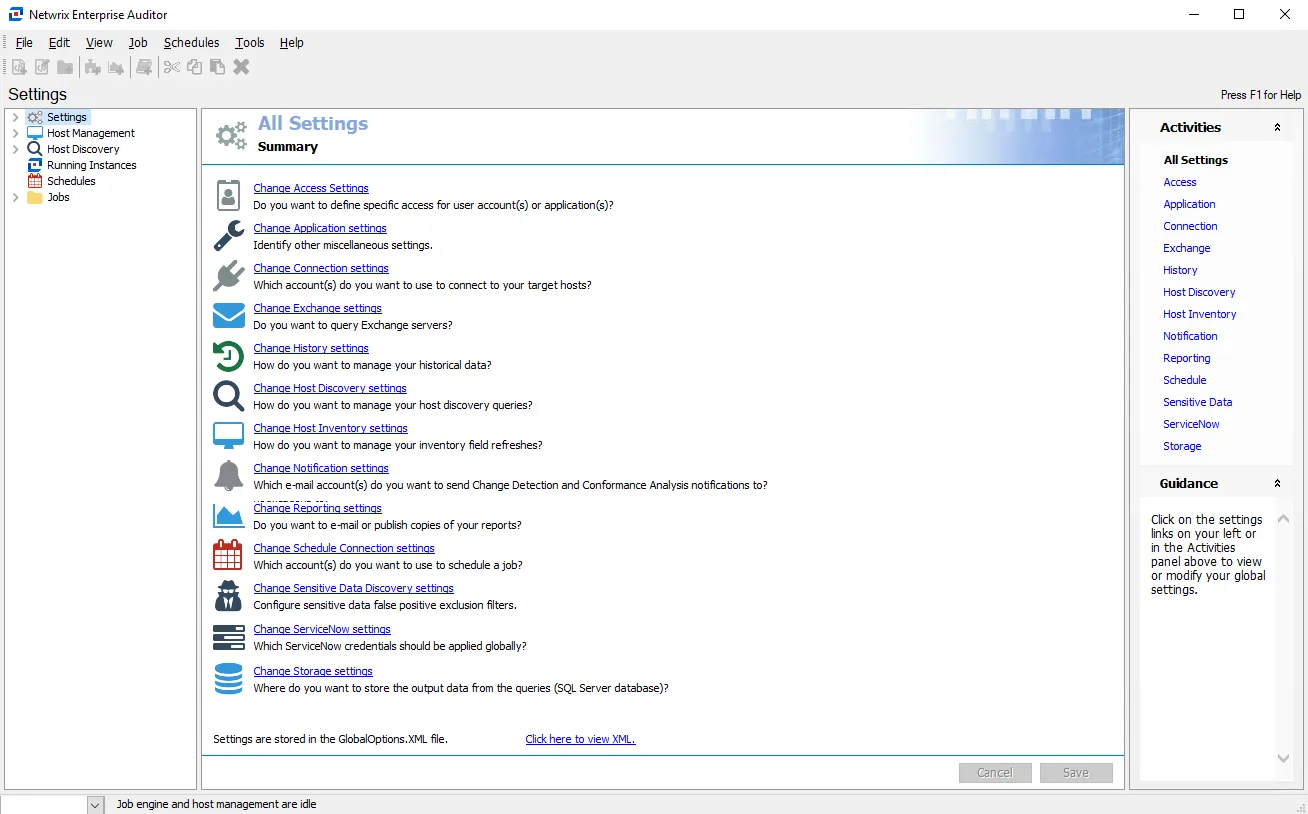
The Access Analyzer Console is now ready for custom configuration and use. There are a few additional steps to complete to begin collecting data, such as configuring a Connection Profile and a Schedule Service account as well as discovering hosts and setting up host lists. See the Getting Started topic for additional information.