Add a Storage Profile
Create a Storage Profile:
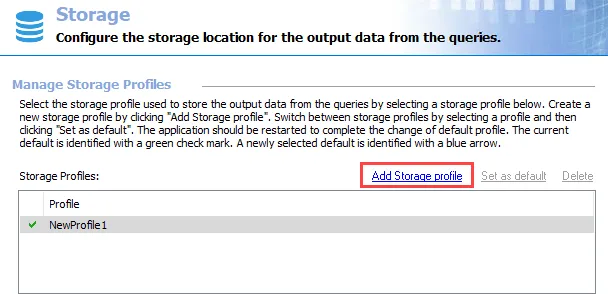
Step 1 – Click Add Storage profile at the top of the Storage view.

Step 2 – A new profile line appears in the Storage Profiles list with a generic name. Change the Profile name to a unique and descriptive name.

Step 3 – Enter the SQL Server name in the textbox provided. This can be a NetBIOS name, a fully qualified domain name, or an IP Address. If the specified SQL Server uses a named instance, provide the Instance name in the next textbox.

Step 4 – Specify the time in minutes that must expire before Access Analyzer halts any SQL queries running for that amount of time.

Step 5 – Select the radio button for the appropriate authentication mode. If using SQL Server authentication , provide a User name and Password in the textboxes.
When possible, use Windows Authentication. Windows Authentication is more secure than SQL Server Authentication. See the Microsoft Choose an authentication mode article for additional information.
 |  |
|---|---|
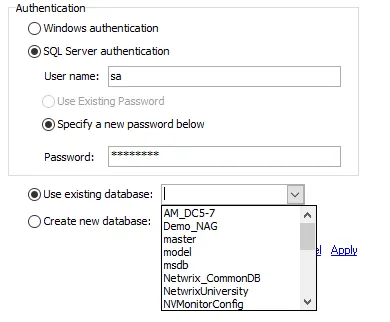
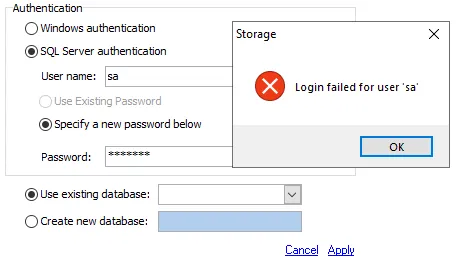
| Good Connection Test | Bad Connection Test |
Step 6 – Test the credentials you provided at this point. By default, Access Analyzer selects the radio button for Use existing database. Test the SQL Server connection by clicking the dropdown arrow for an existing database. If Access Analyzer establishes the connection, a listing of databases appears. If Access Analyzer can't establish the connection, an error warning displays.

Step 7 – Set the database through one of the following options:
- Use existing database – Click this radio button and select a database from this list provided in the dropdown menu
- Create new database – Click this radio button and provide a unique, descriptive name in the textbox
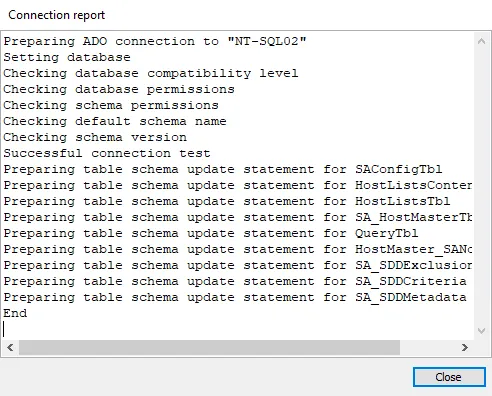
Step 8 – Click Apply and a Connection report window opens. The Connection report checks for
the appropriate permissions and lists any that are missing. If no permissions are present, an error
message appears in the Connection report window. When there is a Successful connection test, click
Close.
Step 9 – If you selected Create new database, the new database now exists. If you selected Use existing database, the Storage Profile is now linked to the database. Click Save and then OK to complete the creation of the new Storage Profile.
Access Analyzer can now use the new Storage Profile.