Installing the Sensitive Data Discovery Add-On
Remember, the following additional considerations:
- File System Considerations:
- To run the FileSystem Job Group in Applet Mode or Proxy Mode with Applet, install .NET Framework 4.7.2 or later on the targeted file servers so Sensitive Data Discovery collections can occur successfully.
- To run the FileSystem Job Group in File System Proxy Mode as a Service, also install the
Sensitive Data Discovery Add-On (32-bit
SensitiveDataAddon.msi) on the proxy server. The proxy server also requires the .NET Framework 4.7.2 or later. The Enterprise Auditor license file will need to be accessible locally for this installation. See the File System Proxy as a Service Overview topic for additional information.
- SharePoint Consideration – To use the SharePoint Agent to scan for sensitive data, also install
the Sensitive Data Discovery Add-On (64-bit
SensitiveDataAddon.msi) on the application server which hosts the Central Administration component of the targeted SharePoint farms, after you install the Enterprise Auditor SharePoint Agent on that server. The SharePoint server also requires .NET Framework 4.7.2 or later. The Enterprise Auditor license file will need to be accessible locally for this installation. See the SharePoint Agent Installation topic for additional information.
Before running the installation package, close the Enterprise Auditor application.
You need the Enterprise Auditor license file during installation. You can import it from the Enterprise Auditor installation directory when you install the add-on on the Enterprise Auditor Console server. To install the Sensitive Data Discovery Add-On:
Step 1 – Run the SensitiveDataAddon.exe executable.
Remember,
- Install the Sensitive Data Add-on – FSAA & SPAA Agentless (or x86) version of the Sensitive Data Discovery Add-On on the Enterprise Auditor Console Server.
- Install the Sensitive Data Add-on – FSAA & SPAA Agentless (or x86) version of the Sensitive Data Discovery Add-On on the File System Proxy server when using the File System Proxy Mode as a Service scan mode.
- Install the Sensitive Data Add-on – SPAA Agent (or x64) version of the Sensitive Data Discovery
Add-On on the SharePoint server hosting the SharePoint Agent.
- Select the SPAA Agent for SP 2013 and newer
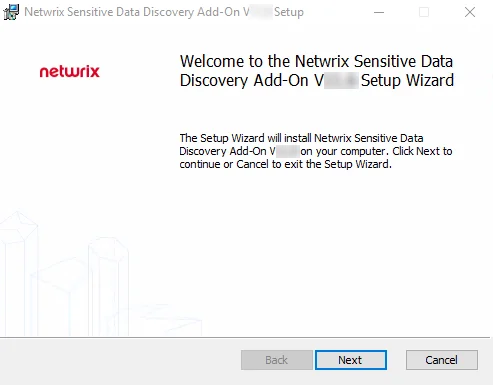
Step 2 – On the Welcome page, click Next to begin the installation.
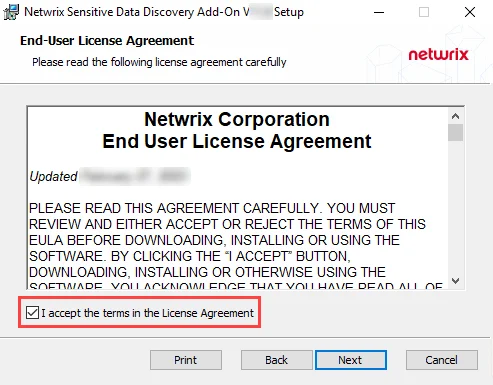
Step 3 – Check the I accept the terms in the License Agreement box and click Next.
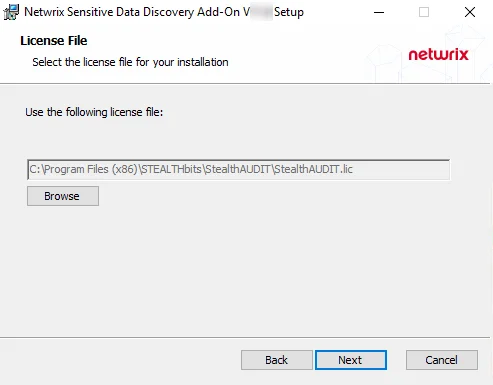
Step 4 – Click Browse to select the license file to use for installation. By default, this will target the license key within the Enterprise Auditor installation directory. If installing on the SharePoint Agent server or the File System Proxy server, use the Browse button to navigate to the license file. Click Next.
The Enterprise Auditor license file needs to be locally accessible during the installation process.
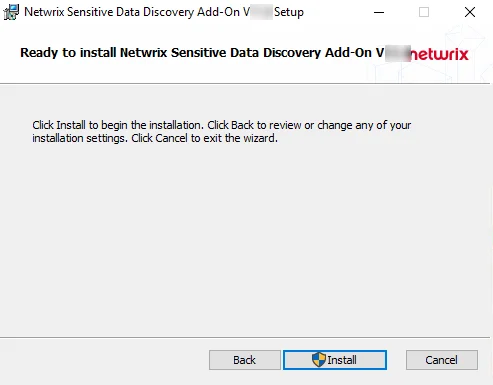
Step 5 – Click Install to begin the installation.
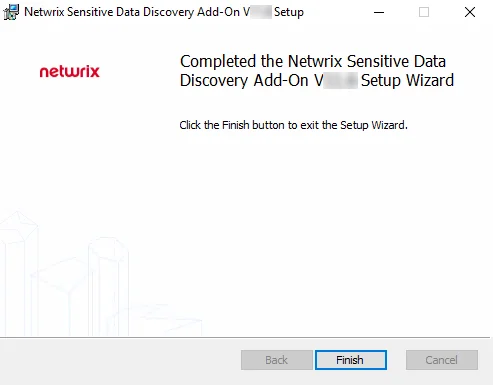
Step 6 – When the installation has completed, click Finish to exit the wizard.
The Enterprise Auditor Console is now ready to run Sensitive Data Discovery jobs for the following solutions, according to the organization’s license:
- AWS
- Dropbox
- Exchange
- File System
- PostgreSQL
- MongoDB
- MySQL
- Oracle
- SharePoint
- SQL
Before job execution, ensure you have properly configured the criteria you want for each job. See the Sensitive Data Discovery Add-On Installation topic for additional information.