File System Proxy Service Installation
The File System Proxy installer simplifies the process of setting up File System Scanning Proxy as a service on the designated proxy server. It is a best practice to use a specifically provisioned domain account as the File System Proxy service account. Follow the steps to install the FSAA service on the targeted proxy servers.
Step 1 – Run the FileSystemProxy.exe executable. The Netwrix Enterprise Auditor File System
Scanning Proxy Setup wizard opens.
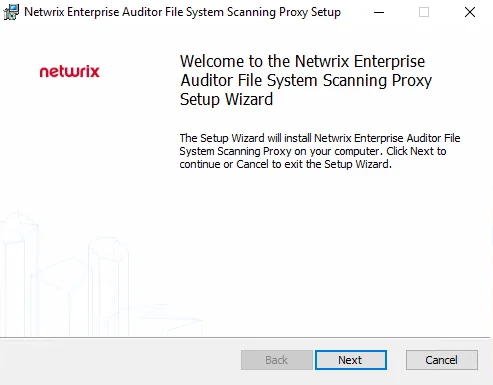
Step 2 – On the Welcome page, click Next to begin the installation.
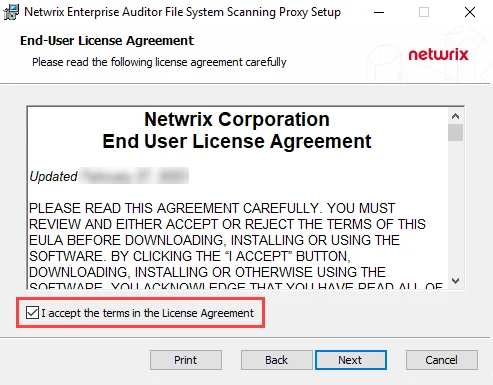
Step 3 – On the End-User License Agreement page, select the I accept the terms in the License Agreement checkbox and click Next.
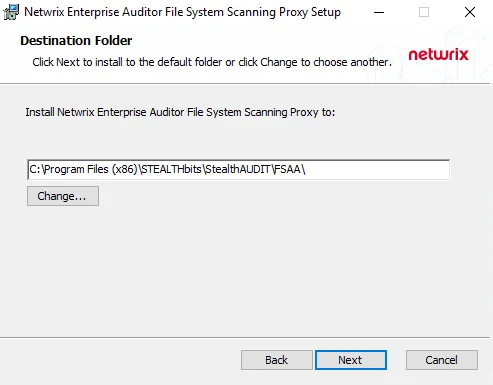
Step 4 – On the Destination Folder page, click Next to install to the default folder or click Change to select a different location. Clicking Change opens the Change destination folder page.
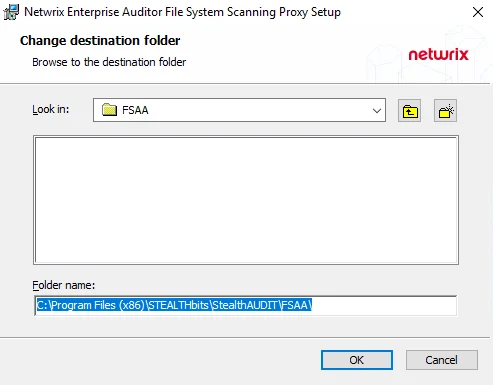
On the Change destination folder page, choose a different destination folder for the installation.
- Look in – Select which folder or sub-folder to complete installation in using the Look in dropdown
- Up one level – Click the Up one level button to select the folder one level above the selected one
- Create a new folder – Click to create a new folder for the destination of the installation
Click OK to save changes or click Cancel to return to the Destination Folder page without saving.
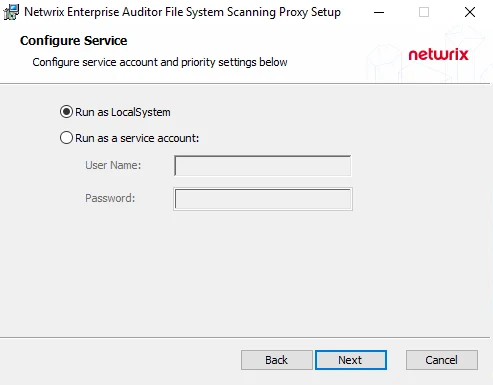
Step 5 – On the Configure Service page, configure the credential to run the service using the radio buttons. Then, click Next.
- Run as LocalSystem – Uses the local system to run the File System Proxy service
- Run as a service account – Uses the provisioned credentials provided in the User Name and Password fields to run the File System Proxy service. Remember, this account must be a local Administrator on the proxy server and have the Log on as a service privilege in the proxy server's Local Security Policy.
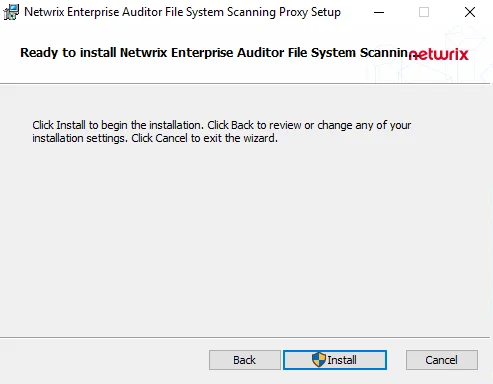
Step 6 – On the Ready to install page, click Install to start installation.
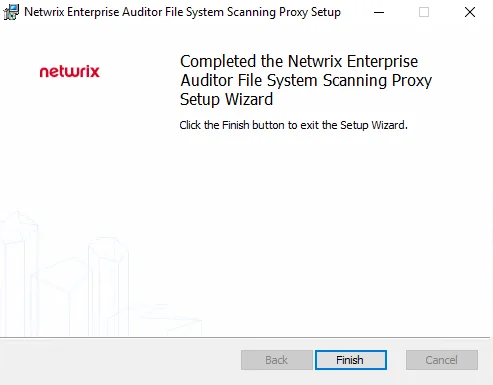
Step 7 – When the installation completes, click Finish to exit the wizard.
If you install the File System Proxy Service on multiple servers, also create a custom host list of proxy servers in Netwrix Enterprise Auditor.
After you install the File System Proxy Service on any proxy server, configure the File System Solution certificate exchange method for Proxy Mode as a Service. See the FSAA Applet Certificate Management Overview topic for additional information.
Custom Parameters for File System Proxy Service
You can modify the port and priority parameters for the File System Proxy Service on the registry key:
HKEY_LOCAL_MACHINE\SYSTEM\CurrentControlSet\services\StealthAUDITFSAA\ImagePath
-
Port parameter – Only needs to be added to the registry key value if a custom port is used. The default port of 8766 doesn't need to be set as a parameter
- Append
-e [PORT NUMBER]to the ImagePath key value
- Append
-
Priority parameter – Can be modified so that the service runs as a background priority, which may be desired if the service has been installed directly on a file server
- Append
-r 0to the ImagePath key value
noteIf both parameters are added, there is no required order.
infoStop the Netwrix Enterprise Auditor FSAA Proxy Scanner service before modifying the registry key.
- Append
To configure these service parameters:
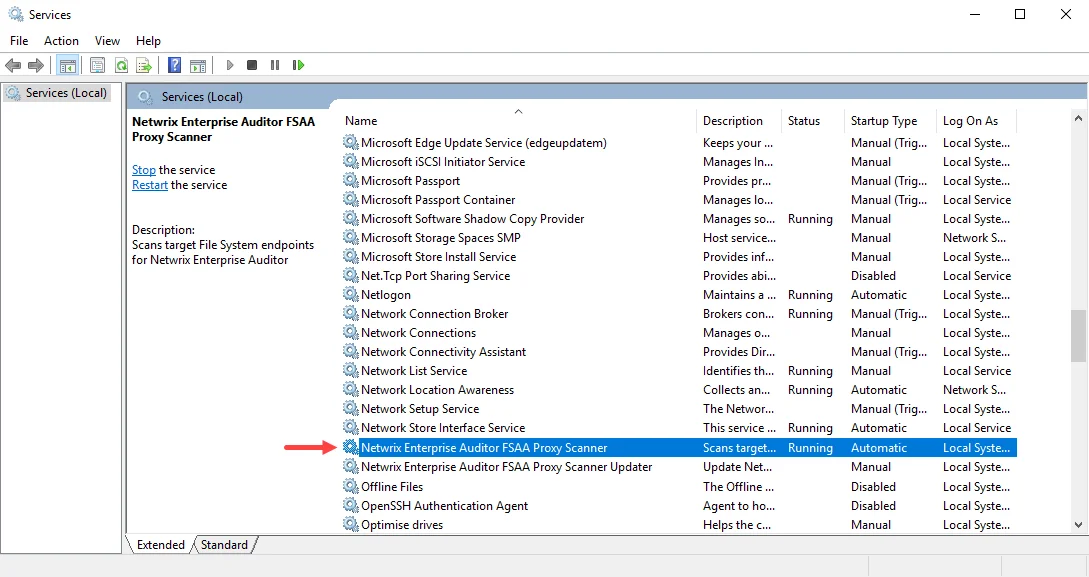
Step 1 – After installing the File System Proxy Service, open Services Management Console
(services.msc). To stop the service, right-click the Netwrix Enterprise Auditor FSAA Proxy
Scanner service and select Stop.
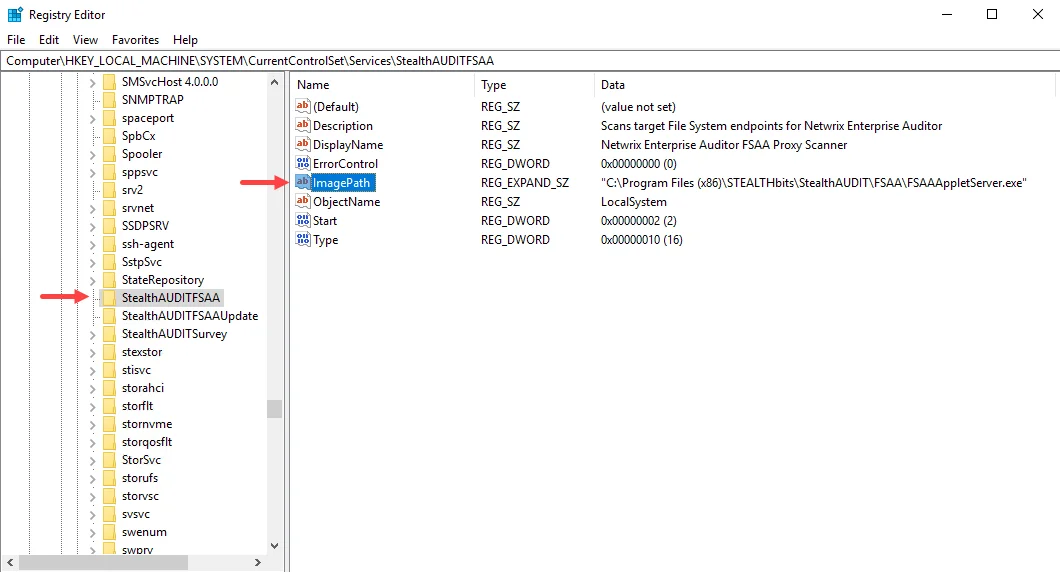
Step 2 – Open Registry Editor (regedit) and navigate to the following registry key:
HKEY_LOCAL_MACHINE\SYSTEM\CurrentControlSet\services\StealthAUDITFSAA\ImagePath
Step 3 – Right-click the ImagePath key and select Modify. The installer set the Value data during installation according to the installation directory location you selected.
-
Priority set to background priority:
- Add
-r 0to the end of the path value
- Add
-
Custom Port:
-
Add
-e [PORT NUMBER]number to the end of the path valueExample with Port number 1234:
-
C:\Program Files (x86)\STEALTHbits\StealthAUDIT\FSAA\StealthAUDITRPC.EXEFSAASrv.DLL -e 1234
The port number needs to be added to the path only if a custom port is used.
Step 4 – Click OK and close Registry Editor.
Step 5 – Return to the Services Management Console and start the Netwrix Enterprise Auditor FSAA Proxy Scanner service. Close the Services Management Console.
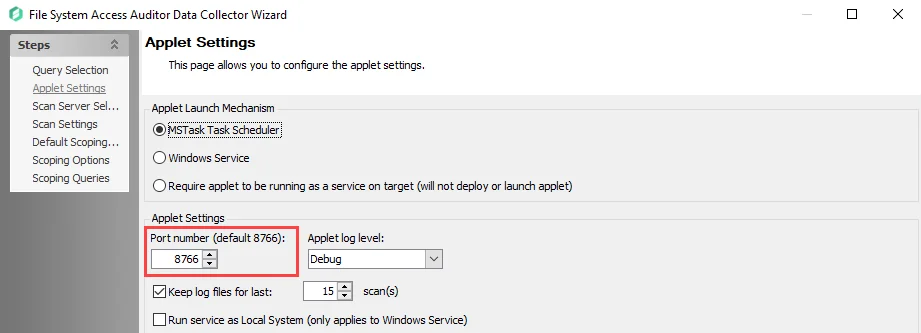
Step 6 – In the Enterprise Auditor Console, navigate to the FileSystem > 0.Collection > [Job] > Configure > Queries node and open the File System Access Auditor Data Collector Wizard. On the Applet Settings wizard page, change the Port number to the custom port.
See the File System Data Collection Configuration for Proxy as a Service section for additional configurations required to run scans in proxy mode as a service.
Step 7 – Repeat the previous step for each of the FileSystem > 0.Collection jobs to employ this proxy service.
Enterprise Auditor and the File System Proxy Service now use the custom port you identified for communication.