Reporting
The Reporting node is for configuring the global settings for publishing Enterprise Auditor reports. The Web Console is where you can view any published reports outside of the Enterprise Auditor Console. The Web Console provides a consolidated logon housing both the published reports and the AIC (when applicable).
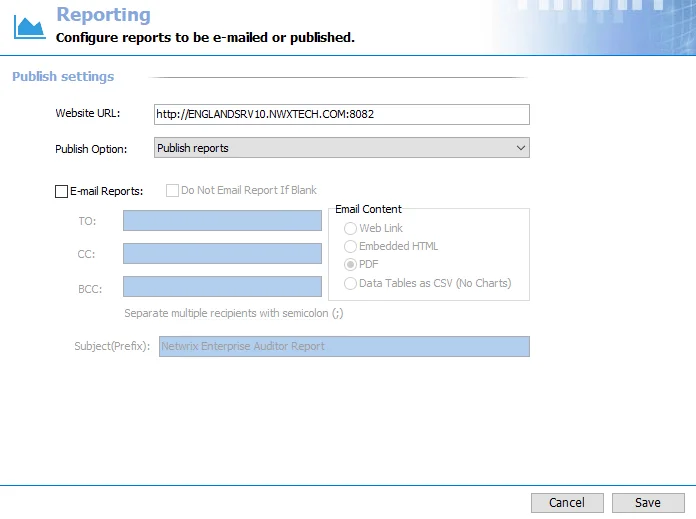
You can disable the publishing of reports at the global level by selecting Don't publish reports from the Publish Option dropdown menu. You can also disable it at the job group, job, or report configuration level. See the Jobs Tree topic for additional information.
The Cancel and Save buttons are in the lower-right corner of the Reporting view. These buttons become enabled when you make modifications to the Reporting global settings. Whenever you make changes at the global level, click Save and then OK to confirm the changes. Otherwise, click Cancel if you don't want to save the changes.
Website URL
The Website URL field contains address for the hosted website, the Web Console, where the published reports reside.
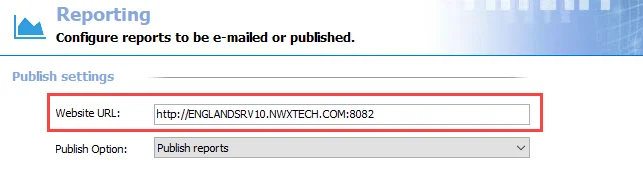
The default address is:
http://[Fully Qualified Domain Name of the Enterprise Auditor Console server]:8082
Enterprise Auditor uses this address to access the Web Console and for the web link in an emailed report. You may need to modify the protocol and port number to align with the organization’s environment, but they must match the information in the website’s configuration file. If you have secured the Web Console, manually update this address:
https://[Fully Qualified Domain Name of the StealthAUDIT Console server]:[Port Number]
Any browser used to access the Web Console must have JavaScript allowed for the site. See the Configure JavaScript Settings for the Web Console topic for additional information.
Publish Option
Use the Publish Option to enable or disable the publishing of reports at the global level.
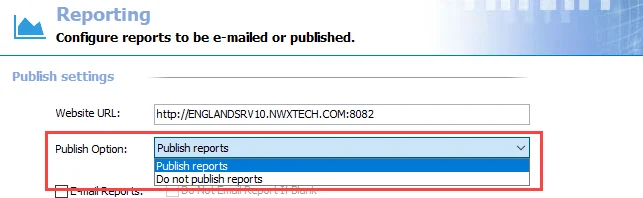
Select the Publish reports option to publish all Enterprise Auditor reports or select Don't publish reports to disable the publishing. The inheritance of this setting can be broken at the job group, job, or report levels.
Email Report Options
Configure email reports sent out by Enterprise Auditor using the Email Report options.
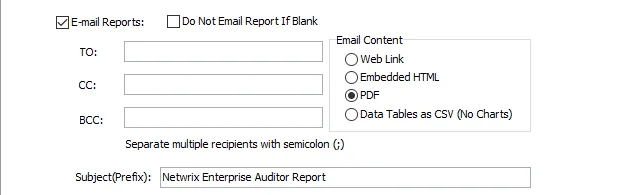
The E-mail reports checkbox enables recipients to receive all published reports, unless inheritance is broken at the job group, job, or report level. Separate multiple recipients with a semicolon. If you use commas as delimiters for email addresses, Enterprise Auditor converts them into semicolons when you save the settings.
Configure email reporting at a specific level to ensure recipients only receive reports which apply to them.
Email reports doesn't work unless you configure Enterprise Auditor to send email notifications through the Notification node. See the Notification topic for additional information.
The Don't Email Report If Blank checkbox prevents Enterprise Auditor from sending reports via email if all elements are blank when generated. A blank report can occur if there is an error in data collection or if the report is configured for data which might not always be present (for example, new computer objects created since last scan).
Enable the Don't Email Report If Blank option.
You can send the report using the Email Content option you want:
- Web Link – Sends an email notice that the report has been published and provides the recipient with a link to it in the Web console
- Embedded HTML – Sends the report embedded inside the email using HTML format
- Data Tables as CSV (No Charts) – Attaches the complete data set (as configured within the report, without row limit) to an email as a CSV file, excluding any charts
- PDF – Attaches the report to an email as a PDF file
The Subject(Prefix) field identifies the prefix of the email subject line, unless inheritance is
broken at the job group, job, or report level. The prefix appears in the email header preceding the
report name. If left blank, Enterprise Auditor applies a prefix of Enterprise Auditor Report to
the email subject line.
Configure JavaScript Settings for the Web Console
Any browser used to access the Web Console must have JavaScript allowed for all features of the Web Console to function correctly. If the JavaScript permission isn't set as allowed for the entire browser, you must add the Web Console as an allowed site.
Follow the steps to allow JavaScript on the Web Console in Microsoft Edge.
Step 1 – Open Microsoft Edge Settings.
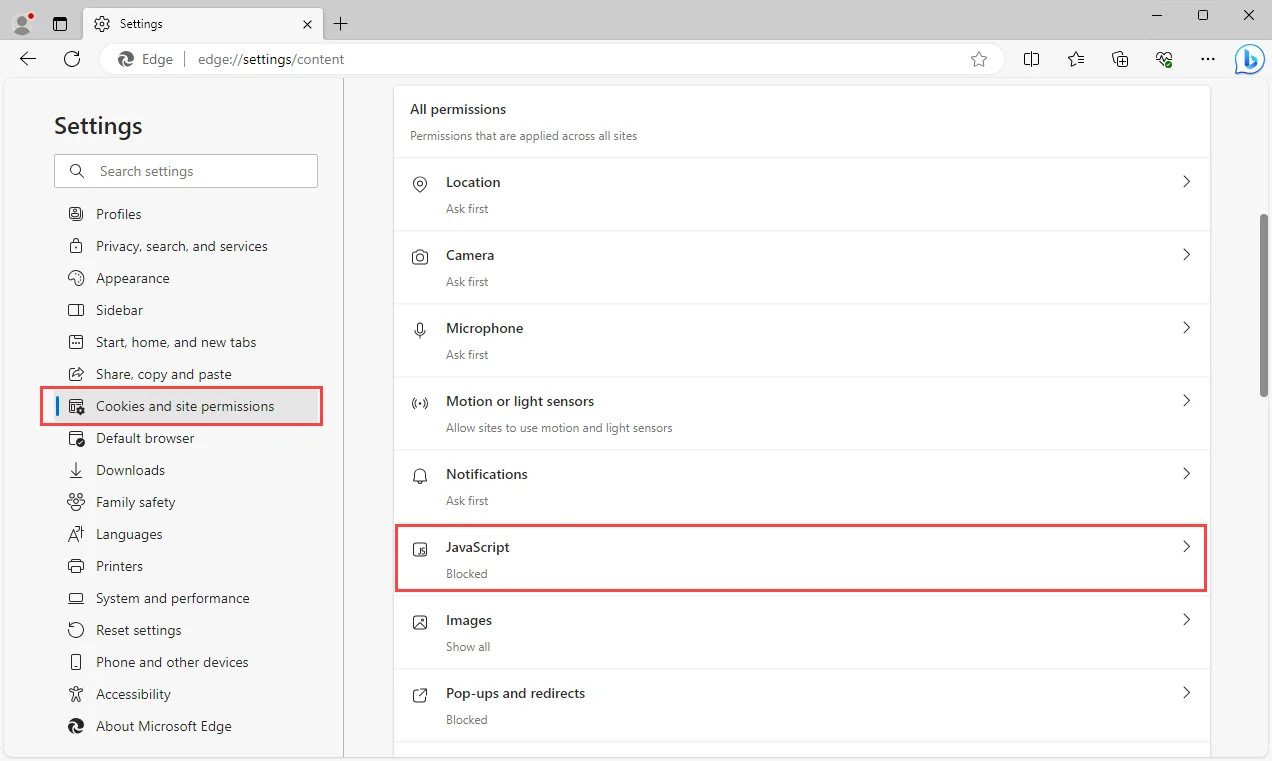
Step 2 – Go to the Cookies and site permissions settings page, and click JavaScript under All permissions.

Step 3 – Click Add in the Allow section. On the Add a site window, enter the URL for the Web Console and click Add.
If the global Allowed option is selected, you don't need to specifically add the Web Console as an allowed site.
Microsoft Edge adds the Web Console's URL to the Allow list and enables JavaScript for the Web Console.