Assign User to Role Members
Role Based Access becomes enabled within Enterprise Auditor as soon as the first role has been assigned in the Access Role wizard. When saving the first role or set of roles added to the Role Membership list in the Roles view, the Administrator role must be included for a least one user or an error message displays.
Follow the steps to assign roles in the Enterprise Auditor Console.
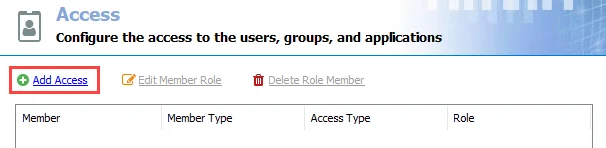
Step 1 – On the Access page, click Add Access. The Access Type wizard opens.
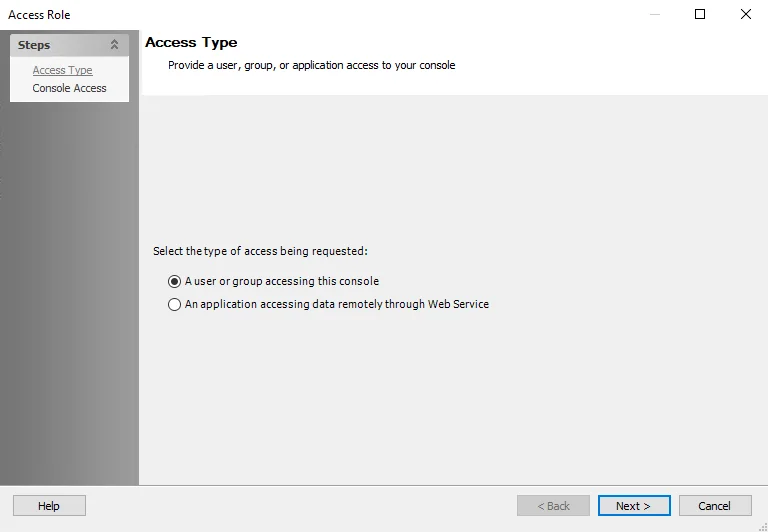
Step 2 – Select the A user or group accessing this console option. Click Next.
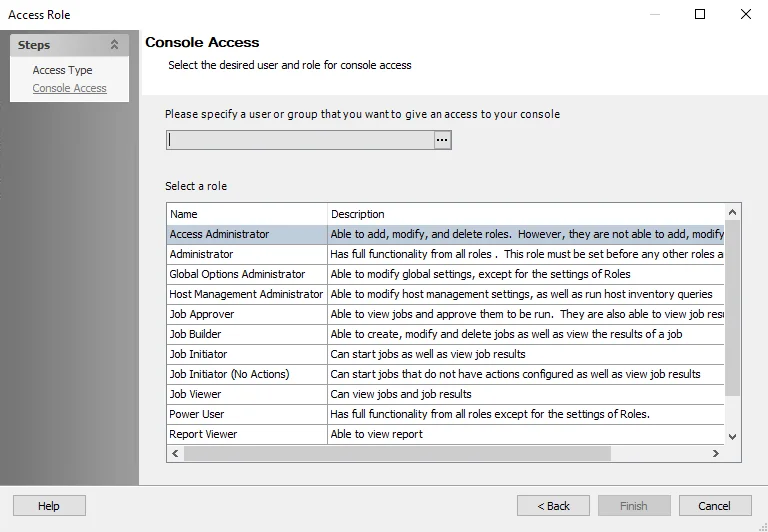
Step 3 – On the Console Access page, specify a group or user in the Name field. Use the ellipsis (…) to browse for accounts with the Select User or Group window.
-
(Optional) To use previously configured MSA and gMSAs for authentication, select the gMSA option from the Object Types list. See the Microsoft Group Managed Service Accounts article for additional information.
- Change the location to the desired domain and click Object Types, then select Service Accounts.
- Add the gMSA name (
gMSAadmin$), then click OK. - The Member Type will show as
msDS-GroupManagedServiceAccounton the Access page.
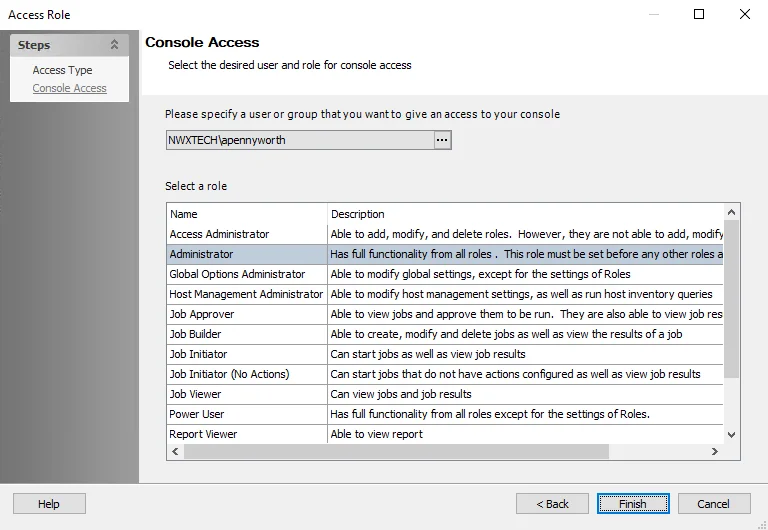
Step 4 – Select a role for the group or user from the Role list. Click Finish. The group or user and role is added to the Role Membership list in the Roles view.
Step 5 – Repeat Steps 1-4 to assign roles to other groups or users.
Step 6 – Click Save and then OK to confirm the changes. All applied roles are lost if they are not saved.
Role Based Access is enabled when the first role has been assigned.

The first role or set of roles saved must include the Administrator role. Clicking Save for the first role or set or roles without including the Administrator generates an error message in the Enterprise Auditor Console.
When Role Based Access is first enabled, restart the Enterprise Auditor application to ensure all roles are properly active. When saving roles for the first time, permissions for the local Users group are applied to the Enterprise Auditor directory. This allows roles to be leveraged without requiring local Administrator rights.
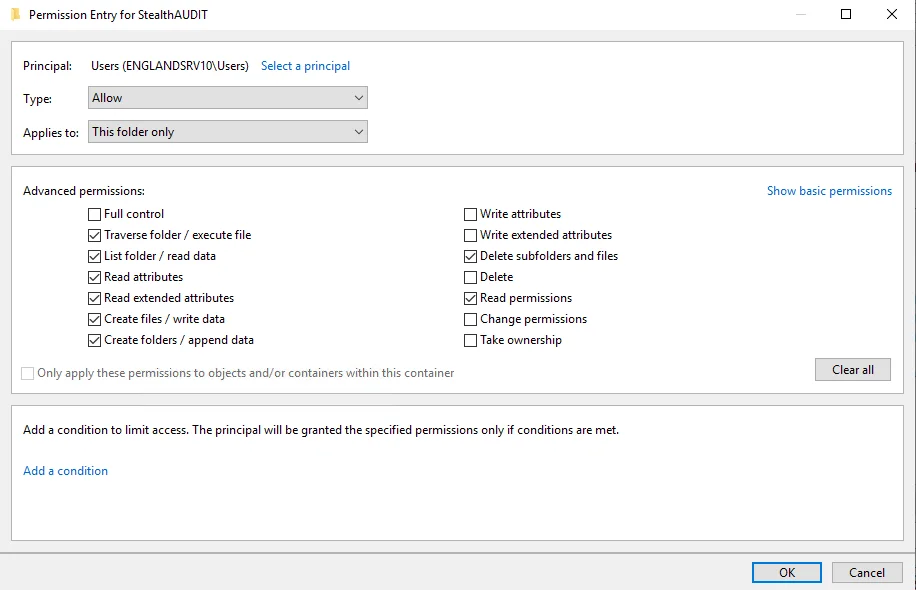 | 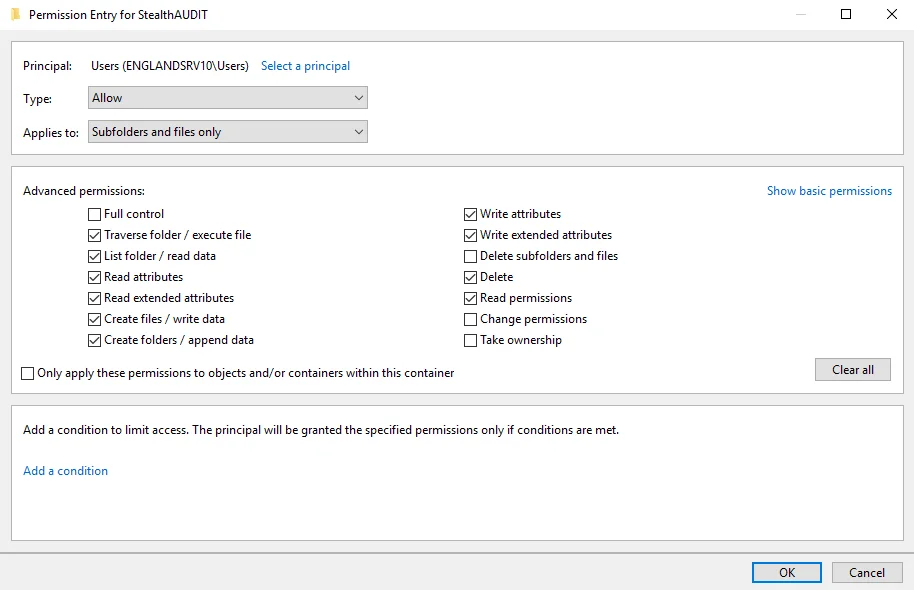 |
There are two separate sets of permissions:
- Applies to This folder only
- Applies to Subfolders and files only
Edit Role Members' Responsibilities
Follow the steps to edit a Enterprise Auditor user’s role.
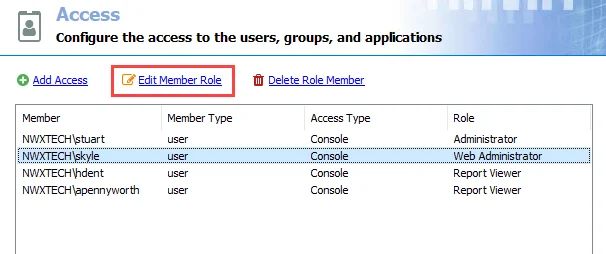
Step 1 – On the Access page, select the desired user and click Edit Member Role.
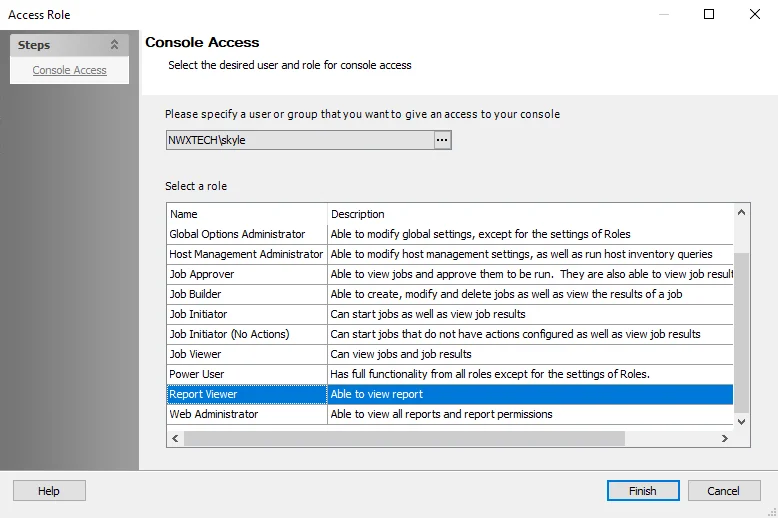
Step 2 – Select a new role for the user from the Roles list.
Step 3 – Click Finish. The role is updated on the Access page.
Step 4 – Repeat Steps 1-3 to edit other users’ roles.
Step 5 – Click Save and then OK to confirm the changes. All applied roles are lost if they are not saved.
The changed roles take affect the next time the users logs into the Enterprise Auditor application. If a user is actively logged into Enterprise Auditor at the same time the role for that user is changed, then the user needs to exit and re-launch the application for the role to take effect.
Delete Role Member
Follow the steps to delete a user from having access to the Enterprise Auditor Console.
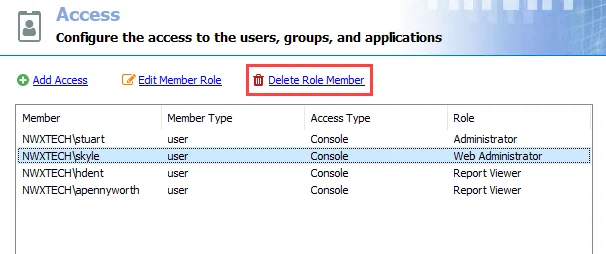
Step 1 – On the Access page, select the desired user and click Delete Role Member. The selected user will be removed from the list.
No confirmation will be requested. However the changes will not be finalized until Step 3 is completed.
Step 2 – Repeat Step 1 to remove other users as desired.
Step 3 – Click Save and then OK to confirm the deletions. The users will not be deleted if the changes are not saved.
The deleted users will no longer be able to log into the Enterprise Auditor application. If a user is actively logged into Enterprise Auditor at the same time of the deletion, the user will need to exit the application for the deletion to take effect.