Backup and Recovery
For data recovery purposes, the Enterprise Auditor doesn't need a complete image back up of the Enterprise Auditor Console server. Rather, a standard file level back up of a few key components is sufficient. This document contains a step-by-step guide for back up and recovery. The Enterprise Auditor user chooses the back up utility.
This doesn't cover back up of the Enterprise Auditor database.
Steps to Back Up the Console Server
To back up the key components necessary for data recovery of the Enterprise Auditor Console server:
Step 1 – Obtain or save the installation media for Enterprise Auditor.
Step 2 – Back up the following files and folders from the Enterprise Auditor folder (Typically
found at C:\Program Files(x86)\STEALTHbits\StealthAUDIT and can be more directly found with the
built-in environment variable %SAINSTALLDIR%):
- ...\STEALTHbits\StealthAUDIT\Jobs: Contains the jobs from the Enterprise Auditor jobs tree
- … \STEALTHbits\StealthAUDIT\CLU: Contains any CLU parameters
- … \STEALTHbits\StealthAUDIT\ODBCProfiles\Custom: Contains any custom ODBC connect strings
- …\STEALTHbits\StealthAUDIT\SADatabase\Views: Contains the host list definitions
- ...\ STEALTHbits\StealthAUDIT\SecurityMap: Contains all of the Connection Profiles
- ... \STEALTHbits\StealthAUDIT\GlobalOptions.XML: Contains the Global Options
- ...\ STEALTHbits\StealthAUDIT\SPProfiles.XML: Contains the Storage Profiles (SQL connection)
- ...\ STEALTHbits\StealthAUDIT\rba.conf: Contains the Role Based Access Configuration
- ...\ STEALTHbits\StealthAUDIT\StealthAUDIT.LIC: The license key
Step 3 – Back up all Scheduled Tasks. The Enterprise Auditor user determines the method of back up. For example, you can copy the contents of the tasks folder from the following two locations:
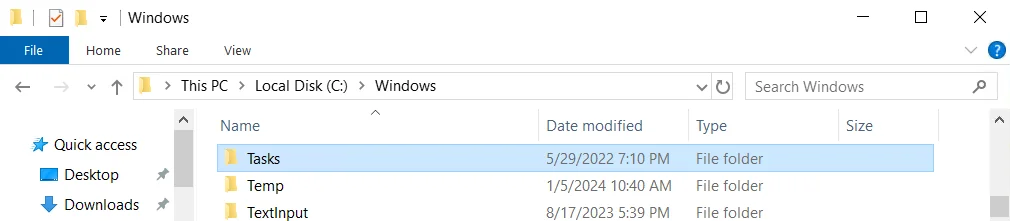
- C:\Windows\Tasks
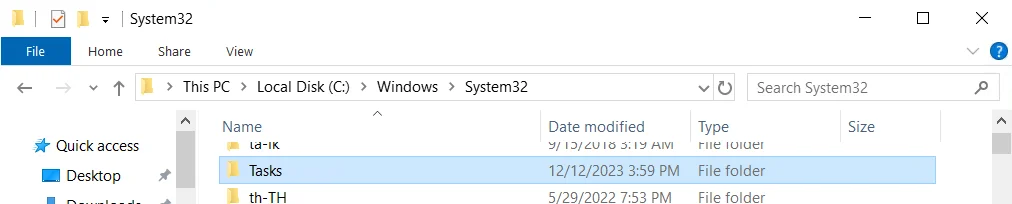
- C:\Windows\System32\Tasks
You have now backed up all key components necessary for data recovery.
Steps to Restore the Console Server
Follow these steps for data recovery of the Enterprise Auditor Console server.
Step 1 – Confirm that you've met the prerequisites on the Enterprise Auditor Console Server. See the Requirements topic for specific prerequisites.
Step 2 – Install the Enterprise Auditor application. Don't start the Enterprise Auditor application at this time.
Step 3 – Restore all of the backed up files and folders from Step 2 of Steps to Back up the Enterprise Auditor Console Server to their corresponding location.
Step 4 – Restore all of the backed up scheduled tasks from Step 3 of Steps to Back up the Enterprise Auditor Console Server to the corresponding tasks folder of the operating system.
Step 5 – For Host Management and Host List Replication in a new host scenario, run the following code within the SQL Studio on the Enterprise Auditor database.
- Replace
OldServerandNewServerin the following script with the names of the old and new Enterprise Auditor servers
Declare @OHost varchar (128)
Declare @NHost varchar (128)
Set @OHost = 'OldServer'
Set @NHost = 'NewServer'
Update [HostMaster_SANodeFilter]
SET SA_Node = @NHost
Where SA_Node = @OHost;
Update [HostListsTbl]
SET SA_Node = @NHost
Where SA_Node = @OHost
and ListID not in (Select ListID from [HostListsTbl] where SA_Node = @NHost);
Update [QueryTbl]
SET SA_Node = @NHost
Where SA_Node = @OHost;
Step 6 – Start Enterprise Auditor and confirm that you've restored all settings and jobs.
Step 7 – Enable Role Based Access to write the necessary registry keys:
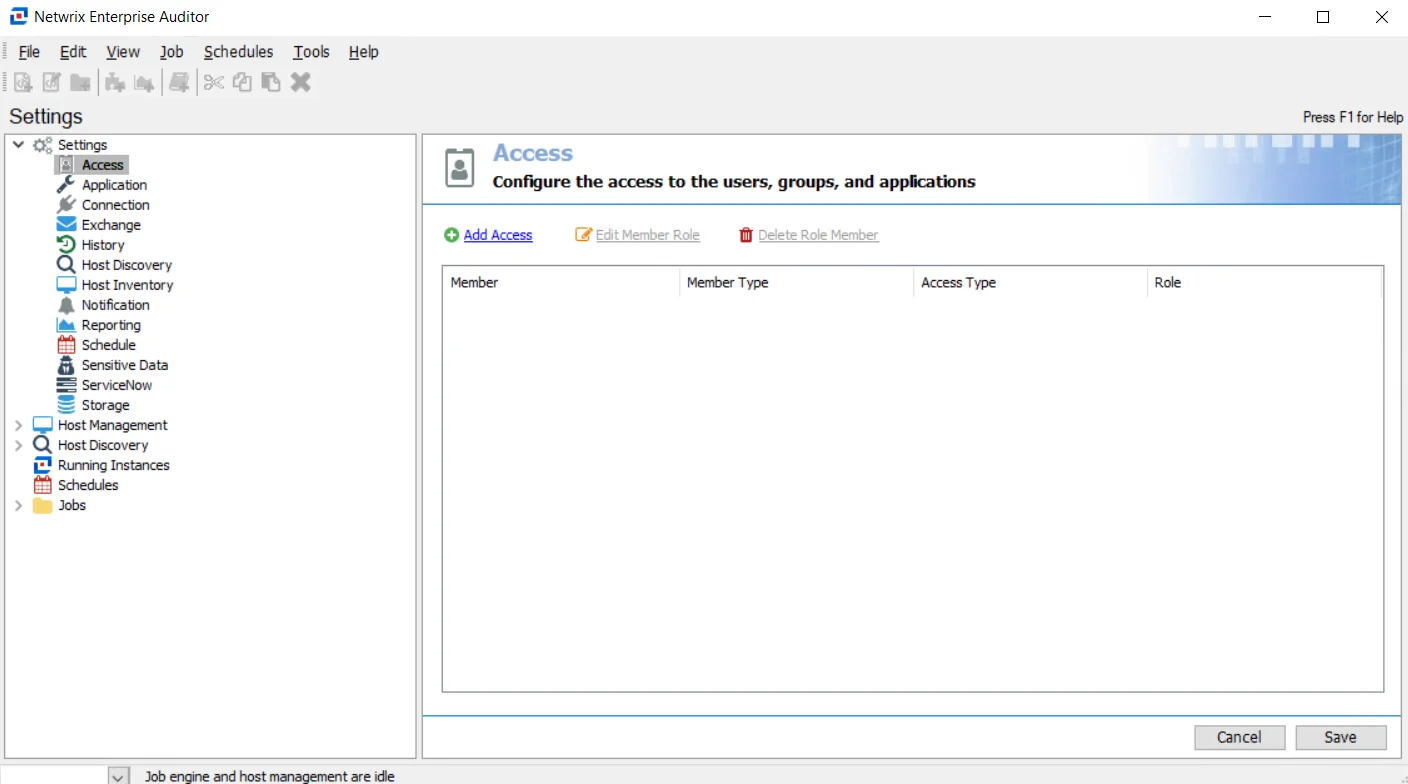
- Navigate to the Settings > Access node in the Enterprise Auditor Console and select Access
- Use the Add Access, Edit Member Role, and Delete Member Role buttons to add, remove, and edit roles
- See the Role Based Access topic for more information
You have now restored the Enterprise Auditor Console Server.