Group Details
Use Groups Details page to edit selected group attributes.
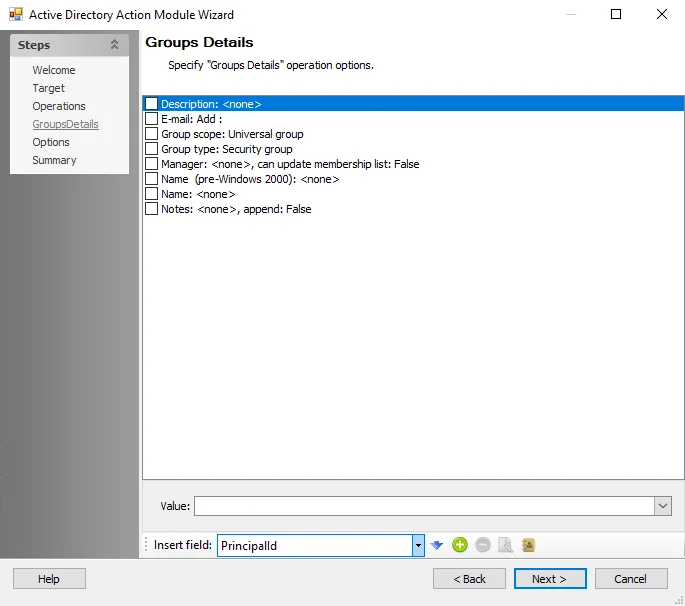
Highlight the attribute to edit. Add or delete attributes using the buttons to the right of Insert field.
The options at the bottom of the page vary based on the highlighted attribute.
- Insert field – Use the drop-down list to select a field (column) from the source table. Then, click the blue arrow to insert the item into the Value box.
- Add Attribute – Adds a custom attribute to the Computer Details attribute list
- Remove Attribute – Removes a selected attribute from the action
- Edit Attribute – Click this icon to change the name of the selected custom attribute
- Import Attribute – Opens the Import Custom Attributes Import Wizard where current attributes for an object is viewed and can be imported for editing. See the Custom Attribute Import Wizard topic for additional information.
- Value/Name – This field derives its name from selections made on the page. It can contain selections from the Insert field or you can click the ellipsis (…) to access the Select User, Contact, or Group window, via which you can populate this field.
Select the checkboxes next to the group details attributes to enable them for editing when running the action.
Custom Attribute Import Wizard
The Custom Attributes Import Wizard is used to import a list of custom attributes. Follow the steps to use the Custom Attributes Import Wizard.
Step 1 – On the Group Details page of the Active Directory Action Module Wizard, click Import. The Custom Attribute Import Wizard opens.
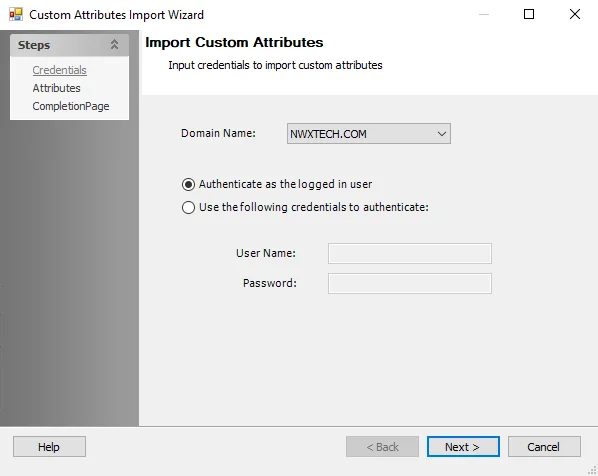
Step 2 – On the Credentials page, identify a domain either by entering one manually or selecting one from the Domain Name drop-down menu which displays a list of domains trusted by the one in which the Enterprise Auditor Console server resides. Then set the credentials for reading the attributes list from the domain:
- Authenticate as the logged in user – Applies the user account running Enterprise Auditor
- Use the following credentials to authenticate – Applies the account supplied in the User Name and Password fields.
Step 3 – Click Next.
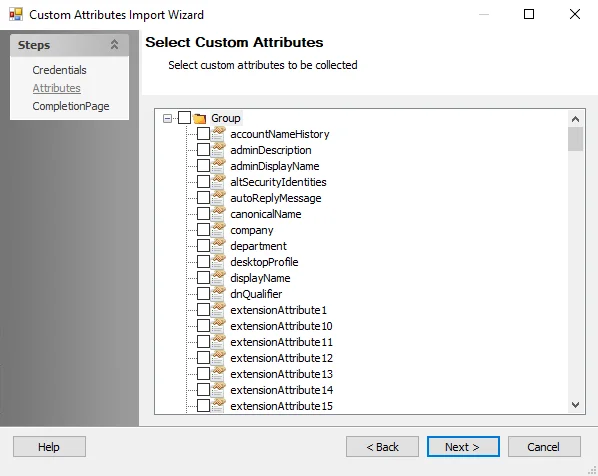
Step 4 – The wizard populates available attributes from the domain specified on the Attributes page. Expand the desired object class and select the checkboxes for the custom attributes to be imported. Then click Next.

Step 5 – On the Completion page, click Finish. On the Completion page, click Finish.
The selected attributes have been added to the attribute list on the Group Details page.