Single Sign On
Single Sign On (SSO) is a powerful authentication process that enhances security and improves user experience by allowing users to access multiple applications with a single set of login credentials. With Single Sign On (SSO), you can log in to 1Secure using Microsoft Entra ID or Open ID Connect credentials. It enhances the user experience by enabling access with existing organizational credentials.
Log In Through Single Sign On
Users can log in to the 1Secure tenant using Single Sign On (SSO) if their accounts are added to the authentication provider configured for the tenant. For example, if Microsoft Entra ID is configured as the authentication provider and its users are added to 1Secure, they can log in to the 1Secure tenant with their Microsoft Entra ID credentials.
When the Netwrix team adds a new user account for your organization, you receive an email invitation. This email is sent from "noreply-account@netwrix.com" and has the subject "Welcome to Netwrix 1Secure".
Step 1 – Click Access 1Secure button in the invitation email. You are navigated to the 1Secure login page.
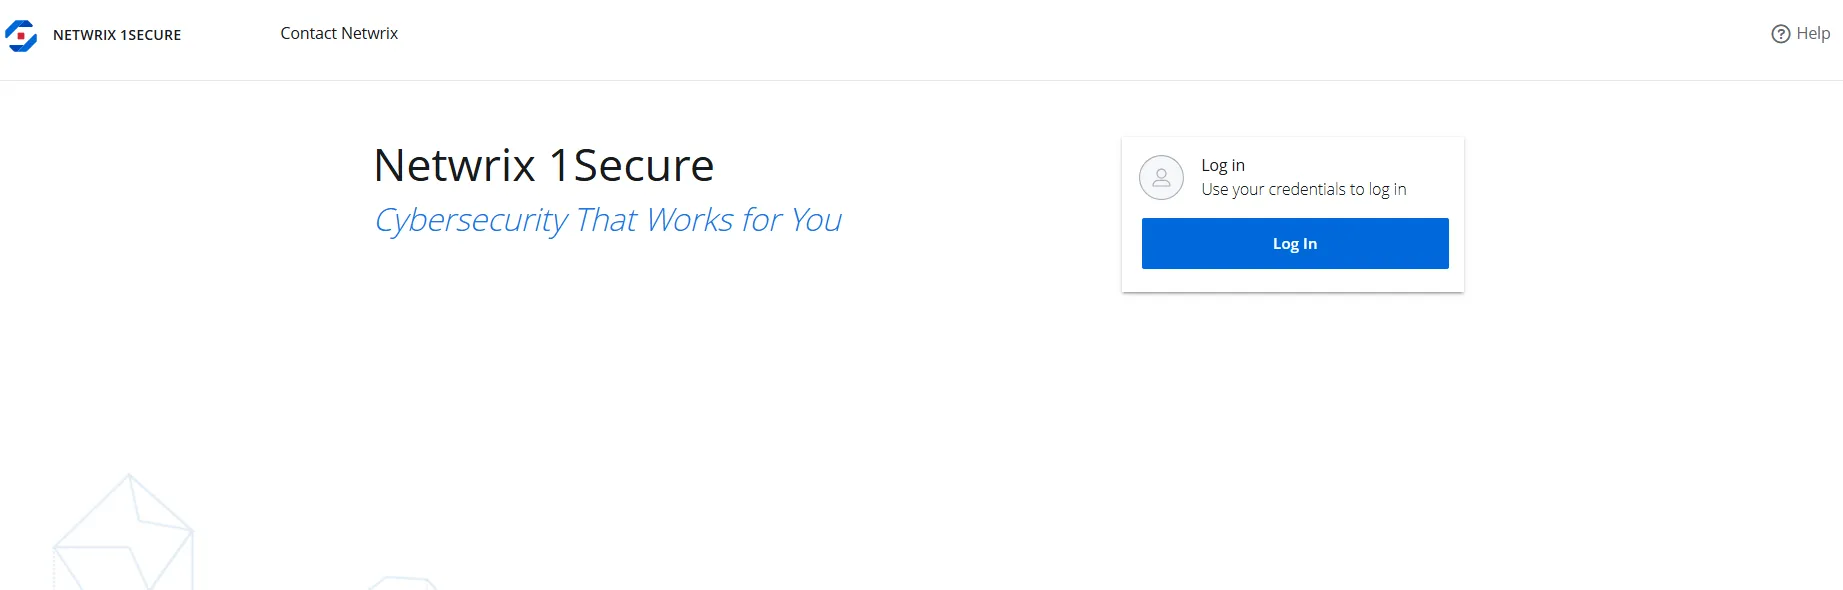
Step 2 – On the login page, click the Log In button.
Step 3 – In the Email address field, specify a valid email address registered with 1Secure, then click Continue. Based on your authentication status, one of the following occurs:
- If you are logged out of your authentication provider, you are redirected to the authentication provider's login page. For example, if you are using Microsoft Entra ID, you are redirected to the Microsoft Entra ID login page. Authenticate using your credentials. After successful authentication, you are logged in to 1Secure.
- If you are already logged in to your authentication provider, you are directly logged in to 1Secure.
SSO Configuration with Authentication Services
To enable Single Sign-On (SSO) for tenant users, an MSP must configure SSO using one of the following authentication services:
- Configure SSO with Microsoft Entra ID Authentication
- Configure SSO with OpenID Connect Authentication
When you first log in to 1Secure, SSO isn't enabled, and 1Secure Authentication is applied by default. This method requires Multi-factor authentication (MFA) to verify your identity for secure access. See the Log In topic for additional information on Multi-factor authentication.
Configure SSO with Microsoft Entra ID Authentication
To configure SSO with Microsoft Entra ID authentication:
Step 1 – Click Configuration in the top bar. The Managed organizations page is displayed, that lists the managed organizations defined in 1Secure.
Step 2 – In the left pane, click My organization. The My organization page is displayed
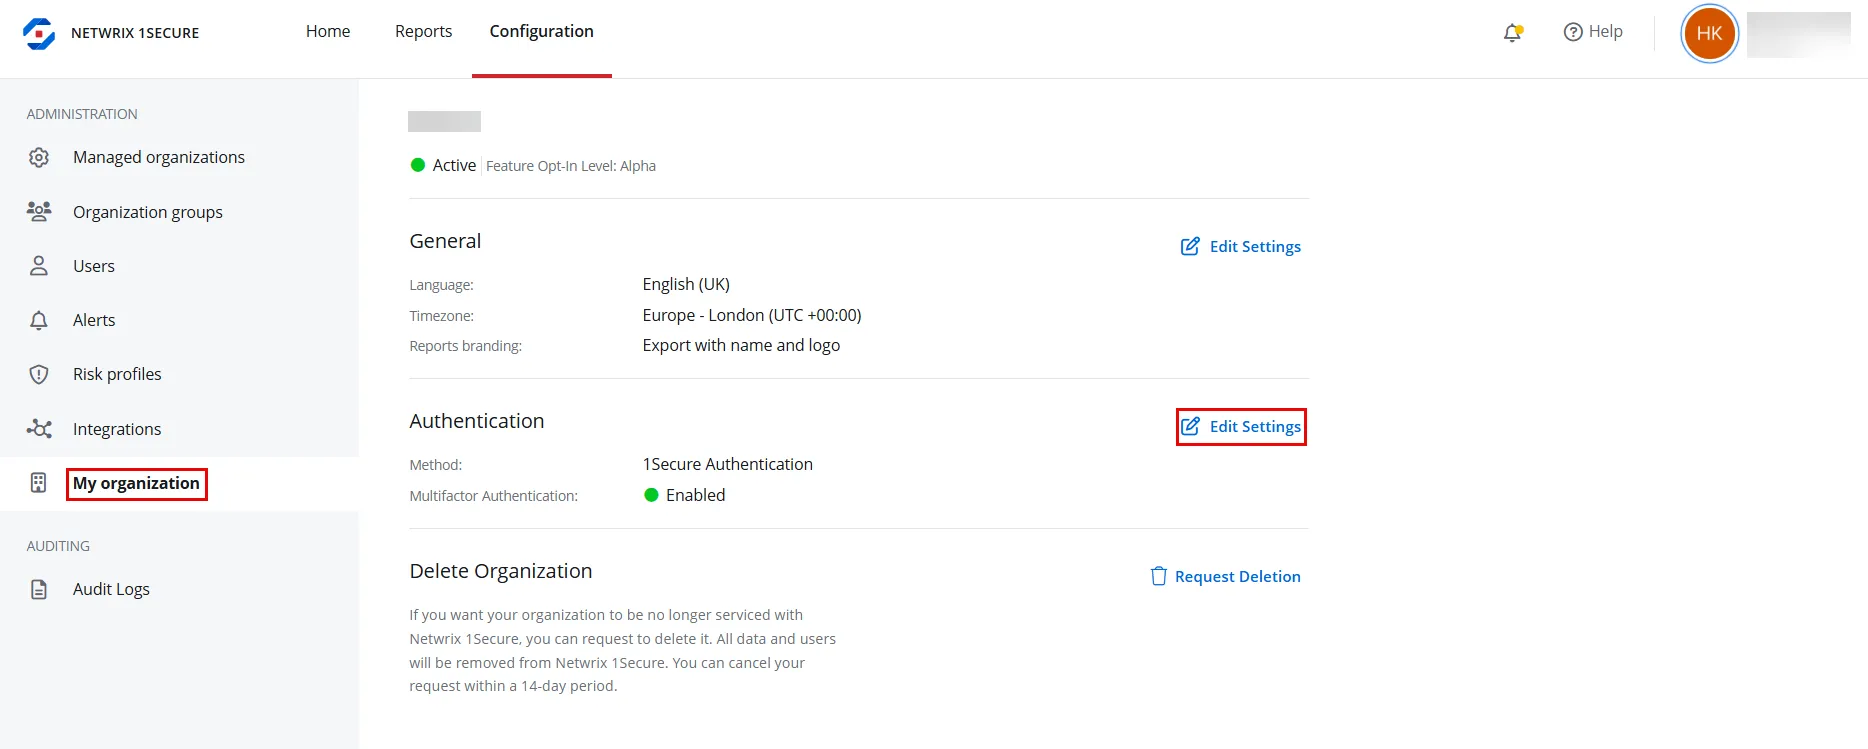
Step 3 – Under Authentication section, click Edit Settings. The Authentication settings pane is displayed.
Step 4 – In Method dropdown menu, select Entra ID.

Step 5 – In Client ID field, specify the client ID of the app registered in Microsoft Entra ID. See the Register an App in Microsoft Entra ID For Authentication topic for additional information.
Step 6 – Click Save. The Single Sing-On (SSO) is configured with Microsoft Entra ID authentication.
Configure SSO with OpenID Connect Authentication
To configure SSO with OpenID Connect authentication:
Step 1 – Click Configuration in the top bar. The Managed organizations page is displayed, that lists the managed organizations defined in 1Secure.
Step 2 – In the left pane, click My organization. The My organization page is displayed
Step 3 – Under Authentication section, click Edit Settings. The Authentication settings pane is displayed.
Step 4 – In Method dropdown menu, select OpenID Connect.

Step 5 – In Client ID field, specify the client ID of the OpenID application that 1Secure uses to communicate with the OpenID provider.
Step 6 – In Discovery url field, specify the Discovery URL of the OpenID application.
Step 7 – Click Save. The Single Sign On (SSO) is configured with OpenID Connect authentication.
Register an App in Microsoft Entra ID For Authentication
To configure Single Sign On (SSO) with Microsoft Entra ID authentication, register an application in the Microsoft Entra ID by following these steps.
Step 1 – Sign in to the Microsoft Entra admin center.
Step 2 – On the left navigation menu, navigate to Identity > Applications > App registrations page.
Step 3 – On the App registrations page, click New registration in the top toolbar. The Register an application page is displayed.
Step 4 – Specify the following information on the Register an application page:
- Name – Enter a user-facing display name for the application, for example, Netwrix 1Secure Entra ID
- Supported account types – Select Accounts in this organizational directory only
- Platform – Select the Web platform in the dropdown menu
- Redirect URL (optional) – Enter https://auth.netwrix.com/login/callback
Step 5 – Click Register.
The Overview page for the newly registered application opens. The following settings of the registered application are required while configuring Single Sign on (SSO) with Entra ID in 1Secure. Copy these settings and keep them safe.
- Application (client) ID – A client ID for the registered application
- Directory (tenant) ID – A tenant ID for the registered application
- Client Secret – A client secret value generated when a new client secret key is created for the registered application. See the Generate Client Secret Value topic for additional information.